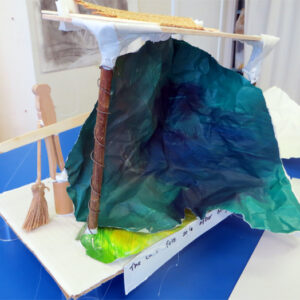
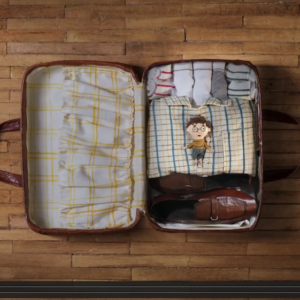
An animation set design challenge.


Animation Set Design Challenge
Use this challenge to design and make a model “set” for an animation.
1. Explore the Rosie Hurley: Esio Trot resource to see how artist Rosie uses her sketchbook to help her design and make a set for an animation project.
 Artwork by Rosie Hurley
2. Decide upon your creative stimulus.
Your set will be inspired by a particular poem, story, short film or piece of music. Make sure you are familiar with the stimulus by watching / listening to it many times. Talk about it with your class so you can start to understand characters/mood/settings/narrative.
3. Use your Sketchbook
Use your sketchbook, just as Rosie does, to help you understand the stimulus. If the stimulus is visual, like a film, then pause the film and make drawings of scenes which you feel are important.
If the stimulus is aural, listen and use your imagination to make sketchbook drawings.
 Artwork by Rosie Hurley
4. Think about Structure
Start to think about what scene or set you will create. It can change as you work, but try to have a starting point. Think about:
-
Is it indoors or outdoors?
-
Is it on one level?
-
What would the audiences’ viewpoint be?
-
Does it have spaces within it?
-
Will it have movable walls/parts?
Try to think of it as a 3d composition.
 Artwork by Rosie Hurley
5. Think about Colour and Texture
Use your sketchbook to explore colour palettes. What colours would suit your set/the initial stimulus? Mix and test colours in your sketchbook, or cut colours from magazines and stick them in.
Think about how you use the colours too. Think about backgrounds, foregrounds, objects on the stage. Will there be colour everywhere? Will you have areas of no colour?
Think about the materials and textures you will use when you build your model set. Explore different materials – fabrics, wire, wood, paper, string, found objects… there is no limit to the materials you might use.
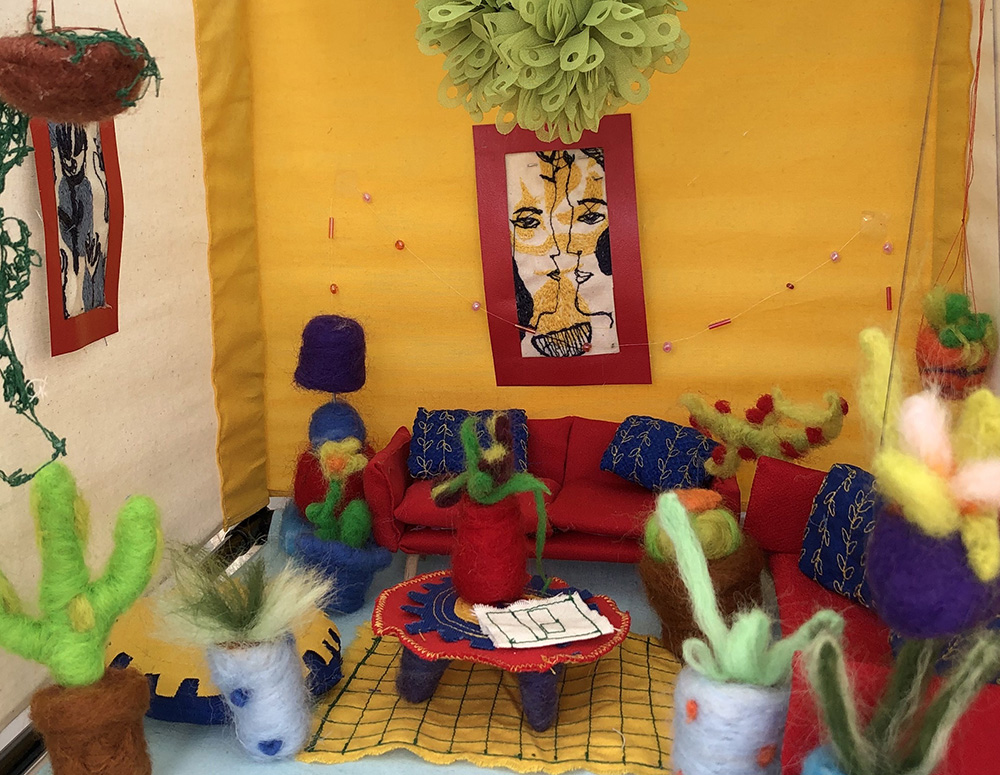 Felted and Embroidered Yellow Living Room by Gabby Dickson
6. Start Building your Model Set
Take a box, and cut away some sides so you are left with a 3, 4 or 5 sided structure in which to make your model set. Don’t forget to look back through your sketchbook to see your ideas about structure.
Start making! This is the fun bit and your ideas might change from your initial sketchbook work – and that is absolutely fine and as it should be!
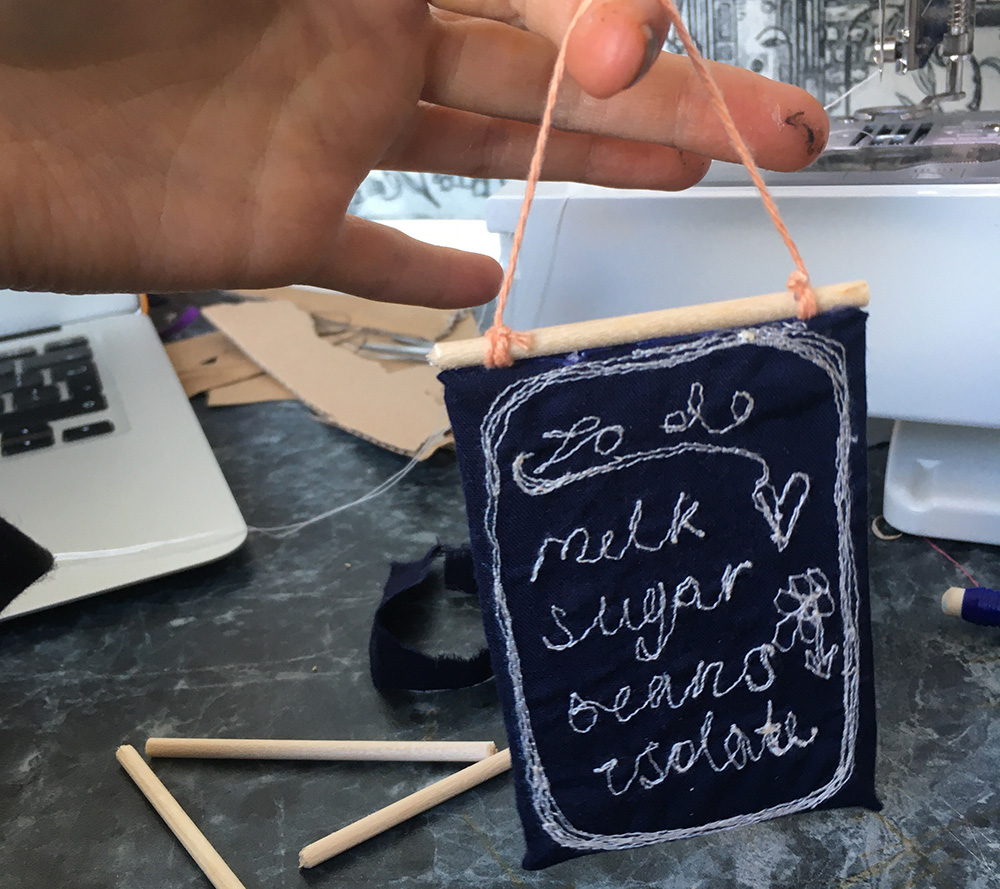 Chalkboard Prop for Kitchen By Gabby Dickson
7. Think about Lighting
Finally it is time to light your set. Consider how you might use torches or natural light to light the set. Perhaps you will use coloured lenses too. Remember lighting is a key tool to create mood and it should be used with the mood of the original stimulus in mind.
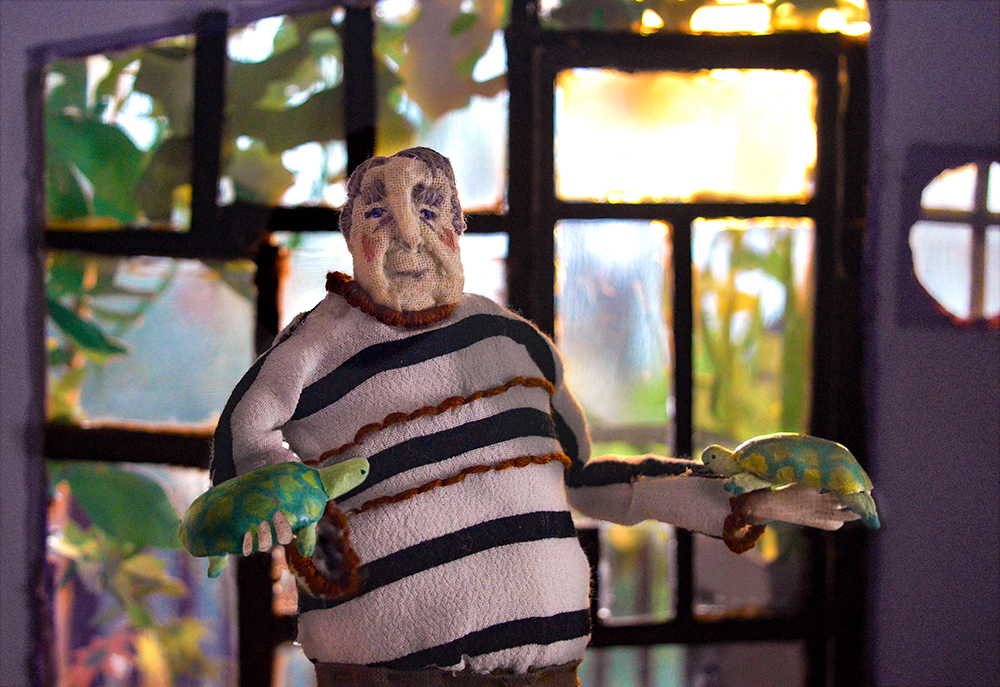 Rosie Hurley Set Design
8. Photograph your Set!
Take photographs of your set, making sure you explore camera angles, near and far focus and lighting.
If you have time, use your set as basis for an animation!
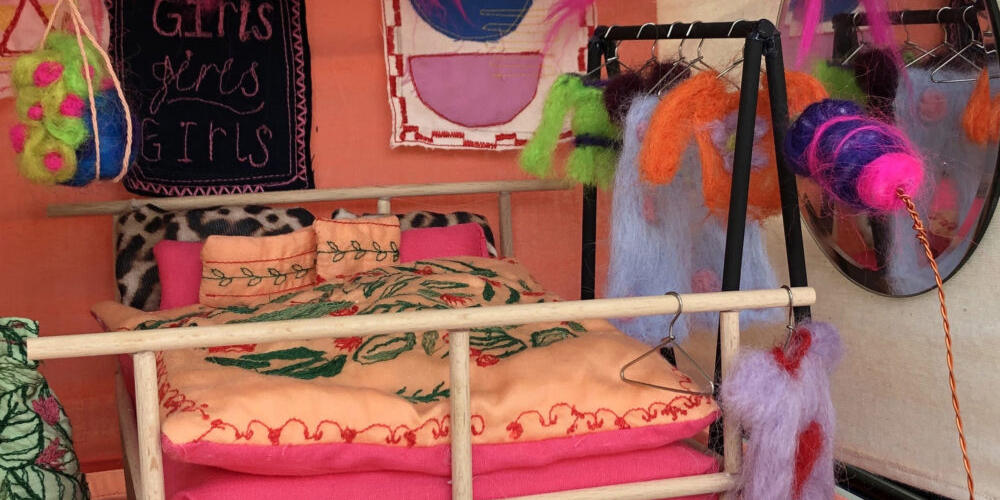 Artwork by Gabby Savage-Dickson
