Drypoint Etching
By Maureen Crosbie
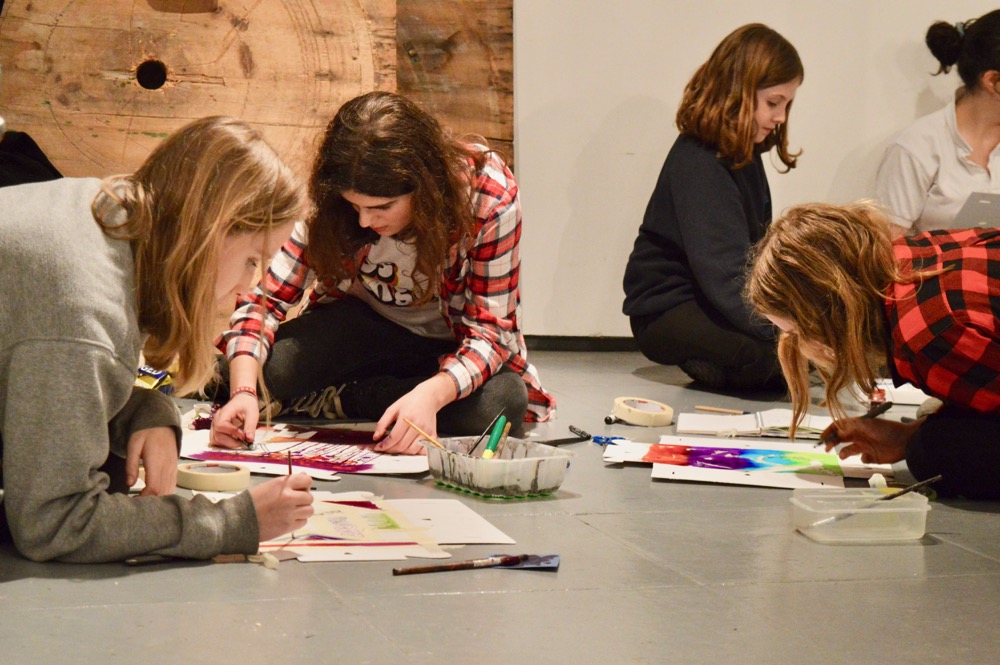
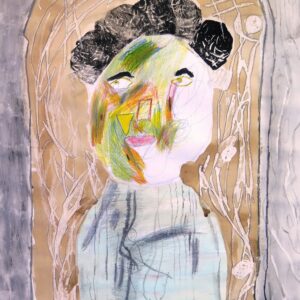
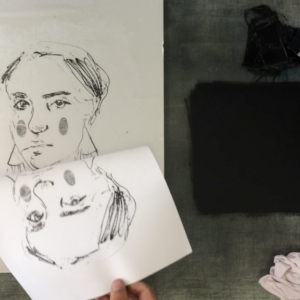
Artist Educator Maureen Crosbie shares this innovative and accessible way of making drypoint etchings with children.
"I had been looking for a way to make simple but authentic etchings with my classes when a friend offered me the use of a table press. Other friends offered me exhibition space, and two of my schools dipped into a rainy day fund to buy beautiful paper, good water based printing ink and sheets of acrylic. It felt like the start of something great!
To access all content, I would like to join as…
AccessArt is a UK Charity and we believe everyone has the right to be creative. AccessArt provides inspiration to help us all reach our creative potential.
Sheila C
October 13, 2014 @ 3:49 pm
Maureen – thank you so much for sharing this wonderful and inspiring project with AccessArt. Beautiful images – the pupils must have been very proud!
Best wishes,
Sheila
Zoe Purse
October 13, 2014 @ 7:50 pm
Beautiful work! They look fantastic in the exhibition. Love this project Maureen. Thank you for sharing.
Zoe
Oliver Briggs
October 17, 2014 @ 3:51 pm
Hi Maureen,
I love these, what a great activity. I have a question becuase I’d like to try this with my year 10s. I have tried it but it seems I was unable to etch into the plexiglass enough to bite the ink? I wet the paper and inked up and I used a printing press but the result was poor. Can you suggest what I’m doing wrong? Is it the plastic I am using?
Thanks,
Ollie
Maureen
October 30, 2014 @ 1:54 pm
Ollie, thank you for the feedback. The acrylic I use is 2mm and the children use the pins on simple compass tools to scratch the images. I did invest in the best washable etching ink that I could afford, well worth it. It goes a long way. Yes the paper needs to be damp too, so you seem to be doing everything right. The press is also a good quality but did needs a little time to set up. The Acrylic is probably thicker than metal plate and I use 2 felts.
Maureen