
This series of six sessions explores Shakespeare’s A Midsummer Night’s Dream through art and is aimed at upper KS2 children (Years 5 and 6) although could be delivered to younger age groups with some simplification in terms of the use of text. The aim of the series is to introduce children to the work of Shakespeare in a fun and creative way.
In this third in a series of six resources on Shakespeare’s A Midsummer Night’s Dream, we take a closer look at the primary setting of the play: The Forest. The session begins with exploring paper and how it can be torn and cut to make shapes and form, before beginning to make a large scale collage of the forest using different papers and colours. The collage continues into session four where the magical symbol of moonlight is explored.
Go back to session two here.
Session Three: Creating a Forest Collage
Warm up: Approx 20 minutes
Main Activity: 45 minutes – 1 hour
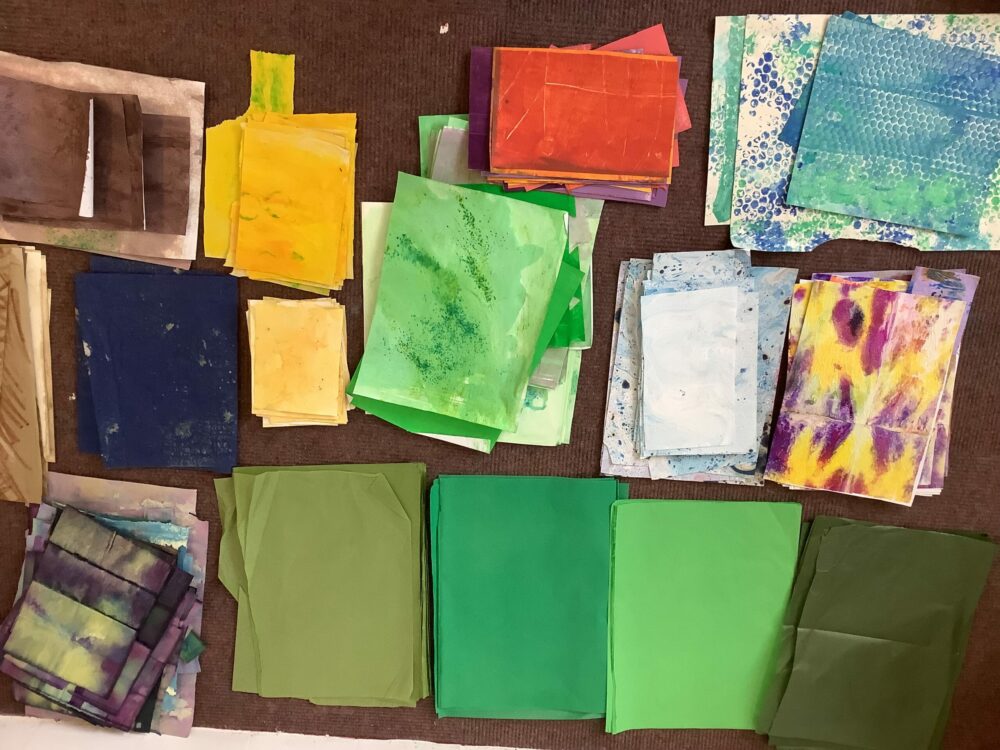
Materials Needed: Large roll or sheets of paper, assorted green or brown sugar and scrap papers/old art work, pencils, paints, brusho, brushes, glue, scissors.
Focus Theme/s: The Natural World
Time to Warm Up! Playing with Collage Papers.
Take some scraps of paper, preferably a mixture of green and brown tones. You will also need some glue and scissors.
Using your sketchbook or some A3 cartridge paper as a background, experiment with ways to tear up pieces of the paper and create pattern and form on the paper.
Try not to think too much about making a ‘picture’ – this is more about finding patterns and paths as you work and following a creative instinct. Does a particular type of paper appeal to you? Do different papers tear in different ways? What happens when you layer them over each other and stick them down?
Now try using scissors to create more angular or precise shapes? Stick these shapes down on your paper and see what shapes you make.
Do you want to repeat patterns or do you want to make more fluid meandering shapes?
Spend about 15 minutes exploring collage in this way.

Starter Discussion:
In session three we’ll be looking at the other main setting in A Midsummer Night’s Dream: The Forest, and how this contrasts with the setting of Athens.
The Forest at night creates a dark and confusing environment for some of the characters in A Midsummer Night’s Dream – but not all of them. Which characters do you think use the darkness and night to their advantage?
The woods are a place of mysterious happenings, and the fairies are right at home there. The world of nature is both a place of beauty and a place of danger. We grow our food with the help from natural elements, but these elements, or forces of nature, also have capacity to cause havoc and damage to our lives.
How do you think an Elizabethan production of A Midsummer Night’s Dream could portray the forest without the use of an elaborate sets, lighting, or sound?
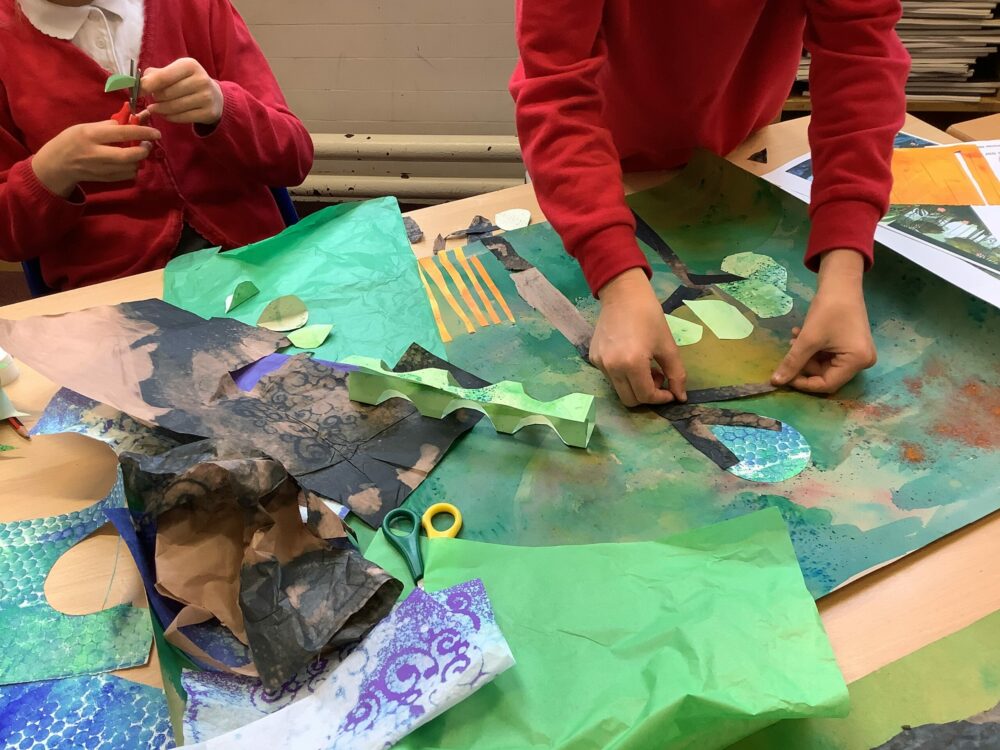
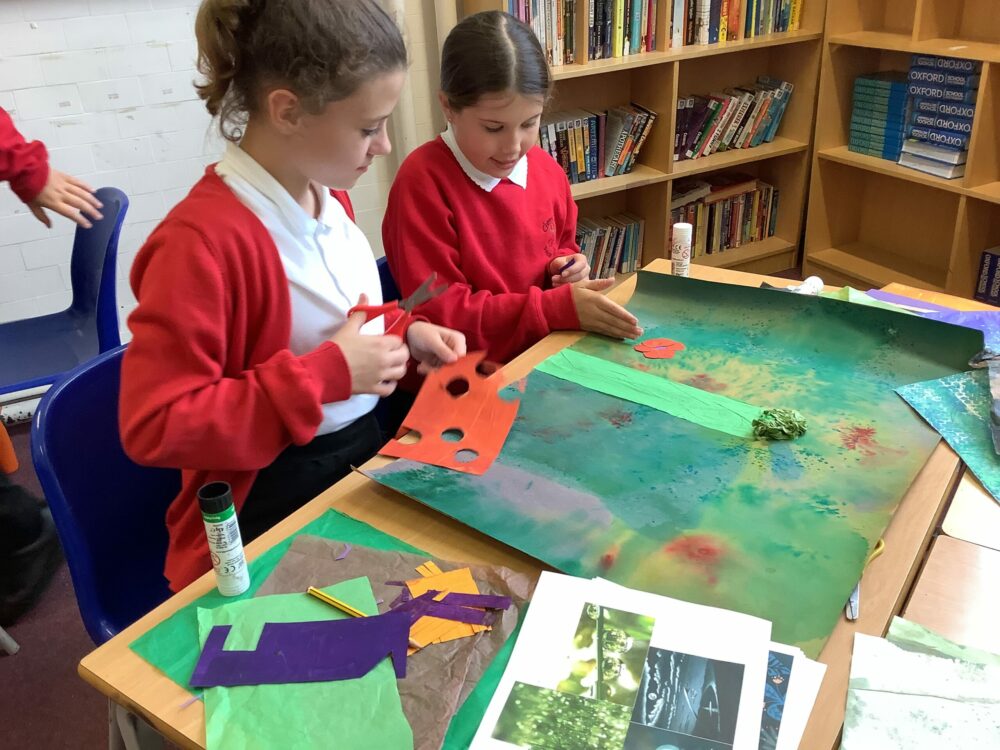
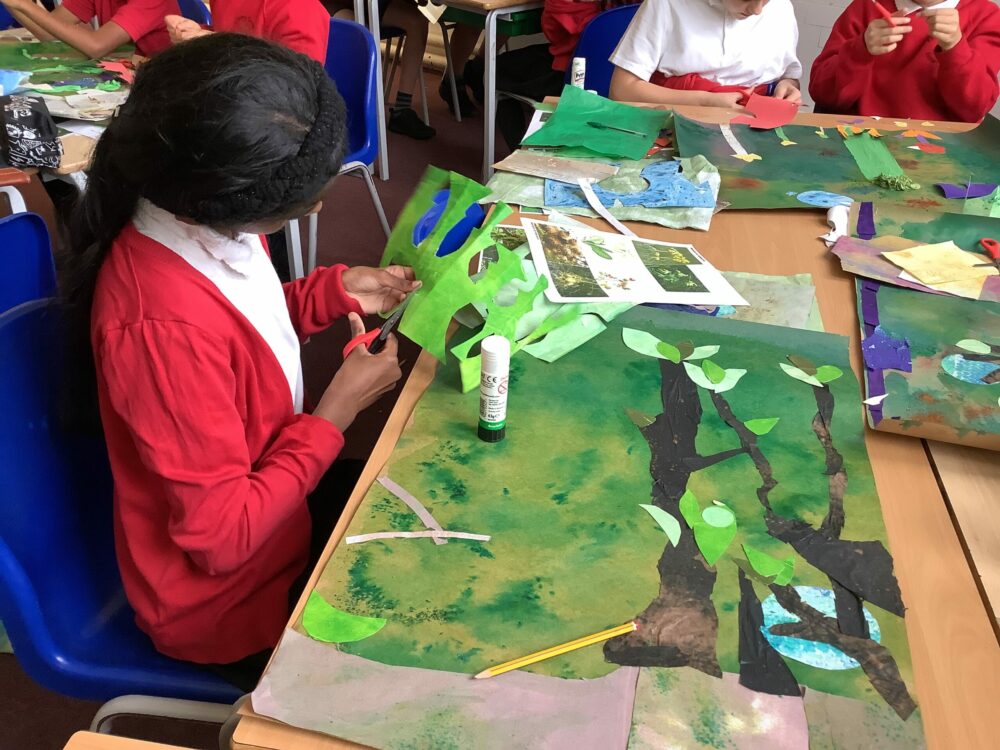
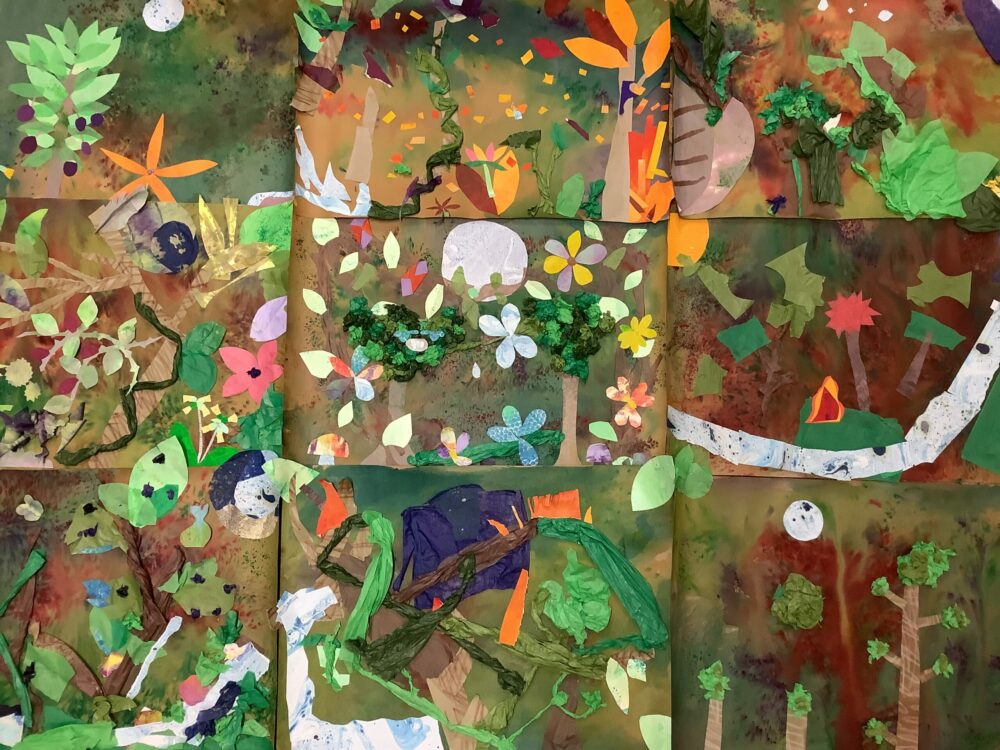
Main Activity: Collaborative Forest Collage
NB for teachers: There are a few options on how to deliver this activity and this depends on practicalities in your own setting. You can either use a large roll of paper or a series of large A1 sheets of cartridge paper. You will need to stick the paper onto the wall or lay it out on the floor so everyone can access it. Alternatively, you could make an ‘indoor forest’ by each child tearing and creating a tree separately before sticking them up and around the room. These can then be added to and developed.
The slight disadvantage of this method is that there’s no background to draw on so gaining that sense of perspective and ‘what’s beyond the trees’ is more challenging.
You can either do this as a full class exercise or split the class into small groups depending on practical limits.
Because this activity is more large scale; it’s been split over two sessions, with session 4 also being focused on the forest and how we can develop the effect of light and dark.
Together as a group, you’re going to make your impression of the Forest in A Midsummer Night’s Dream!
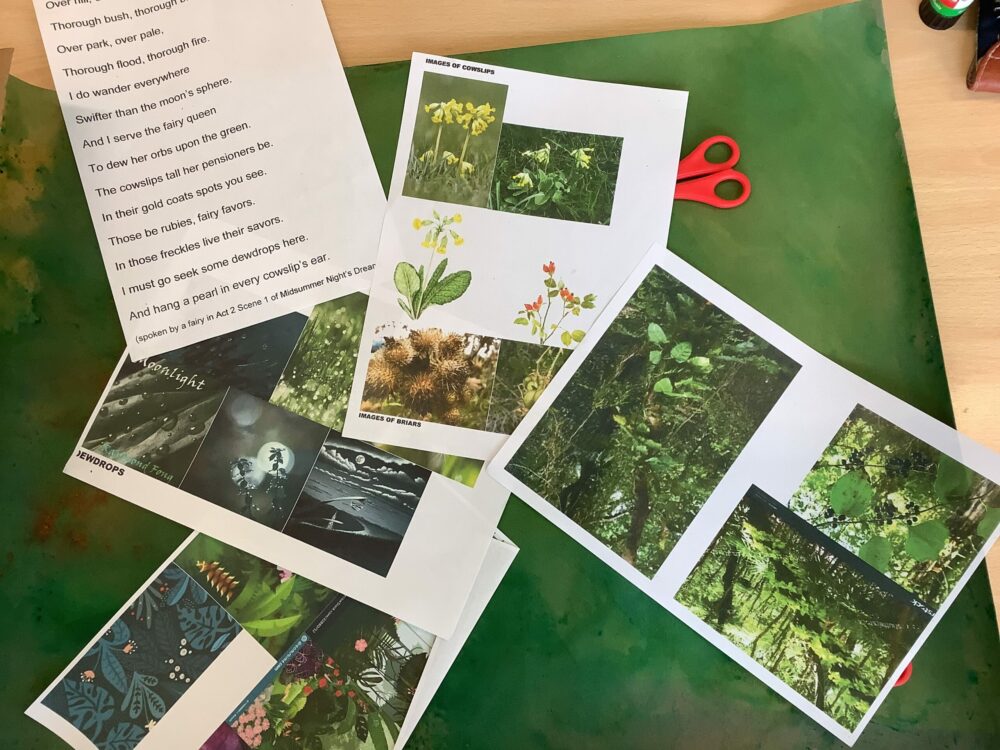
Begin by reading the following words spoken by a fairy in Act 2 Scene 1:
‘Over hill, over dale,
Thorough bush, thorough brier,
Over park, over pale,
Thorough flood, thorough fire.
I do wander everywhere
Swifter than the moon’s sphere.
And I serve the fairy queen
To dew her orbs upon the green.
The cowslips tall her pensioners be.
In their gold coats spots you see.
Those be rubies, fairy favors.
In those freckles live their savors.
I must go seek some dewdrops here
And hang a pearl in every cowslip’s ear’.
What imagery does Shakespeare evoke here? Is the pace and rhythm fast or slow? What is the effect of this? Think about who is speaking the words and what being in nature, with all its ‘rhythms’, feels like.
The descriptions Shakespeare uses of the forest here, and elsewhere in the play, create images and enhances contrasts. It demonstrates that just like the human world, the natural world can be unbalanced, inharmonious – and even dangerous.
Make a list of all the natural forms mentioned in this verse. Do any of them contrast? What would you like to include in your collage?
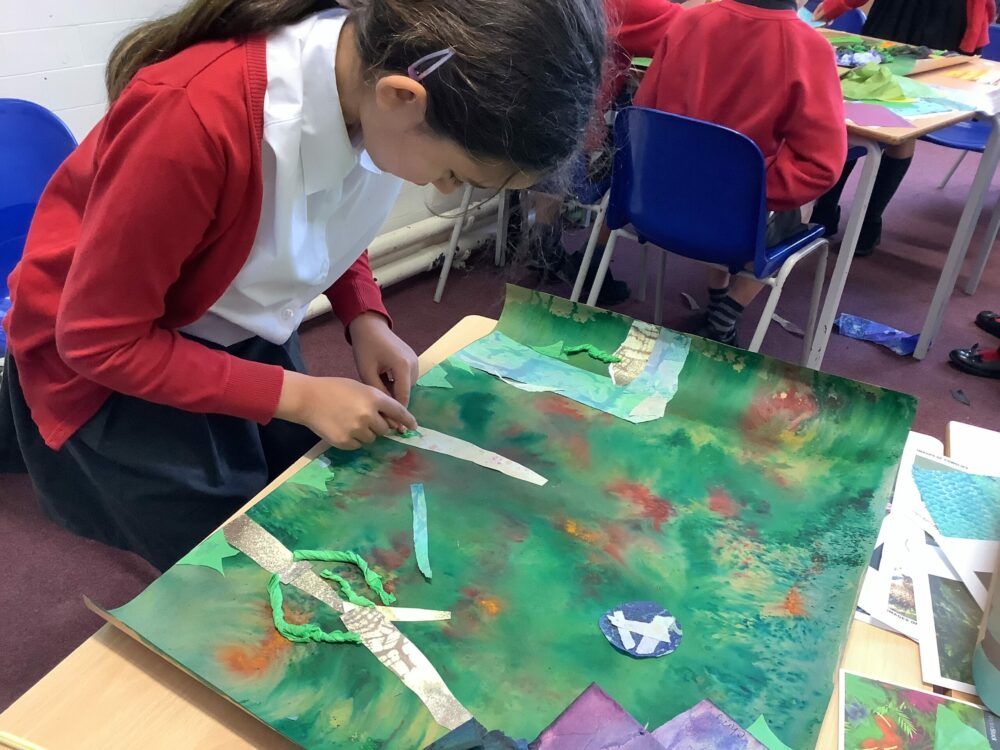
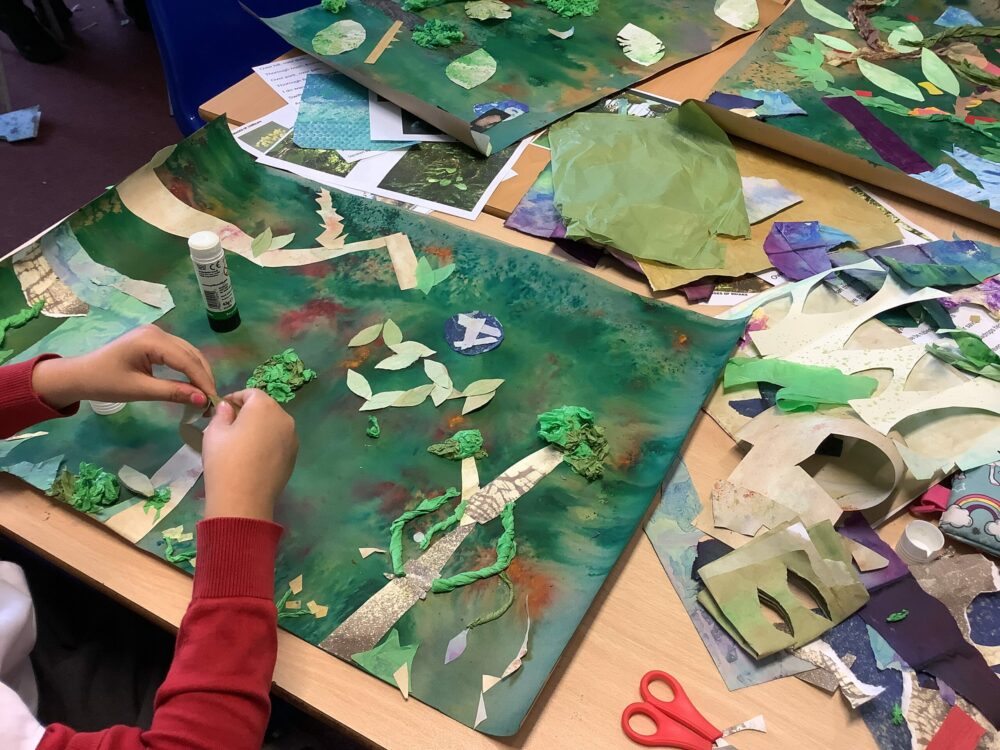
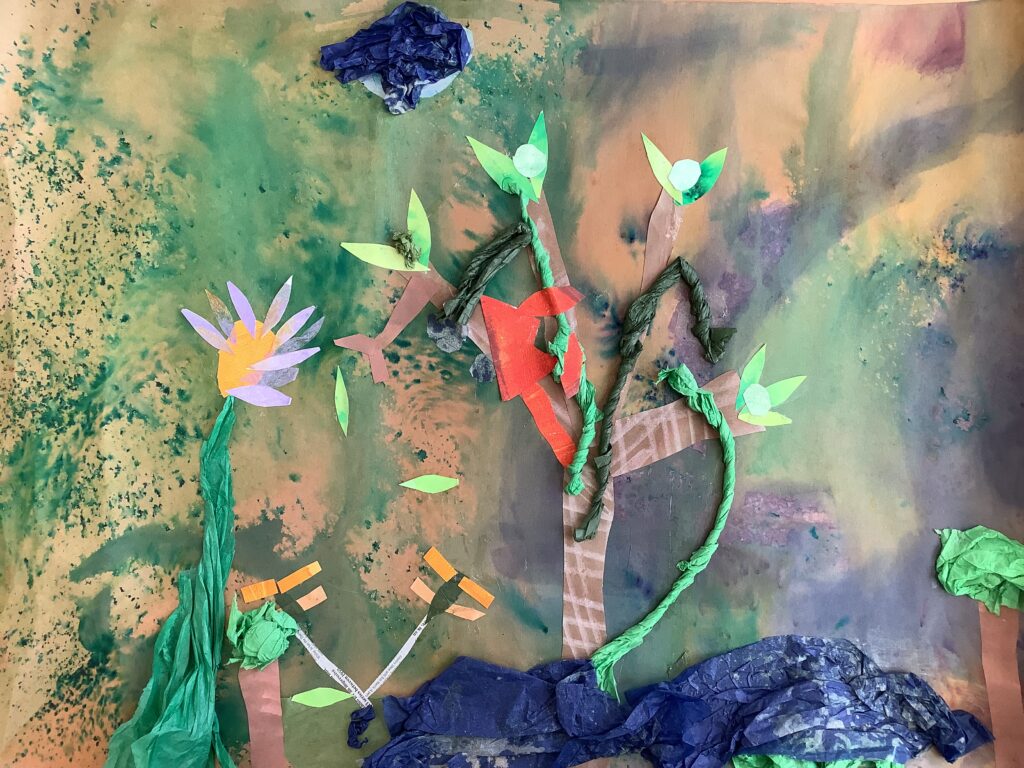
To begin, you need to prepare some large backing paper onto which you will collage your forest. You could draw over the top of newsprint or old magasines with coloured pencils or pastels or working over large sheets of paper with water colour wash. Just be mindful not to make the paper too saturated with water as you will need it dry when you start collaging.
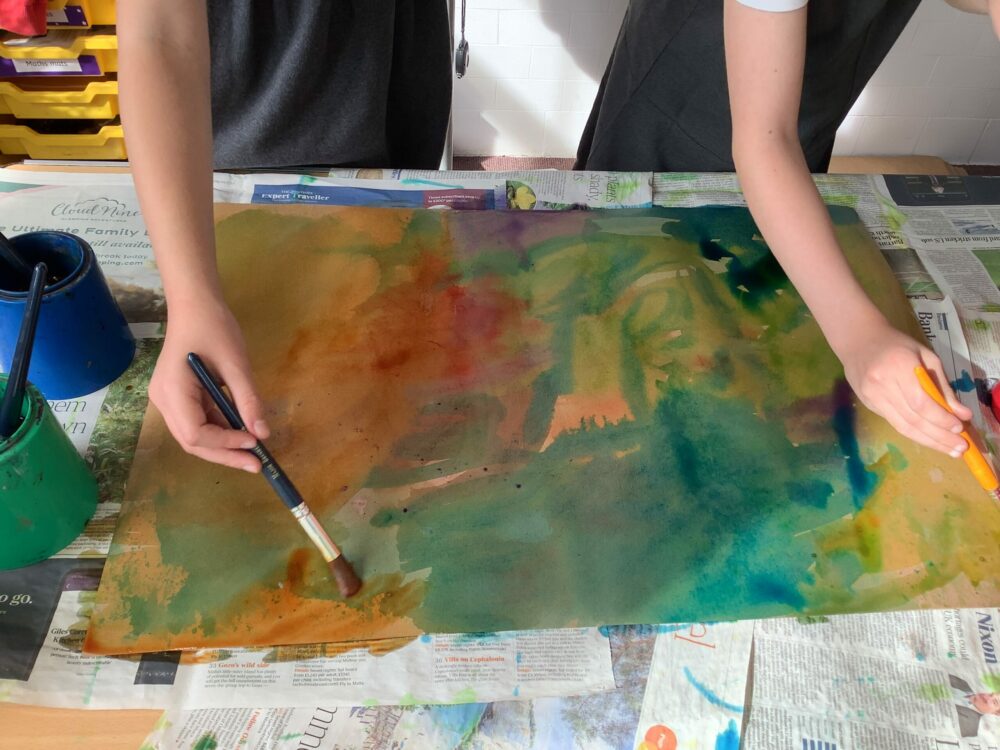
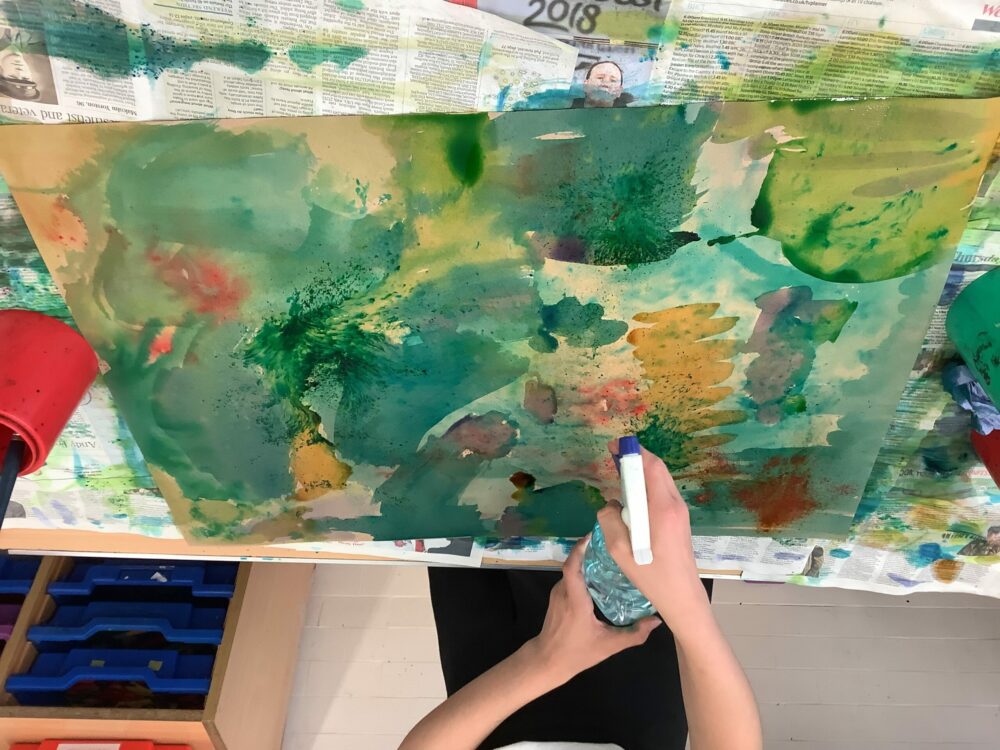
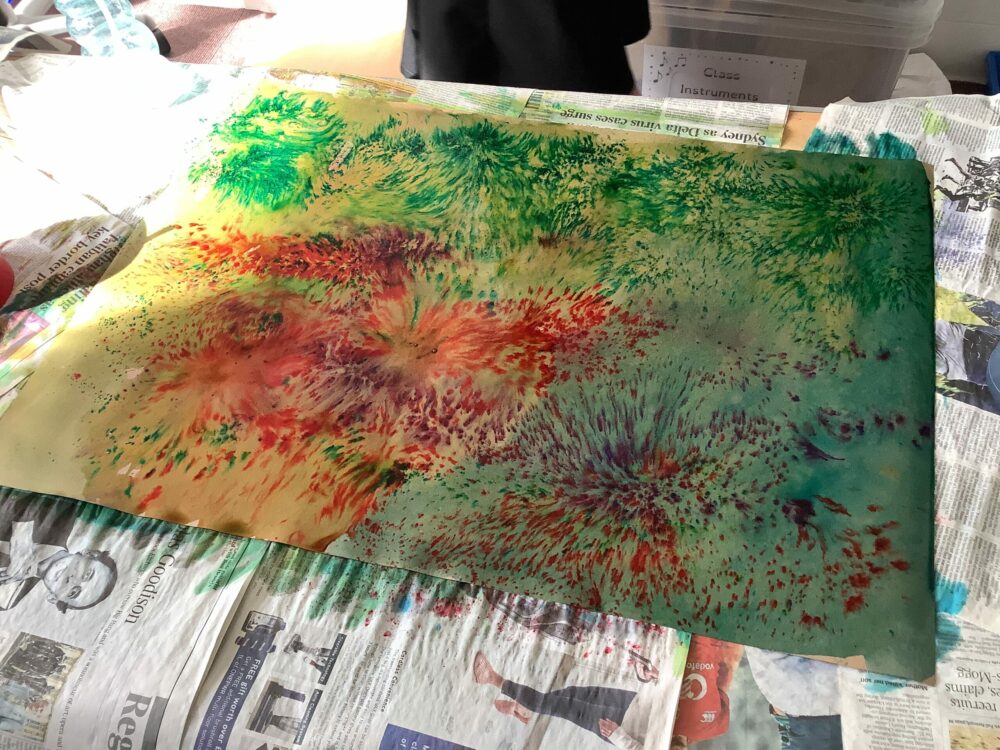
Try adding brusho to create fluid movement with colour, adding to the ‘other worldly’ feel of the forest.
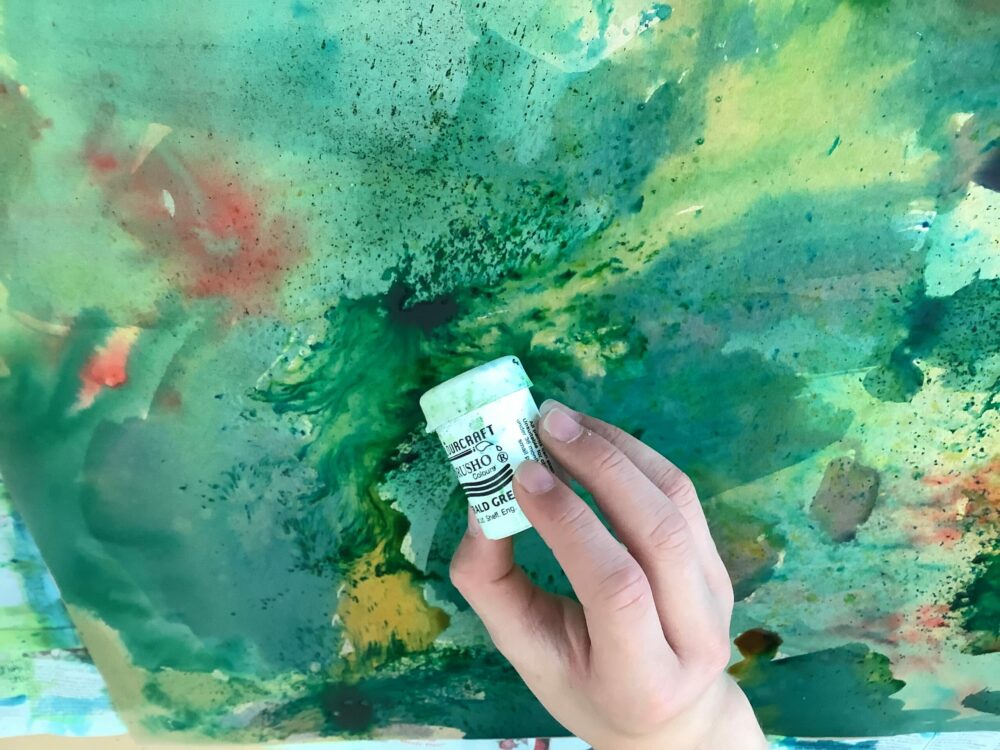
You could use some water spray bottles to apply watered down brusho.
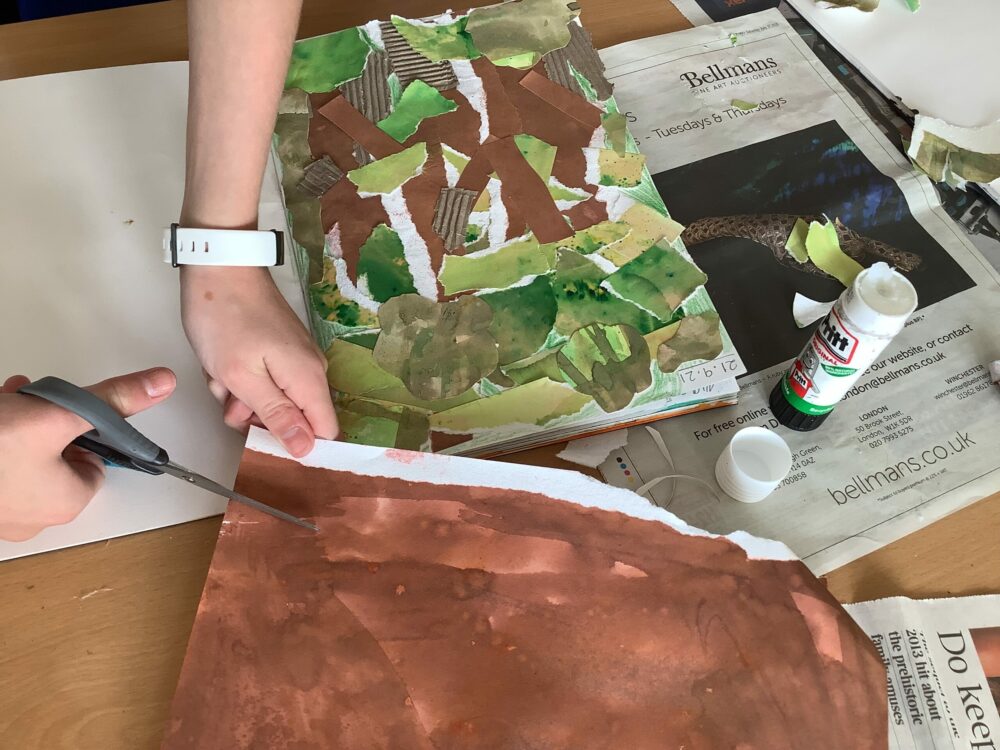
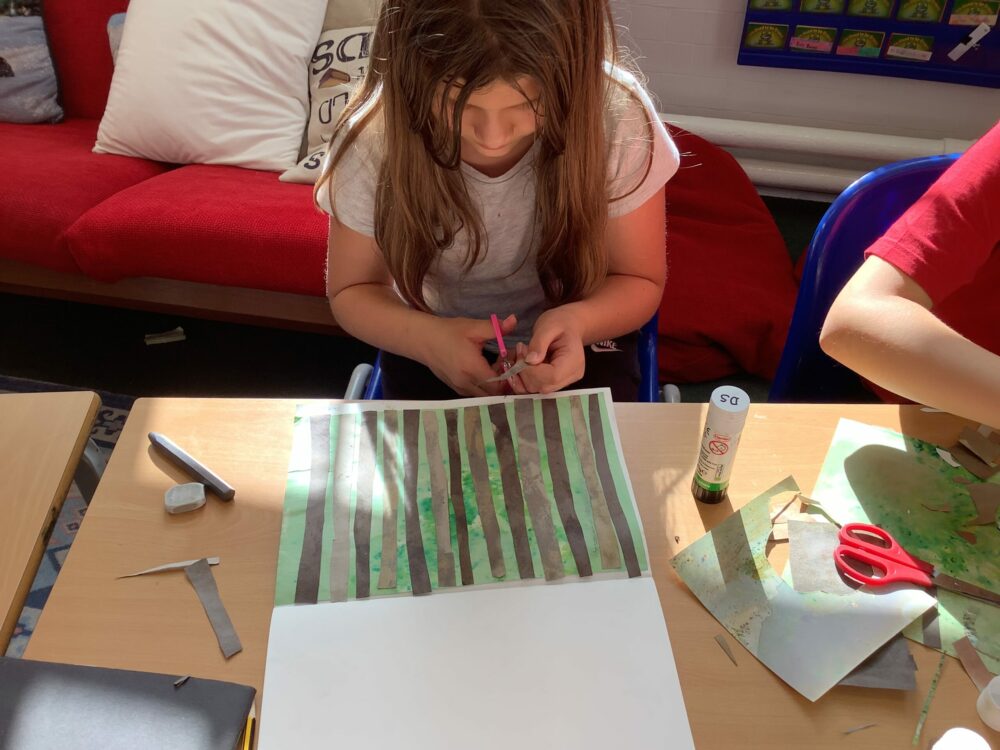
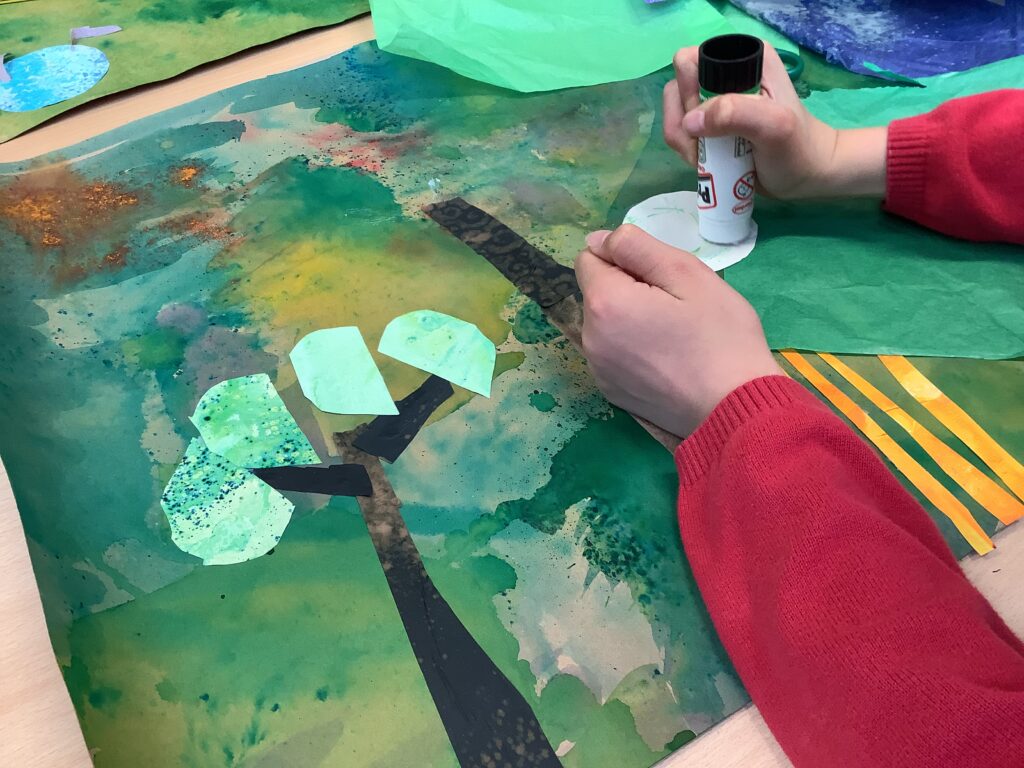
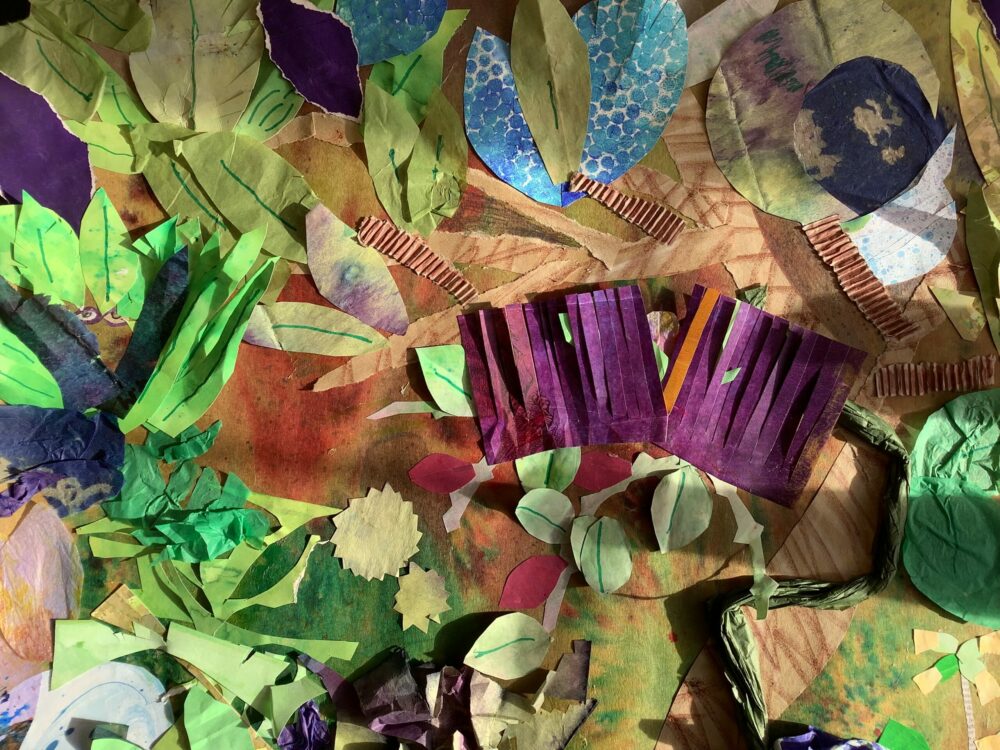
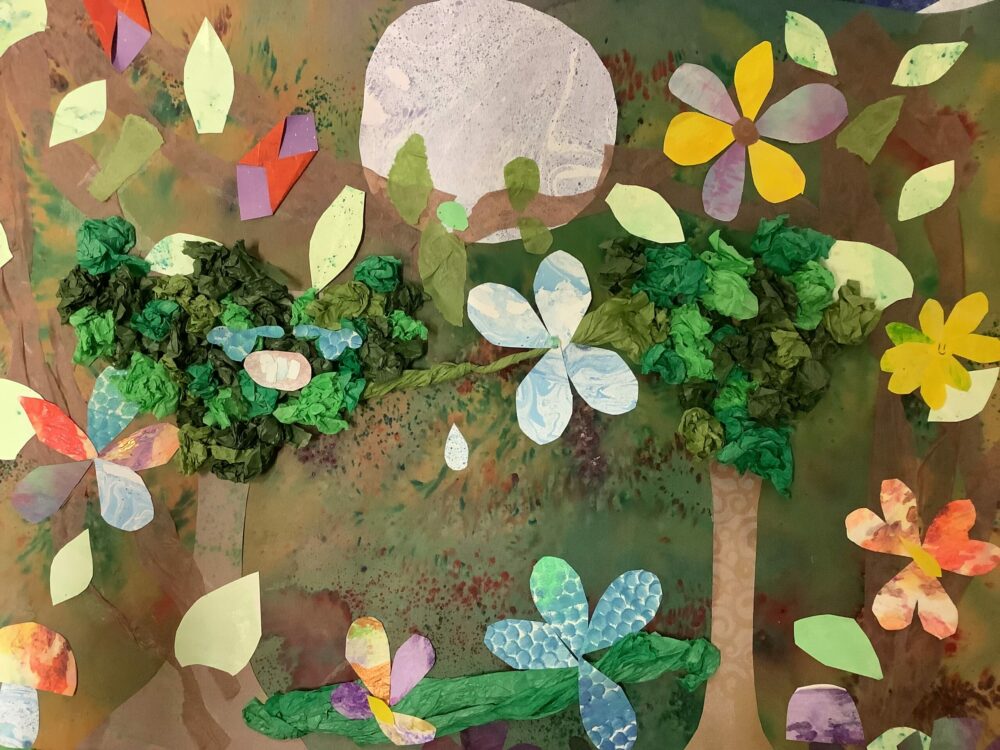
Using the collage techniques you used in the warm up, begin shaping some trees, leaves, flowers and other natural forms out of different papers. It’s a good idea to use the time while any background papers are drying.
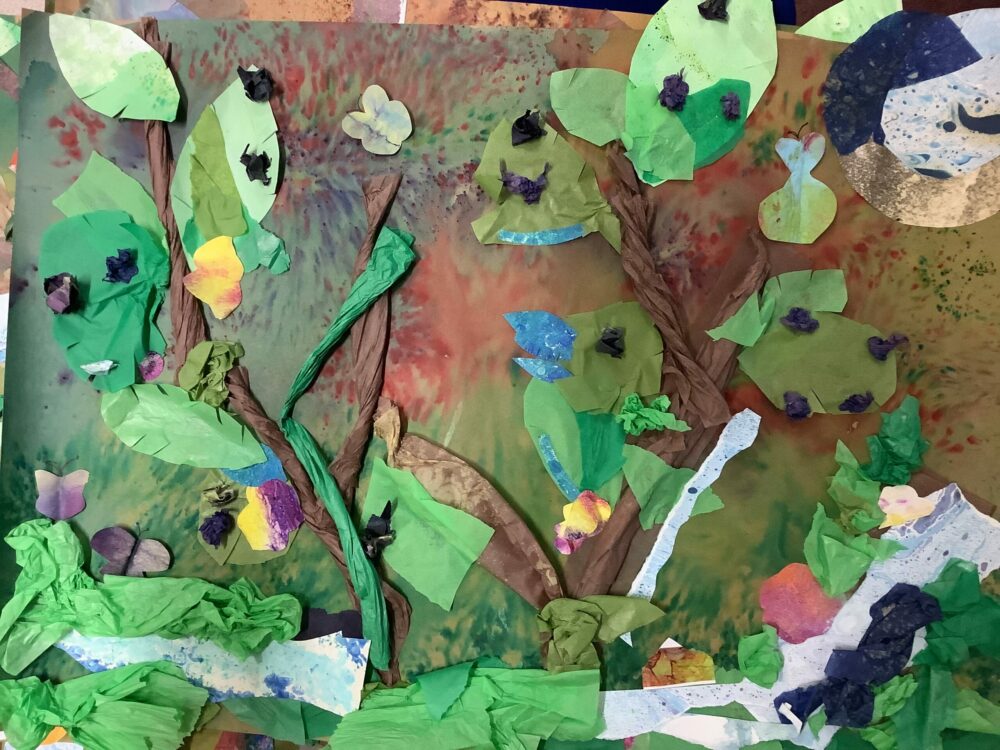
Decide as a group if you will have different sized trees. Do they all look the same or do some have different shaped leaves.
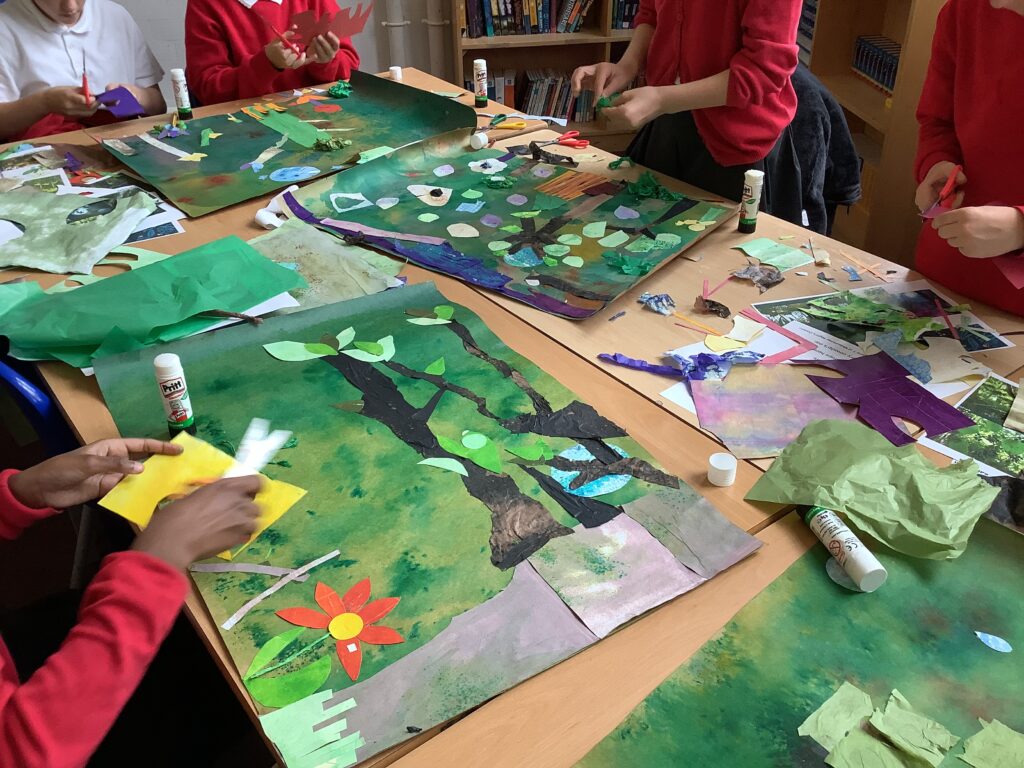
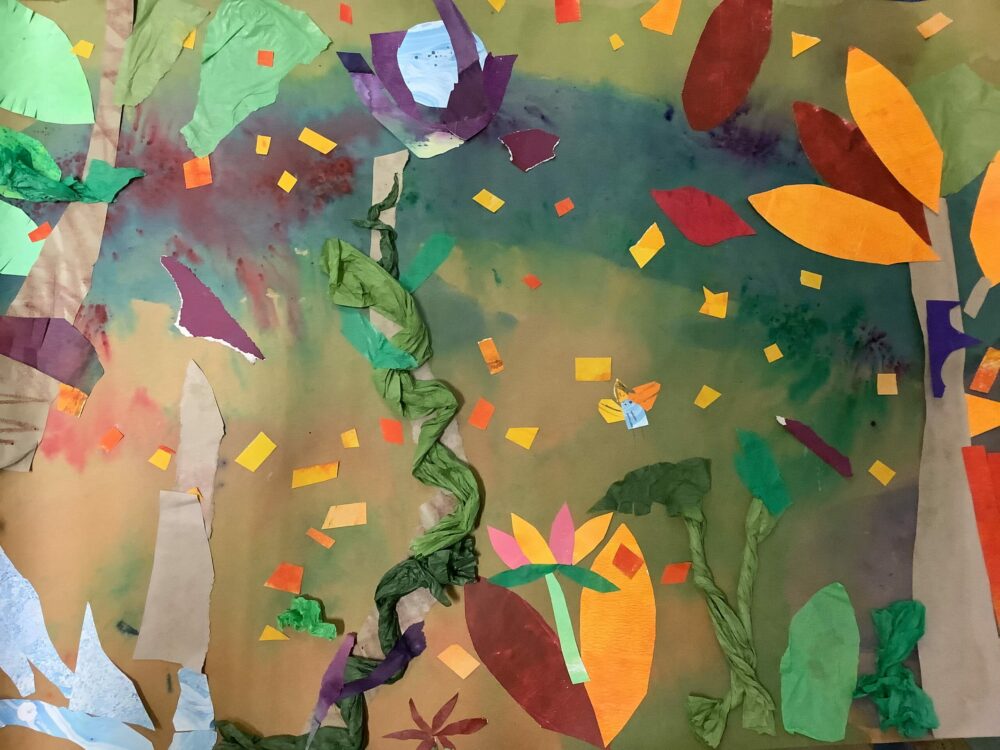
Vary the papers as much as possible to create texture and contrast.
When we are in nature, we are surrounded by hundreds of creatures everywhere, and we can’t see them. How can you show this in your collage? What is hiding behind the leaves?
Think about light and dark and how the forest might look different at night? Is part of your forest lit by the moon and another part showing the sun just rising? Discuss your ideas as a group. We will be looking at light and dark in more detail in session four.
Work over the top of the paper forms using felt tip pen. These can be used to create a detail through a variety of lines.
Move onto session four here.