Printmaking with Salvaged Sticky Back Aluminium Foil, Mixed Media and Cardboard
Last week I was lucky enough to be invited to speak at the National Scrapstore Conference in Stoke-on-Trent initiated by Reuseful UK an inspirational social enterprise which brings together 96 scrap stores nationally.

I met inspiring people, motivated to make a difference and enrich entire neighbourhoods by offering their communities resources and often creative and cultural activities as well, whilst at the same time salvaging and re-distributing materials which would otherwise be landfill.
'Scrap' is organised and what was once waste becomes a valuable material or resource available to be transformed into a myriad of creative and community activities.
What's more,the excess of a certain material leads to creative explorations for its use beyond that of its original design or intention, as experienced by the Community Scrap Shack in Stoke-on-Trent when they received the most unmanageable supply of sticky back foil from Bostik.
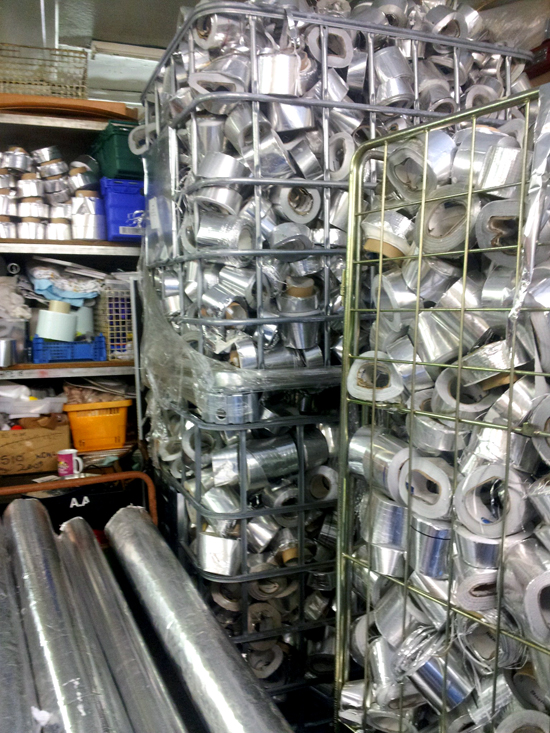
Michelle and Sue at the Community Scrap Shack shared their story of how they received and manged an overwhelming shipment of foil and all the creative applications for it that they have since come up with. Do have a look at the Community Scarp Shack's Facebook Page to see their sticky back foil saga.
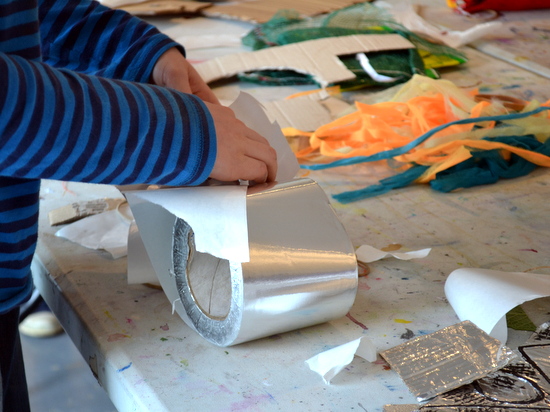
They kindly gave me some rolls - I said that I had an idea for it that I wanted to explore with teenagers at AccessArt's Experimental Drawing Class.
So by way of a long introduction, this is how I came across sticky back aluminium foil and this is what we did with it this week - I have a feeling that it will be featuring on AccessArt for a while to come and I hope that Michelle and her team at the Community Scrap Shack will share some of their ideas for it too!
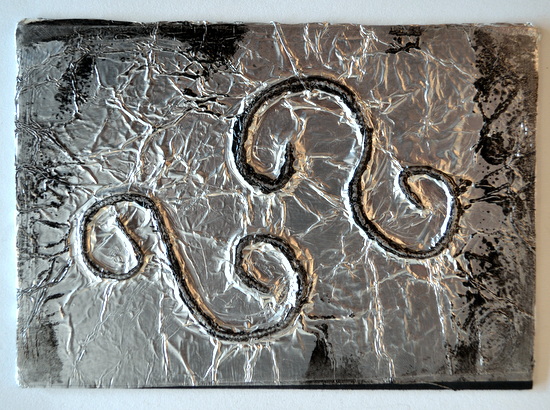
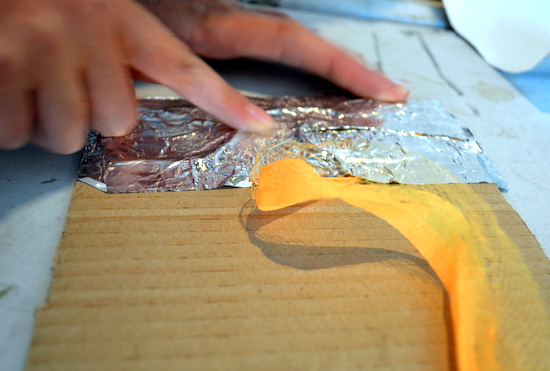
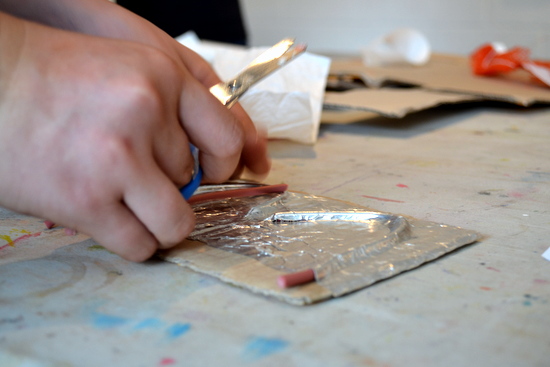
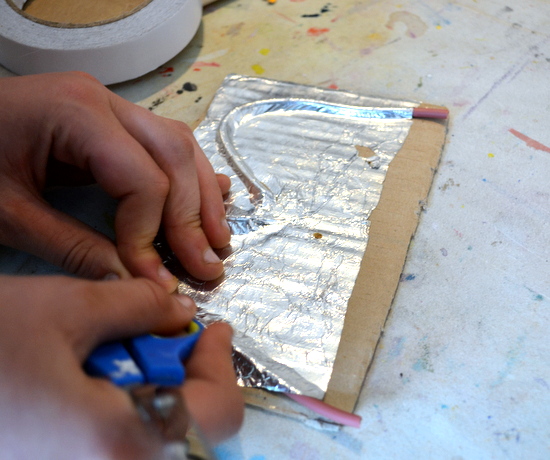
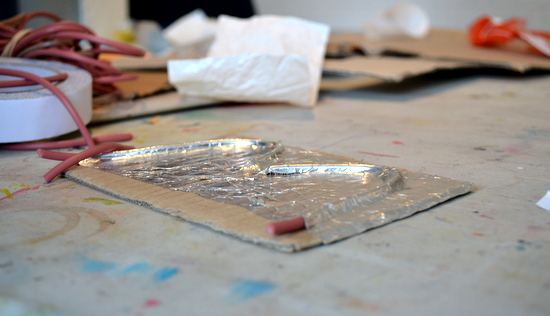
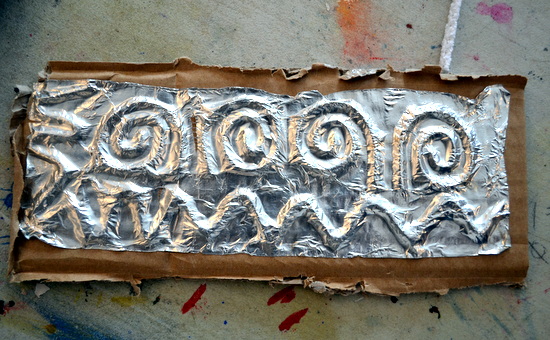
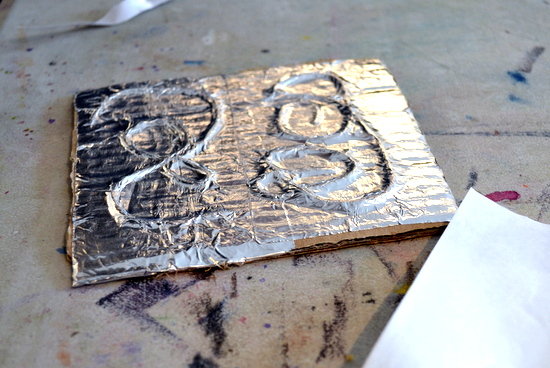
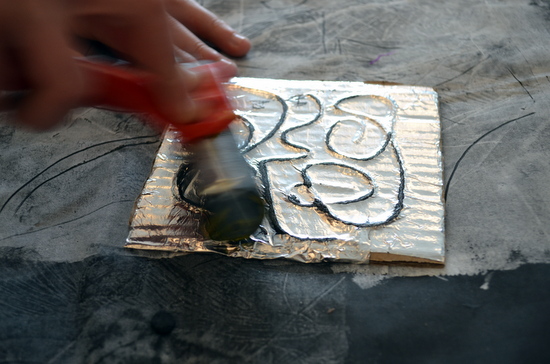
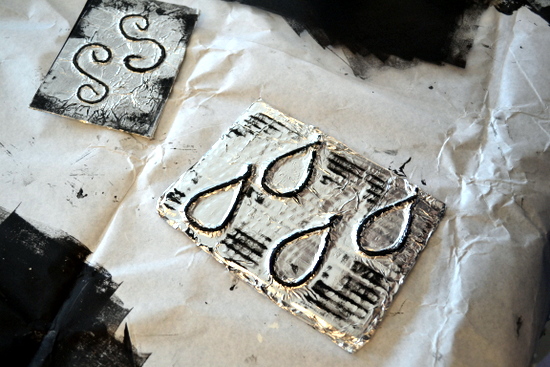
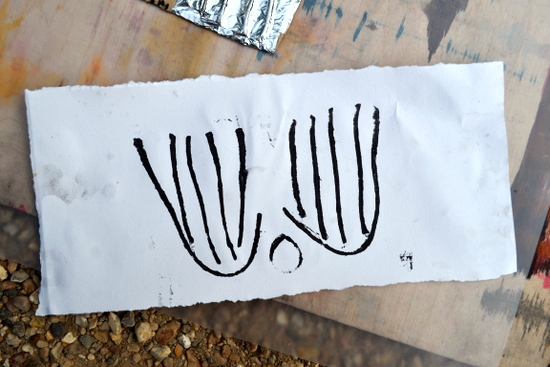
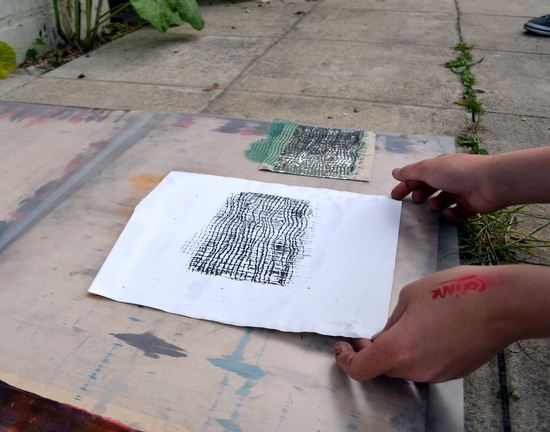
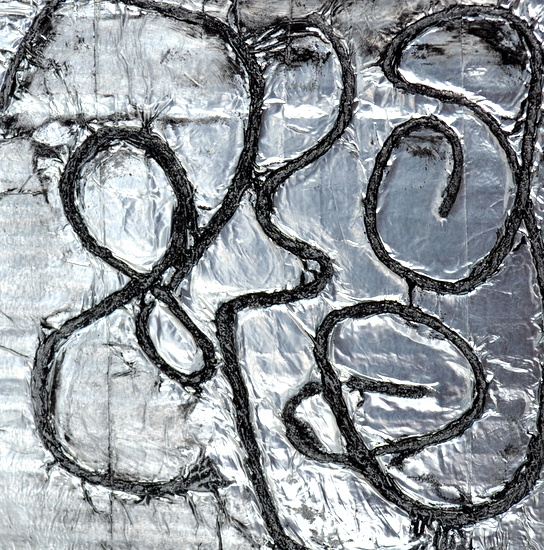
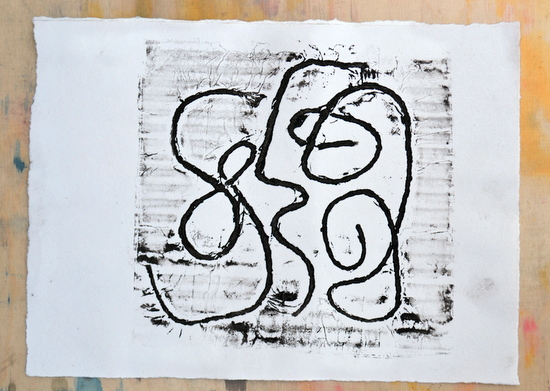
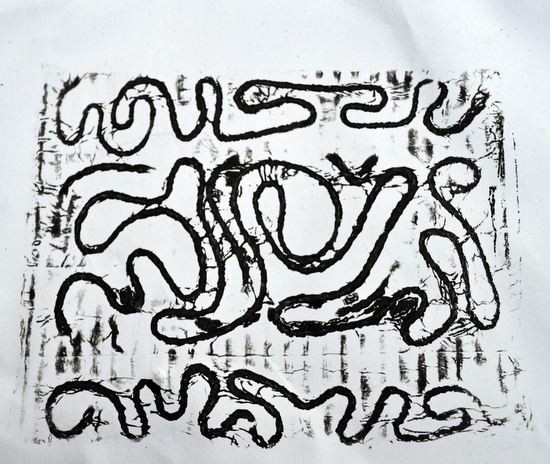
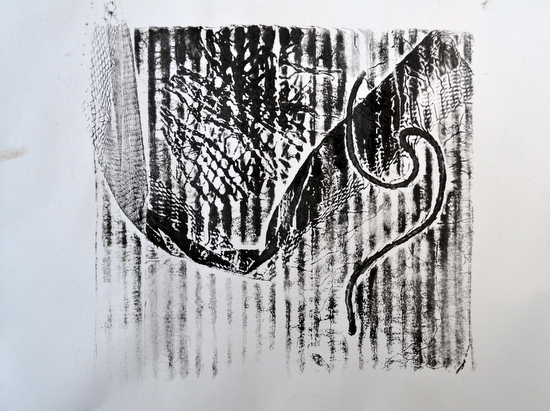
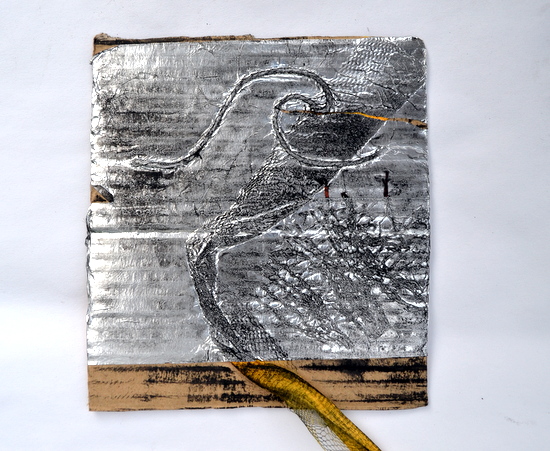
When I saw Michelle and Sue's idea of sticking foil over pipe cleaners to create embossed designs, it reminded me of print plates from art school days.
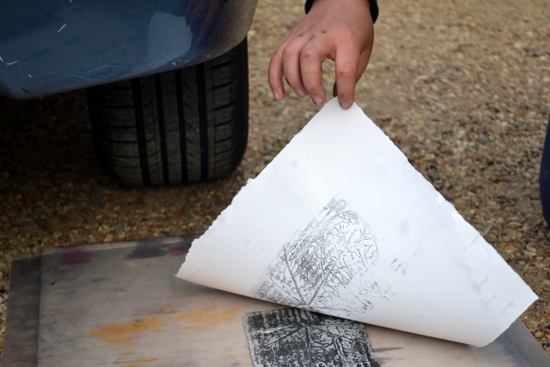
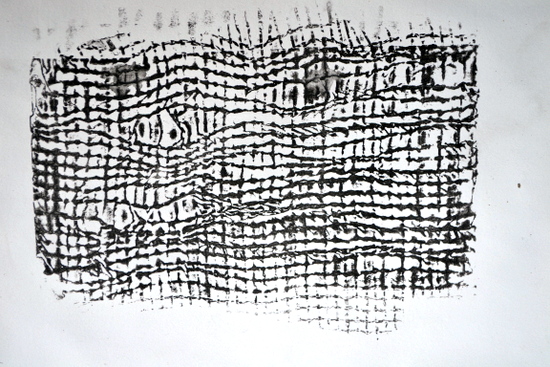
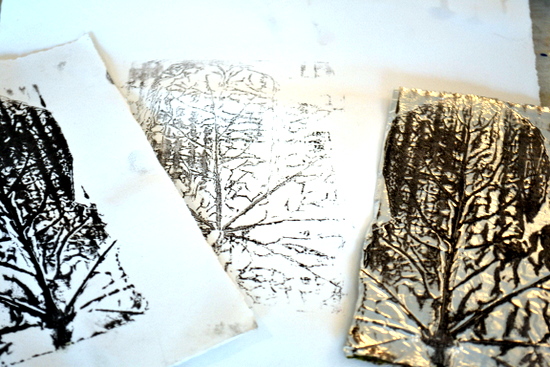
I've done a lot of printmaking with teenagers but never tempted making colographs on account of glue not drying and not having access to a printing press - the sticky back foil seemed like a perfect way to build up textures on a card plate and be able to hold all the elements together. The foil is thin enough that textures of components under it get picked up beautifully.
We Used:
- Cardboard (an old box)
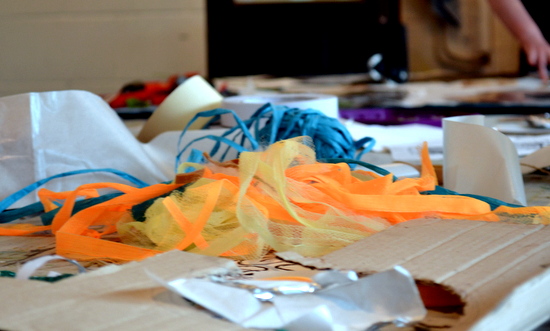
- Assortment of textured materials (most from scrap stores): lace, netting, string, pipe-cleaners, plastic string, washing line, nylon net bag etc.
- Sticky back aluminium foil (Bostik) from the Community Scrap Shack, Stoke-on-Trent
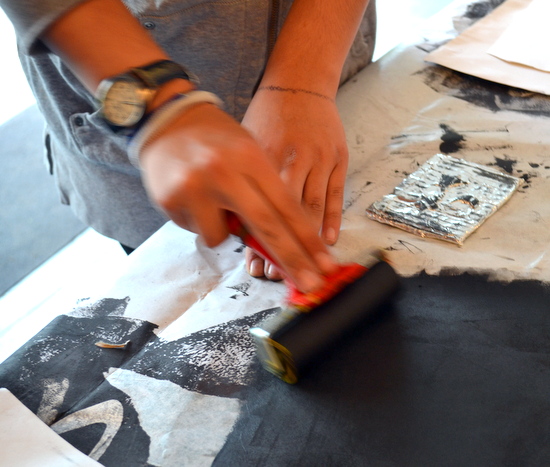
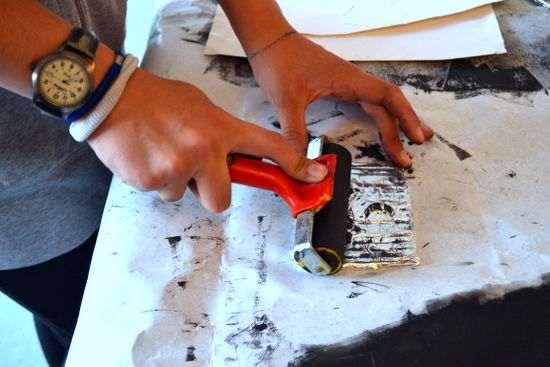
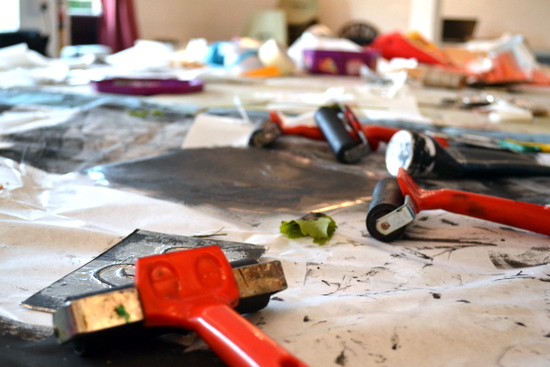
- Brian Clegg block-printing ink (black)
- Basic printing rollers
- Acetate (as a palette to roll the ink out on)
- Two drawing boards and thick plastic sheeting (scrap store)
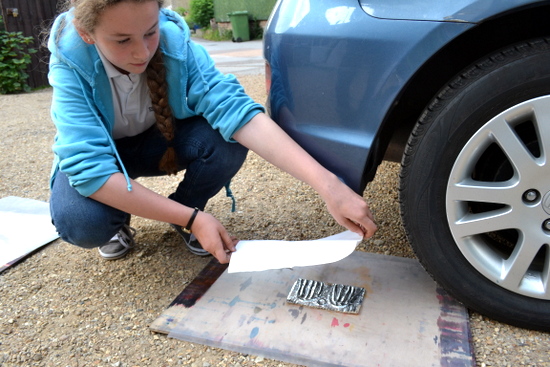
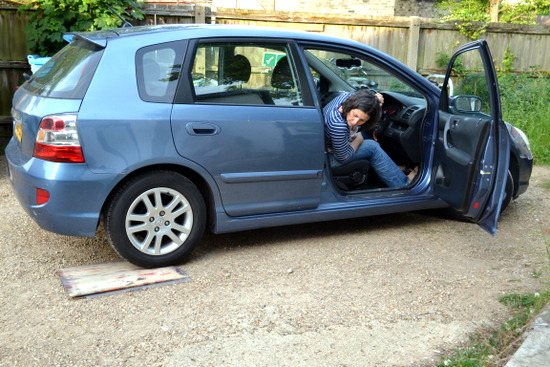
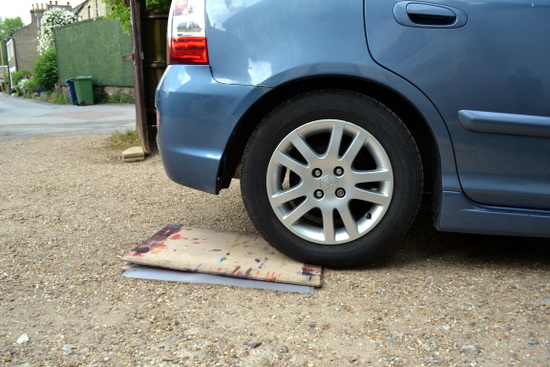
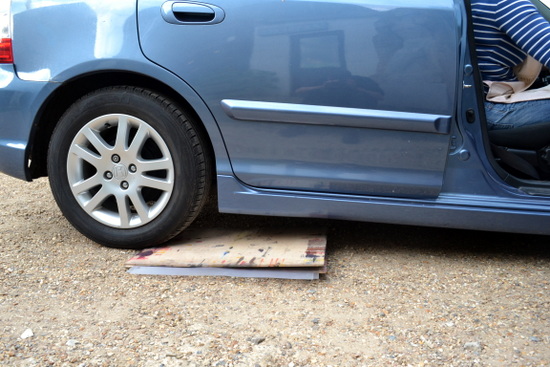
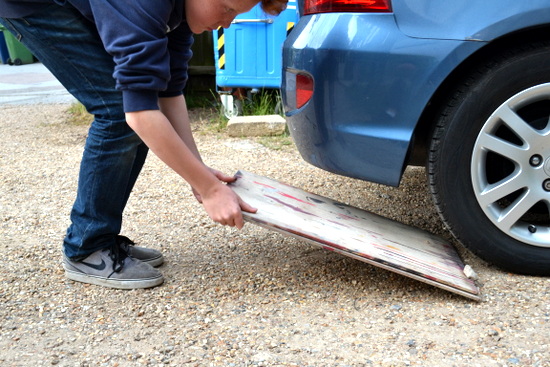
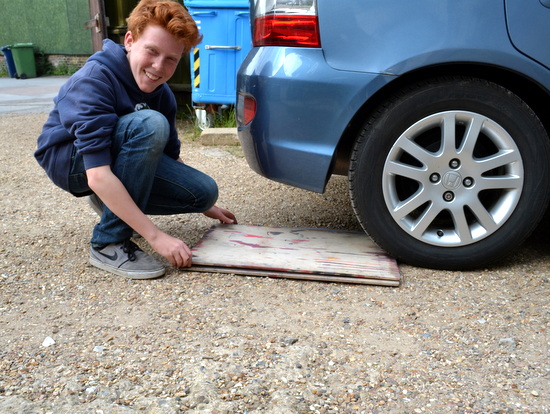
- A car (seriously!)
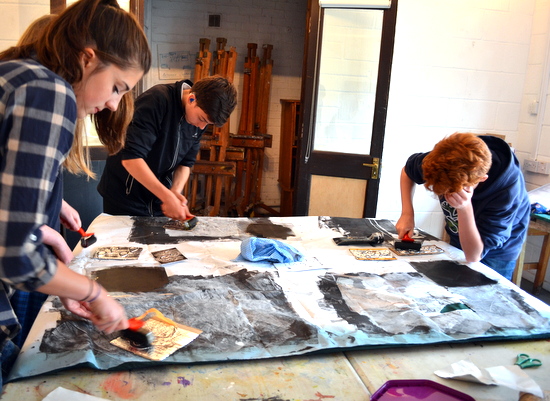
This was a rough and ready session - just the absolute print-making basics, and I hope that colleague print-makers, who are more perfectionists in their approach are not too appalled by the speed at which we worked and the level of quick experimentation!
This session all happened in an hour and a quarter and was one of the funnest Experimental Drawing sessions ever!

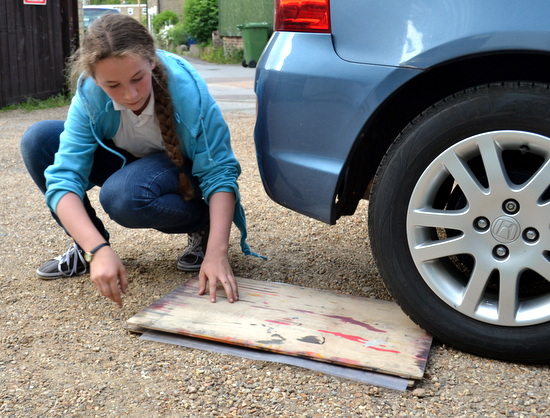
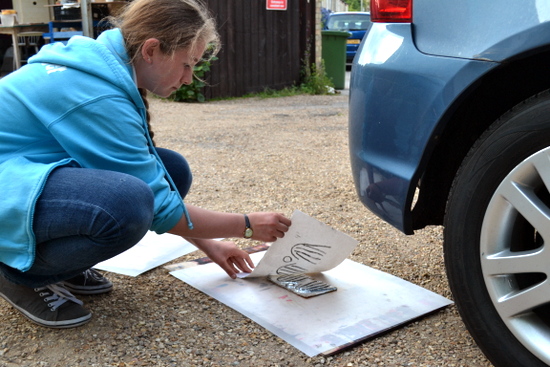
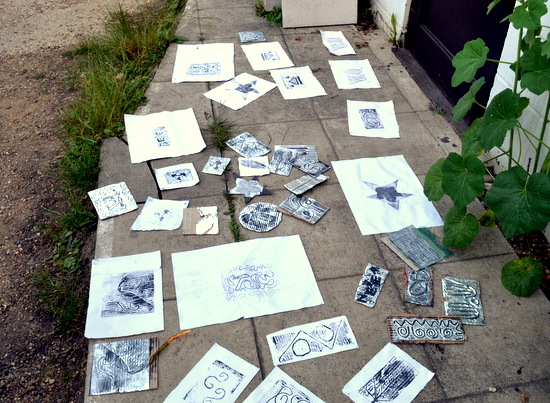
And this was the fun part!
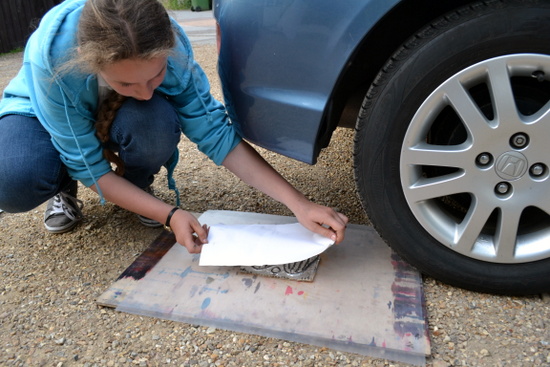
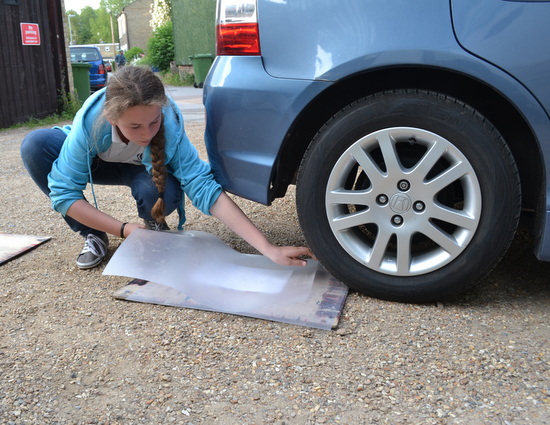
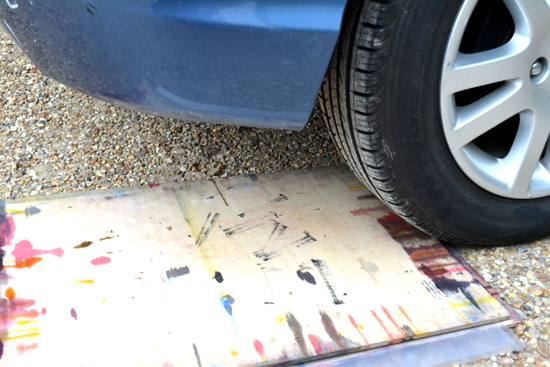
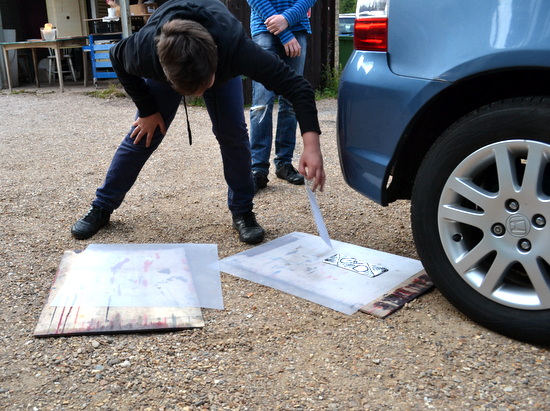
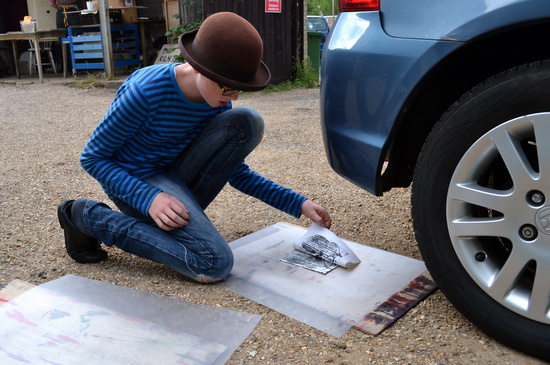
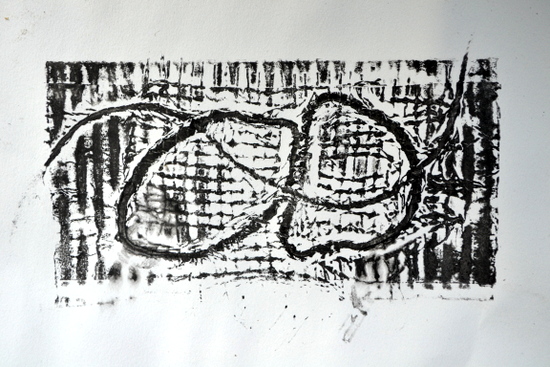
With no traditional printing press available, we decided to use my car as a press. Students laid their cardboard/foil plate onto a drawing board with damp paper carefully laid over that and sandwiched between two pieces of thick plastic sheeting - they then laid a second drawing board over the lot.

A big thank you to teenagers at AccessArt's Experimental Drawing Class for your enthusiasm and willingness to experiment.
A huge thank you to Michelle and her colleagues at the Community Scrap Shack for encouraging us all to experiment and see the potential in waste materials. You are truly inspiring woman!
This is a sample of resource created by UK Charity AccessArt. We have over 1100 resources to help develop and inspire your creative thinking, practice and teaching.
AccessArt welcomes artists, educators, teachers and parents both in the UK and overseas.
We believe everyone has the right to be creative and by working together and sharing ideas we can enable everyone to reach their creative potential.