
Pathway: Simple Printmaking
Pathway for Years 1 & 2
Discipline:
Printmaking, Collage, Drawing
Key Concepts:
-
That we can make a “plate” from which to “print”
-
That there is a relationship between plate and print: e.g. negative / positive.
-
That we can use print to create “multiples”
-
That we can explore line, shape, colour and texture to explore pattern, sequence, symmetry and intention.
This pathway invites children to explore the world about them as a way to begin to understand the concept of “print”.
Children use their own bodies, then things they collect around them, to create a variety of prints. They use their hands and feet to make prints, and they take rubbings of textures from the environment around them. They make “plates” by making impressions in plasticine, and then by using printing foam.
They explore how they can build up images by creating multiples, and use line, shape, colour and texture to explore pattern, sequencing and symmetry.
Medium:
Paper, Printing Ink, Plasticine, Printing Foam
If you use this resource in your setting, please tag us on social media: #InspiredBy @accessart (facebook, twitter) @accessart.org.uk (instagram) and share the url. Thank you!


Teaching Notes
Curriculum Links
Geography: Adapt to create imagery which explores symbols on maps.
History: Adapt to create portraits of significant individuals from history.
Maths: Pattern, repetition, pictorial representation, 2D/3D shapes.
Science: Adapt and use plants, trees, leaves, food chains, animals as inspiration to draw and make printed patterns.
PSHE: Peer discussion.
I Can…
-
I can make simple prints using my hands and feet.
-
I can explore my environment and take rubbings of textures I find.
-
I can use my rubbings to make an image.
-
I can push objects I find into plasticine and make prints.
-
I can cut shapes out of foam board and stick them on a block to make a plate. I can print from the plate.
-
I can draw into the surface of the foam board and print from the plate.
-
I can use colour, shape, and line to make my prints interesting.
-
I can create a repeat print.
-
I can create a symmetrical or sequenced print.
-
I can use my sketchbook to collect my prints and test ideas.
Time
This pathway takes 6 weeks, with an hour per week. Shorten or lengthen the suggested pathway according to time and experience. Follow the stages in green for a shorter pathway or less complex journey.
Materials
Ready mixed paints, large sheets of cardboard (maybe primed with white paint), brushes, trays, soft pencils, handwriting pens, chalk, flowers for observation, collected objects (shells, leaves, twigs etc), wax crayons, plasticine, ink pads, printing foam, water soluble printing ink, small pieces of thick card, scrap sugar paper, glue, rollers.
Pathway: Simple Printmaking
A PDF of this pathway can be found here.
-
Week 1: Printing with your Body
Hands, Feet and Flowers
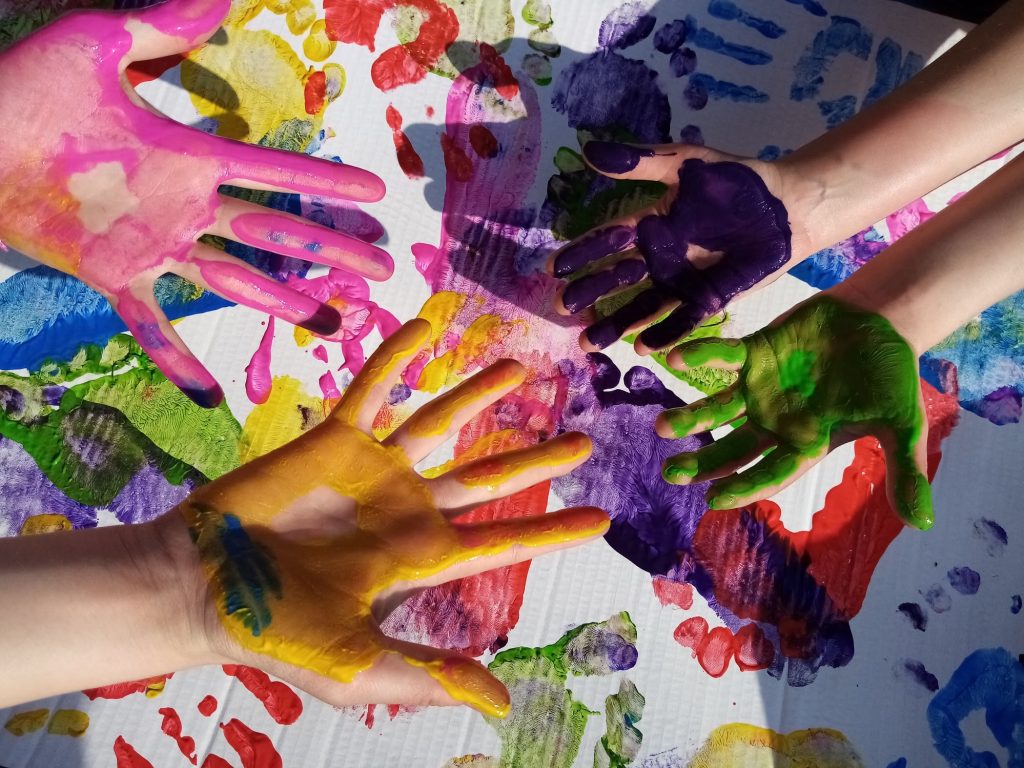
Begin an exploration of printmaking using the “Hand, Feet and Flowers” resource to explore other ways of printing patterns using our bodies. This activity can work outdoors on a large scale but can also work well on tables in small groups.
Through this activity pupils directly experience what it means to make a “print”, discover how much paint they need and how much pressure they might apply. Children can use primary paint colours, start using the names of the colours, and they can also use ready mixed paint in other colours.
In this resource, pupils overlay their printed imagery with drawn imagery based upon flowers. You can choose if you proceed to this second activity, or if you prefer to leave the work as prints only, or if you wish to apply another theme or focus, i.e. draw hands, insects, etc.
-
Week 2: Making Rubbings
Taking Rubbings & Making Compositions
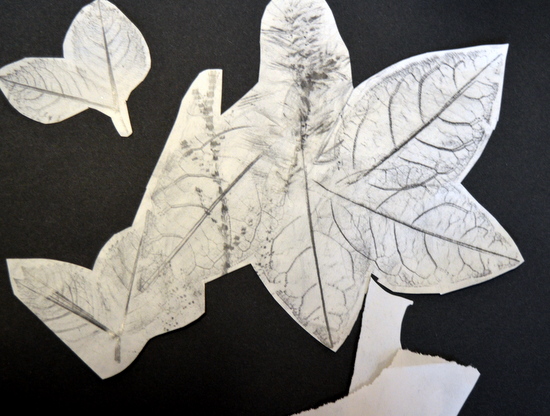
This week focus upon how you can make prints by rubbing dry materials such as wax crayon or pencil crayon, over textured objects.
Encourage children to “think like an explorer” and venture into the classroom and playground to collect textures and objects which they can take rubbings from. Make sure children take rubbings from things around them like the ground, as well as from things which you can lift up and bring back to the classroom, like leaves.
Invite children to use the rubbings to make a composition, working in a sketchbook or on large sheets. Adapt the “Taking Rubbings & Making Compositions” Resource.
-
Method 1: Plasticine Print
Explore How Plasticine Can Be Used to Print
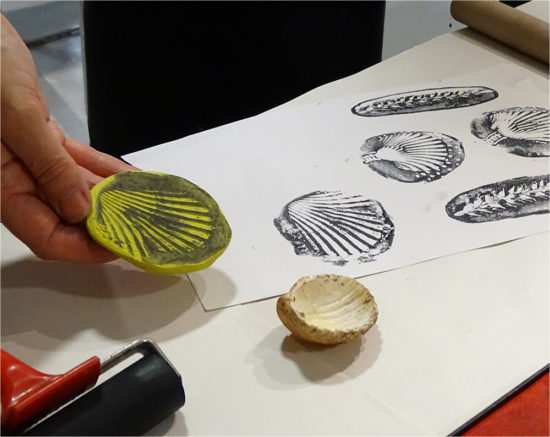
Use the “Printing with Plasticine” resource to further explore how we can use the things we find around us to create impressions in plasticine which we can then print from.
Collect shells, feathers, leaves, twigs, string, coins, lego etc, and invite the children to explore what happens when we push them into plasticine. What kinds of marks does each object leave in the plasticine?
Using ink pads with which to print means the plasticine will pick up even fine detail.
Once children have created a number of “prints” they can cut them out and stick them in their sketchbooks.
-
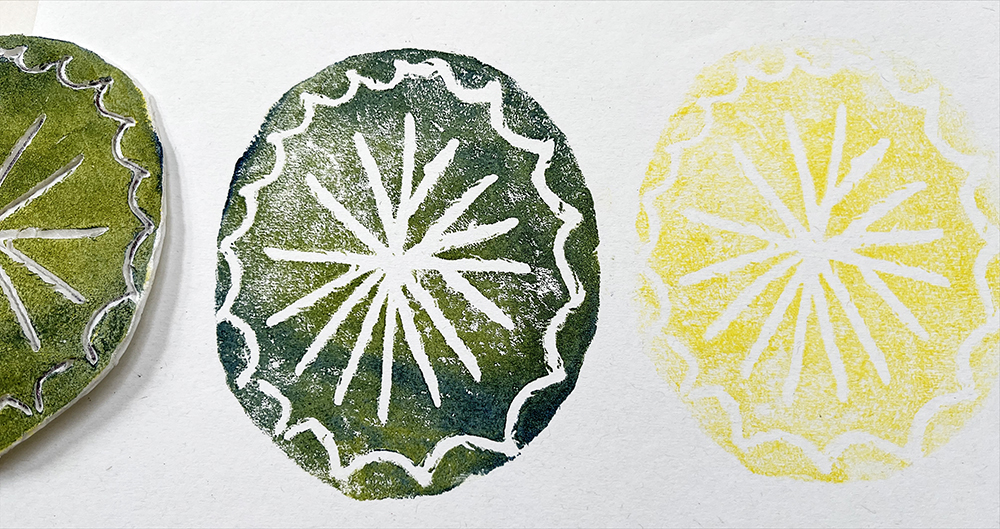
Method 2: Foam Print
Additive & Incised Printing
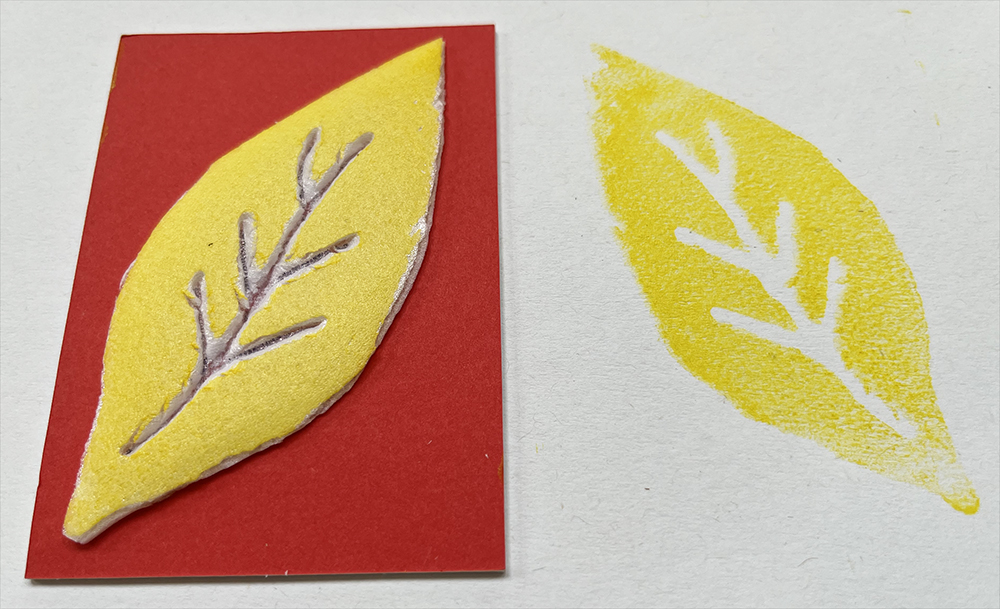
Use foam board and explore how you can make prints in two ways using the “Print Foam – Making Relief Prints”
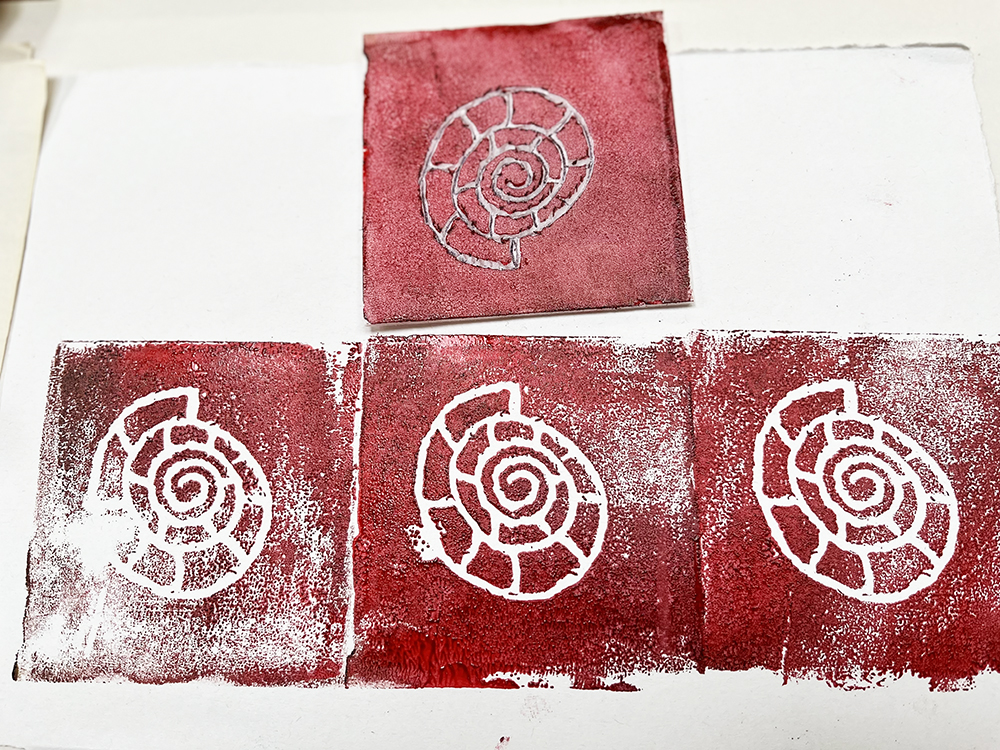
Once pupils have created a number of prints, they can then cut into their prints and collage with them on a larger sheet of paper, thinking about more abstract concepts like pattern and repetition, or using the printed elements to build an image related to a theme, such as architecture or insects or plants.
-
Support with Drawing
Observational Drawing
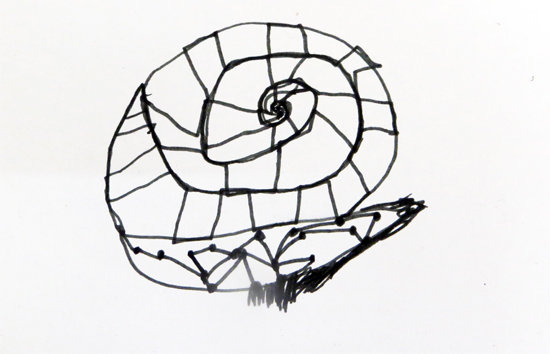
Support the creation of prints with close observation and careful drawing using the “Continuous Line Drawing Exercise“. Invite pupils to use a subject matter which informs the creation of prints, and work in sketchbooks.
-
Week 6: Reflect & Discuss
Share and Celebrate the Outcomes
Use the resource here to help you run a class “crit” to finish the project.
Invite children to display the work in a clear space on tables or on the wall. Encourage positive language and a celebration of all their hard work! Recap with children about the exploration – where they started, what they discovered and what they enjoyed.
If you have class cameras or tablets, invite the children to document their work, working in pairs or teams.
See the Pathway Used in Schools...


If You Use AccessArt Resources... You might like to...
Join our Facebook Group


You May Also Like...


