This series of six sessions explores Shakespeare’s A Midsummer Night’s Dream through art and is aimed at upper KS2 children (Years 5 and 6) although could be delivered to younger age groups with some simplification in terms of the use of text. The aim of the series is to introduce children to the work of Shakespeare in a fun and creative way.
In this sixth and final resource on Shakespeare’s A Midsummer Night’s Dream, we look back over the arching action of the play to consolidate knowledge of its characters and themes.
The aim of this session is to invite the children to recount their knowledge of the play through drawing moments of action. Whilst the activity is based on the idea of a storyboard, in fact this could be interpreted more loosely. You may wish to guide the children to create a concertina style sketchbook with each page relating to a particular plot point which can then be displayed. We recommend leaving the finer details and approach open for the children to interpret.
Go back to session five here.
Session Six: Recounting the Story
These sessions have taken specific plot points in the play A Midsummer Night’s Dream as starters for discussion and activity. If further exploration of the play has taken place outside of these art sessions, a full outline of the play can be used for this final session. Otherwise, just using the plot points discussed as part of the above sessions is fine.
Warm Up: 15 minutes
Main Activity: 45 minutes
Materials Needed: Cartridge paper or sketchbooks, drawing pencils, coloured pencils/pastels
Time for a Warm up!
Partner up!
Get a sketchbook (or paper) and drawing pencils
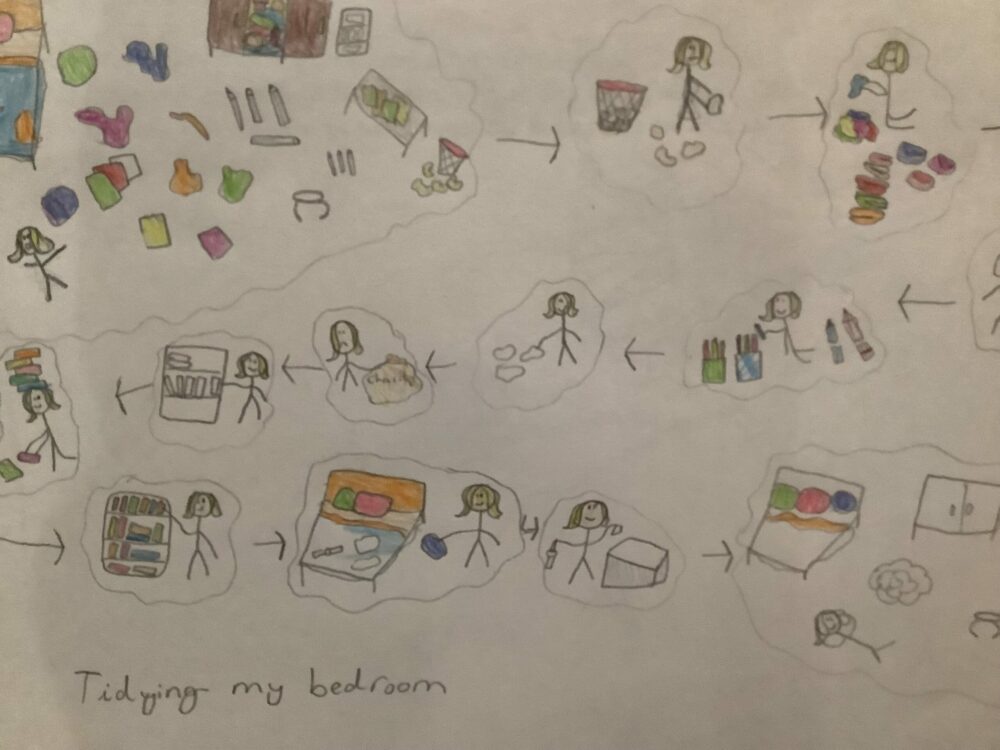
Think of a day-to-day activity. Examples of these could be:
Making a cup of tea or slice of toast
Getting your shoes and coat on to leave the house
Playing football and scoring a goal
Playing a board game
Can you break your chosen activity into 4 or 5 separate frames of action? Take it in turns to hold yourself in each of these frames while your partner draws you. The frames don’t have be drawn in boxes but can be fluid across your page. Work quite quickly and think carefully about what key moments are in these activities.
Can your partner guess your activity?
Imagine that you are describing the activity to someone visually, without them knowing what it is. Do you think they would be able to tell from the ‘frames’ you choose to draw?
Starter Discussion:
After Oberon’s instruction to Puck to administer a magic potion on Titania and Demetrius, the action of A Midsummer Night’s Dream continues to the end in a series of fast paced scenes.
Puck carries out Oberon’s instruction to give the potion to Demetrius but gives it to Lysander by mistake. Lysander is then woken by Helena and he falls in love with her. The two wander off together.
Oberon squeezes the potion into sleeping Titania’s eyes and when she wakes, she falls in love with the first thing she sees: Bottom the Weaver.
With the tangle of love between the four young Athenians resulting in fighting between Helena and Hermia, Puck releases Lysander from the spell and order is restored between the young lovers.
Oberon and Titania reconcile their own argument and she is released from her spell. Bottom’s appearance is restored.
The above action all take place in quite quick succession and is back and forth between the different character groups. How do you think this structure impacts our understanding of the play? Do you think it’s a confusing plot to follow or do you think it makes perfect sense?
What does the title of the play reveal to us?
Main Activity:
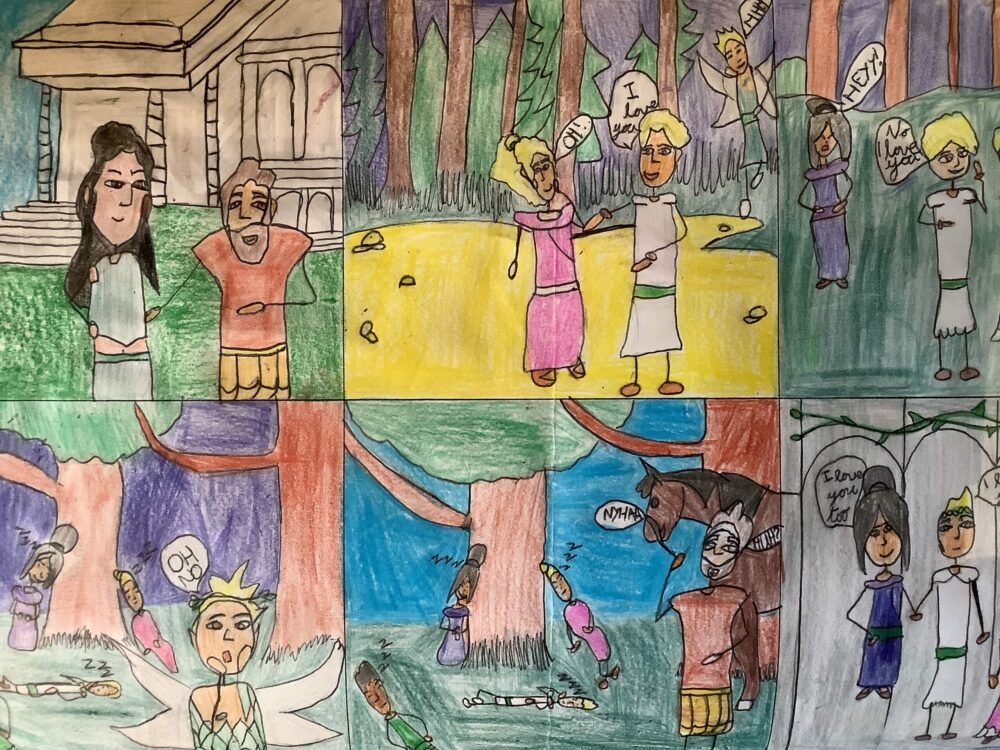
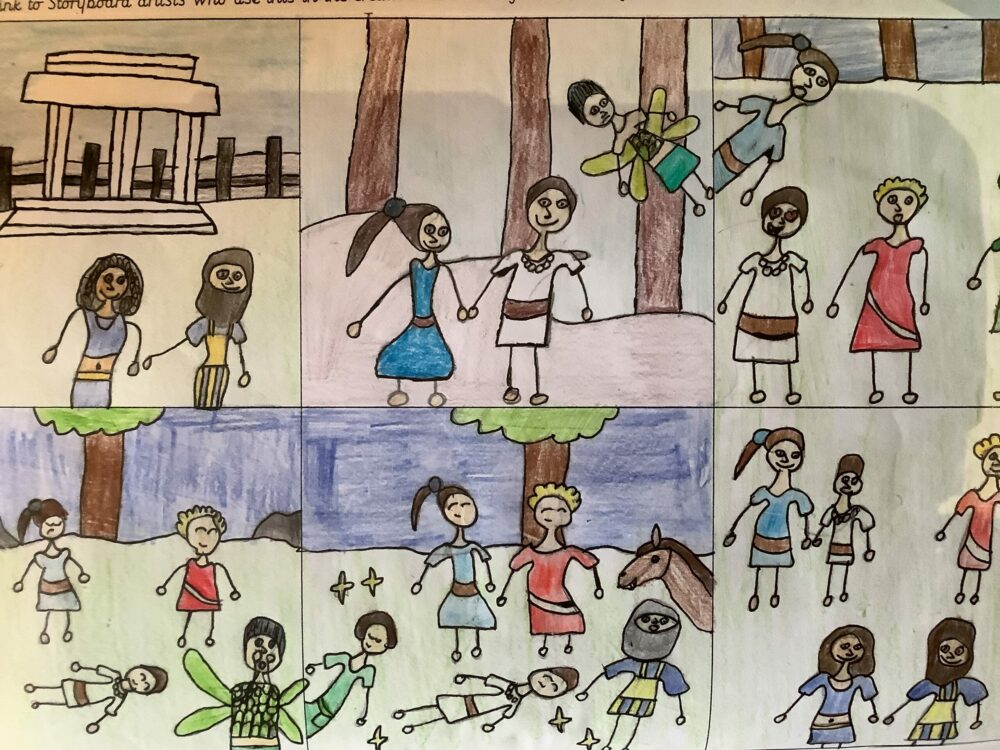
Looking back over the key plot points we’ve discussed in A Midsummer Night’s Dream, you’re going to create a storyboard that recounts them. The storyboard will also serve as a visual diary of the different visual arts techniques, skills and materials you have used along the way.
How you design your storyboard is up to you. You may want to draw a series of boxes in a more ‘traditional’ style–or you may want to experience and invent ways to show the steps of a story. Perhaps using different spaces within your paper that interlock or merge into each other in some way.
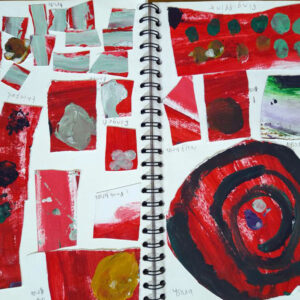
We have discussed the concept of idea development in these sessions, and how working things out ‘in rough’ first enables us to journey through our thoughts and engage with our creativity. Working in this way allows us to be freer and let ideas flow. Sketchbooks are perfect for this, so begin by mapping your ideas out in yours – or on a piece of rough paper.

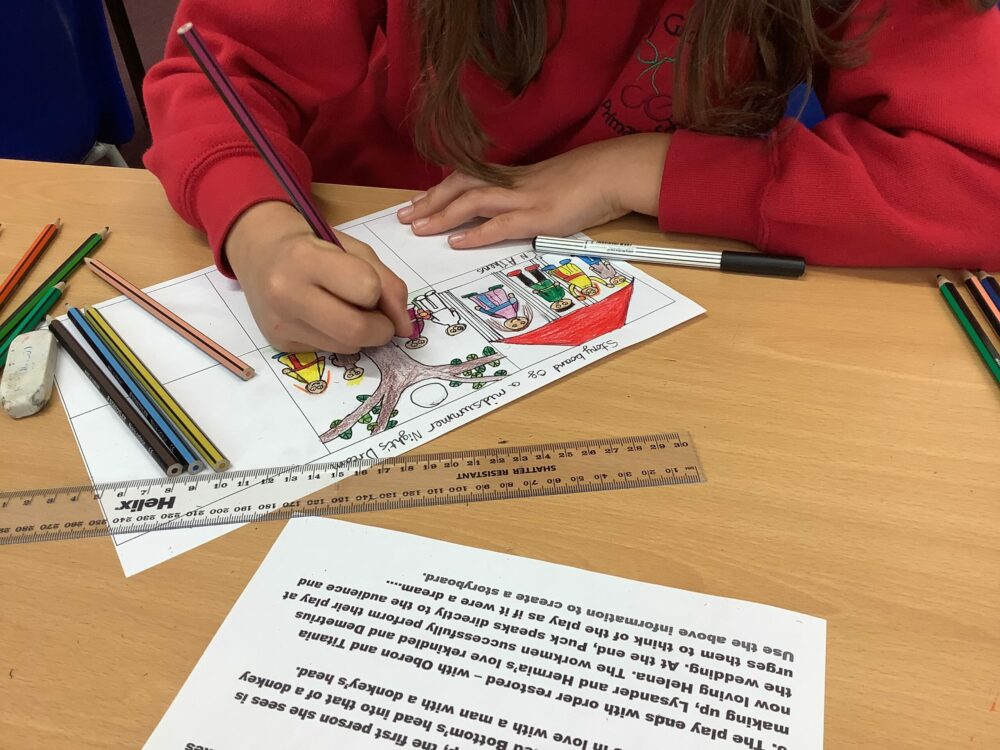
When you have spent some time working through the sequence of your storyboard, take a piece of A3 cartridge paper.
Begin by roughly marking out where each ‘frame’ will go. If you are not using boxes, how will you ensure someone who doesn’t know the play A Midsummer Night’s Dream understand the sequence? Can you use arrows or lines in an inventive way to connect the frames?
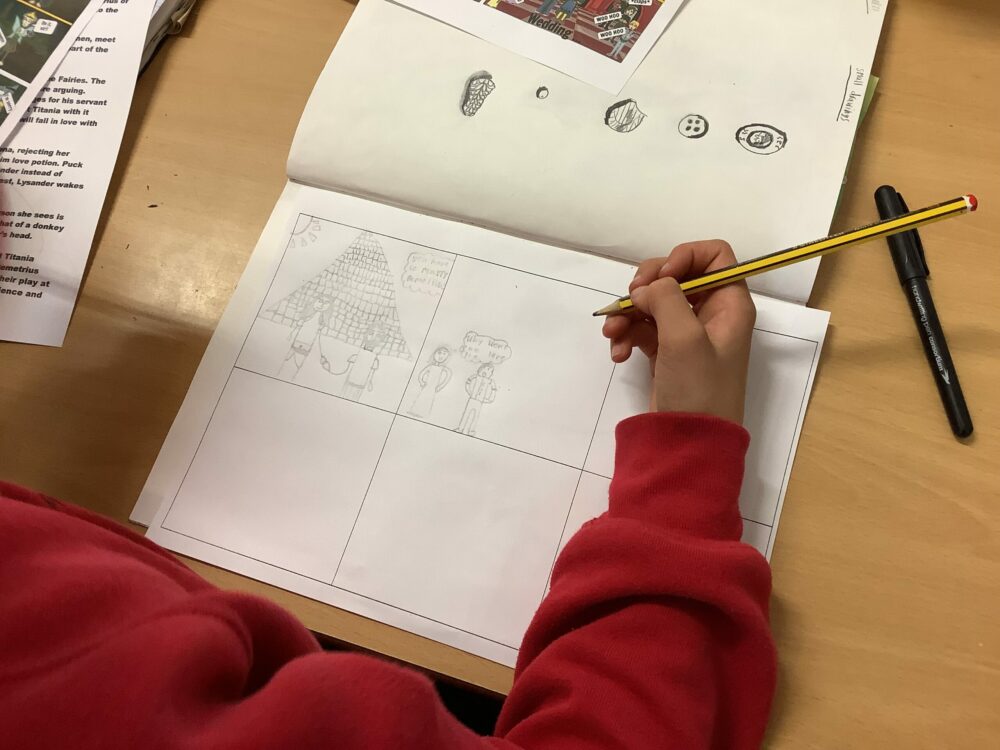
The play begins in the Athenian Court when we meet Theseus, Hippolyta and Egeus. Can you remember what the feeling of tension was about in this opening scene? Can the authoritative Athenians be pointing accusing fingers into the next frame, where we meet Hermia, Lysander and Demetrius?
Can you remember what the Workmen are doing? Try and annotate your storyboard with key references to the text. This doesn’t have to be in Shakespearean language – just notes in your own words that relates to the action taking place.
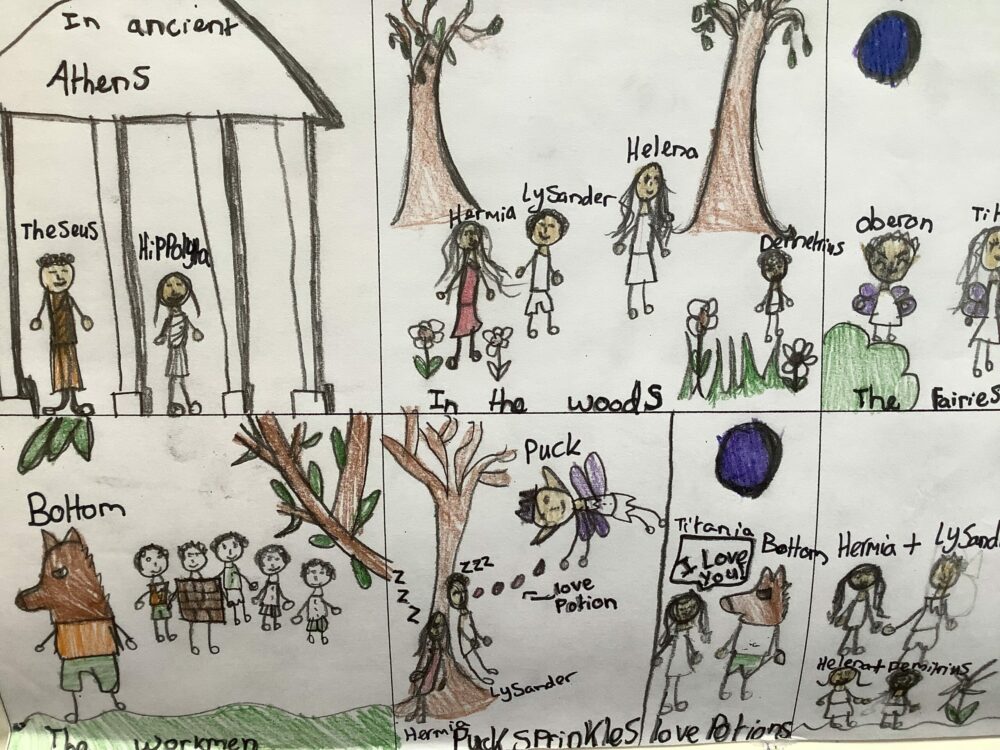
Next, we meet the Fairies….
Continue working through the plot points you remember, trying to communicate the themes and imagery to help you.
Reflection:
How does making a storyboard help you remember the play? Do you think it’s an effective way of recounting a story or series of events? Why?
Why do you think film makers use storyboarding before they begin filming?
If you go on to study A Midsummer Night’s Dream in more detail, or revisit the play in secondary school, you may want to add to your storyboard or begin a new one. You could add more key quotes matched to the images, to help you remember some of the revealing things the characters say.


 https://vimeo.com/518101698")


")


