By Jan Miller
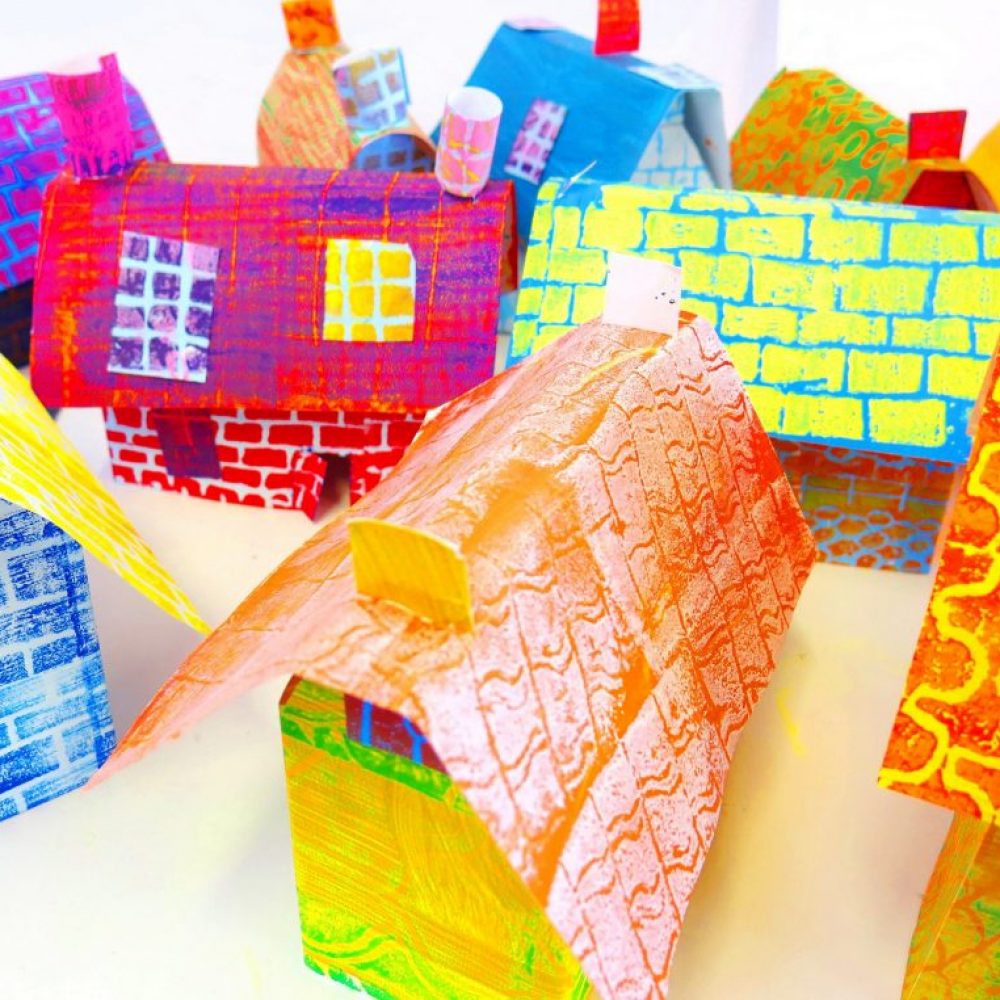
In this post children use found materials as printing blocks to create colourful patterned papers. The papers are then used to construct 3-dimensional paper houses. The houses are assembled collaboratively to create a village like display and are then photographed; giving the opportunity for the children to develop their photography and computer editing skills.
Notes for Teachers
-
Who are the sessions aimed at?
The sessions were run with children aged 12.
The resources can be used across a wide age range from age 6 to 14
Older KS 1 children can make the papers and make a 2-dimensional picture of the house with the collage or can cut and glue around pre-made boxes.
KS2 can have templates of houses to draw around, made from 2 pieces of paper.
Older children can make their own house templates and add variations.
-
Which areas of exploration are covered?
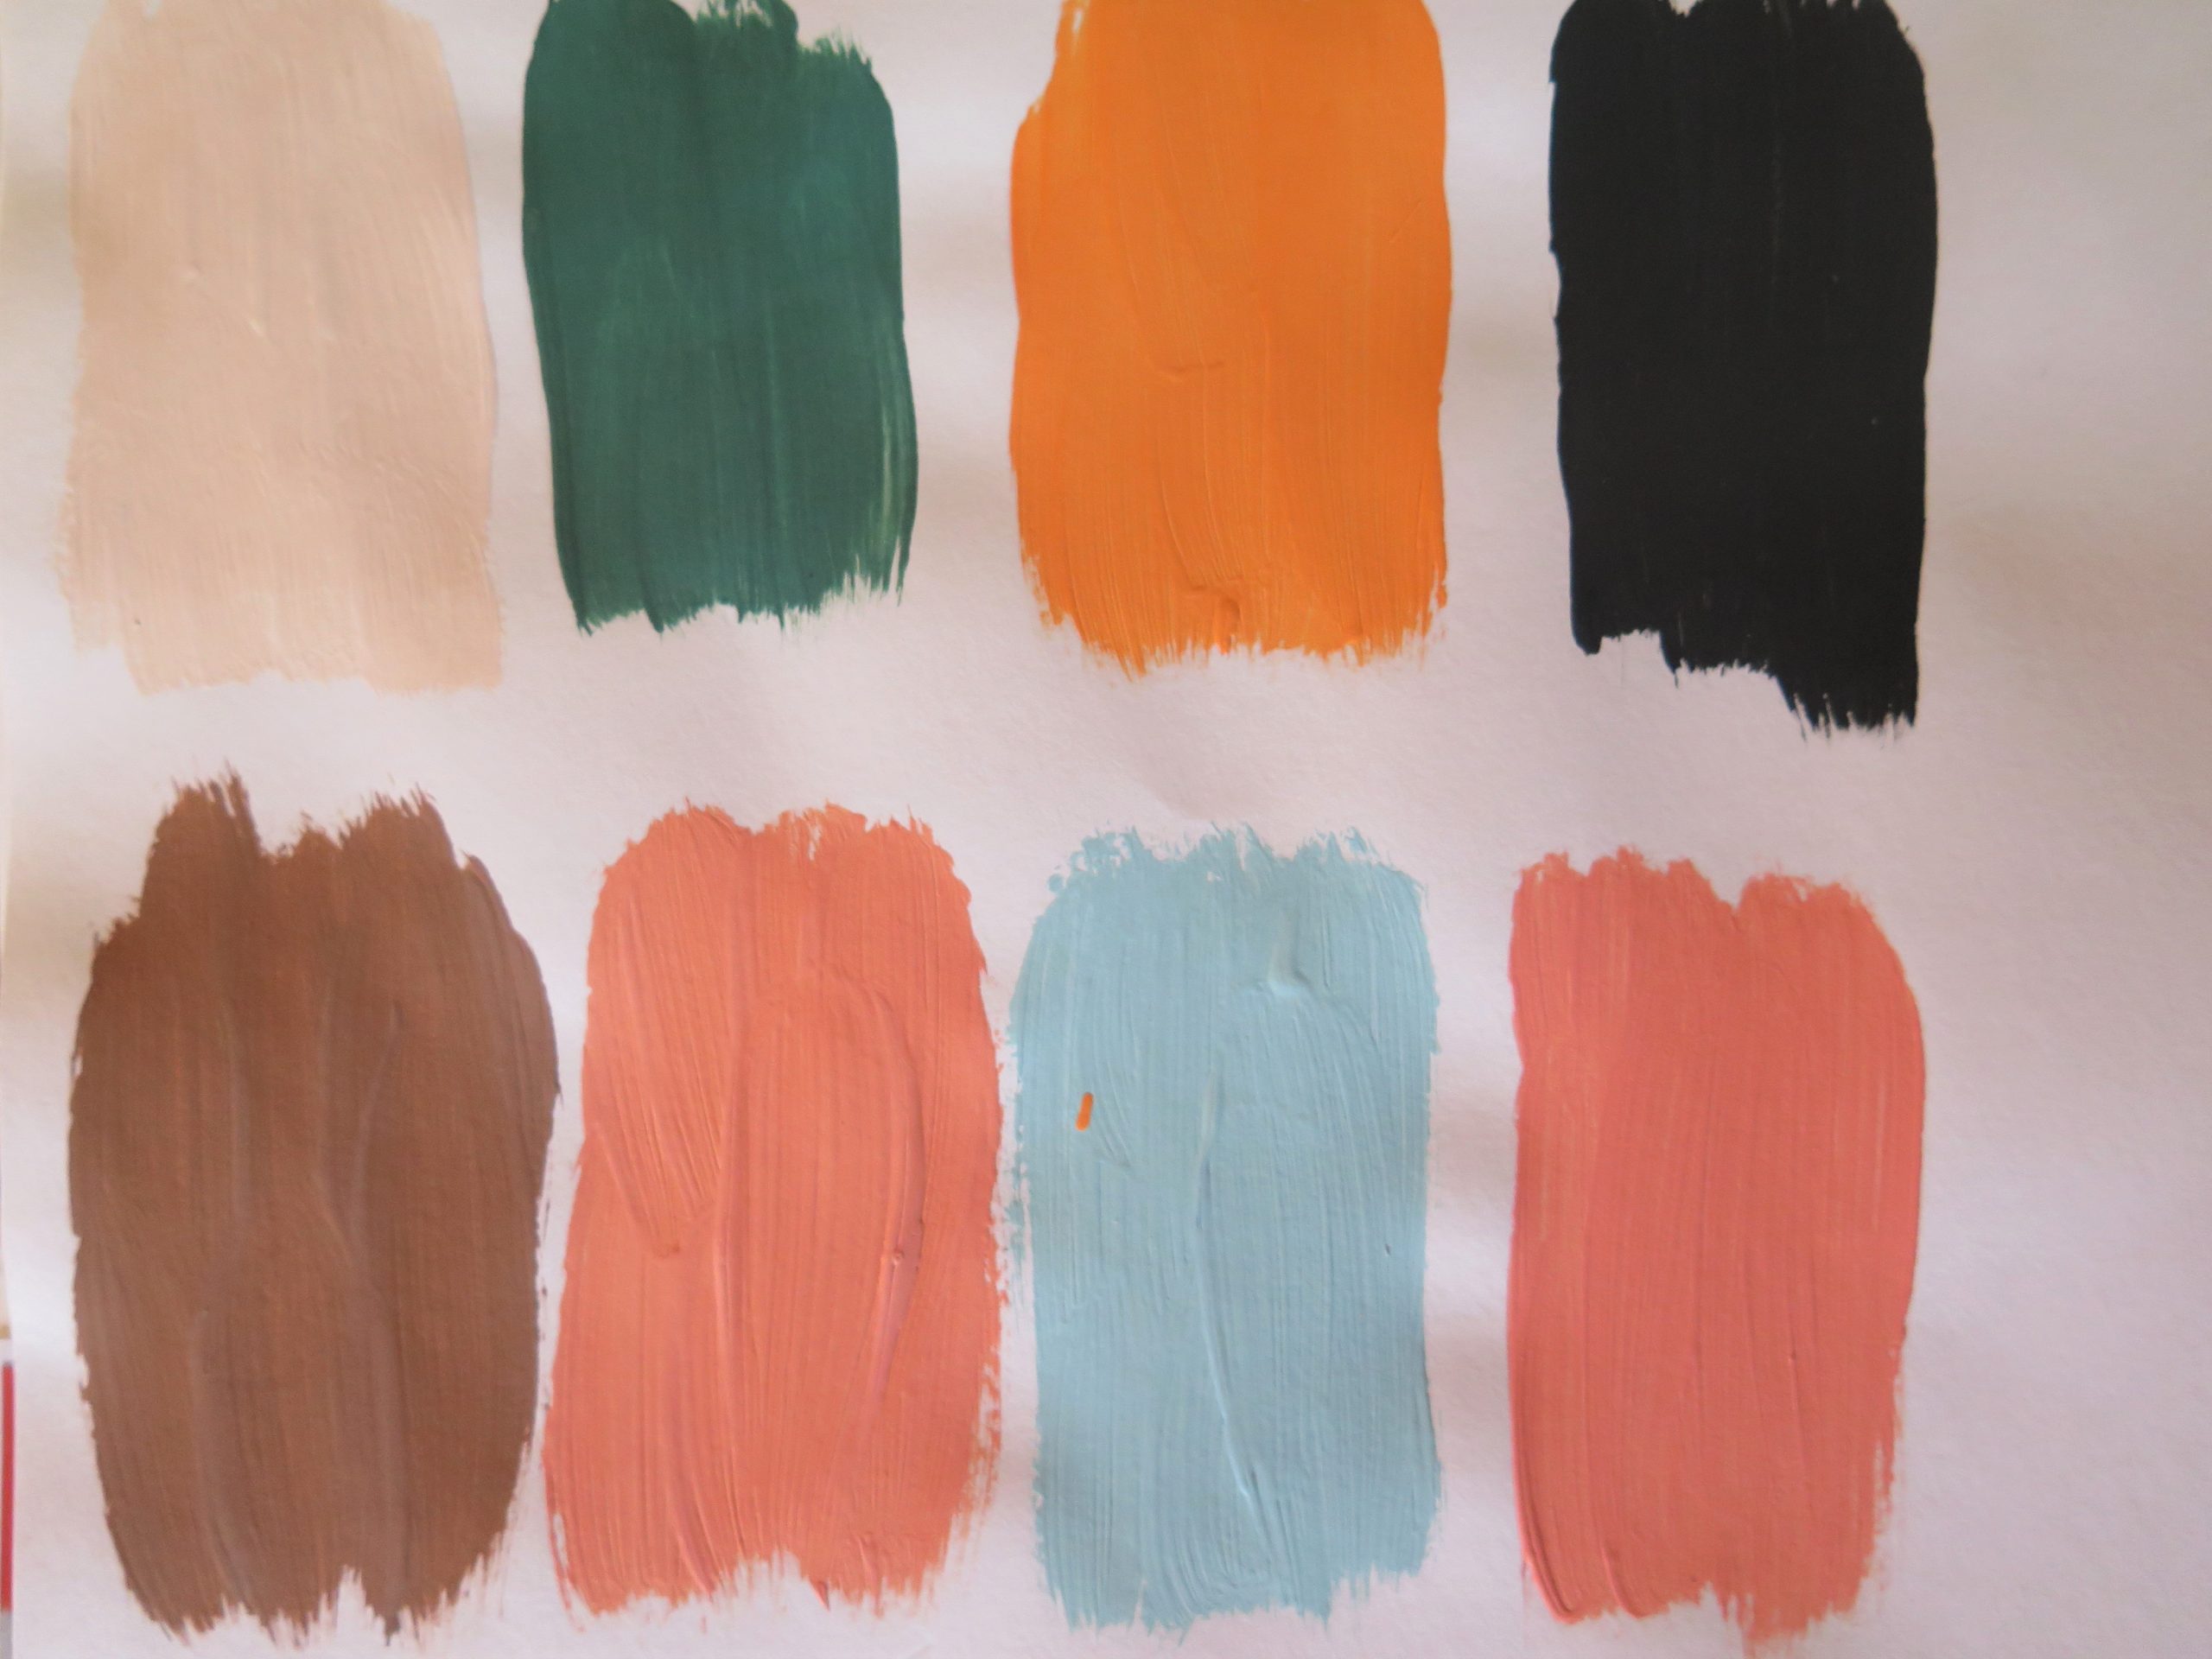
- Learn about complimentary and contrasting colours.
- Drawing from imagination.
- Colour mixing with paint.
- Drawing with scissors to add layers of patterns.
- Working spontaneously.
- Learn skills of constructing without glue, scoring and folding.
- Explore scale.
- Create a group composition.
- Cropping imagery.
- Focal point, perspective and focus in an image.
- Develop knowledge of pattern and repeated shapes.
- Cross curricular links with Maths – measuring, nets, 3 dimensional shapes and symmetry.
- Making a shared final piece.
-
How much time is needed?
This activity could be done in two longer sessions to account for drying time of the printing.
4 sessions of 1 hour were held with the whole class but there could be several variations. If you were working with a smaller group of children the activities may take less time. Sketchbooks were available in all lessons to continue research drawing. The sessions progressively built on each other and the children developed an understanding of process. If you followed all the sessions you would cover the areas of exploration listed.
However, if time is limited, you could complete houses with a one print design on bought coloured paper and if minimal ink was used the house could be constructed, and then photographed, in the same session.
Prep – The teacher could complete more of the preparation, such as making the painted papers or making some of the printing blocks. Colours could be pre-mixed by the teacher and printing ink rolled out. Children could work in pairs by sharing printing blocks and papers.
Variation – Two simple outlines house stencils were used by drawing around and cutting out directly. They were encouraged to edit and alter the design of the shape. The projects can be adapted for younger children by printing with potatoes or found objects.
Extension – some extended the origami skills by making pop-up versions of the house from opening a folded paper.
Pupils developed into making a 3D clay version, using found materials to press into the clay. Some who found the 3D construction a challenge just made the front of the house, as a wall hanging.
Pupils could begin by drawing the architectural patterns in their sketchbook or taking photographs.
-
Where might the sessions be used?
- Classrooms (as part of art lessons or workshop)
- After school art club or AG&T group.
- Community groups (i.e. Scouts and Guides)
-
Materials and Equipment
- Poster paints, white emulsion and brushes or sponge
- Marker pens
- Block printing ink, roller and board
- Materials for printing blocks and glue or glue gun – erasers, polystyrene packaging, foam, cereal box card, potatoes. Any old printing blocks can be re-used,
- Scissors
- A3 cartridge paper or thin card.
- Craft knife/cutting board (gyro cut- a safer method of cutting paper shapes)
- Phone or camera – computer with Microsoft Office.
Reusing
Paper – The back of previous work is perfect for recycling unwanted work. Even the actual artwork can be painted and printed over so give interesting effects.
Printing blocks – Using press-print and lino blocks from previous projects, were cut up and pupils used them for printing textures.
-
Which artists might we look at?
Cave art found in European caves dating back between 40,000 and 14,000 years ago.
https://www.dkfindout.com/uk/history/stone-age/cave-painting/
Handprints in Rock art from around the world: http://www.bradshawfoundation.com/hands/index.php
Judith Ann Braun uses finger prints and charcoal to make large scale artwork: http://judithannbraun.com

Activity
Week 1: Sponging colours onto A3 cartridge paper.
Colours are mixed and shared. Off-cuts of old cleaning sponges or damp upholstery sponges were used to wash the paint quickly across the A3 paper. This ensures less paint was used and the paper would dry quickly if printing in the same session. You don’t have to worry about streaks as the printing will cover it. Using poster colours and white household emulsion gave a nice chalky quality. (Avoid too much paint as it may crack when folding and constructing).
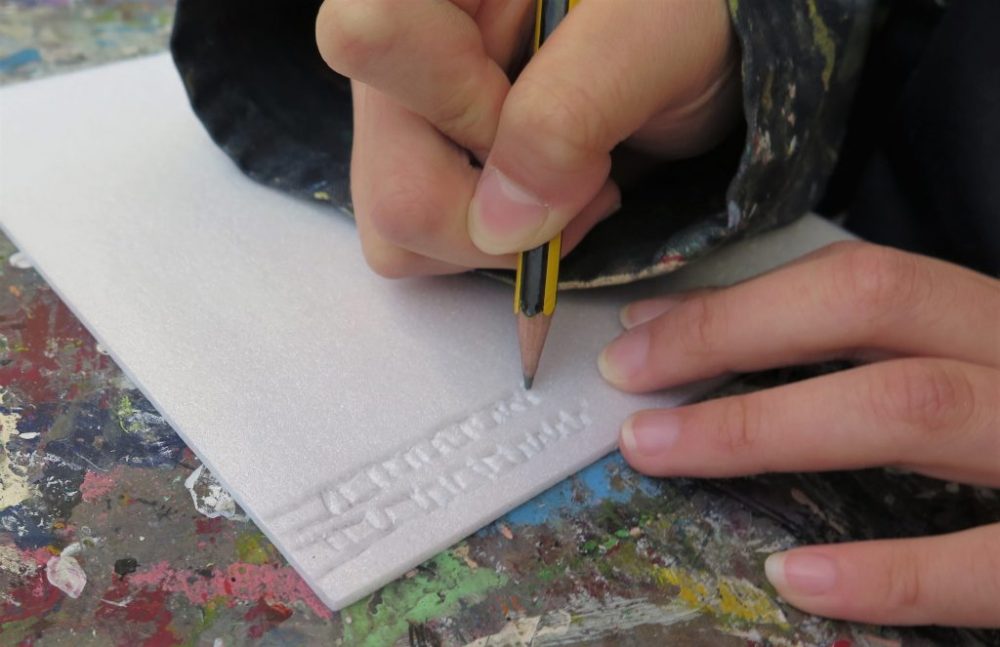
Making printing blocks
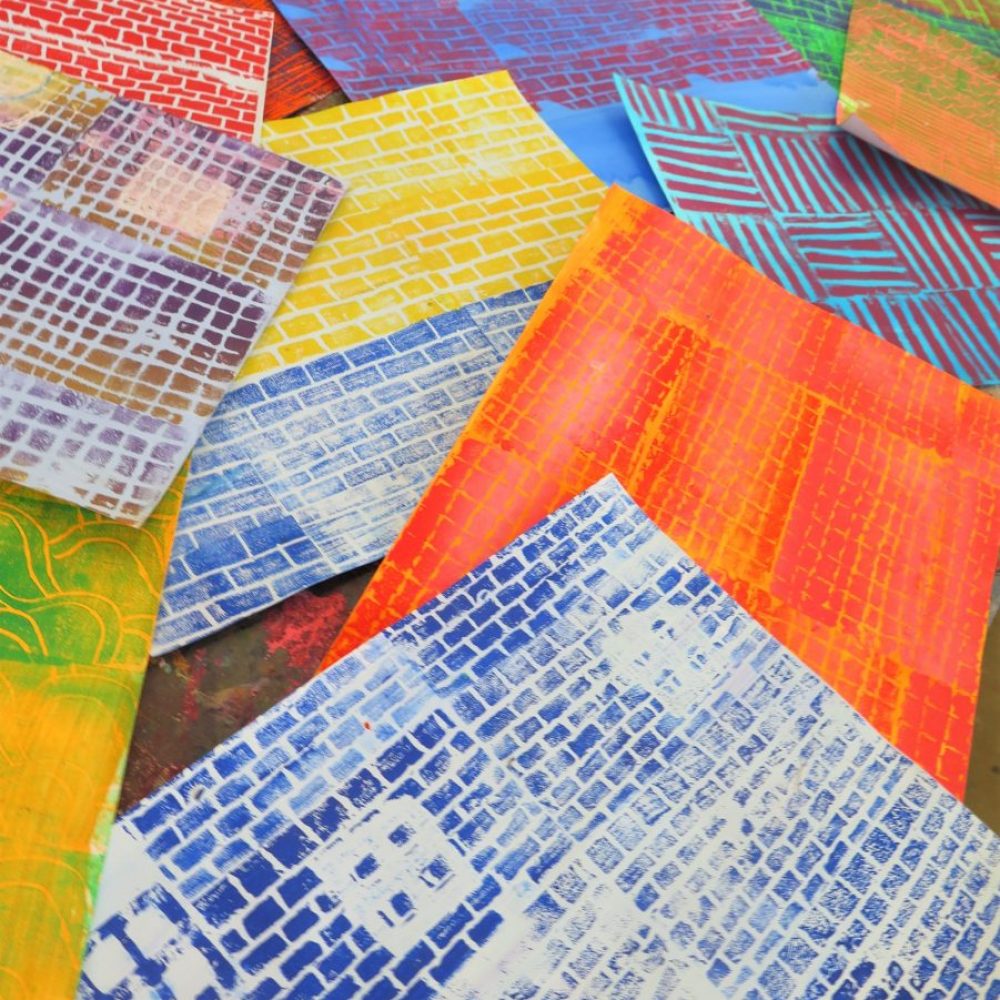
Printing blocks were made using repeated architectural patterns. We looked out of the window and used photographs of surrounding buildings for inspiration. Roof tiles, bricks, pavements, shapes of doorways and patterns of windows were closely examined. Press-print (quick-print) is the easiest method and the blocks can be small as they will be repeated. They can be used on both sides or from old off-cuts. Even used patterned printing blocks from other projects (press print or lino) can be used. If time, the patterns can be drawn and recorded in sketchbooks.
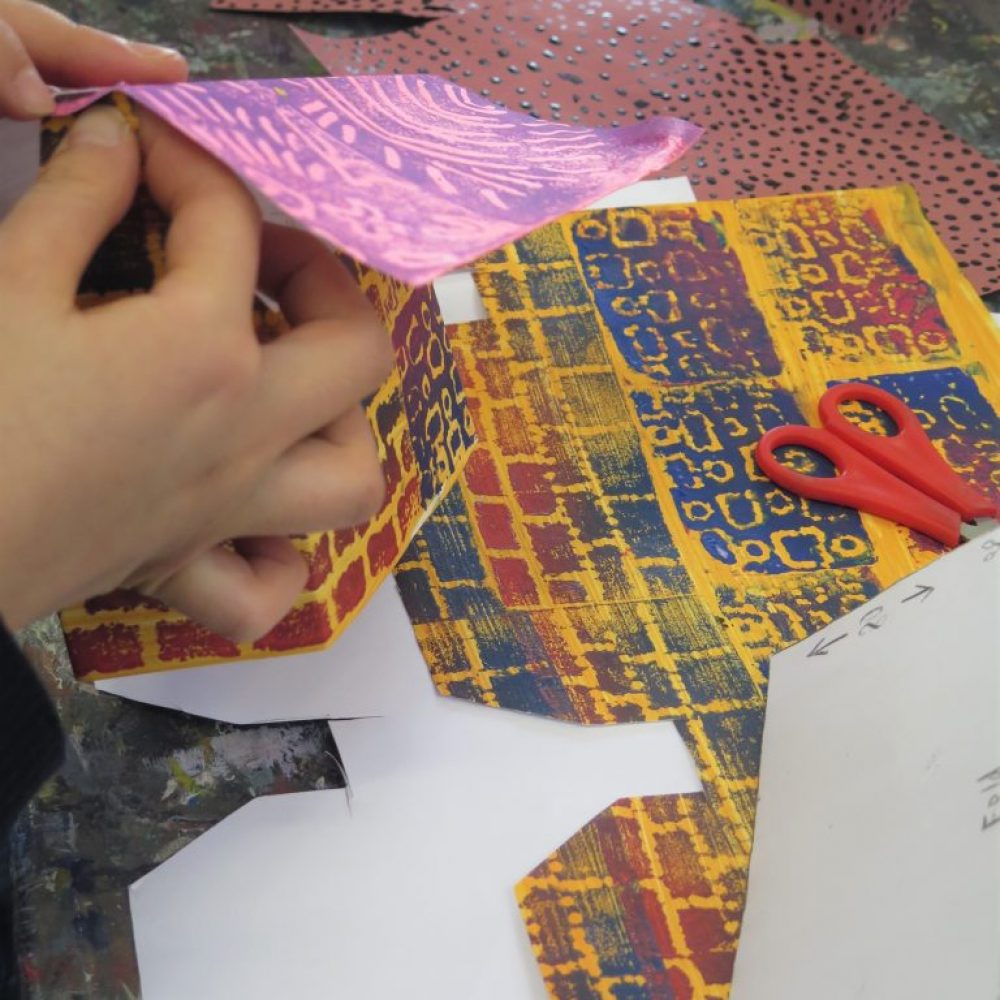
WEEK 2: Printing the blocks onto coloured paper
Printing can be an unaided and a quick process in this project – overlapping, not enough ink and too much can all give unexpected and effective unplanned results. Even if the blocks break – you can still use them. You can print full sheets or section off with different patterns.

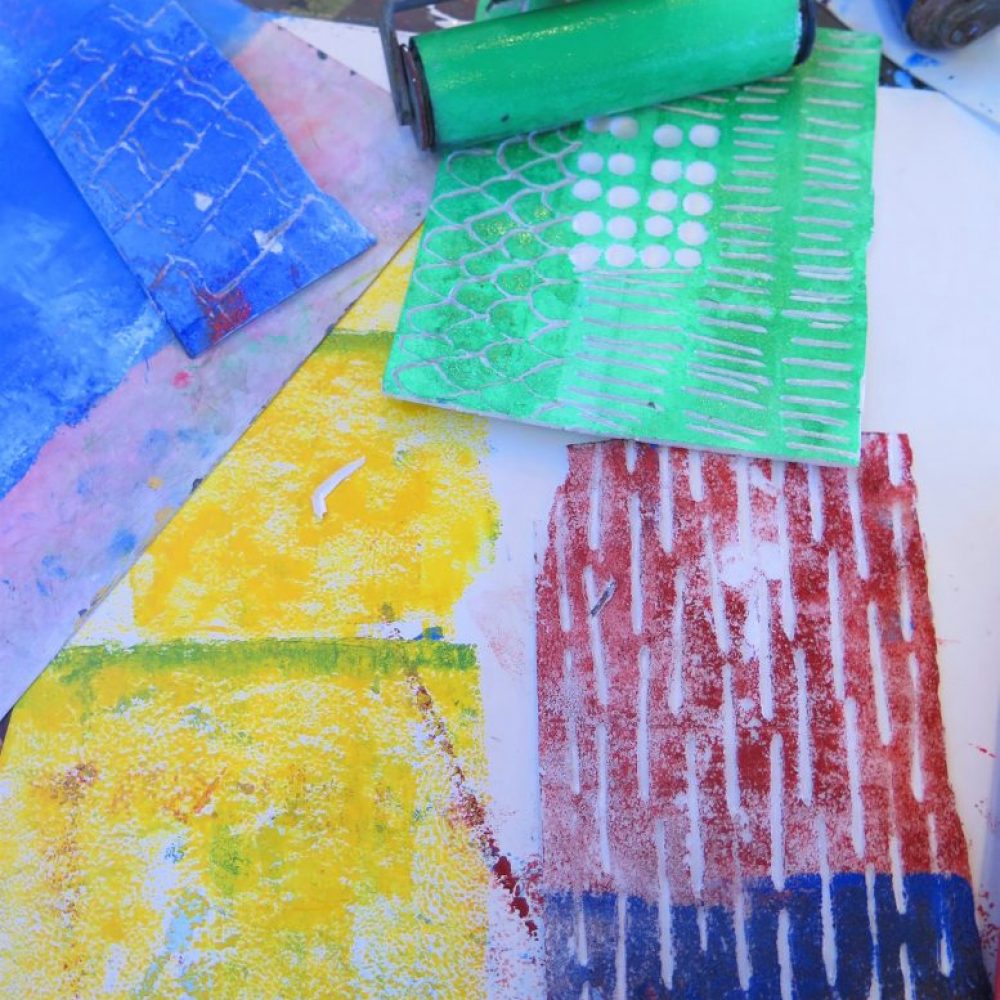
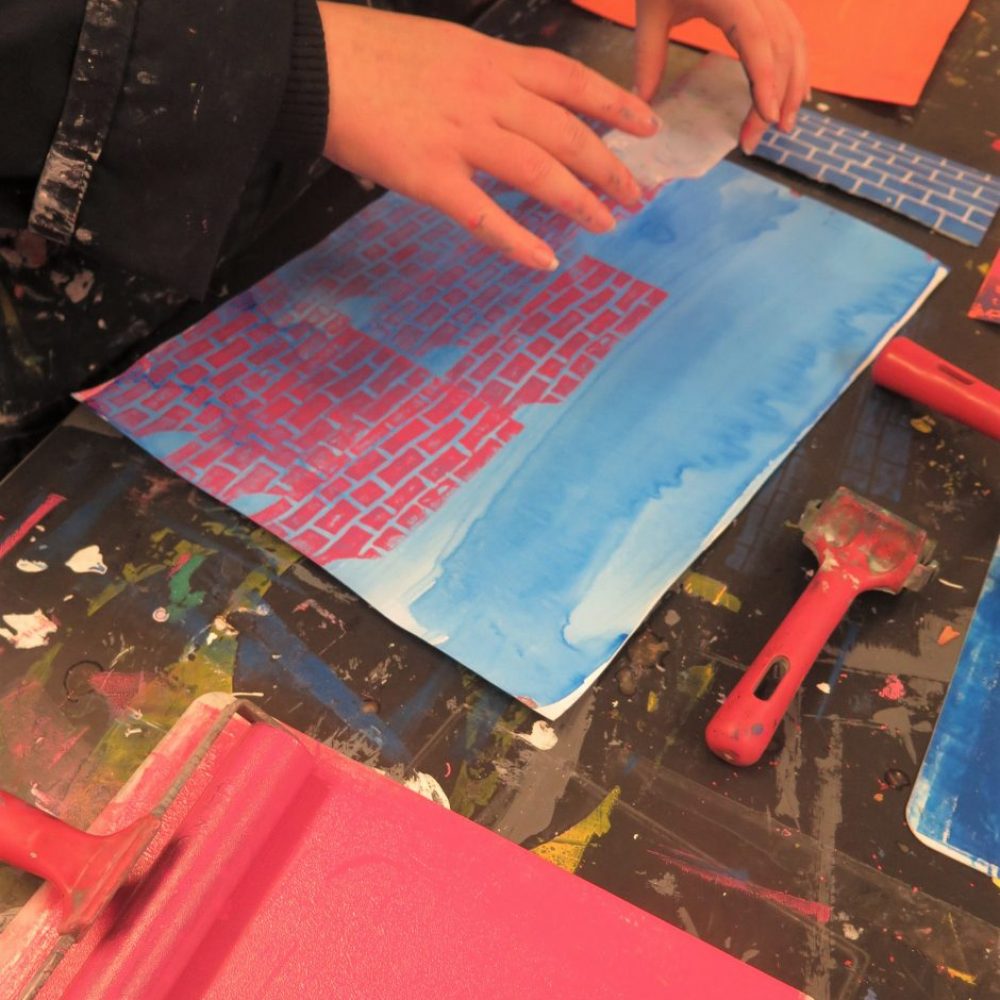
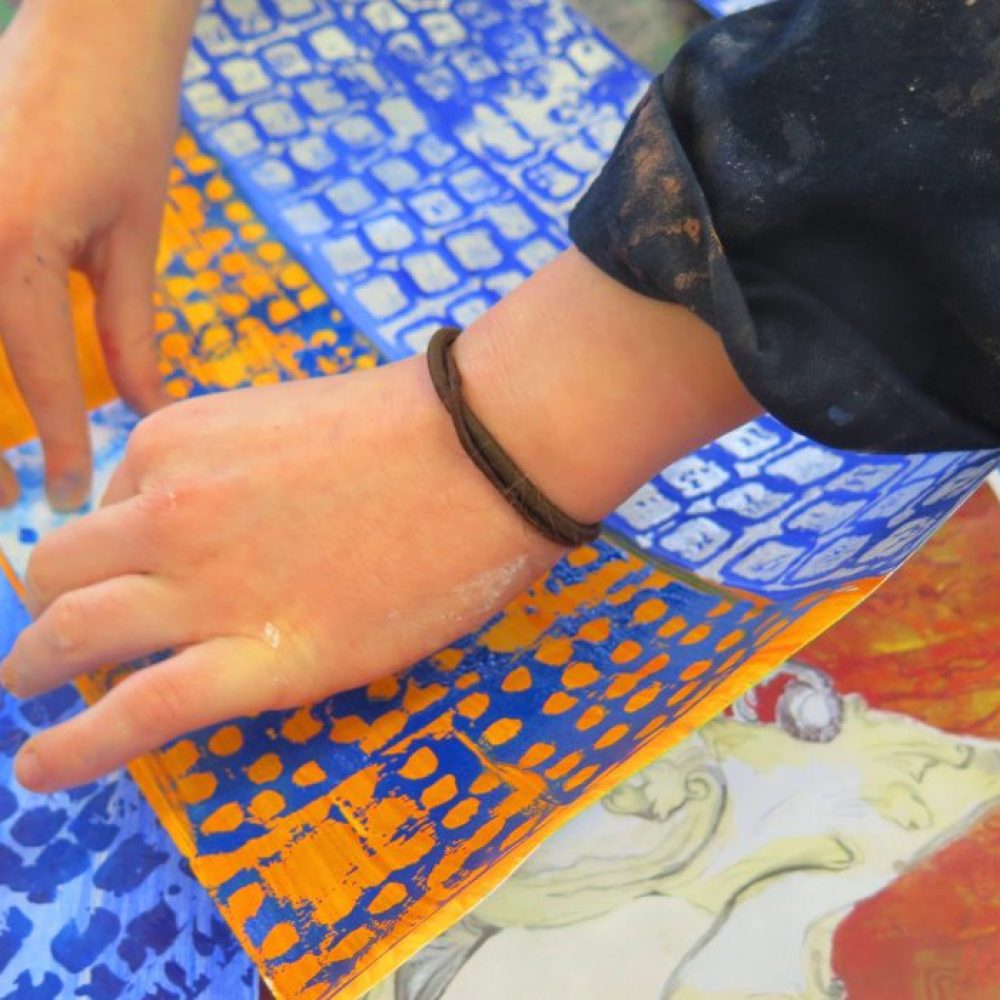
Print your own block or work collaboratively.
The printed papers can be used alongside ones that are simply coloured textures or patterns. Even unwanted pieces of artwork can be used or printed over to create a layered print. Printing can be an unaided and quick process in this activity – overlapping, not enough ink and too much can all give unexpected and effective unplanned results.
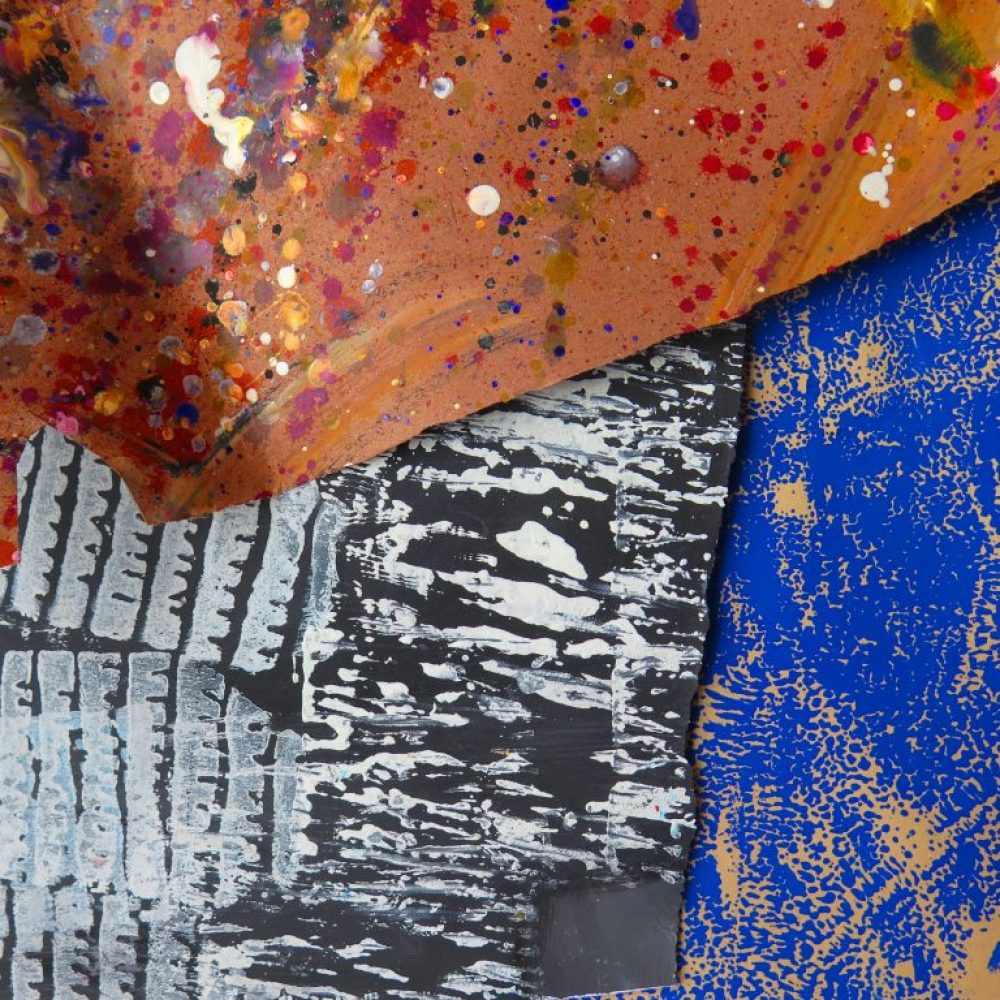
Even unwanted pieces of artwork or printing blocks can be used to layer printing.
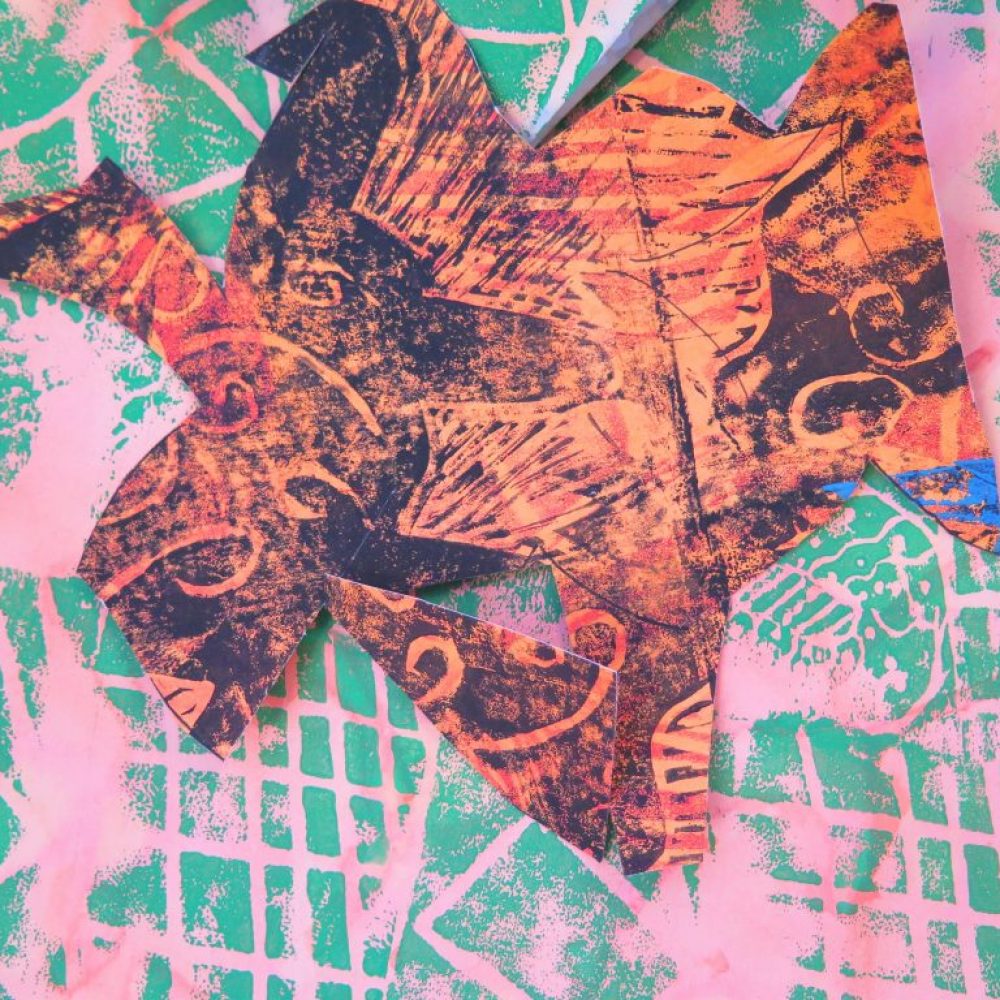
Paper stencils for doors and windows were placed on the painted paper before the print was made and removed to leave gaps in the pattern. These were used on other houses.

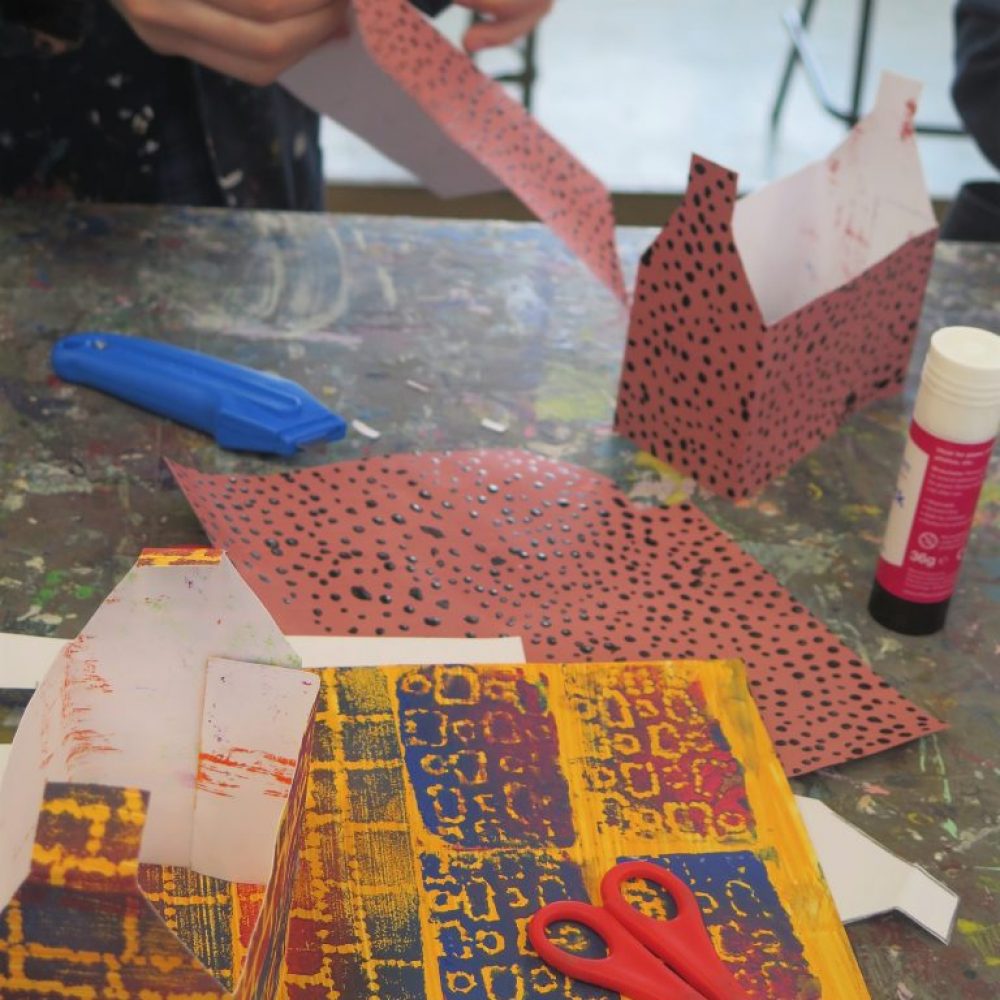
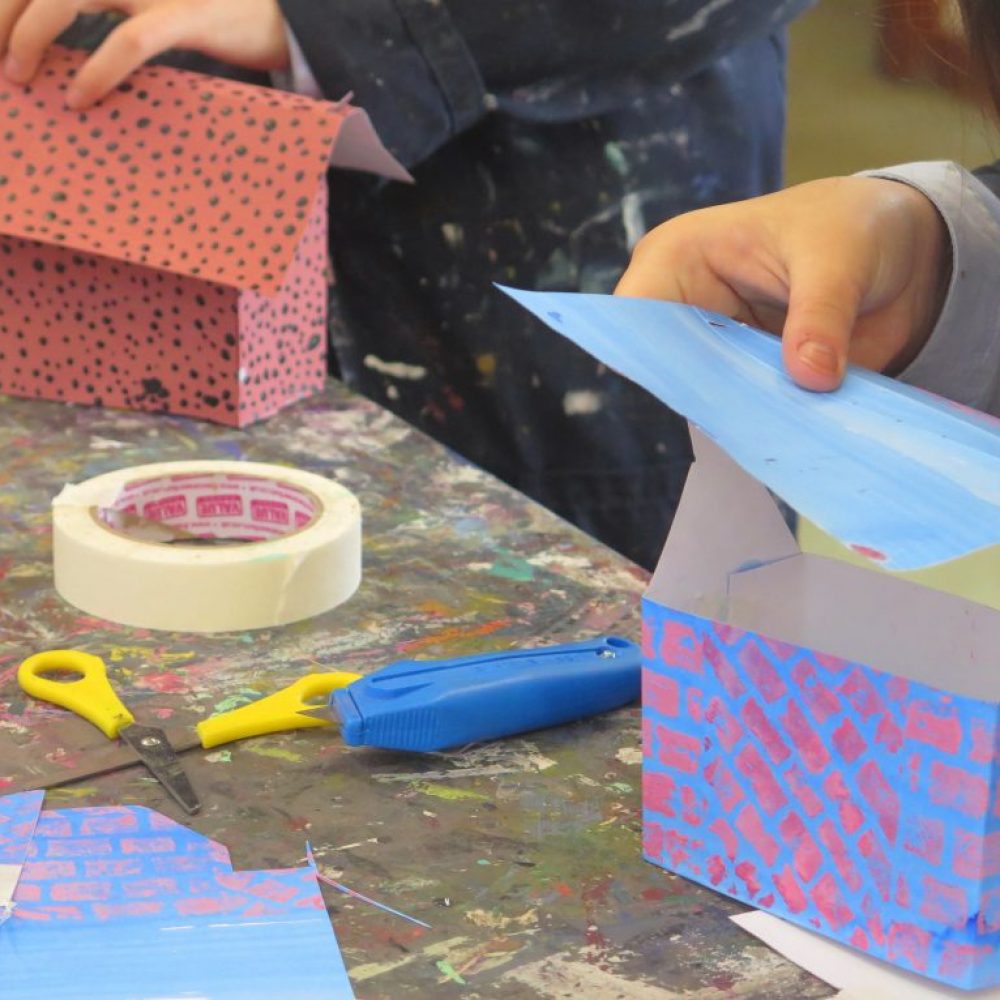
WEEK 3: Cutting stencils and constructing houses
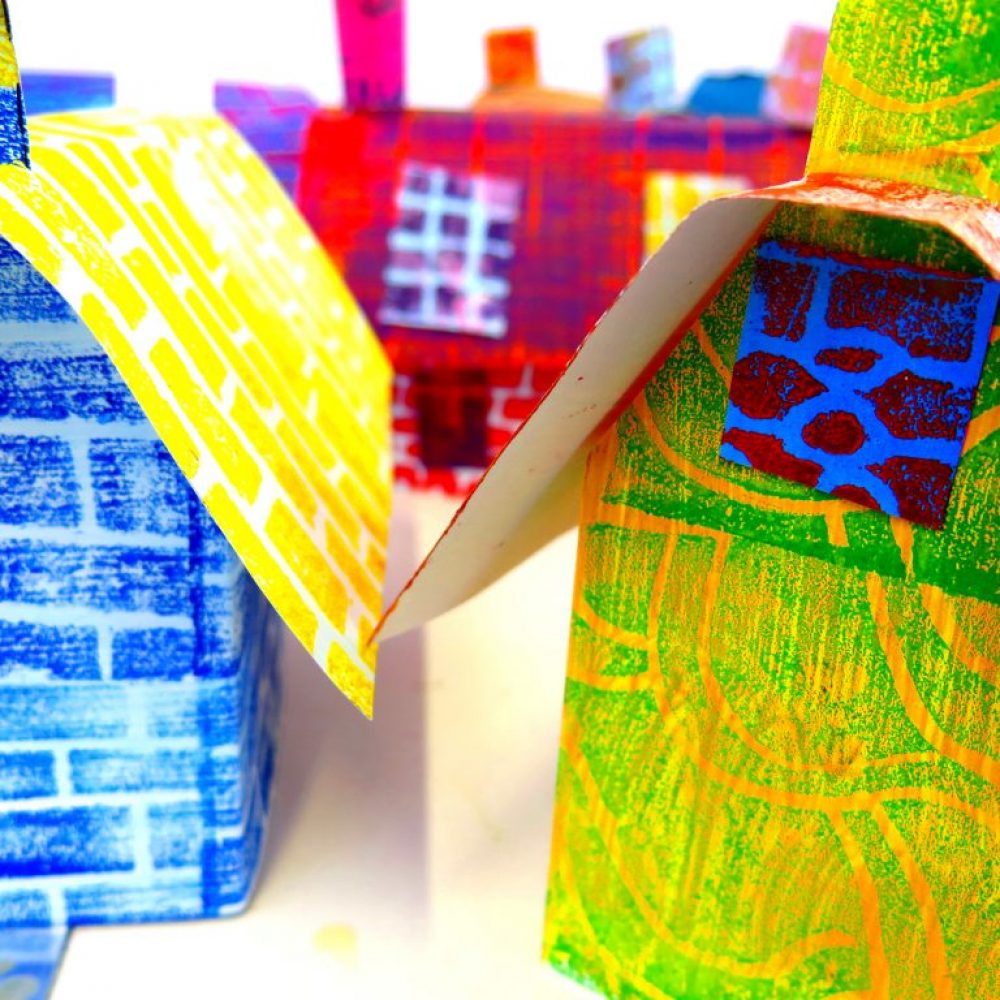
A template of a simple house shape was made with folds and just one join with a tab end (2 gable ends and 2 rectangles fit along the A3 paper). Just a dot of glue with secure the end. Then the roof was slotted on to the chimney tabs. Variations in shapes and sizes were encouraged as was the personalised addition of doors and windows cut from other patterned papers. Even opening doors and windows advanced them to new levels.
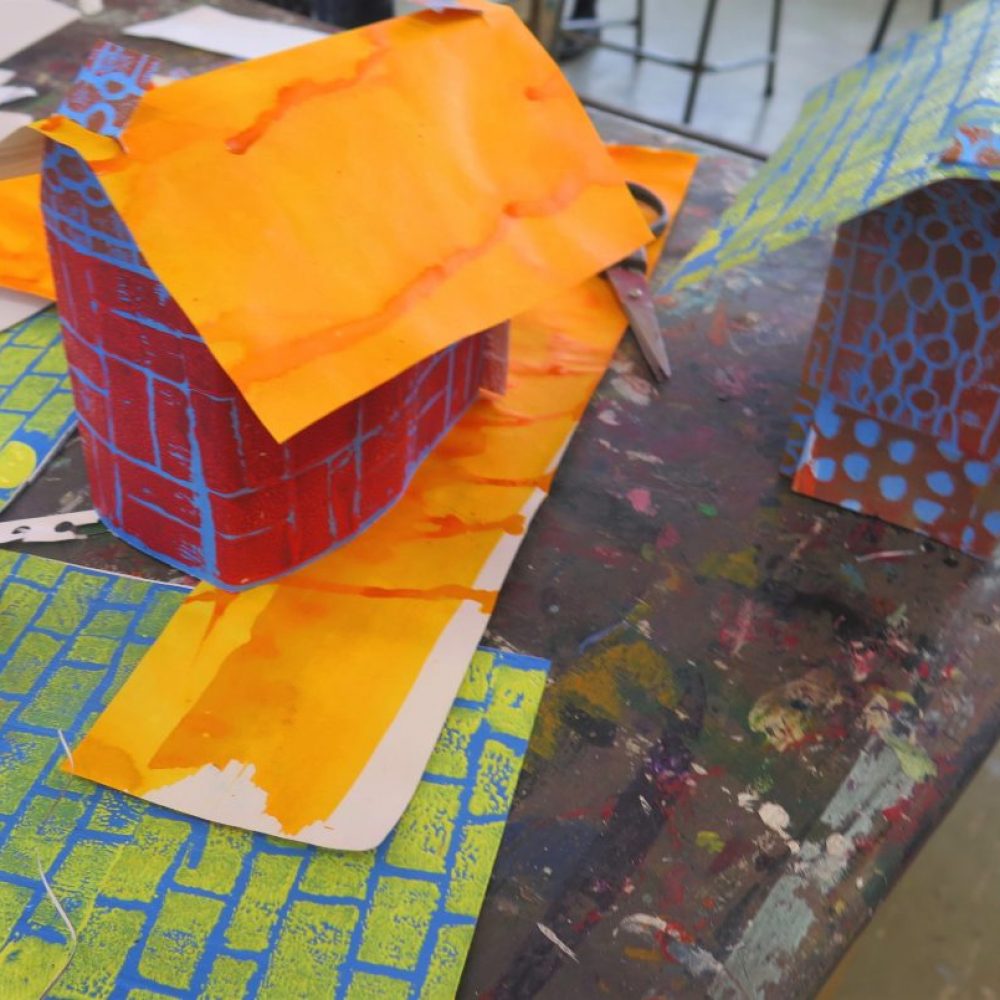
WEEK 4: Photographing and Editing
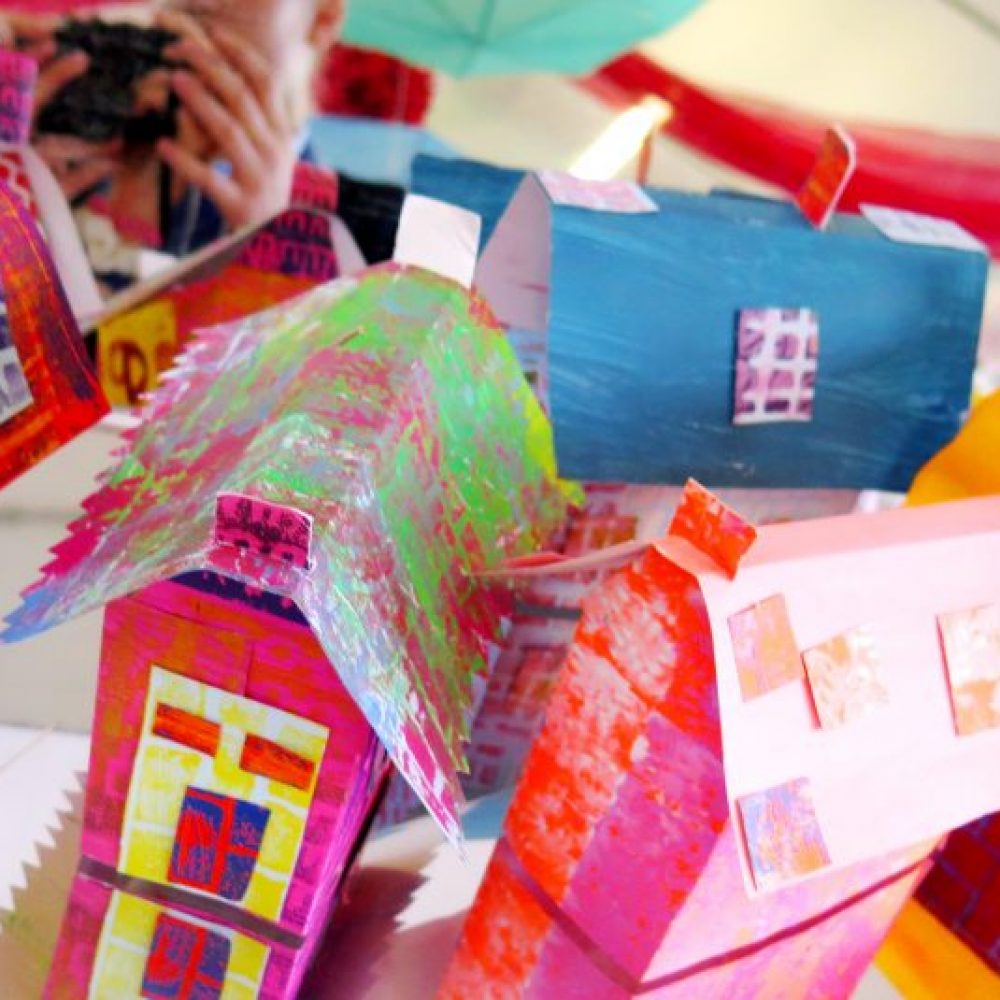
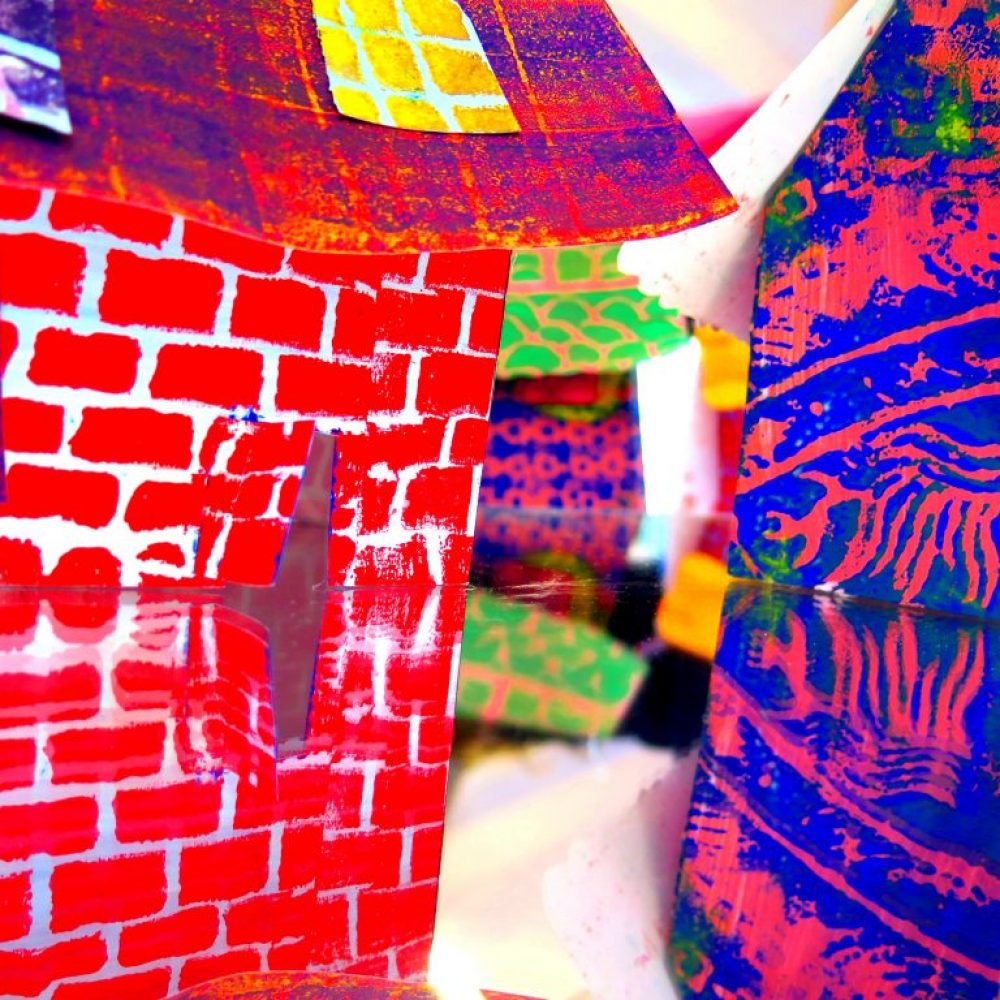
Clusters of houses were photographed together, looking through gave an understanding of perspective and focal point. They photographed them on mirrors to create reflections and symmetry. Pupils took their houses around school to photograph them in everyday settings; the variation in scale adding interest. They used Microsoft Photo Editor – easy to use software – when viewing their images to control and manipulate editing facilities such as crop and enhancing the colour, saturation, and light.
Editing – enhancing the colour after photographing on a mirror base.

Getting out and about photographing the houses around school.

Development
Full circle creativity: some pupils were keen to subsequently work from their photographs, creating a piece of 2D art using inks and oil pastel resist.
Some pupils made 3D versions in clay using a rolled out pieces of clay. Found materials such as lego pieces, pegs, wood, pastry cutters, marbles, and pencils were used to add pattern and texture, then when leather hard, the edges were scored and brushed with water to build.
With thanks to Jan Miller for contributing this resource. You can find more of Jan’s resources here.