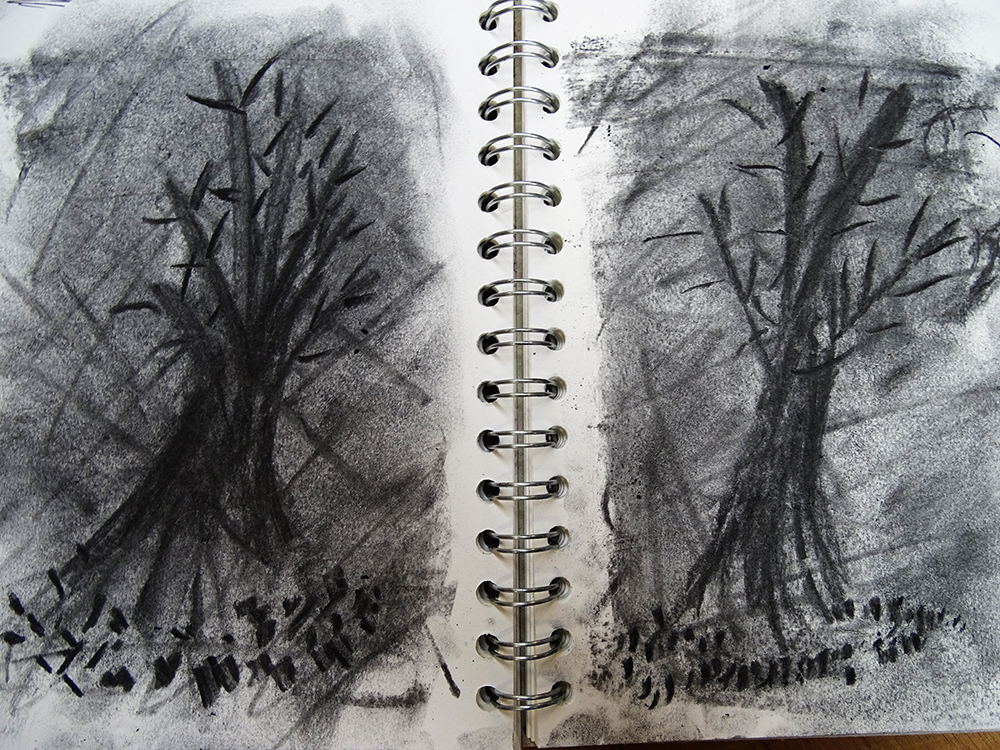
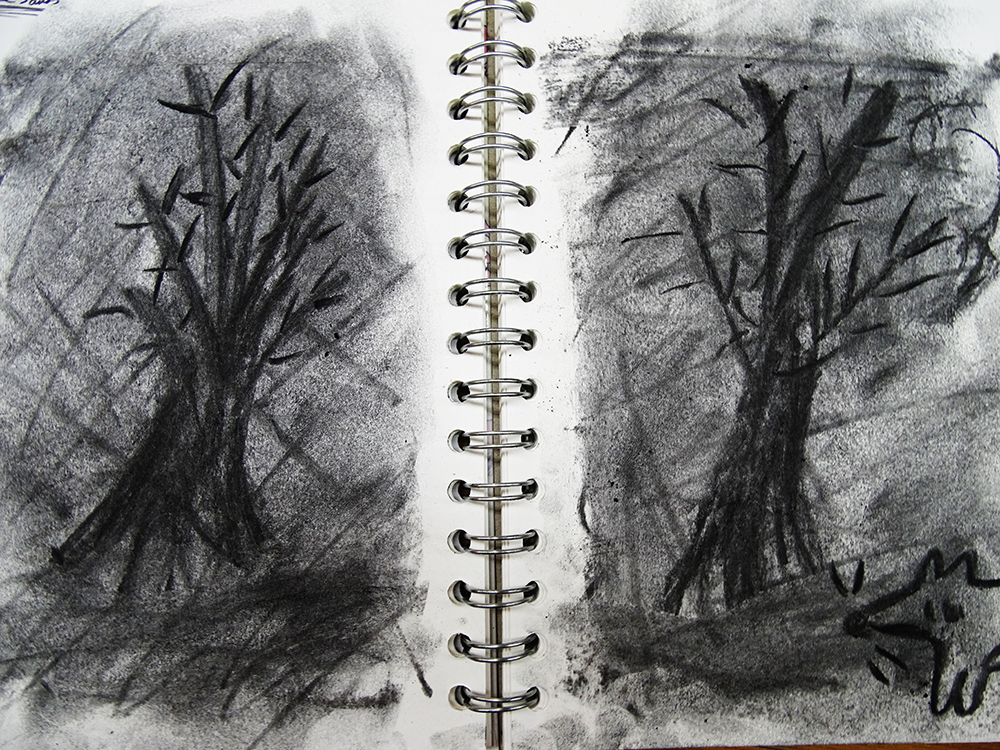
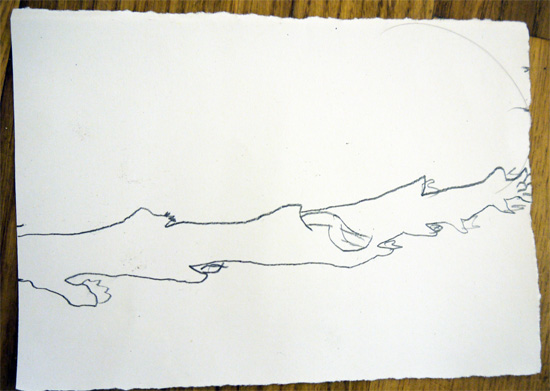
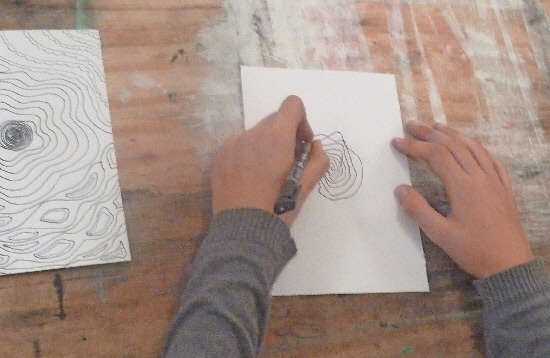
Continuous Line Drawings (Squiggle Drawings) of Sticks
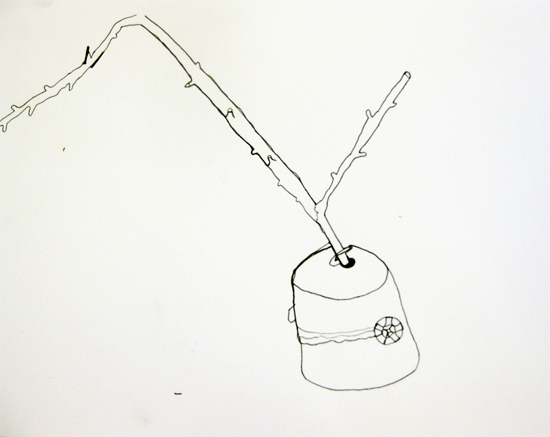 A great warm-up exercise for all ages – whatever their level of experience, continuous line drawings are a very useful way to get children (and adults) to tune into their subject matter and quieten ready for drawing.
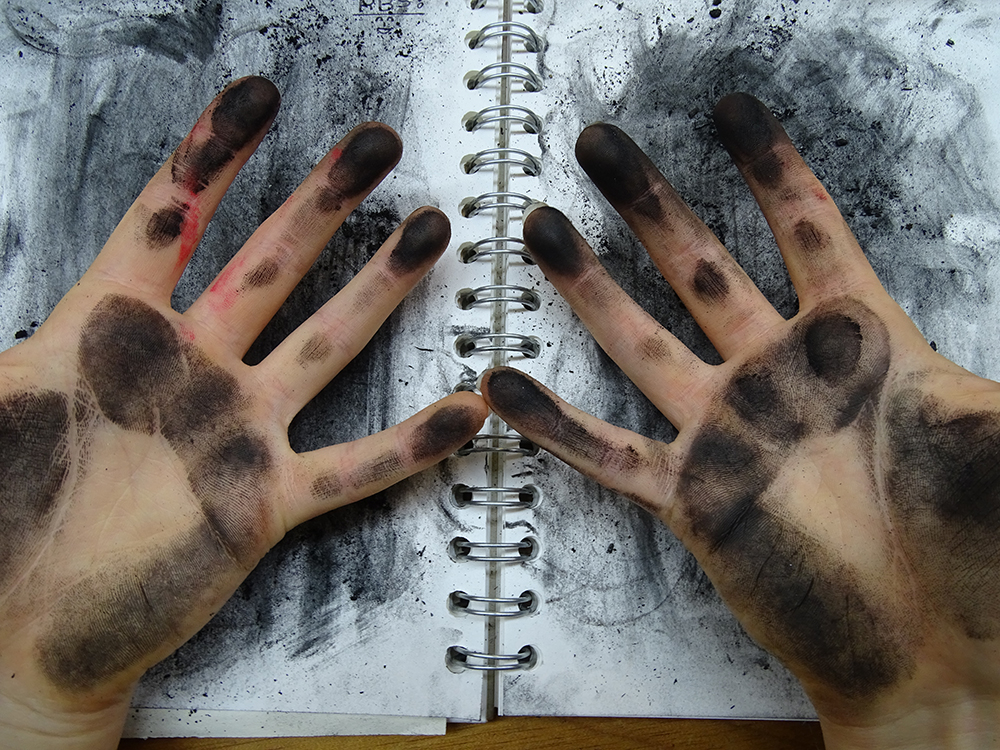
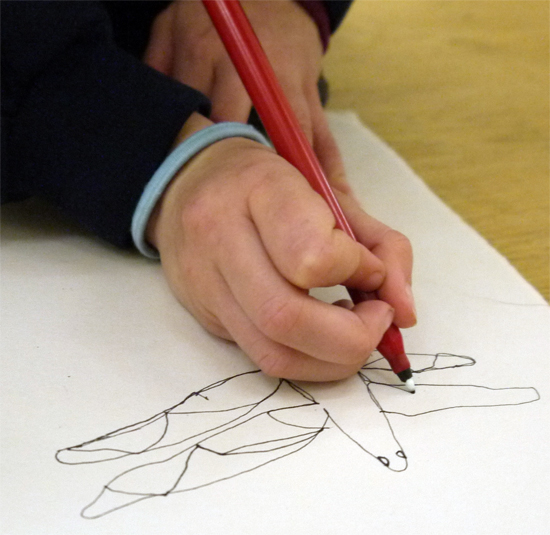
Drawing hands
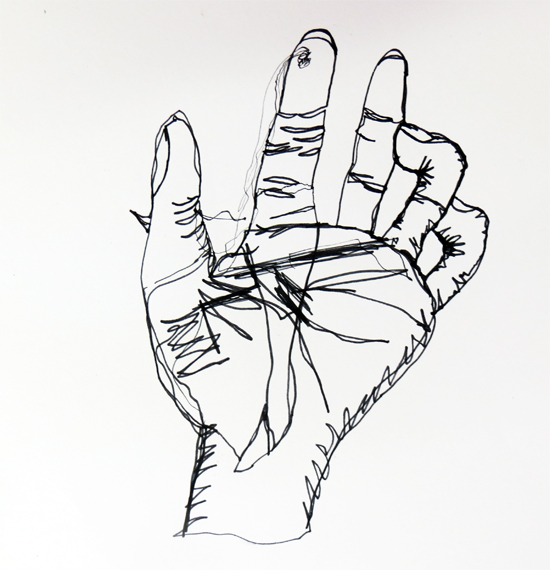 Another warm-up exercise that can be done anywhere! Drawing your own or someone else’s hand in continuous line can be a very useful way to explore concave shapes for scuptural/making projects such as nests and bowls.
Warm-Up Drawing Exercise: Drawing Spirals
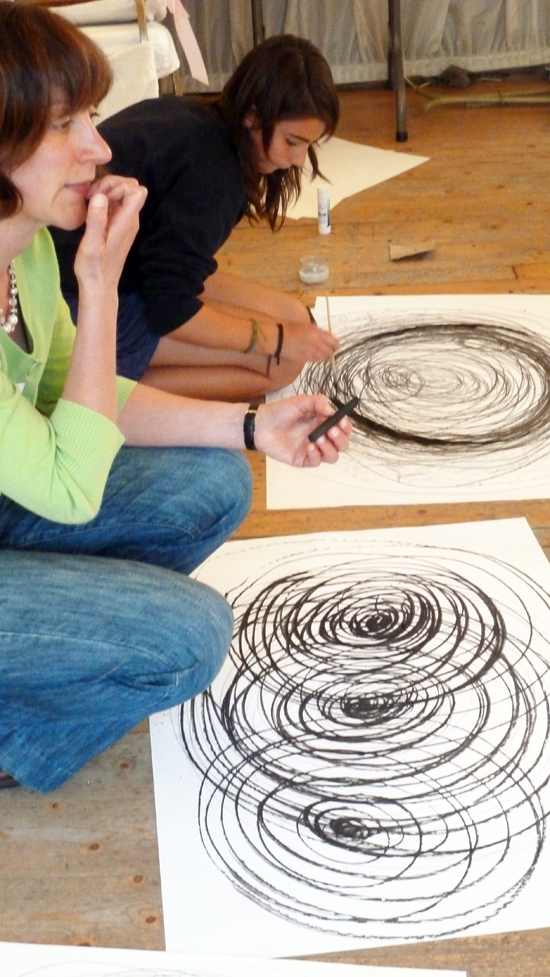 A great warm-up/ice breaker to use at the start of a drawing workshop for both adults and children. As well as getting participants to start making marks on the paper without worry or mental blocks, this simple exercise aims to introduce participants to the idea that drawing and mark making comes from the finger tip, wrist, elbow, shoulder and whole body.
Quick Drawing Exercise: Helping Children to Draw Larger!
 A quick 5minute drawing exercise to encourage children to work large and make their drawing fill the page.
Right Hand, Left Hand – Non Dominant Hand Drawing Exercise
 Practising drawing with your ‘none dominant’ hand, (right hand if you are left handed, left hand if you are right handed), can be a useful strategy for loosening up and for experimenting with the potential of mark making without worrying about the outcome. Another excellent ice-breaker for accessing drawing processes across all mediums.
Making a Shy Drawing – Drawing Exercises for Beginners
 This resource shares unusual yet accessible drawing exercises for beginners. How can we change the nature of the drawings we make – how would we make a “shy” drawing? These exercises and suggestions provide a focus which enables pupils and teachers to explore different aspects of making a drawing, including sound, action and intention.
Drawing Minibeasts – using a continuous line, graphite and oil pastel
 Using images of insects as inspiration, children make 4minute continuous line drawings in pen as a warm-up exercise to encourage close looking and to get their fingers moving.
One Line Street Scene: A Visualisation Warm Up Drawing exercise
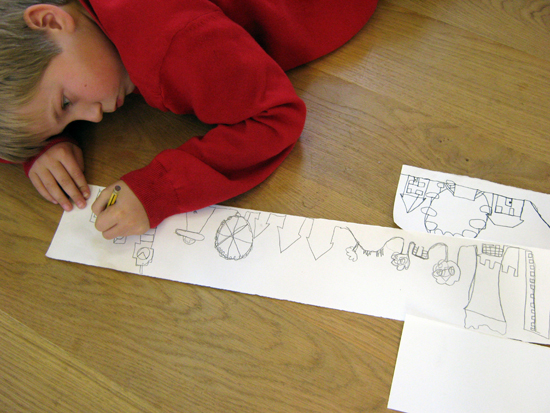 Another fun variation on the continuous line warm-up exercise: children made a drawing consisting of a single line, which started at the left hand side of the page, and finished at the right hand side. The subject matter was a street scene, which they visualised by listening to details of the buildings/objects that they would meet. The results were beautiful and the children enjoyed their journey!
Simple Perspective Art Lesson for Young Children
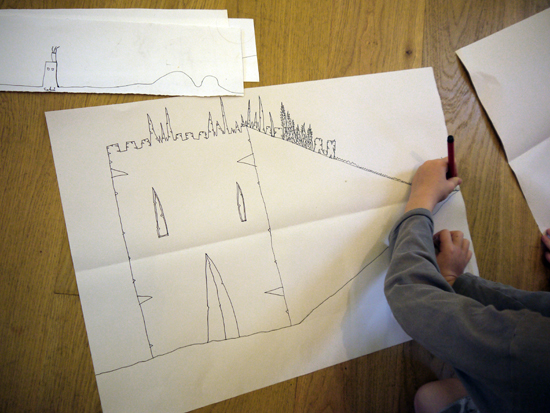 Following on from the above exercise, this resource introduces children (aged 6 to 10) to the basics of perspective in relation to drawing architecture. They learn some simple rules of perspective drawing, before being given plenty of opportunity to develop their drawings on their own.
Making a Blind Contour Drawing
 This is a classic drawing exercise to use with all ages & all abilities and helps you focus upon careful looking, without the worry of what your drawing looks like. In this resource we describe the process and suggest some suitable subject matter and drawing materials.
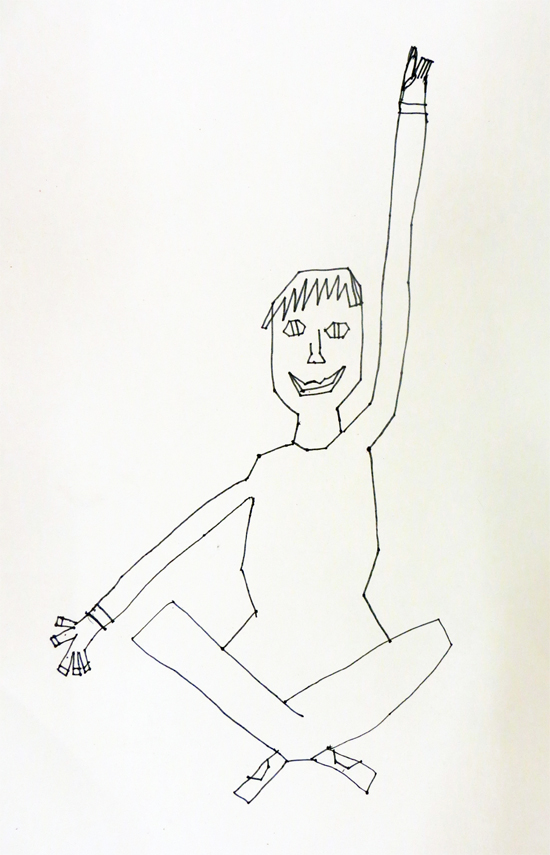
Minimalising: Using Simple Line Drawings to Explore Sculptural Form
 Teenagers explore form using a reductive or minimalising approach to drawing. They were encouraged to create a series of drawings in quick succession, using a limited number of lines to record their objects. For each subsequent drawing, they dropped a line, starting with a seven line drawing and working down to a drawing in one line. This exercise was to get students thinking about essential, sculptural elements in their constructions and drawings.
Exercise to Introduce Foreshortening and Volume in Line Drawings
 This workshop introduces children aged 10 to 13 to foreshortening but can be adapted for groups or individuals and is appropriate for all age groups. The activity enables students to find a way to facilitate the development of volume in their line drawings. They work ‘small and quick’ to encourage ‘doing without thinking’ (and worrying!).
Tackling Still Life for Children Part 1 – Continuous Line Drawing
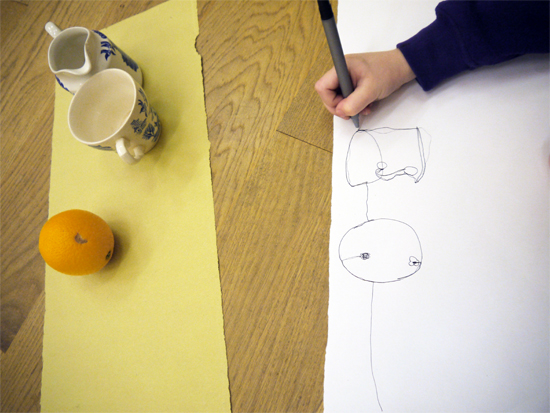 In the first of a three part workshop on painting a still life, children gain familiarity with the objects by making continuous line drawings. As well as tuning into the subject matter, the drawing exercises also encourage the children to consider the shape and dimensions of the canvases right from the start.
Drawing Skulls in Black Pen
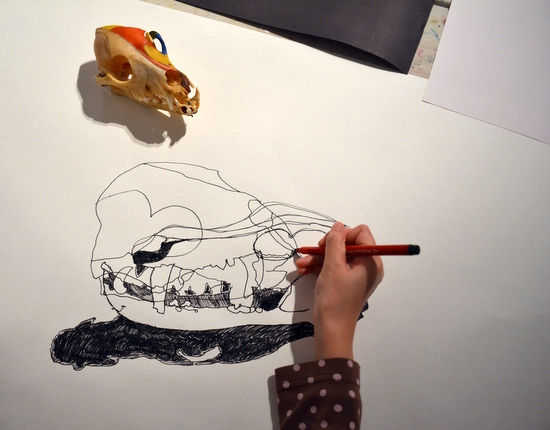 This workshop on drawing skulls was about looking and the re-examination of marks and lines. Students used black pen to create continuous line drawings on A1 paper.
Still Life Drawing in a Cubist Style Using Carbon Paper
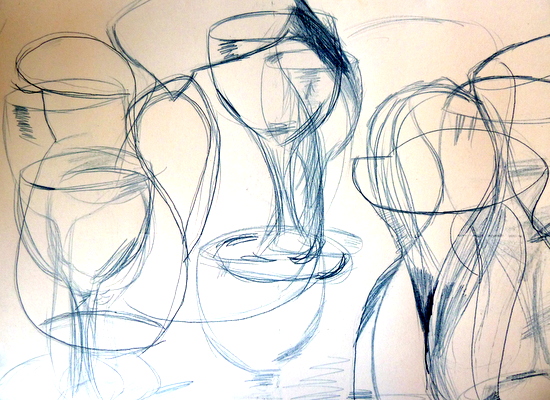 A fun workshop and a great way to study still life and explore Cubist ideas of ‘temporal frames’ and drawing ‘time and space’. Different views of the same glass objects are captured through drawings made with carbon paper, to produce a composite drawing of a still life.
Inspired by Google Earth: Drawing
 A session suitable for all ages, continuous line drawings are used to gather information taking inspiration was taken from Google earth images. A variety of media were then explored to extend and develop the drawings,
Drawing and Making Flowers
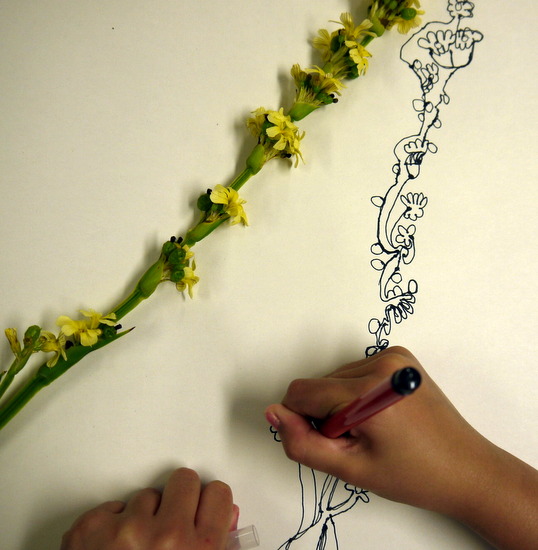 A beautifully structured resource which shares how drawing can be used to enable children to familarise themselves with flower anatomy. Children are given the opportunity to develop their observations and ideas in three dimensions by making flowers with paper and wire.
Quentin Blake’s Drawings as Inspiration!
 Taking Quentin Blake’s drawings as a starting point for simple exercises, children make drawings from life using line and explore how they might use exaggeration as a tool to help them convey the intention of their drawing. During the session, the children are encouraged to take risks and try new ways of working.
Inspired by Henri Matisse – Repetitive Life Drawing Exercise
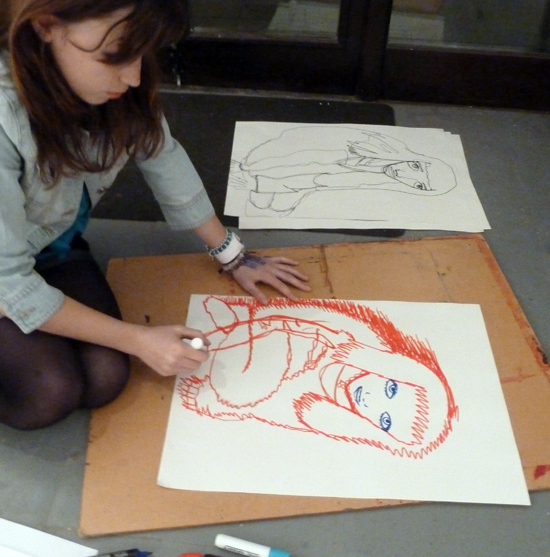 This workshop encourages students to challenge pre-conceived ideas of what a drawing should be or what finished drawings should look like. By making drawings of each other they can experiment with line and expression, inspired by the working practice of Henri Matisse, who often drew an object or life pose many times in succession.
Red to Green: Patterns in Nature, Line and Wire
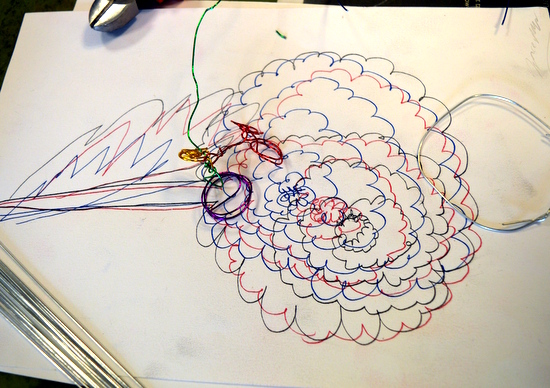 One of a series of workshops by Accessart at Red2Green using drawing to explore designs and patterns in nature, followed by a making session using wire to extend ideas into 3D.
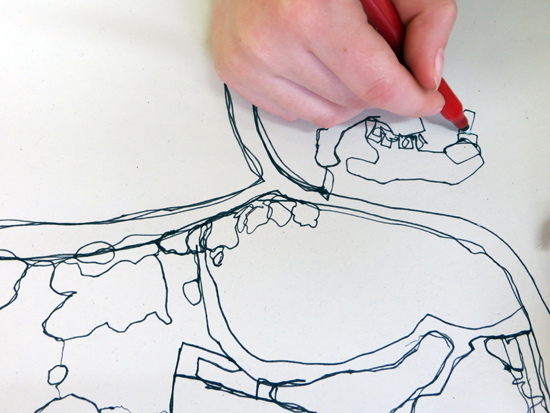
Drawing Insects in Wire and Tracing Shadows in Black Pen
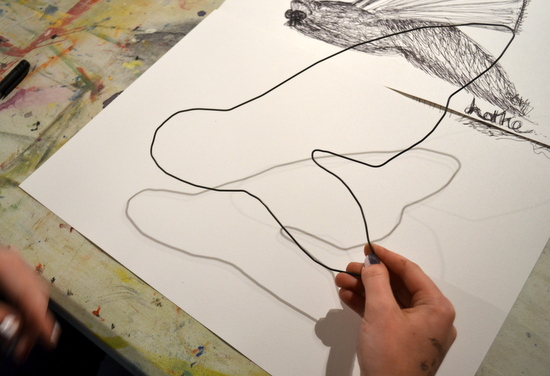 Students use modelling wire to ‘draw’ an insect from their first drawings in black pen. The purpose of this exercise was to help them see and draw form and to think about the quality of line achievable in black pen. It was also an exercise in simple abstraction or simplification of subject matter.
Drawing with Wire
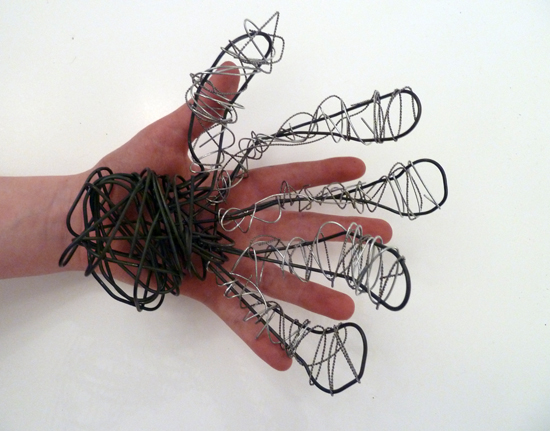 Teenagers in AccessArt’s Experimental Drawing Class explore drawing their bodies with wire. They were asked to think about how they feel physically from within and try and find a way of expressing that with wire. The exercise was about finding a way to ‘represent’ physical sensations using form.
Drawing with Wire like Calder, and Backwards Forwards Sketching
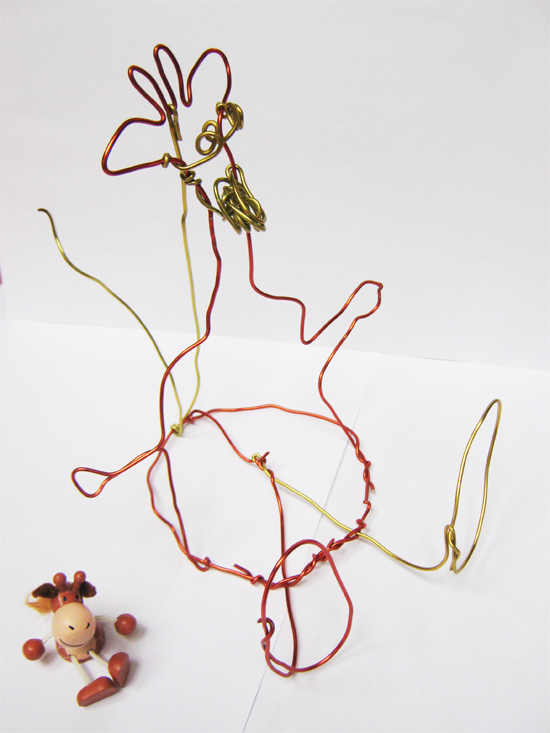 An exciting resource based on the work of Alexander Calder. Children make drawings of their own toys, which are then interpreted in fine wire – an introduction to the tricky business of drawing in space!
Standing Up! – Making Vertical Sculptures and Working from the Base
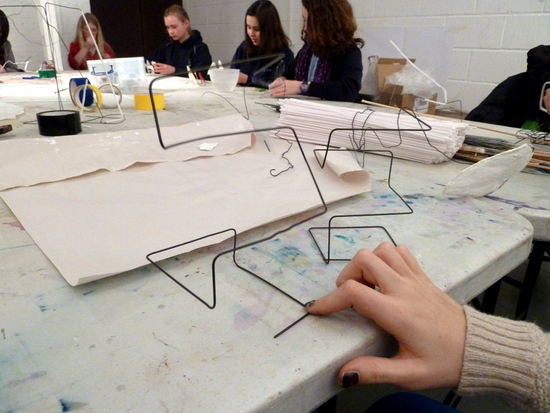 Teenagers are challenged to create sculpture that was able to stand up and to explore how tall the sculpture could be before it fell down. They experimented with elegant solutions to make their wire forms stand, considering also the relationship between its base and the surface it was standing on.
This was also an opportunity to explore construction materials and finding the right materials for the job.
Reaching the Limit: Making Tall Sculptures and Stretching Materials
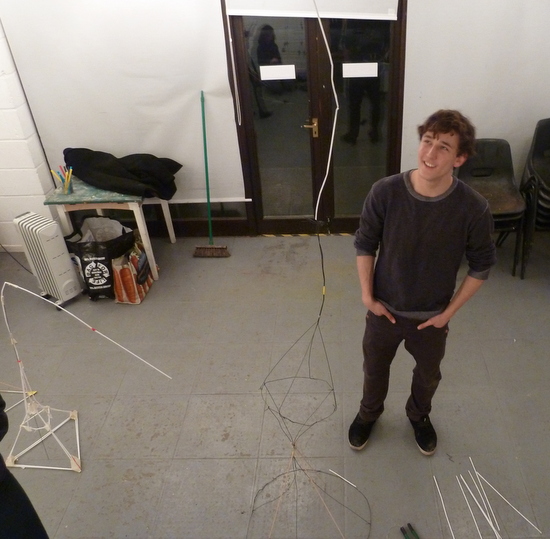 Following on from working with the vertical in Standing Up! – Introducing the Vertical and Working from the Base, students were pushed to further develop their understanding of sculptural relationships such as balance, the object’s relationship with the ground and how to build elegant, vertical structures. They were set the challenge of building a sculpture or structure, which was as tall or taller then themselves, working with basic (and quite flimsy) construction materials, in an hour.
Landscape Sculptures in Wire and Mixed Media: Working Through Ideas
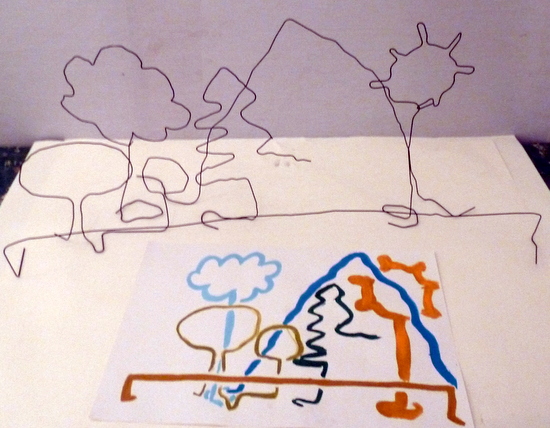 Teenagers work from the theme of landscape exploring rhythm and movement in wire, drawing from their sculptures and making simultaneously. They were introduced to modelling wire and modroc as construction materials – paper, drawing and collaging materials were also readily available.
Withy Sculptures
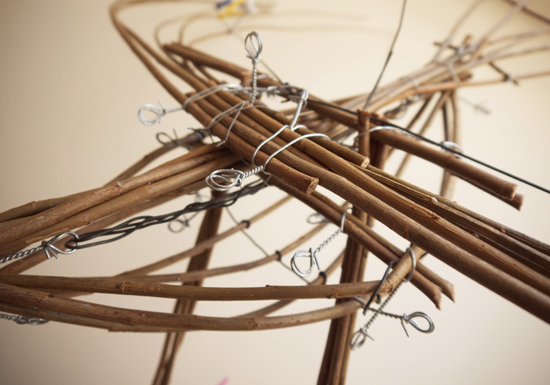 Traditionally used for basket weaving and garden sculpture, withies, or willow sticks, are a versatile construction material, ideal for exploring sculptural form and ‘drawing in space’ with line.
Drawing with Wire: The Polymeric Approach by Julie de Bastion
 Artist Julie de Bastion shares a wonderful workshop that enabled participants to create a “drawing within a drawer” making delightful “Story Boxes” involving 3D drawing with flexible black wire, and drawing with mono-printing.
Drawing Space/Drawing in Space
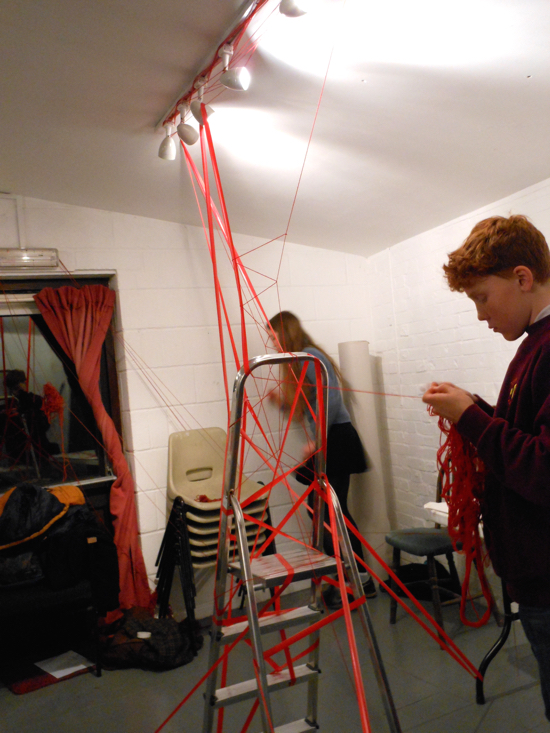 In Western art, we use the term ‘negative space’ to talk about the areas between objects on the page/canvas but this tends to convey quite a static idea of space. There is a Japanese word, ‘ma‘ (間), that suggests a more evocative and dynamic spatial experience and it was this concept that inspired this workshop, in which teenagers made three dimensional line drawings to explore the space around them.
Teachers Explore ‘Line and Shape’ at the Fitzwilliam Museum, Cambridge with AccessArt
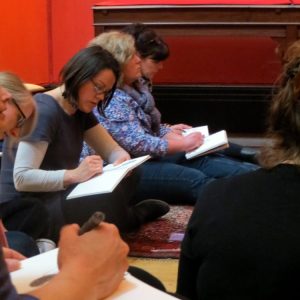 In the spring and summer of 2016, Paula Briggs and Sheila Ceccarelli from AccessArt and Kate Noble from the Fitzwilliam Museum, Cambridge to create and deliver a series of InSET sessions (in-service-training) for primary school teachers.
The aim was to fuse top Museum Education practice with practical, hands on learning in Fine Art disciplines including: drawing, printmaking, sketchbooks, collage and sculpture.