By Jan Miller
In this post, Jan talks through a range of painting projects using black paper as a starting point. Beginning with still life plates of fish, the ideas move across age groups and subject matter, providing lots of inspiration for having fun and moving away from white paper.
Introduction
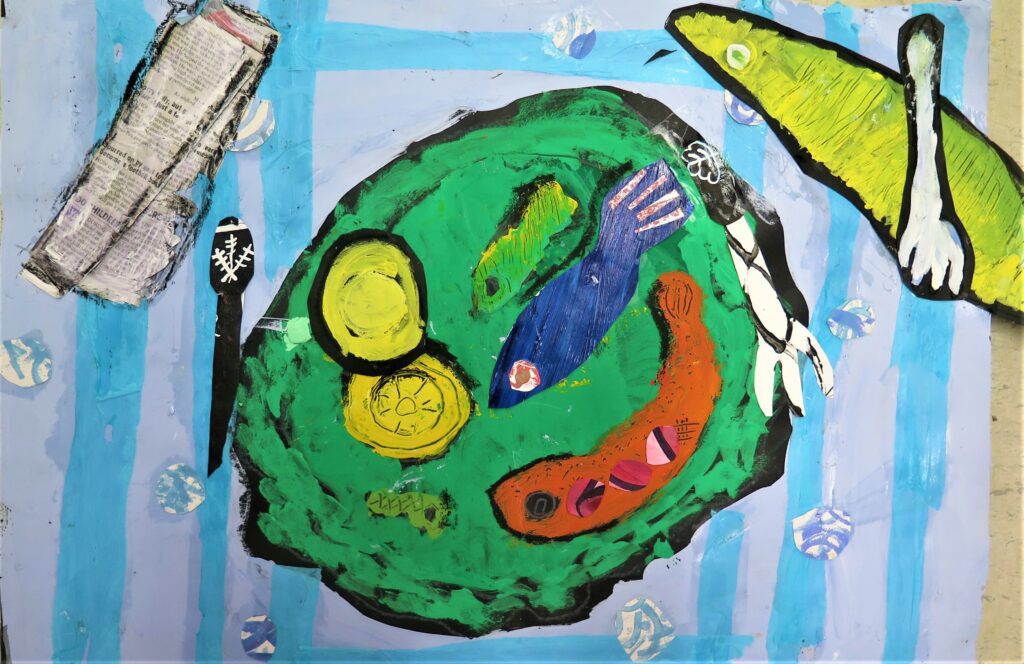
There is a tendency to work on white paper in the classroom. We use white paper sketchbooks for much of our lesson starters and observation drawing so recently, we have been trying final pieces on coloured paper. We have used subtle coloured sugar papers and rich tones of mineral paper, but I’ve found the darker colours, particularly black, have been most popular. The effect of this black paper is that the colours appear bright and bold. The gaps are not a problem and they do not have to be filled. Adding texture such as sgraffito is very effective as the black shows well from underneath. Printing with textures creates a bold effect and colourful collage paper works well also.
We have painted on black with several classes recently and all have been successful. This project used Picasso’s ceramics of his fish on a plate as our inspiration. The approach to learning and painting was joyful and playful.
To access all content, I would like to join as…


AccessArt is a UK Charity and we believe everyone has the right to be creative. AccessArt provides inspiration to help us all reach our creative potential.
You Might Also Like…
Drawing Spirals

Thinking Silhouettes

Painting with Poster Paint


