Set Design with Primary Aged Children
By Paula Briggs
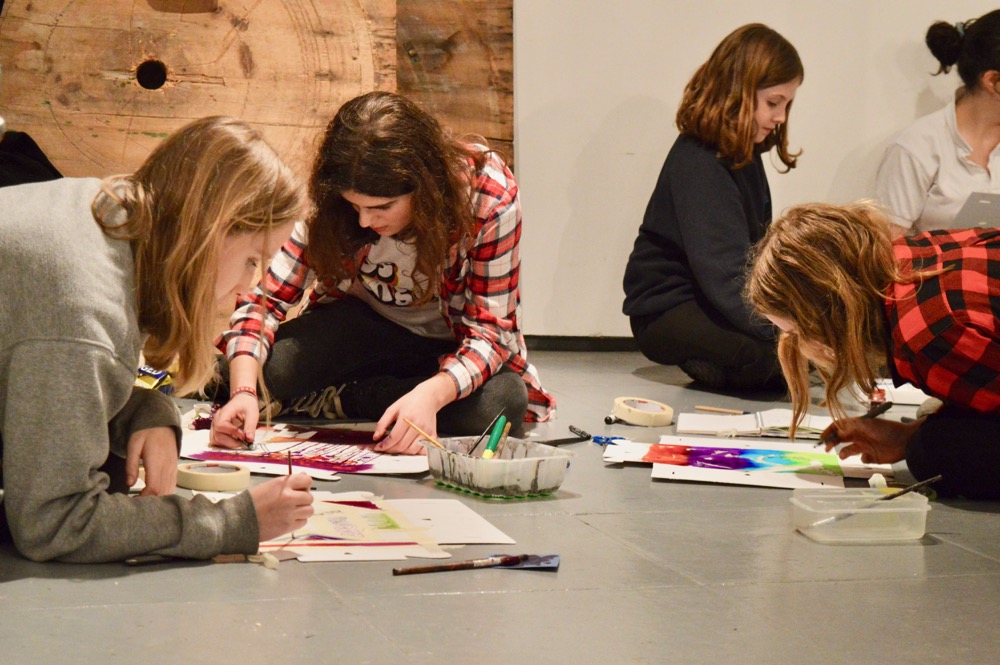
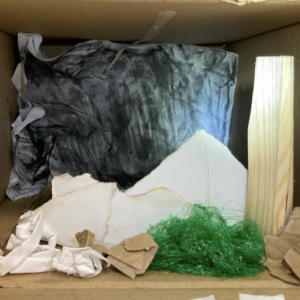
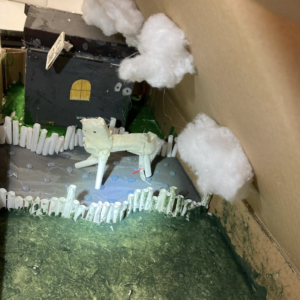
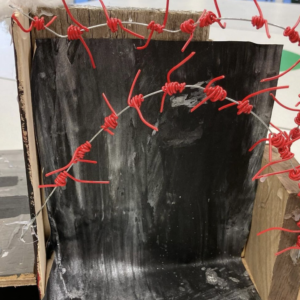
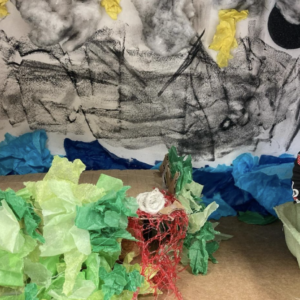
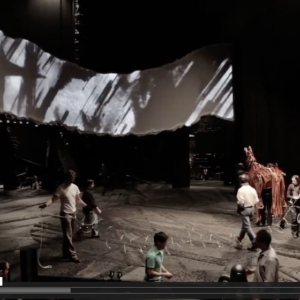
This beautifully illustrated resource shares how to explore set design with primary aged children. Paula Briggs worked with years 3, 4, 5 and 6 children at Bourn Primary Academy to create wonderfully dramatic set designs.
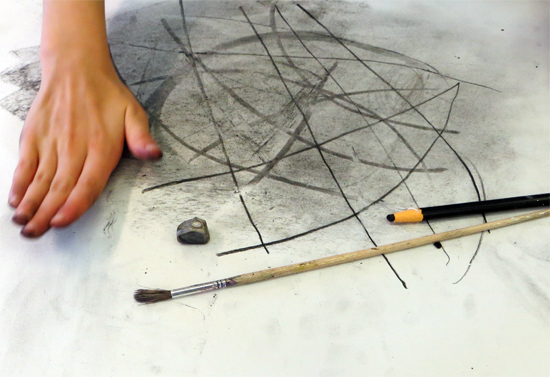
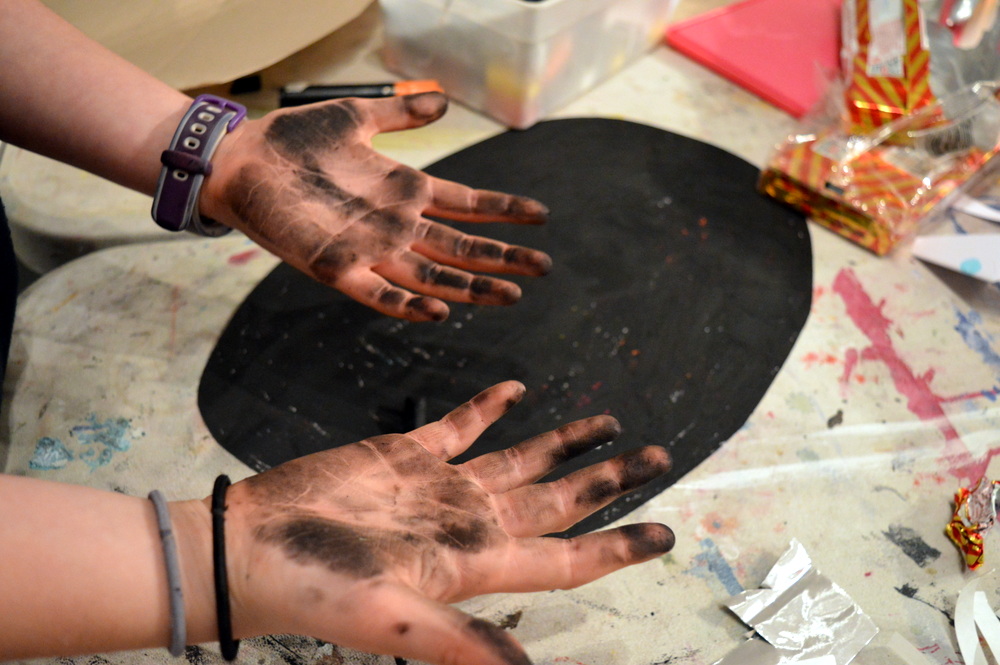
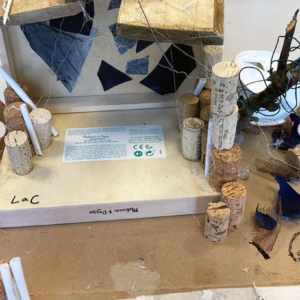
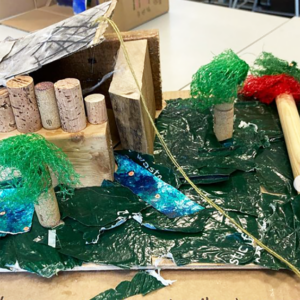
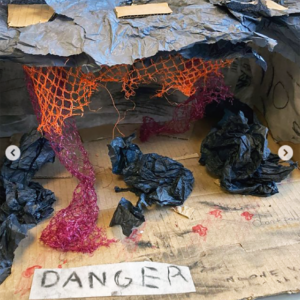
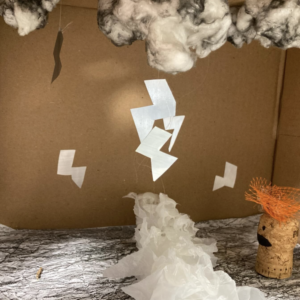
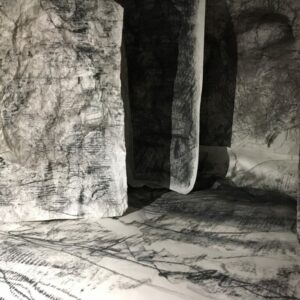
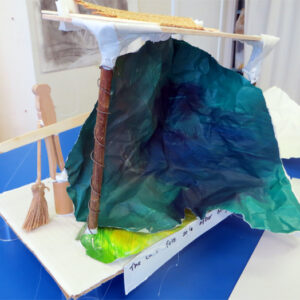
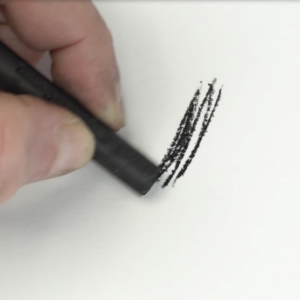
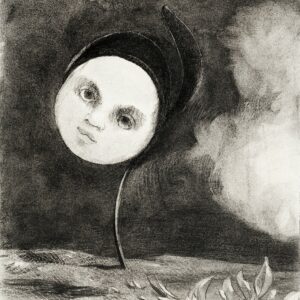
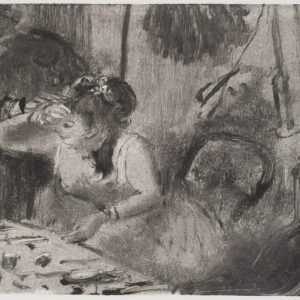
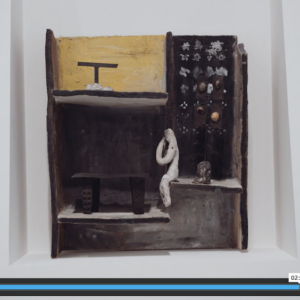
Children first made dynamic and energetic drawings in charcoal and then created imaginative, sculptural sets and scenes in mixed media.
To access all content, I would like to join as…
AccessArt is a UK Charity and we believe everyone has the right to be creative. AccessArt provides inspiration to help us all reach our creative potential.

Carolyn L Weisnagel
December 13, 2013 @ 3:57 pm
These are fantastic. I love that the children could incorporate their original charcoal drawings. I have a couple of questions: Can you elaborate on how you wanted them to concentrate on structure and what the white clay-like material holding the set pieces together is?
Thank you! I will be creating sets for stop motion animation with my high school students next semester and love the idea of emphasis on the set, as well at the narrative and characters.
Carolyn
Paula Briggs
December 13, 2013 @ 4:49 pm
Hello Carolyn,
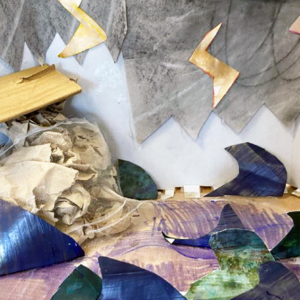
The white clay like material is the glue gun pellet I think… ideal for quick construction – the children don’t have to worry about how to make joints with materials (I know that has a value in itself, but in this session I wanted them to feel empowered to build)…
I asked them to concentrate on structure so that they would find equivalents for emotions, i.e. how does the personality of a material affect the personality of the set design. In reality, other than stating in a basic way “today we are going to concentrate on structure” I didn’t have to give them much guidance I just made sure the materials they had access to were varied so they could make informed choices, and let the materials inspire them into action. I didn’t put out any pens or paints because I felt that would have made it too easy for them to try to convey an emotion in ways they were already familiar with. As the session went along I did encourage them to question the shape of the stage/background etc (or in otherwise the card they started with…):
What kind of scale was it working on (i.e. were the props much smaller to make the stage feel large?)
What happens when you cut into the card to get away from it’s inherited rectangular shape?
How can you use structures in the foreground to give a feeling of depth to the set design?
How does the light get around the stage and flow around your props?
How can you push that construction/way of working?
We had very limited time to create these models. I did feel there would be lots of mileage to take things further…
Pls feel able to post any images of work you make in your session (either as a comment or if you’d prefer, we can look at making a post for you) and good luck with it!
Emma Cavalier
March 13, 2014 @ 1:00 pm
Your information and pictures were really useful to me when we had a cross curricular day at our school. The theme was dance and theatre and as I am a design and technology teacher I wanted the children to be involved in designing and making somehow. We only had one hour but we discussed the differnent parts of the theatre and introduced some scenery related words. Then I gave them snippets from the story of Shrek, very much like your sentences to help create a visual picture in their heads. they first sketched their ideas with charcoal and then in small groups they turned their sketches into a 3d set model including the lighting of it with a torch. The children were years 5,6,7 and 8 and they seemed to enjoy it. Thank you for providing the inspiration.
I have more photos but I can only seem to add one to this comment.