By Sheila Ceccarelli for Students and Staff at Red2Green
In autumn 2015, AccessArt was invited to lead a series of practical workshops as part of an Arts Council, Grants for the Arts project, Aspire to Create which was managed and delivered by Red2Green.
Red2Green is a ‘Cambridgeshire charity providing services including learning, leisure and work opportunities for adults with a wide range of disabilities.’
Aspire to Create aimed to ‘broaden its students’ access to creative opportunities.’
During a two week residency, Sheila Ceccarelli, from AccessArt, worked with Aspirations, a group of adult learners with Autistic Spectrum Disorders and staff at Red2Green, on a series of practical workshop sessions, exploring creative processes from drawing and printmaking to sculpture & casting, inspired by nature and culminating in an exhibition.
The Aspire to Create project was underpinned by the students’ research into a local 19thC amateur naturalist Leonard Jenyns and his connection to Charles Darwin. Prior to Sheila’s visits, learners visited the local church in Swaffham Bulbeck, where Jenyns was the vicar.
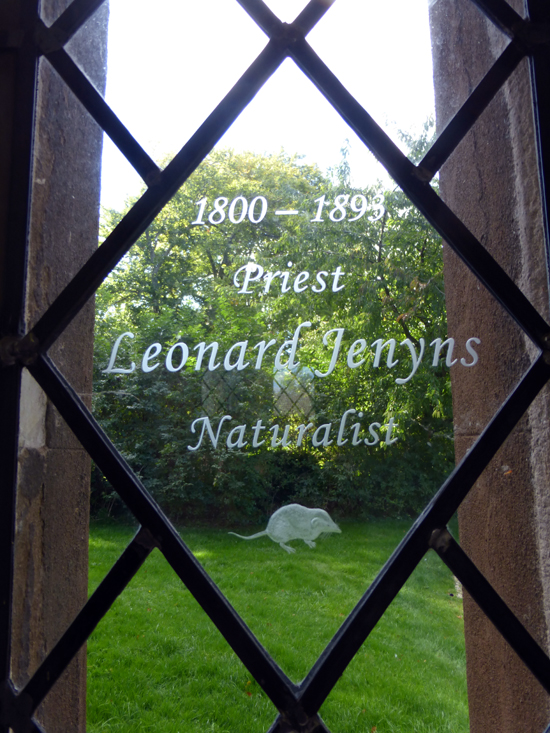
Learners had also visited the Fitzwilliam Museum, Cambridge, exploring both 20th century and classical art works inspired by nature and the Sedgwick Museum of Earth Sciences. A box of skulls was also borrowed from the Cambridge University Museum of Zoology Loans Boxes service.
Sheila continued themes inspired by nature and natural form and offered students a bespoke opportunity to build up a repertoire of techniques and a portfolio of creative experiences.
The weeks were action packed and sessions were energetic and sometimes chaotic, but one of the most wonderful outcomes, beyond even that of the beautiful and thoughtful work created, was the transformation of the classroom into a studio and the commentary and conversations that happened there.
Sessions were documented and the series of AccessArt posts, below, created to offer a lasting archive to demonstrate how learners accessed the processes and highlight the extraordinary work produced.
Please note that not all was documented to protect the privacy of some of the learners who preferred to remain anonymous.
Many thanks to Sharon, Sally, Vicky, Jeanette, Alice and Elizabeth for their help during the workshops and inviting me to be part of such an inspiring and supportive learning environment – Sheila
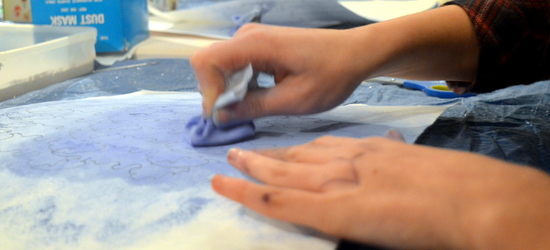
One: Casting

Exploring mark making into wet clay, mould making, mixing and pouring plaster
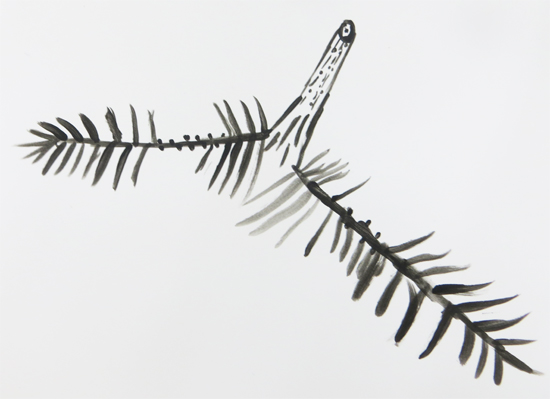
Two: Patterns in Nature, Line and Wire

Using drawing to look at designs and patterns in nature to inspire the creation of wire sculpture
Three: Taking Rubbings and Making Compositions

Recording the surrounding world by taking rubbings
Four: Block Printing

Learners are introduced to block printing
Five: Monoprinting

Exploring texture, pattern and mark making through monoprinting
Six: Steps to Observational Drawing

Four steps to enabling observational drawing
Seven: Making Sculpture

Learners explore sculptural principles of form, space and balance
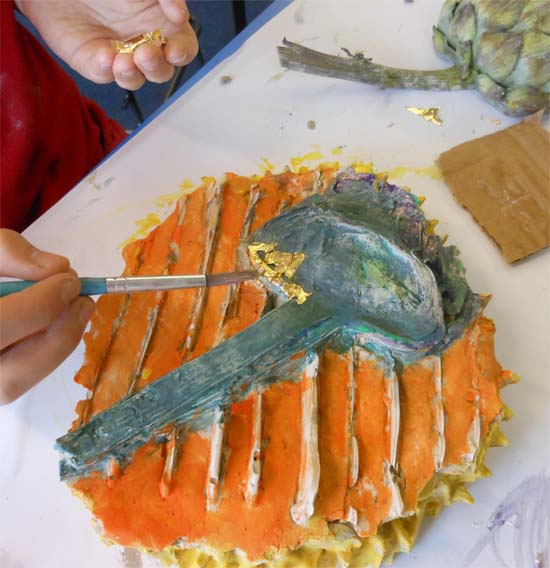
Eight: Wax Resist and Scraffito

Introducing colour with wax resist and scraffito techniques


 by Anna Atkins Purchase, Alfred Stieglitz Society Gifts, 2004")

