By Jan Miller
This resource is part of a collection called Teaching Art to Year Three.
Here Jan Miller shares an activity using two processes in a single 1.5 hr lesson which developed drawing and printing skills together with an introduction to oil painting, with outstanding results.
-
Context
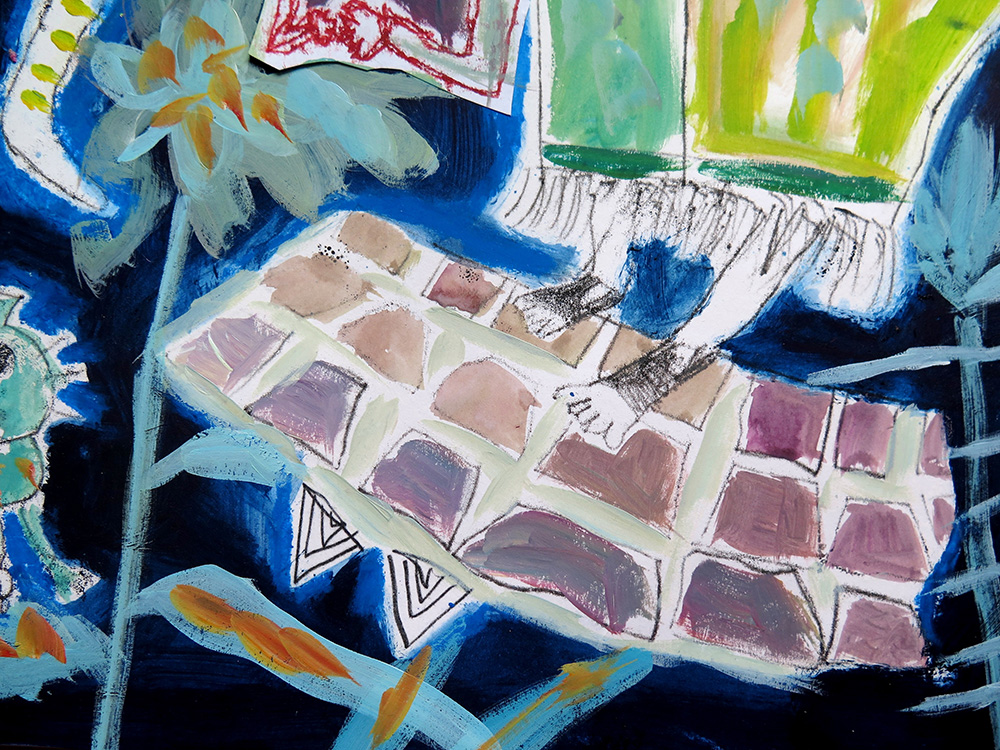
The focus was Penelope with the Suitors, 1509 by Pintoricchio, displayed in the National Gallery, London. Participants developed an understanding of figures and poses, acknowledging that drawing people is not such a daunting task; irregular and distorted drawings add to the interest. Knowledge of Formal Elements are developed such as line width, shape, tone, composition as well as cropping, overlapping, negative space, size and limited colour.
Features of the painting include:
- Penelope at her weaving frame, with her maid in her best dress.
- Suitors trying to impress Penelope in their finest clothes, disguise and striking poses.
- Symbols included a cat, wool, bird, weaving shuttle, animals, weaving frame, bow & boat etc.
- The project began by discussing each of the characters and what clues they could find to describe them. Children analysed how the artist used space in the painting and questioned why he overlapped features and created tension created by cropping. The children thought the colour was quite dull and so wasn’t an important consideration – they thought they could eliminate colour from their work and use just one rich colour.
-
Aims of the Project
The children decided on their aims for the work:
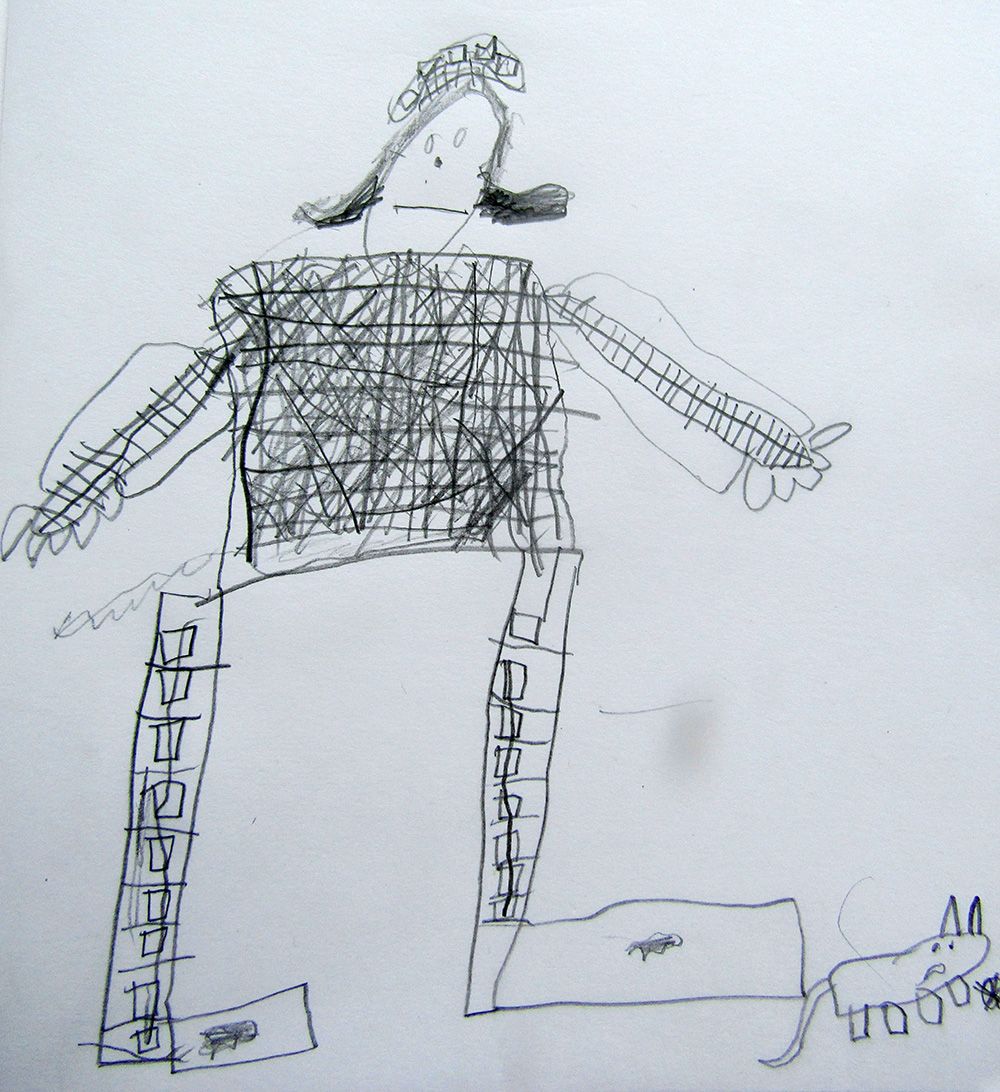
- Modern people, including themselves, would feature in their work – inspired by the reflection of gallery visitors in the glass frame, viewing the painting.
- Include modern faces and hands only, avoiding bodies or modern costume.
- Focus on key figures and eliminate background distraction.
- Explore sizes and cropping and drawing from different perspectives.
- Use blue background to create mysterious night sky effect to make the figures float around in space or in a dream.
-
Who are the sessions aimed at?
Who is the session aimed at?
The sessions were run with children aged 8.
The resource could be used with children aged 7 to 11 (older KS 1 children and KS 2 children).
-
Which areas of exploration are covered?
Which areas of exploration are covered?
- Drawing and mark-making
- Drawing from observation and imagination
- Mono-printing
- Working large scale
- Oil painting
- Mixed -media.
- Explore scale, composition, negative space & cropping.
- Create a group composition using selected mages.
- Appreciation of historic art.
- Using established art to inspire own work.
-
How much time is needed?
How much time is needed?
The session was 1.5 hours with preparation time.
Older children could easily spend more time using smaller brushes or more detail in the mono-printing. Younger children might benefit from two one-hour sessions.
The session below was with the whole class. A helper was beneficial as the children rotated around two activities and because of using white spirit. If managed well, and adequate preparation, there should be no children waiting for a resource or process.
-
Extension Ideas
The project could be extended:
- More small portraits could be produced so children could be more selective, considering the quality of line, pressure and amount of ink used.
- More washes of colour could be added inside the shapes.
- More painted shapes could be added to the background as another layer, as the oil paint, if damp or dry, takes a second layer of any paint well.
-
Variation
Variation
- The children developed an understanding of process, working spontaneously and with pace. If you follow the sessions you will cover all the areas of exploration listed.
- If time is limited, you can easily work on a smaller scale (I have mono-printed on A3-sized floor tiles or used inexpensive plastic table mats). The inked boards can be stacked and used at a later session.
- The children could spend time planning in an earlier session by cutting and collaging photocopied elements from the painting to create new compositions to inspire their designs.
- Children could work in pairs, each making one of the print methods, then bringing them together.
- If you would prefer, use acrylic or poster paint or even oil pastels or crayons for the background.
- A historic painting worked well, but any painting could be used as stimulus.
- The amount of preparation could be increased. If you are working with a smaller group, the time needed will remain the same.
- Collage could be added to the final design from magazines, wallpaper or photographs.
- White mono-printed ink drawings could be added by simply inking up thin paper laying it on and drawing through.
-
Materials, Equipment & Preparation
Materials and Equipment-
- Inspiring ‘Old Master’ painting
- Safety goggle/aprons for those working with oil paint
- Prussian blue oil paint, old flat hog hair brushes
- Blue oil pastel
- Black/Red block printing ink, rollers
- A2 paper
- A4 photocopy paper
- PVA
- Old tiles/plastic placemats/table tops
- Sharp pencils or biros
- Newspaper
Preparation-
Ink up surfaces and tiles. Although children enjoy the energetic rolling of ink, check the amount of ink and that all edges are inked- (easily removed ink by layering newspaper and rubbing to remove excess).
Putting small amounts of oil paint out, small amount of white spirit in labelled glass jar (with hazard label).
Rip out some faces from newspaper, to avoid distraction of other newspaper images. I had some small plastic mirrors available for self-portraits to be reflected in the design.
-
Where might the sessions be used?
Where might the sessions might be used?
- Classrooms (as part of art lessons or 1-off workshop)
- After school art club or AG&T group.
- Community groups (i.e. Scouts and Guides)
- Gallery, Museum or Art Organisation workshops
-
Tips!
Tips-
- Have activities on different tables and encourage the children to rotate.
- Avoid having a demonstration already completed as they may feel they need to imitate it.
- Have wet wipes for hands.
- Newspaper on oil painting table.
- Oil paint on paper plate/greaseproof paper/foil cake case.
- Old jam jars with white spirit so doesn’t tip over when brushes in.
- Goggles can be made from acetate shapes- hole punched sides with shearing elastic.
- Ask parents to donate old tiles.
- Small amount of printing ink goes a long way.
- A4 dark blue carbon paper is inexpensive and can be masking taped together to give a mono-print effect.
- A portable folding drying rack is perfect to dry overnight.
- If no old table tops, tiles, mats, plastic sheet from picture frames or off-cuts of Formica boards would be ideal. Don’t be afraid to ink the actual table – water based ink easily wipes off, and the children love helping.
Part 1 Drawing and printing in sketchbooks
The session began by me giving verbal descriptions of the painting we were studying (see above) and with the children making initial pencil drawings in sketchbooks in response to my descriptions, without any visual clues.
To access all content, I would like to join as…


AccessArt is a UK Charity and we believe everyone has the right to be creative. AccessArt provides inspiration to help us all reach our creative potential.


 by Anna Atkins Purchase, Alfred Stieglitz Society Gifts, 2004")


