By Paula Briggs
Mark making underpins all drawing activity. This resource is the first of three resources that explore how we can use sound to inspire mark-making.
In Part One of Mark-Making and Sound, we explore how we can use sound as a stimulus to develop the kinds of marks we can make.
In this exercise, we will take a single drawing material, such as a pen or soft pencil, and explore how the marks we can make will be affected by the way we hold the pencil and the way we are inspired to make that pencil move. We will use sound (in this case, our voice) to inspire that exploration.
The aim of this particular exercise is to open learners’ minds to the wide variety of marks they are able to make, then encourage reflection to help them understand how they can use these marks in their drawing. This resource can be used with ages 6 through to adults and takes between 5 and 15 minutes.
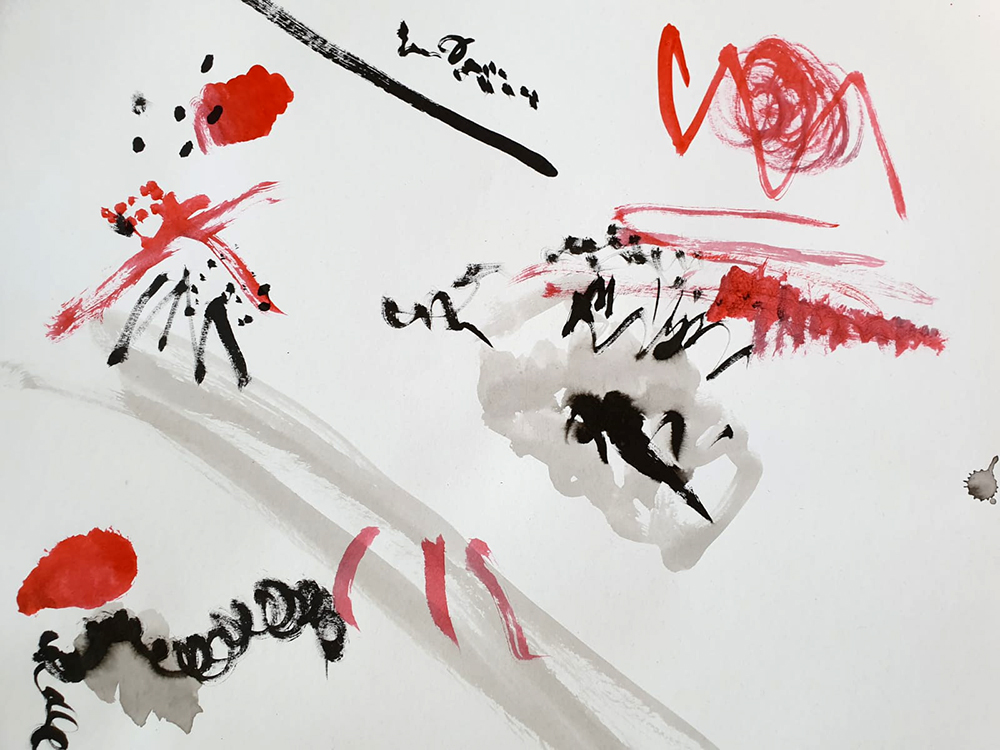
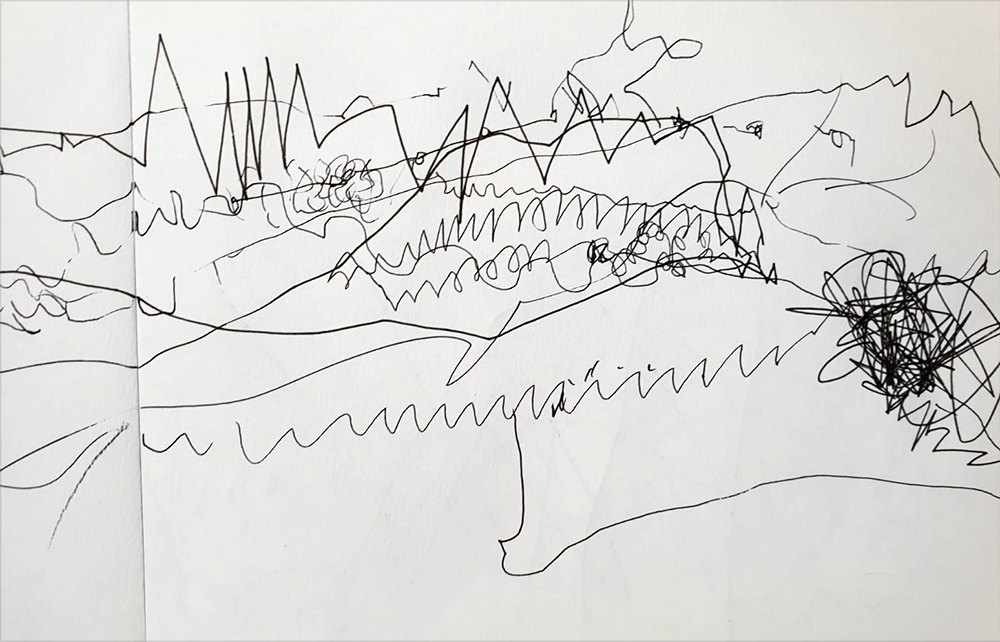
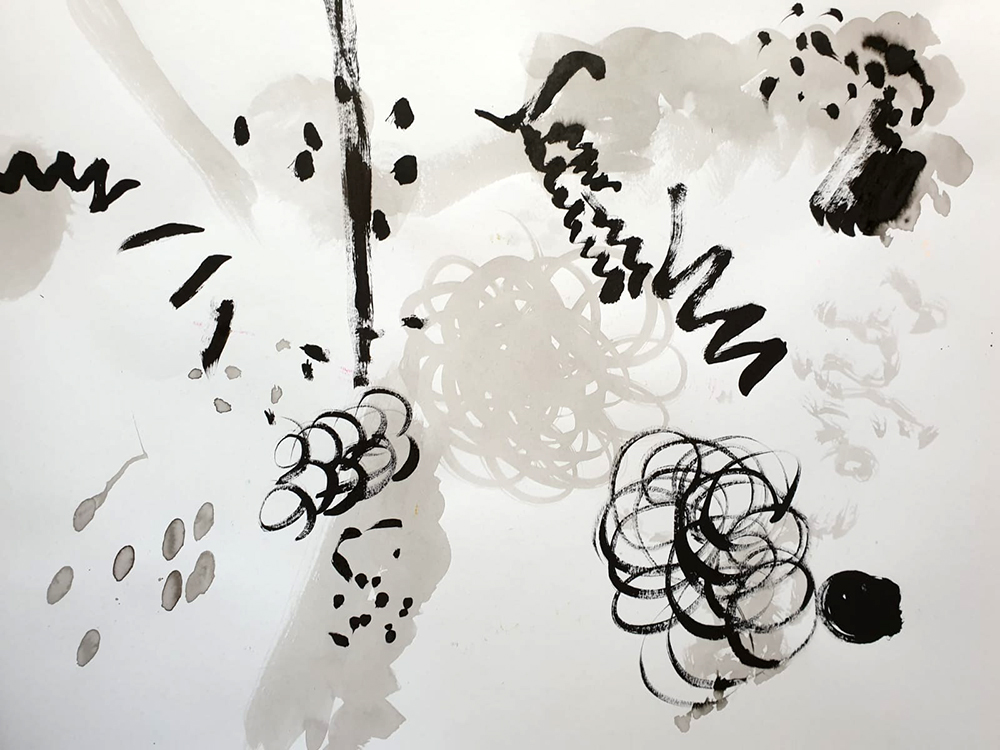
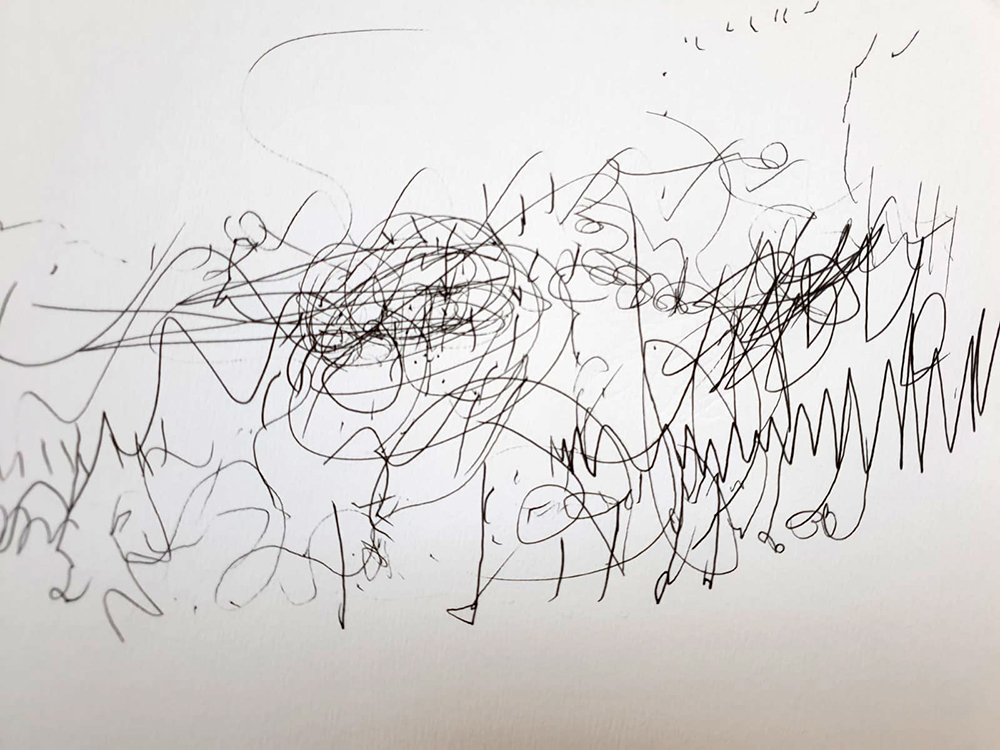
A more open or able learner might be able to cover their sheet with a real variety of marks. As you look at the sheet, you should be able to identify areas where the learner has applied greater or lesser pressure. You should be able to see that they have experimented with ways of holding the drawing tool. You might also see different densities in the drawing on the page – for example, areas of white page and areas where there are more marks as the learner has intentionally or unintentionally started to respond to the marks that are already on the page, as well as the sound.
A less able or less open learner might need help to leave behind the way they have been “taught” to hold a pen. Marks may seem more uniform with less evidence of experimentation.
Drawing is all about mark-making, and developing a learner’s mark-making vocabulary will help them progress in drawing skills of all kinds.
Developing a learner’s mark-making vocabulary is analogous to developing a learner’s language skills. We start with the basics and the building blocks; then, as the learner becomes practised, we can bring the elements together. Through this exercise, learners can become more aware of the potential marks that they can make, developing a greater repertoire from which to draw upon to express their intention.
Even very young children understand that we enjoy listening to music because of the variety of rhythms, melodies, and instruments within the piece. Likewise, they can make their own drawings more interesting by using a variety of marks, but we need to enable children to experience for themselves that they can invent their own mark-making language.
When we are thinking about developing mark-making skills, there are three main areas that we can consider. First is the drawing material: the pen, the pencil, and the charcoal. The second is the way we hold that drawing implement, and the third is the energy, spirit, or intention that we direct through our body onto paper.
This exercise can be used as a transitional exercise between activities or to precede other drawing activities. It’s an ideal exercise to do as a guided activity, i.e., with the teacher using verbal prompts and sounds to help the children.
Note to Teachers:
Please do try this exercise yourself a few times so you know how it feels to actually do the exercise before you run through it with pupils.
Watch the video above as a class so that the children can begin to appreciate some of the different ways that they can use their drawing tool, inspired by the sound.
You can then either use just the audio from the video so the children can create their own marks (they mustn’t feel the need to replicate the marks in the video), or you might feel confident enough to record your own sound effects, or even make your own noises out of your own mouth to inspire them. You might even read poetry as the stimulus.
Without a visual subject matter ( i.e., you are not drawing anything in particular), you will be making marks using your drawing tool, inspired by the sounds you hear.
It’s really important to try and work intuitively and without overthinking what you are doing. This can take a little bit of practice, and it can also take a little bit of time to settle into the session. At first, the saboteur voice inside your head might be telling you:
-
I’m not doing it right
-
This is silly
-
I don’t know what to do
-
I’m pretending…
Try to ignore this voice. Acknowledge its presence, but politely tell the voice to shush. The more you are able to relax into the activity and stop resisting, the more you will get out of the exercise.
Always remember there is no right or wrong way of drawing in this exercise, only an “expanding” of what is being experienced.
To Start
Take a sheet of A3 or A2 cartridge paper, and a soft pencil (2B, 4B, 6B) or a handwriting pen, or ink and brush.
As you listen to the sounds, challenge yourself to make a variety of marks in response. To help push the diversity of marks you make, think about how you:
-
Hold the drawing tool. For example, holding it firmly near the drawing end will give you a different result than holding it lightly at the other end. Be experimental!
-
Experiment with the pressure applied
-
Experiment with the speed of movement
-
Experiment with how you move your fingers, wrist, elbow, or shoulder.
Varying each of these in different combinations will help you make a more diverse set of marks.
Feel the energy of the sound, and let the same kind of energy travel down your arm to the drawing tool!
Tip:
If you feel like you’re really struggling to let go and you can’t stop that voice inside your head saying “I don’t know what I’m doing”, then try closing your eyes as you listen to the sounds and make the marks with your eyes closed.
Reflection
Once you have tried the exercise, you may like to ask the following questions to help you reflect upon the experience:
-
Which marks do I like?
-
Which marks are unexpected/ have I never made before?
-
When I look at the marks, can I remember the sound that inspired me to make them?
-
Can I see that my marks have character or personality? Do they convey emotion, for example, anger or care?
This is a sample of a resource created by UK Charity AccessArt. We have over 1500 resources to help develop and inspire your creative thinking, practice and teaching.
AccessArt welcomes artists, educators, teachers and parents both in the UK and overseas.
We believe everyone has the right to be creative and by working together and sharing ideas we can enable everyone to reach their creative potential.
You May Also Like…
Pathway: Music and art

This is featured in the ‘Music and Art’ pathway
Mark Making & Sound: Part Two

Mark Making & Sound: Part Three
")
Drawing to a Slow Rhythm

Inspired by Miro

Drawing to Music


