Artist Andrea Butler shares how she developed a more personal visual language in her drawings. She started with simple contour drawings and then began focussing on the moving figure, eventually taking her sketchbook to the cinema to draw in the dark, making drawings that were about the process of pure ‘seeing’ and developing a drawing trust between her eye/hand to make marks that recorded her visual experience.
‘With a house move and family commitments, I haven’t found much (if any) time for drawing during the last year but recently, I had the opportunity to attend some life drawing workshops which were linked to a local exhibition of figure drawings and portraits. As I hadn’t drawn for quite a while, I realised that I needed to warm up my drawing skills before I got into the life room otherwise I would be going from a position of no drawing, to one of the most challenging drawing situations there is: drawing the human figure. If I wanted to get the most out of the workshops, I needed to take some action!
Starting with a Contour Line
Inspired by the Ten Minutes Five Times a Week, I began by making contour/continuous line drawings – an excellent way to get back into a regular drawing habit and a very manageable, simple first step.
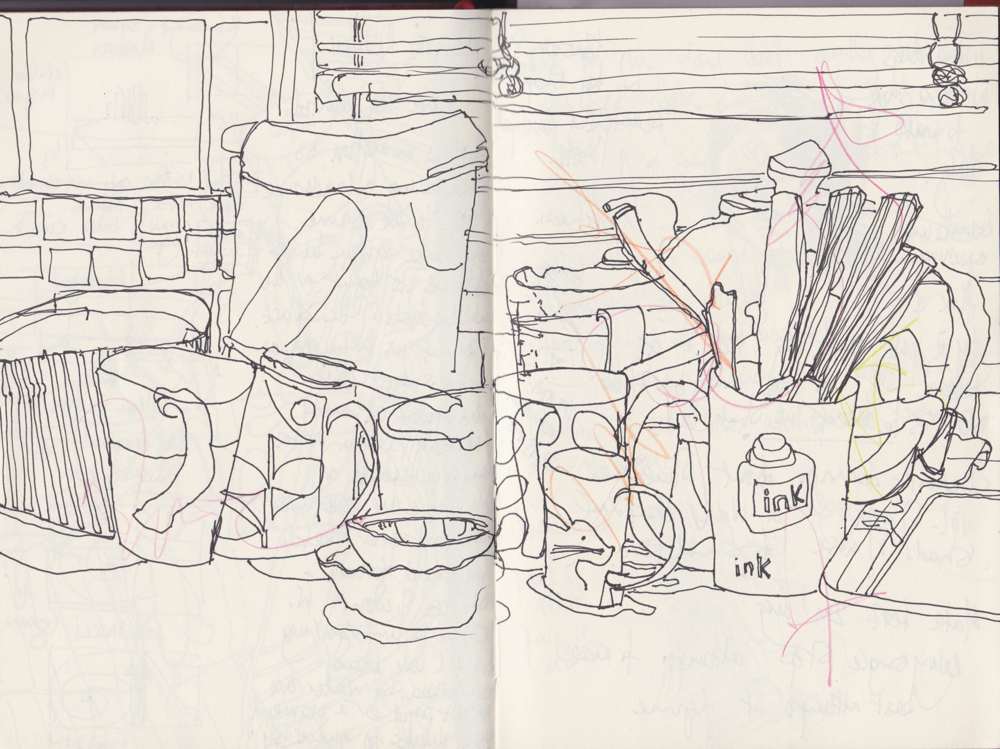
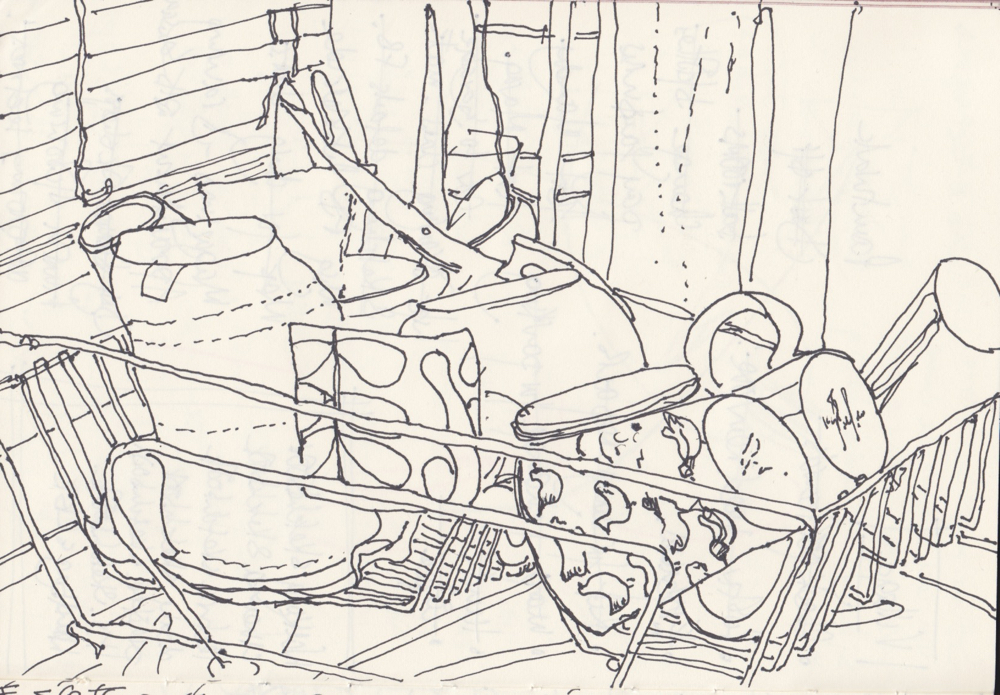
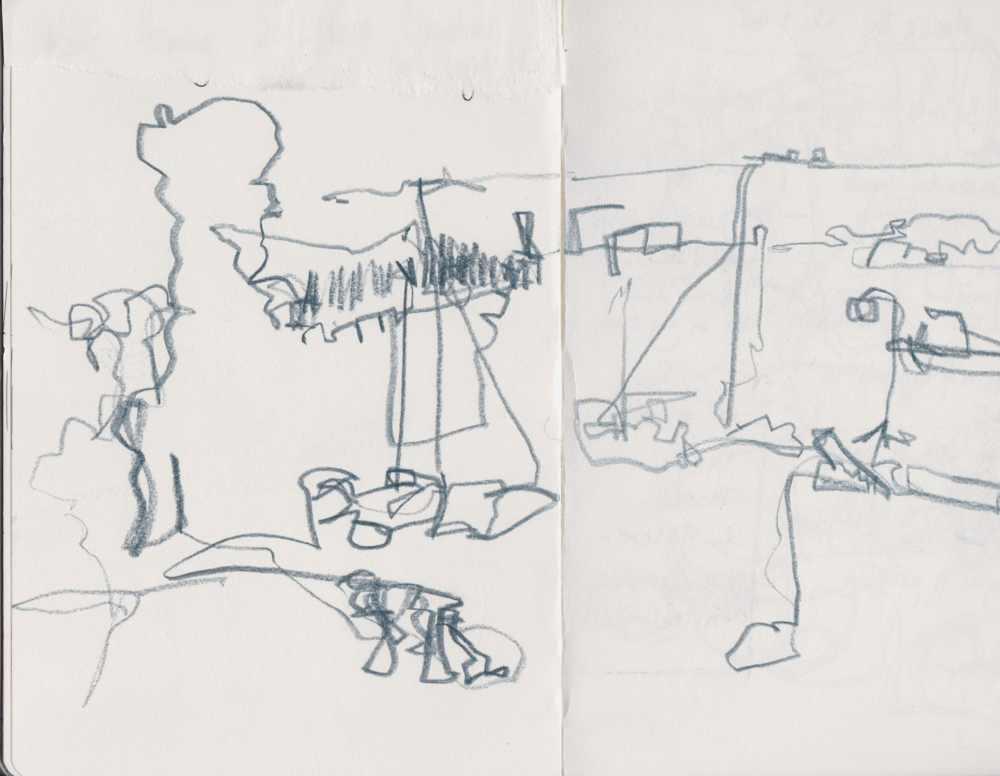
I made drawings that were considered and took time: e.g. drawing the washing up and also quick, speculative drawings: drawing someone watching tv, scenes from the tv or someone reading the paper. I found the balance of line and white space on the page very pleasing, especially with the blind contour drawings.
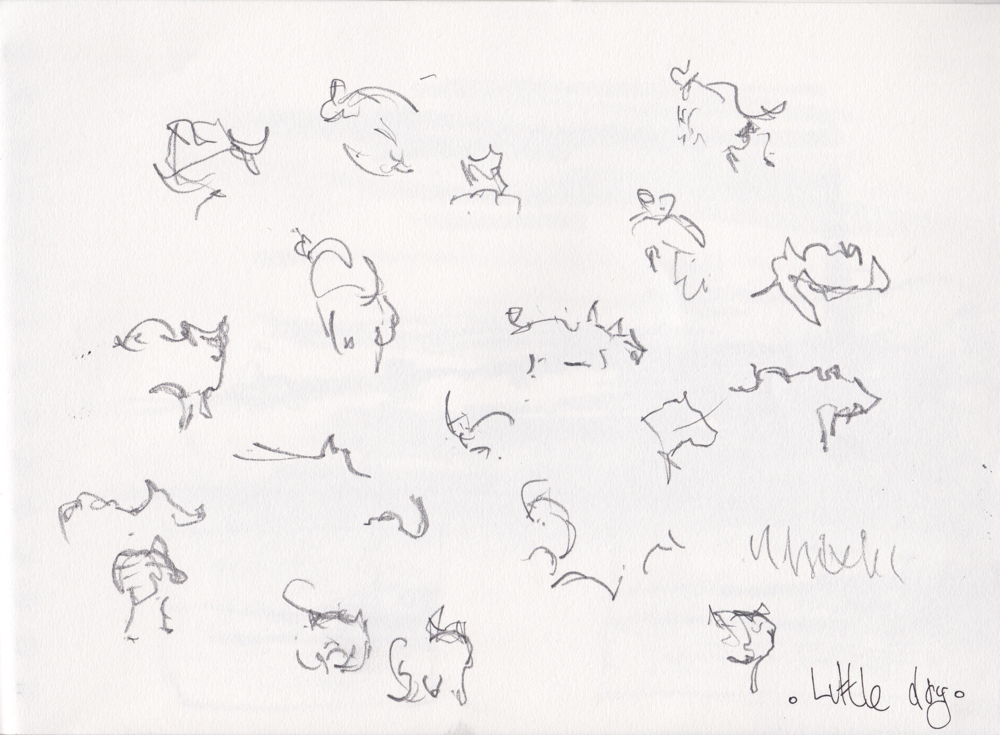
I began to concentrate on drawing moving objects and images as I found a freedom in the mark making that I wanted to push further to see what it could add to my drawing vocabulary. With these drawings, I only had as long as the subject kept their position, sometimes I only managed a couple of lines, then the view would change and I stopped the drawing. I found these open-ended sort of drawings fascinating and quite liberating. I accepted as part of the process that the drawing would last as long as it lasted.
The drawings were about recording the time I focussed my looking on the object and discovering what marks would appear on the paper; they were not about making a ‘complete’ or ‘proper’ drawing. I was also interested in the fact that if I was forced to draw quickly (to capture what I could within an unknown time scale) this created a more exciting and intuitive response. As I settled into regular drawing, I began to use a more gestural line, making marks that recorded my eyes moving around and over the object and that reflected the urgency of the looking process.
Developing Gestural Marks
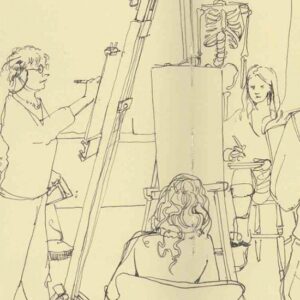
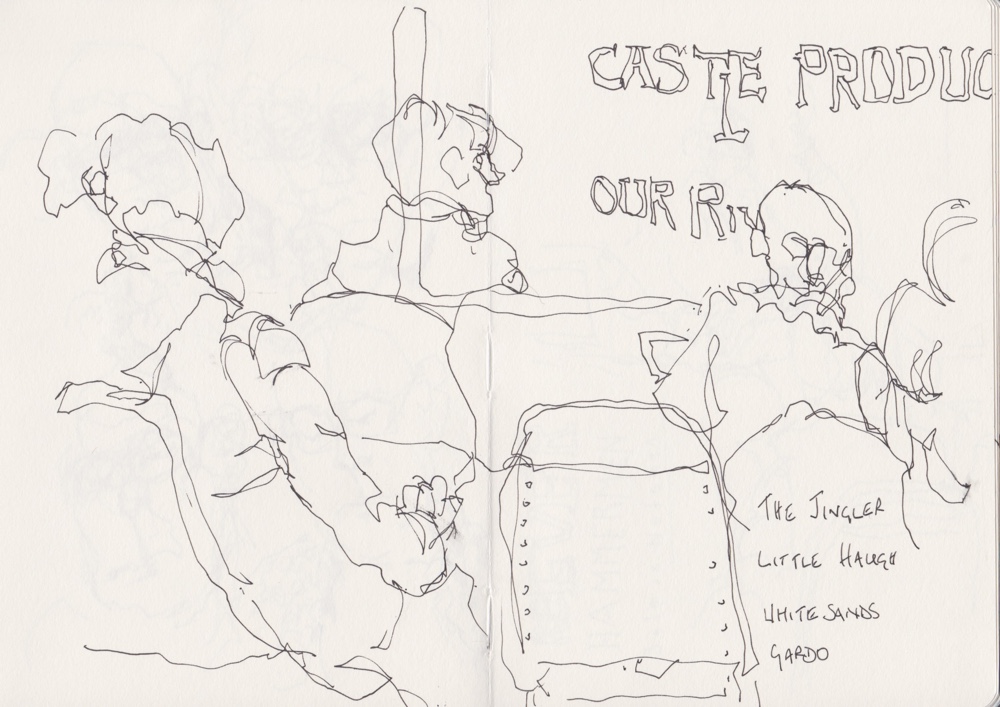
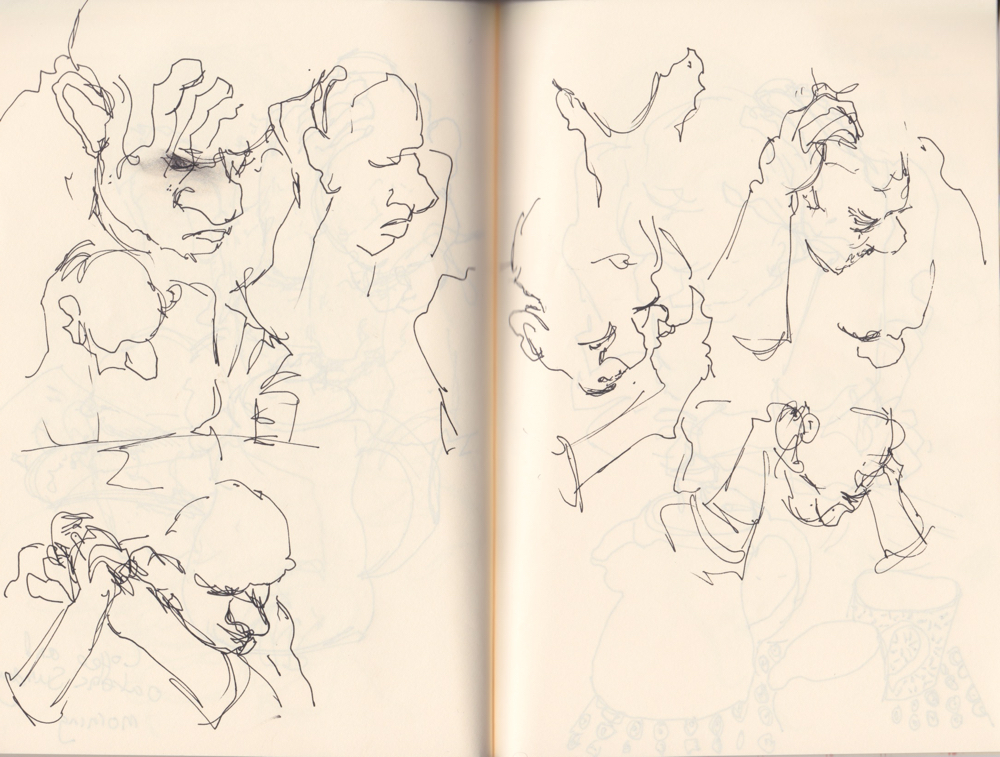
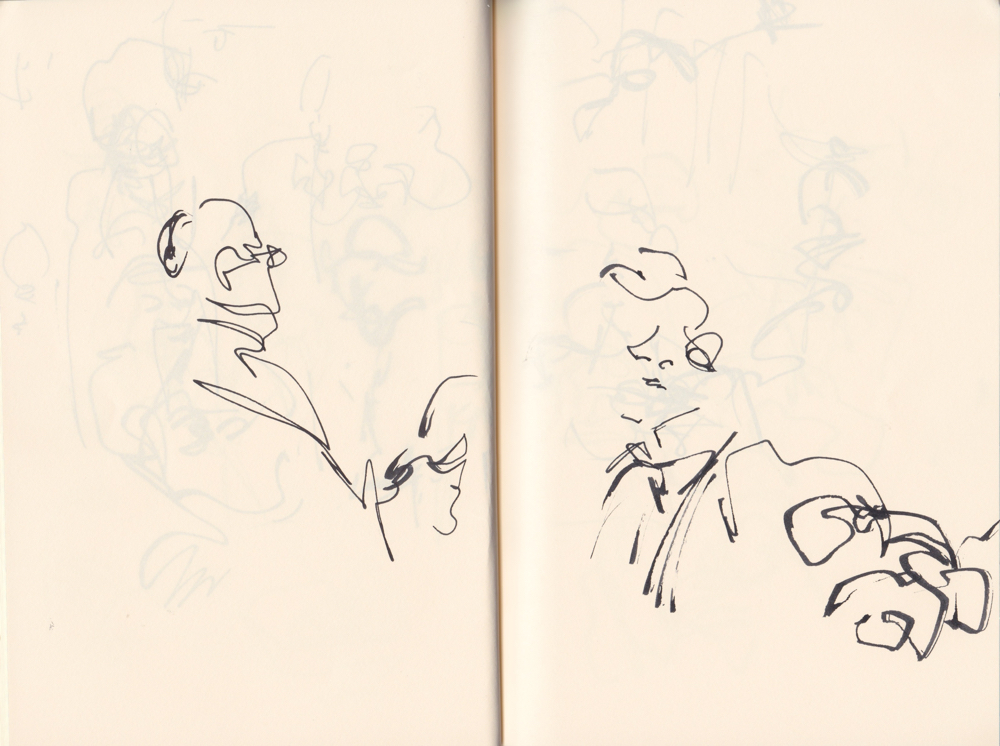
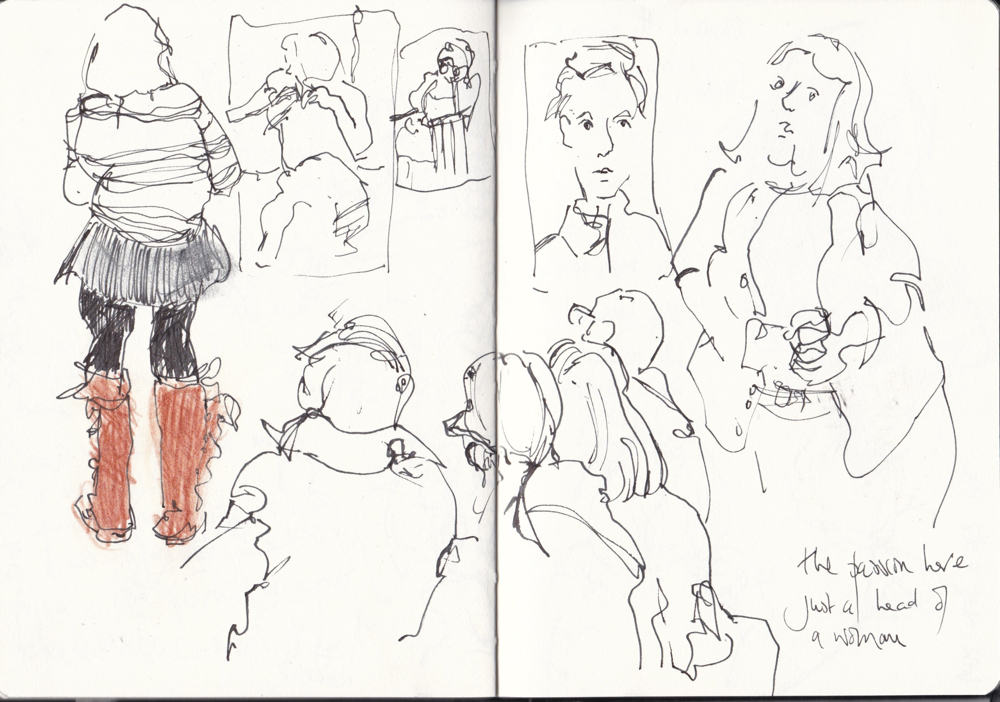
I felt more prepared now for the life sessions that I had signed up for and these began with a half hour lecture looking at the exhibition prior to drawing the model. To warm up for the life class, I set myself the challenge of drawing in each lecture beforehand. The first week, I decided to draw as much as I could of each picture whilst the lecturer was talking about it (about 30 seconds to a minute) using a mixture of blind drawing, contour drawing and gestural mark making. No time for anything other than visual notes and no time to worry about or edit what was appearing on the page. (It was surprising though, how when I looked at the drawings afterwards I could recall the pictures even with such rapidly made marks).
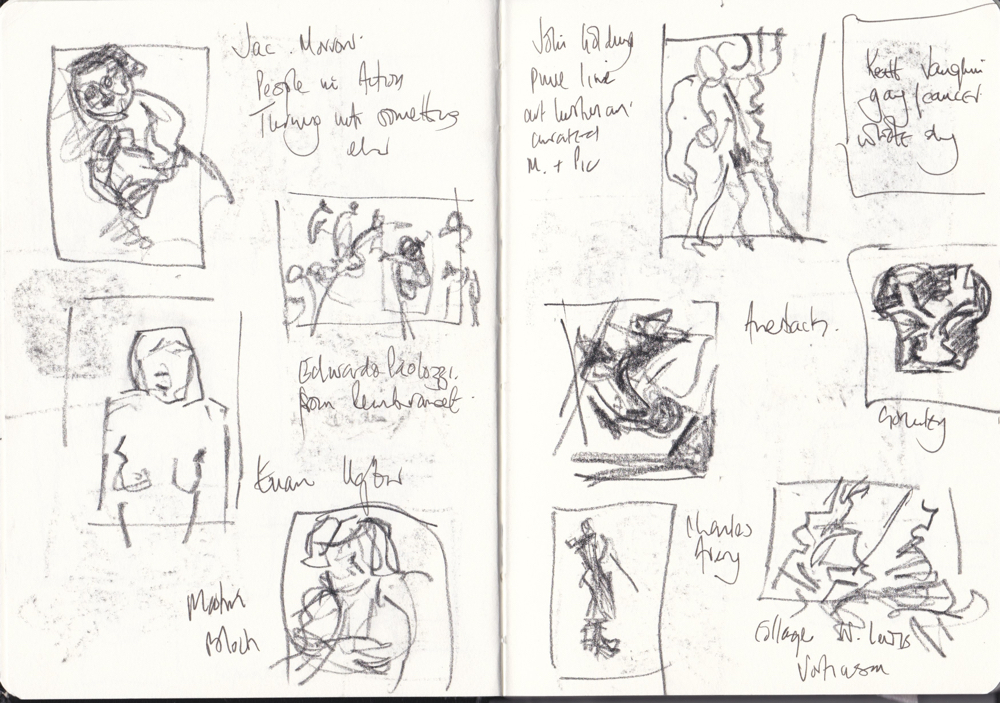
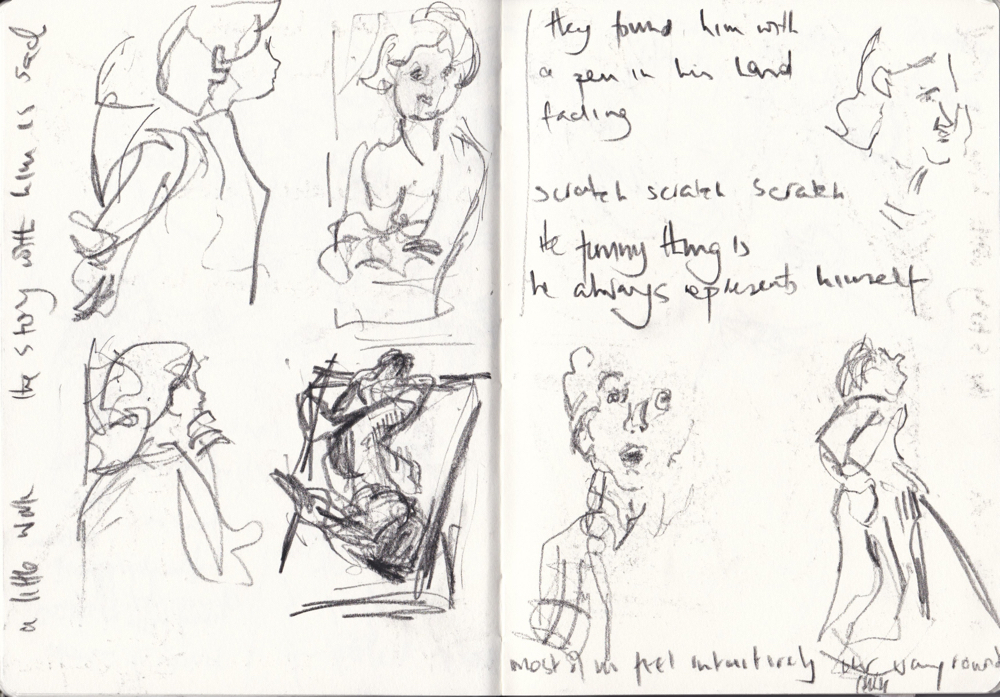
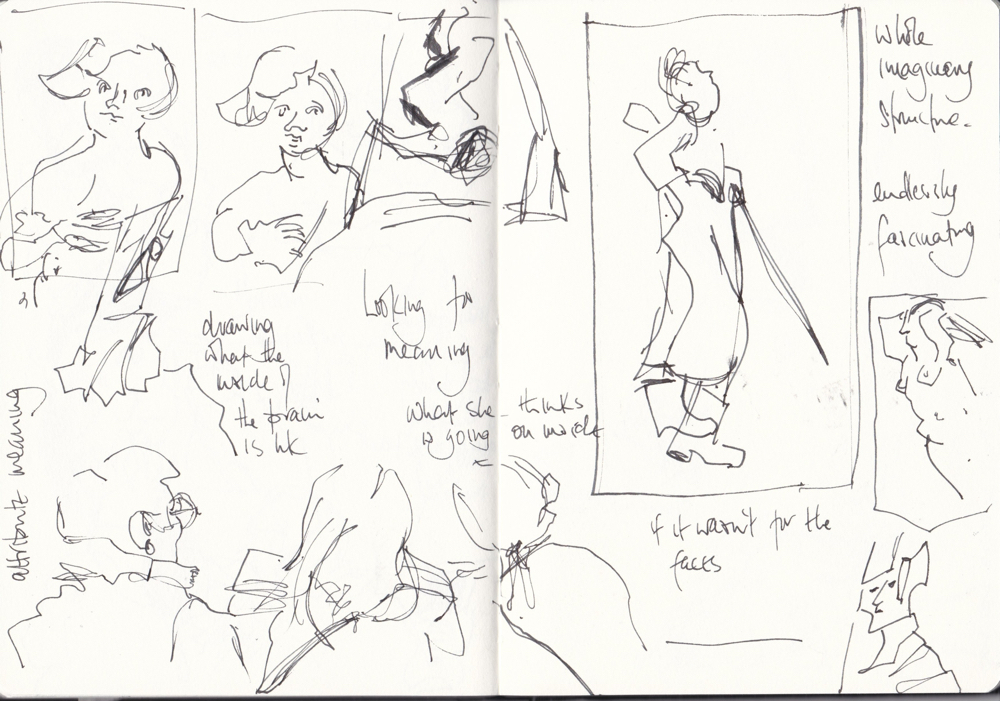
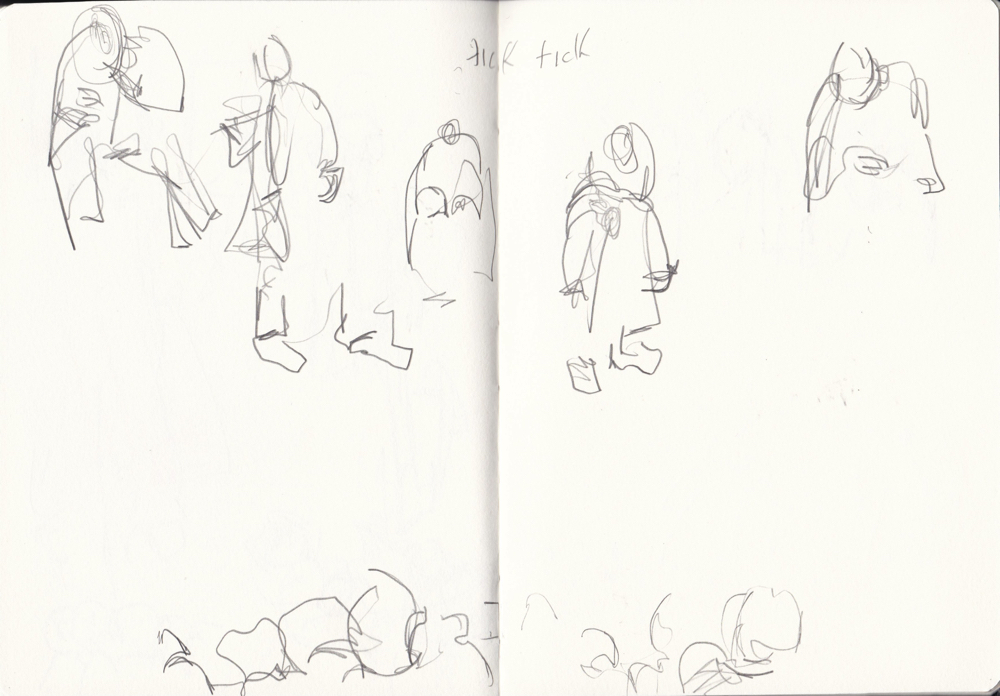
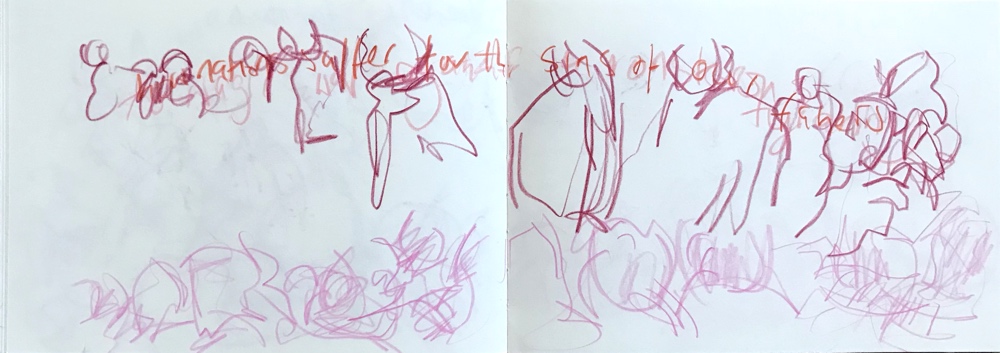
The same lecture was given at the start of each of the five sessions for any new participants to the workshops. I attended them all, and by the third week, I was more familiar with the content of the exhibition and chose to spend time drawing particular exhibits but still keeping the time short – a minute or so for each of drawing, max. It was contour/gesture drawing at speed. As I drew, I also began to note down words and phrases from the lecture.
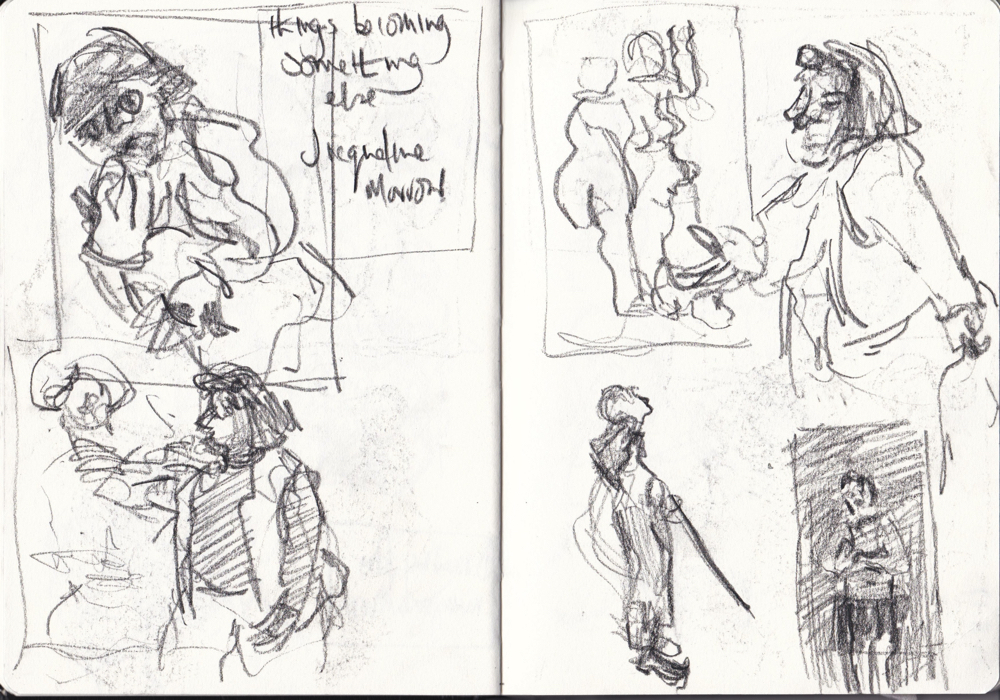
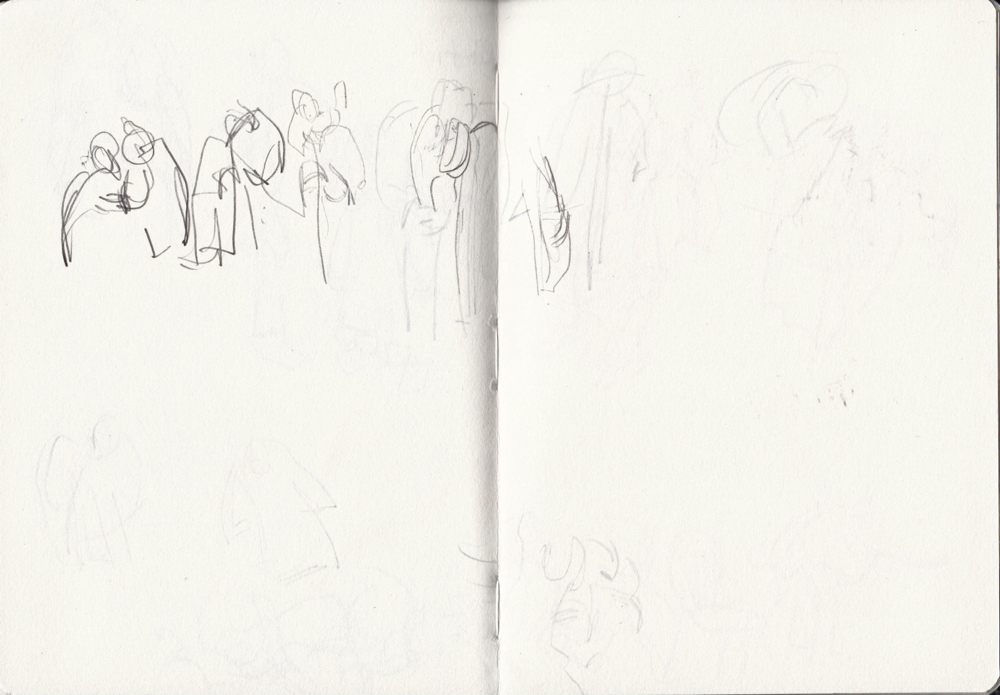
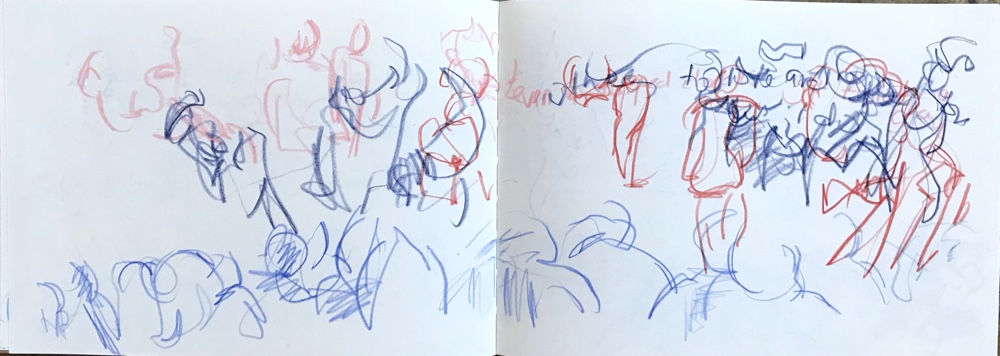
In the second week, I suddenly ‘noticed’ the lecturer. She had been there all the time, of course, but I hadn’t ‘seen’ her just skimmed a look at her then concentrated on the exhibits. Now, she came within my drawing vision and was added to my sketchbook page. Once I began to include the lecturer and audience, small narratives began to appear on the page. I drew the audience with a speedy contour line for as long as they stayed in position – sometimes this was only seconds.
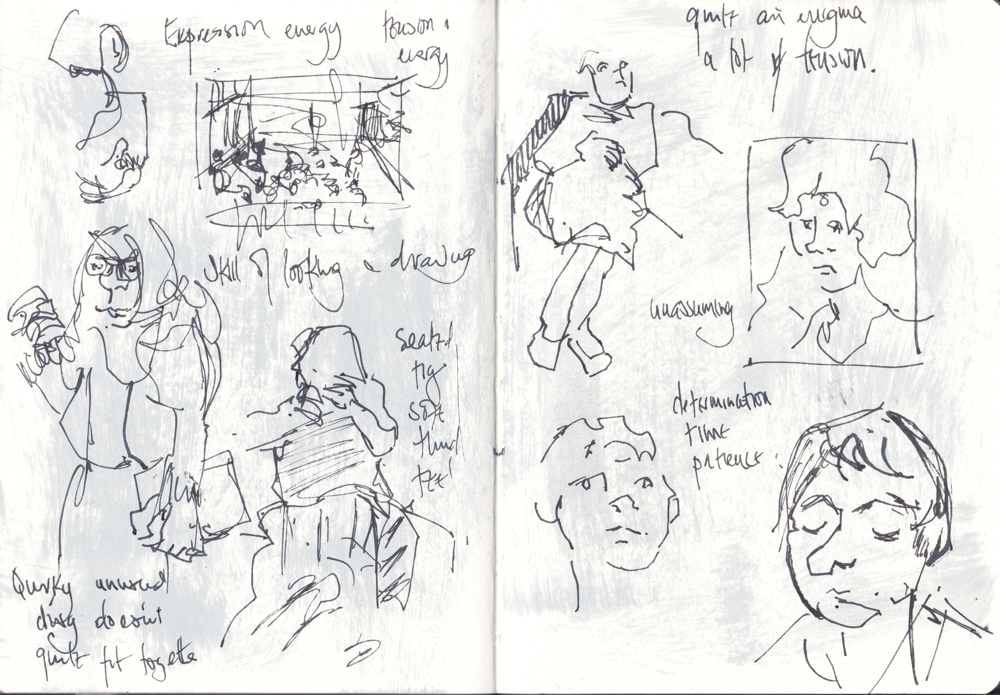
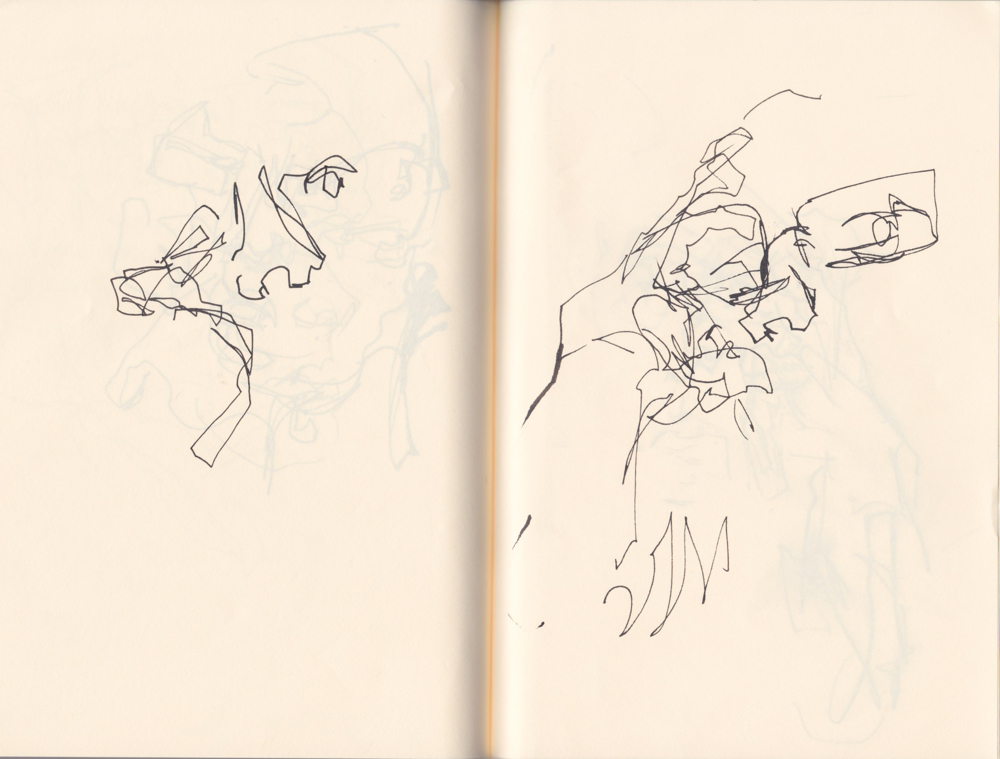
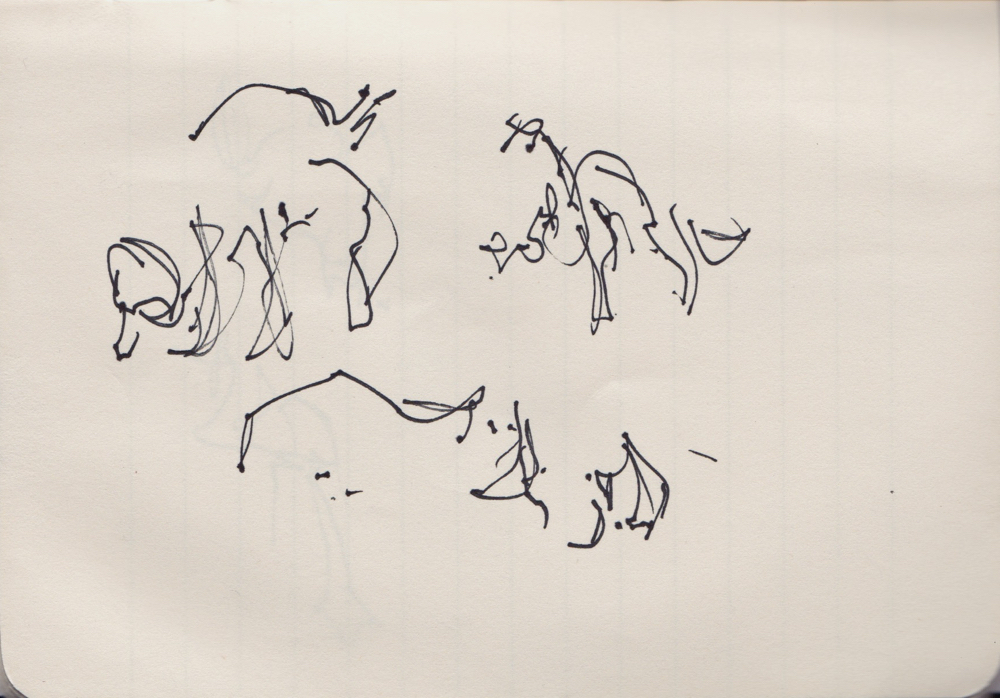
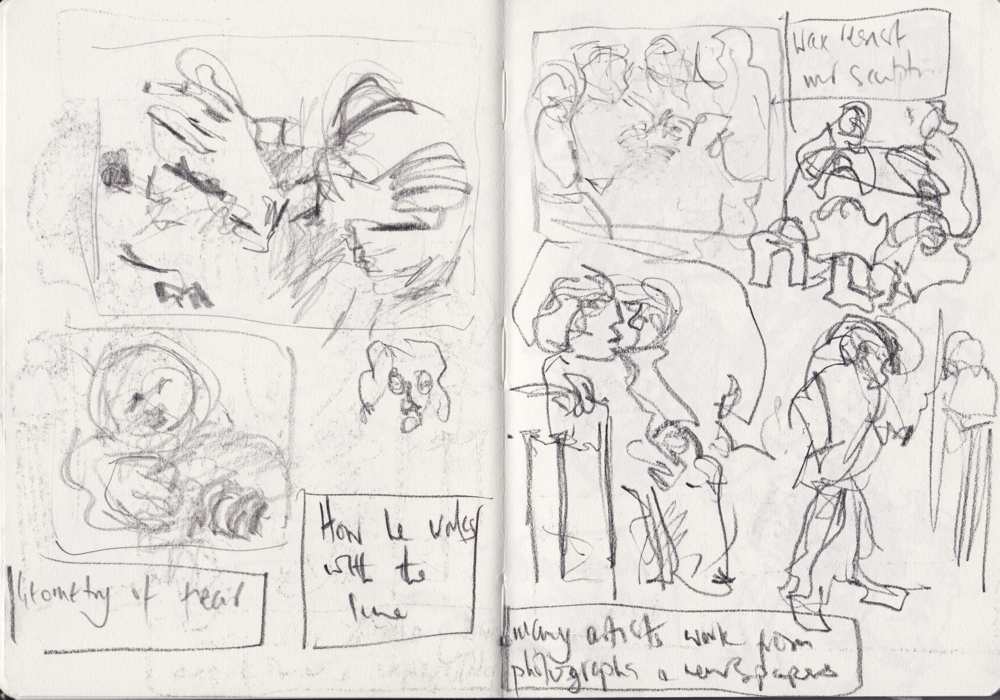
During the life drawing workshop weeks I also attended a lecture on the history of drawing and using the same idea, I drew from the powerpoint presentation with seconds to capture something from the slide before it changed. What I found exciting and what kept me exploring was that, because my aim was to get marks on the page as a record of my experience, I couldn’t edit or try for a ‘nice’ drawing and I was surprising myself with the variety of marks and lines that I made. It was almost like I got my ‘censoring self’ out of the way whilst I was drawing and I stopped worrying about what it looked like or what anyone would think. It felt like I was exploring a personal language and the drawing marks reminded me very much of Asemic writing.
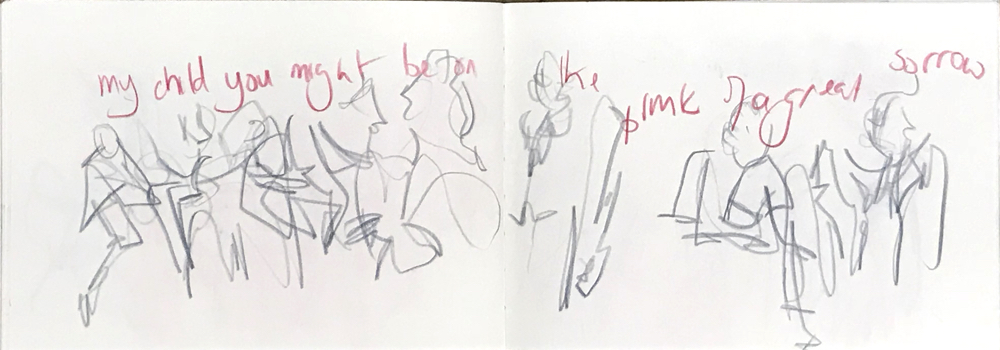
Drawing in the Dark
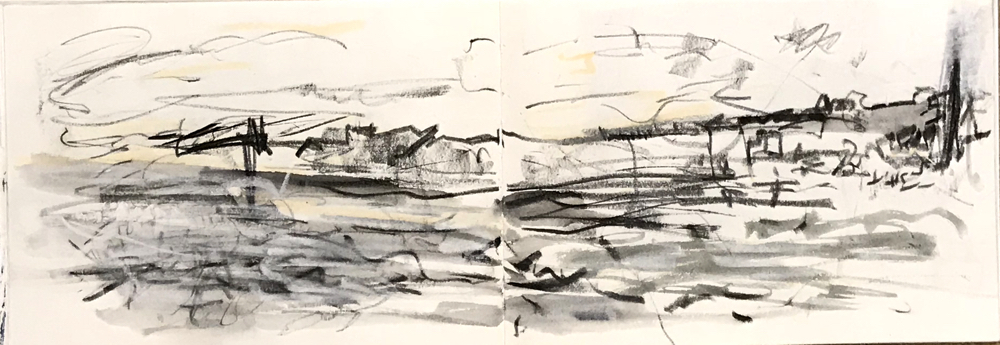
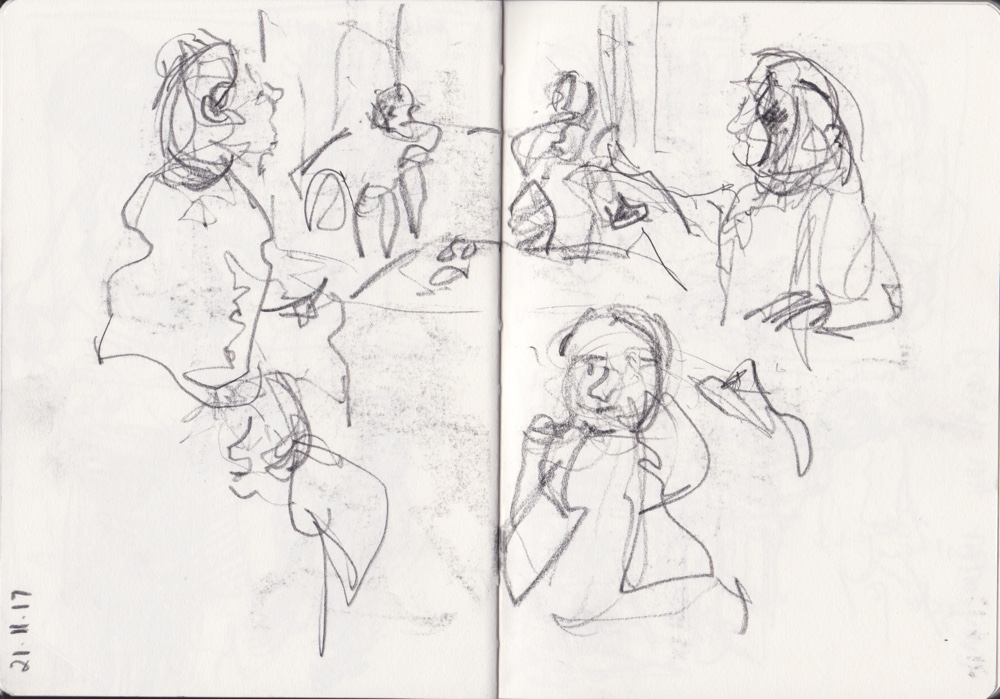
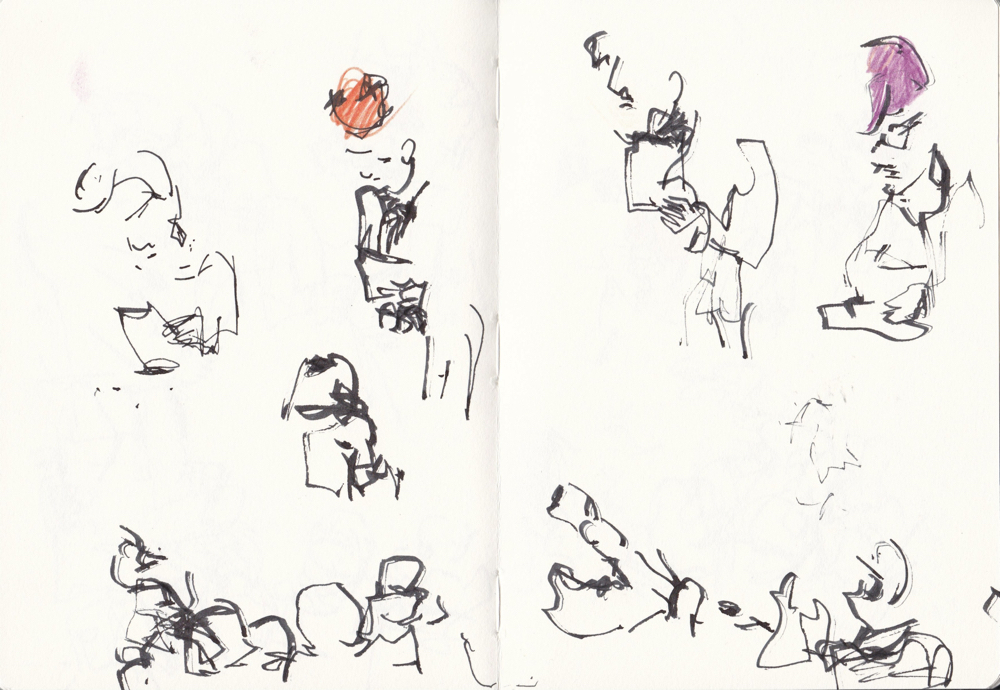
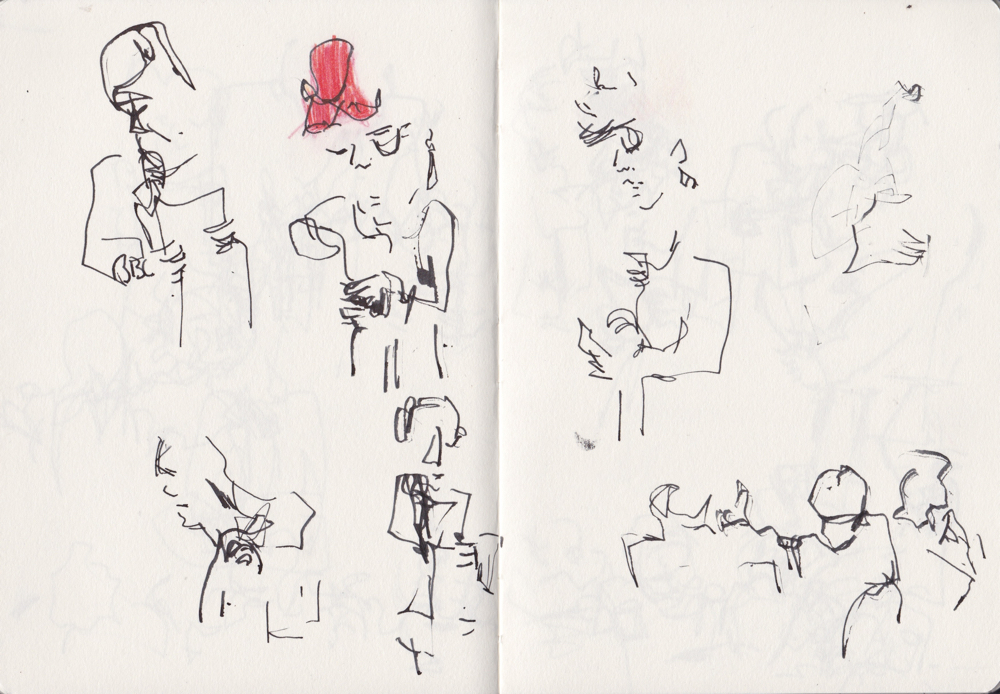
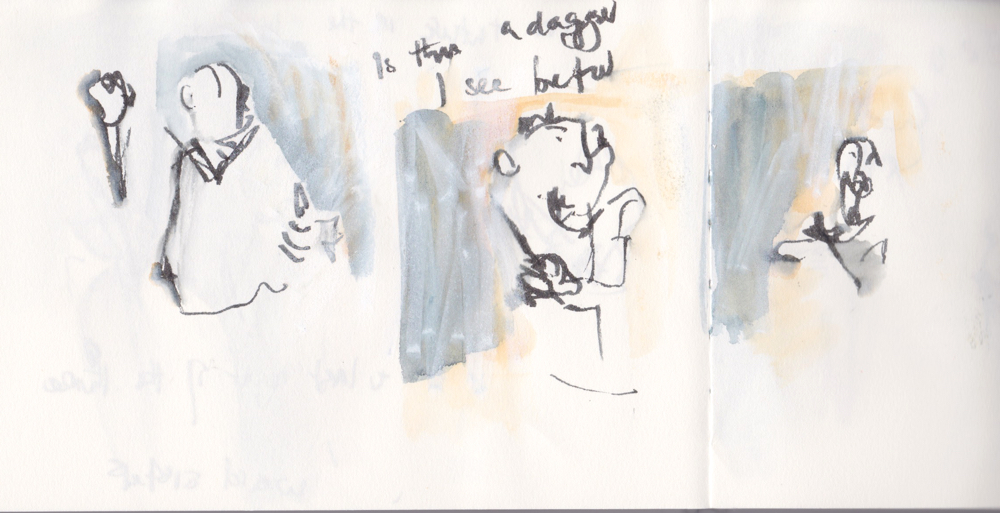
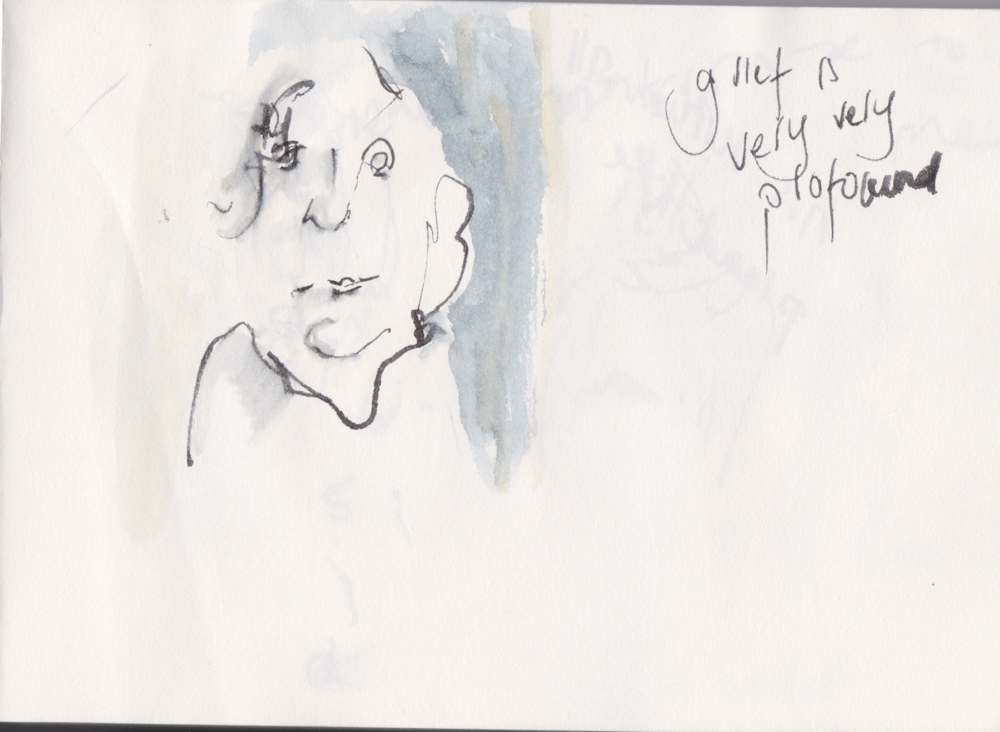
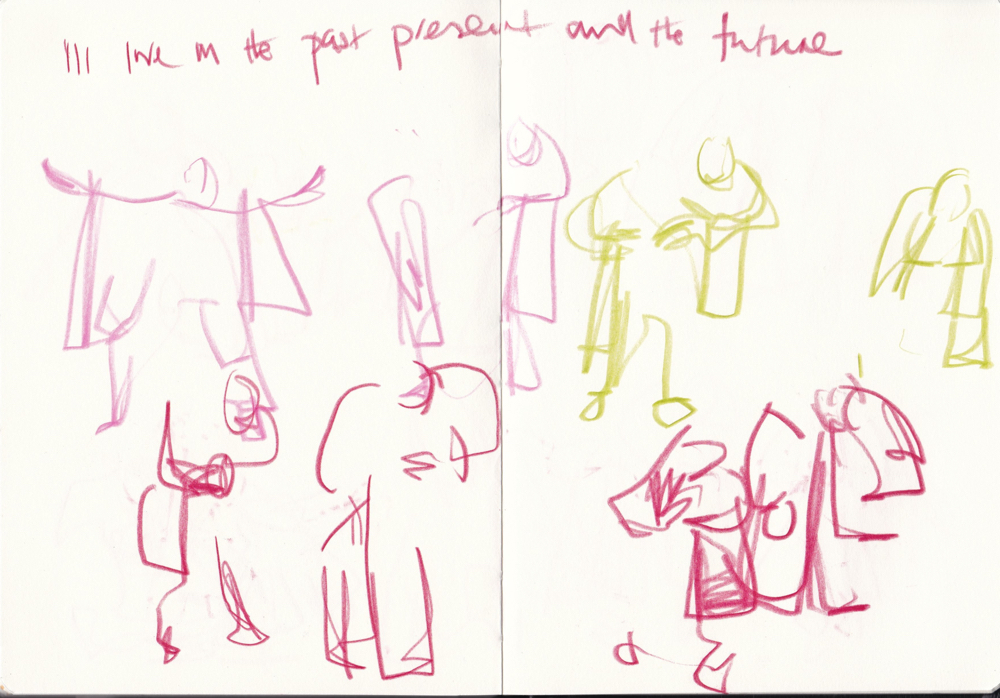
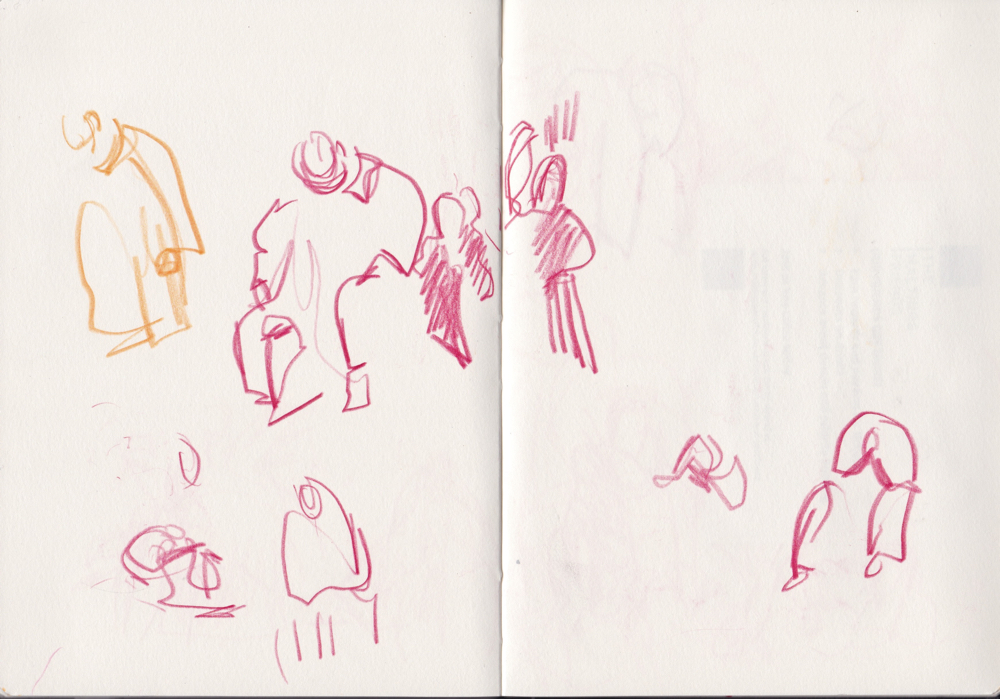
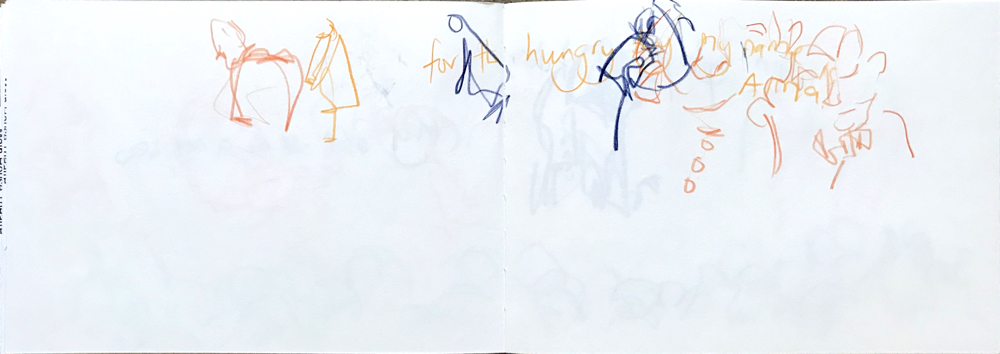
All this drawing had developed a drawing trust in myself, trust that my hand could make a mark that could interpret what my eyes were seeing. I took my sketchbook with me to the local theatre but then when the lights went down, I had a new challenge – I couldn’t see what I was drawing at all or where I was drawing on the page. I started on the left hand side of my sketchbook and moved across it, drawing the performers as long as they stood in that one position. I didn’t look down at the page at all whilst I was drawing – I couldn’t see it anyway – just kept feeling my way across my sketchbook page and only turned over when I ran out of page. In the interval, it was exciting to see what sort of drawings had resulted and what sort of marks I had been making to record the performance. I had a band of blank space along the bottom of the page, so I made blind contours of the audience during the interval, to create a context/narrative. The performers changed character with their distinctive hats – I added the colours later.
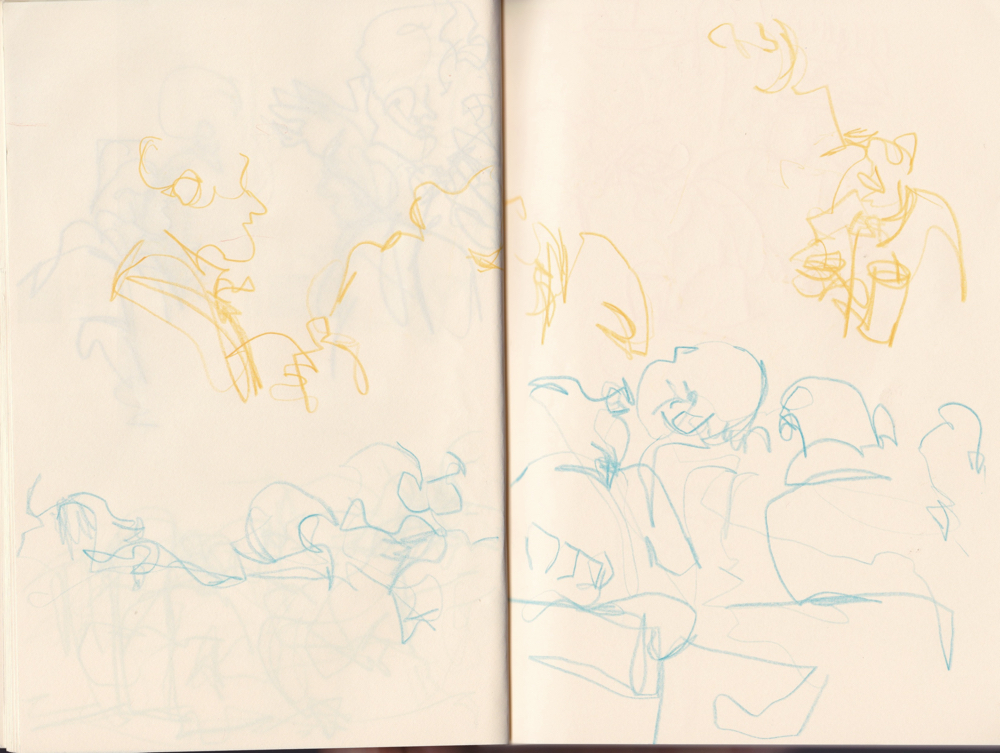
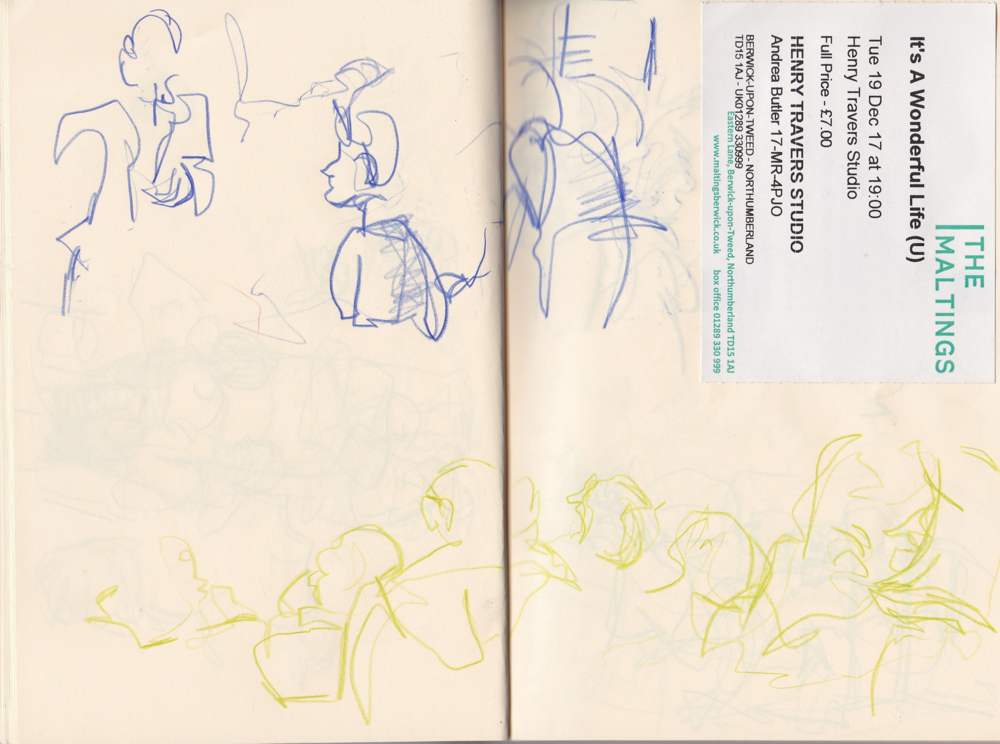
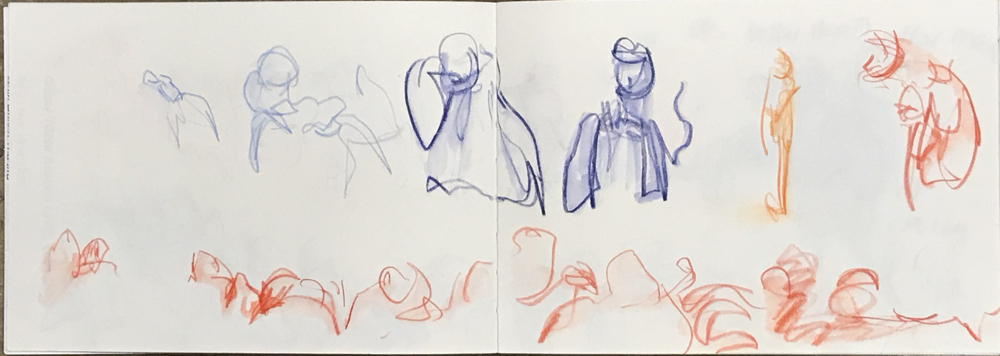
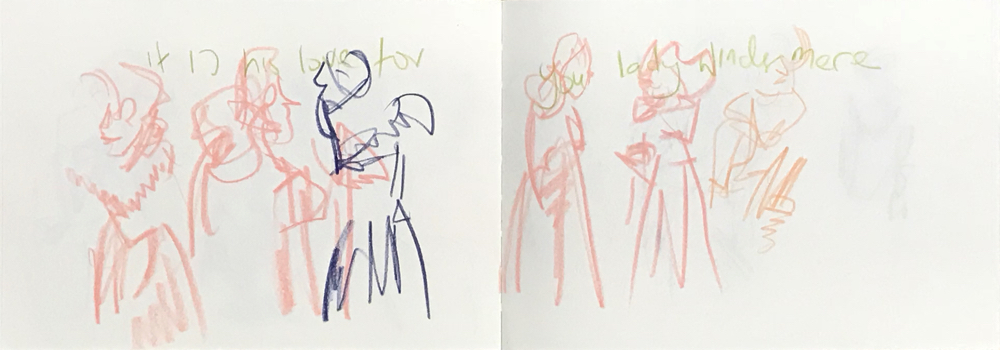
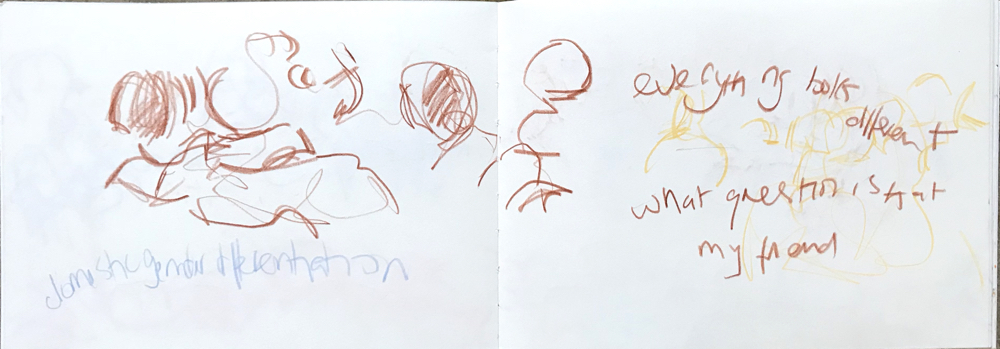
The Cinema Sketchbooks
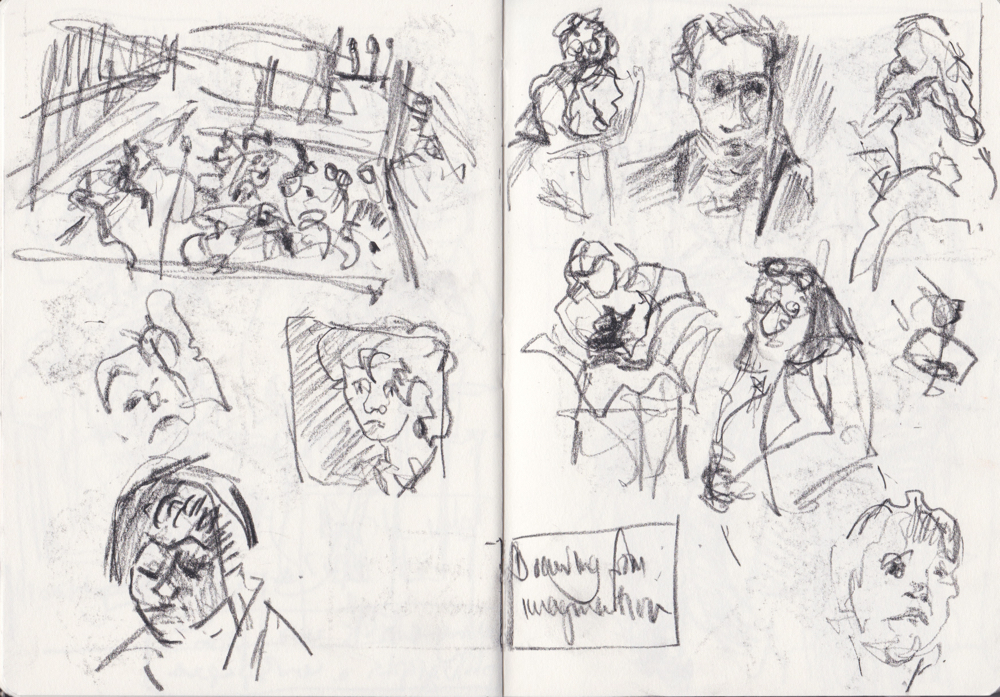
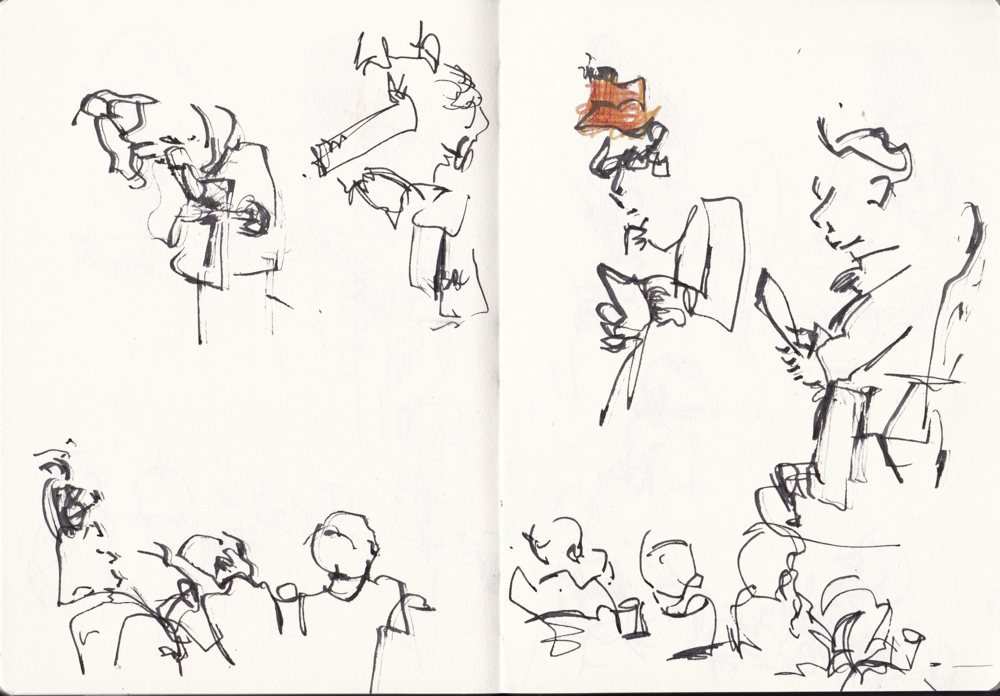
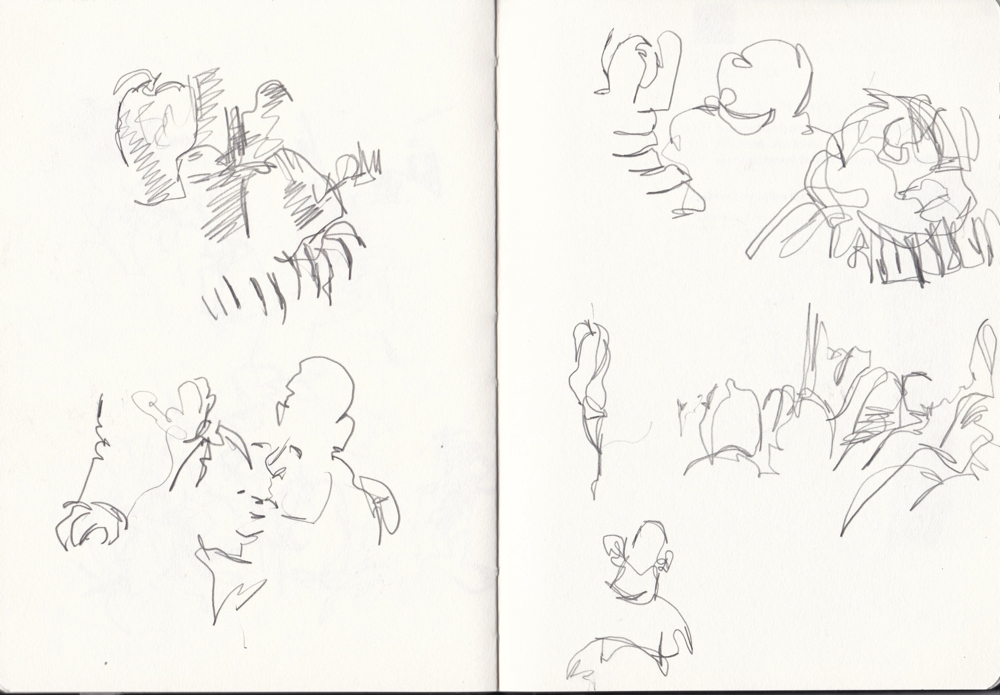
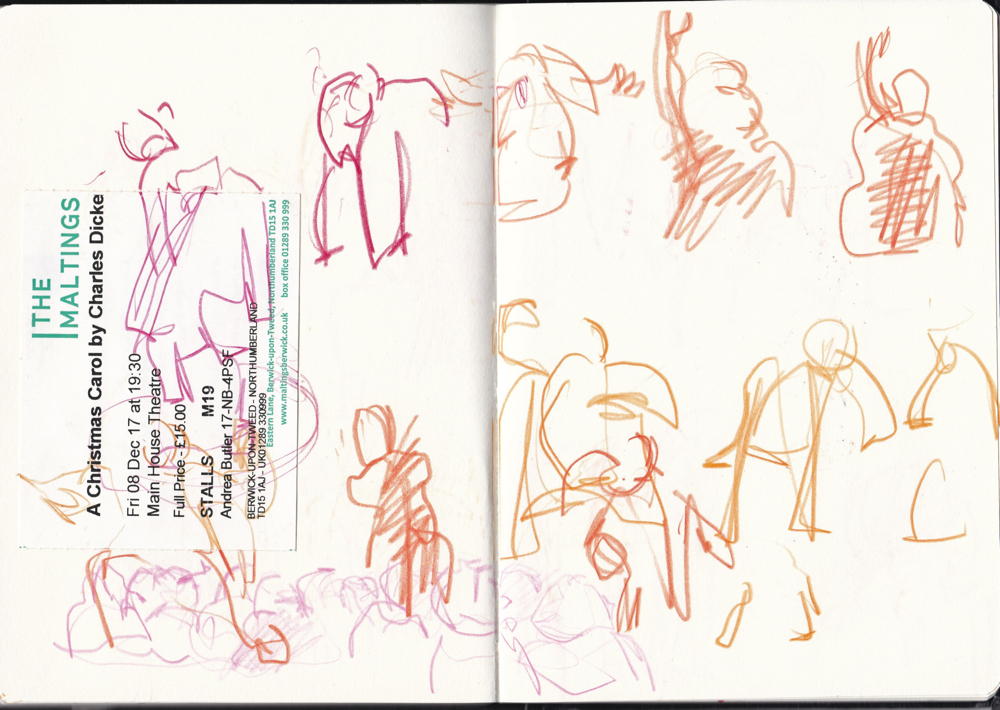
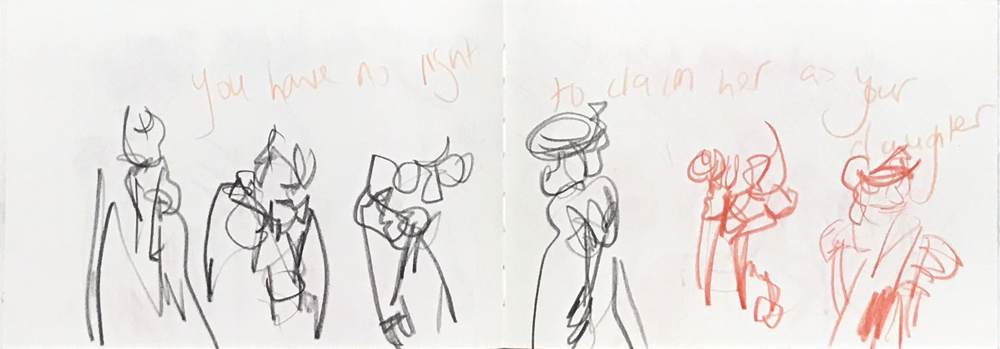
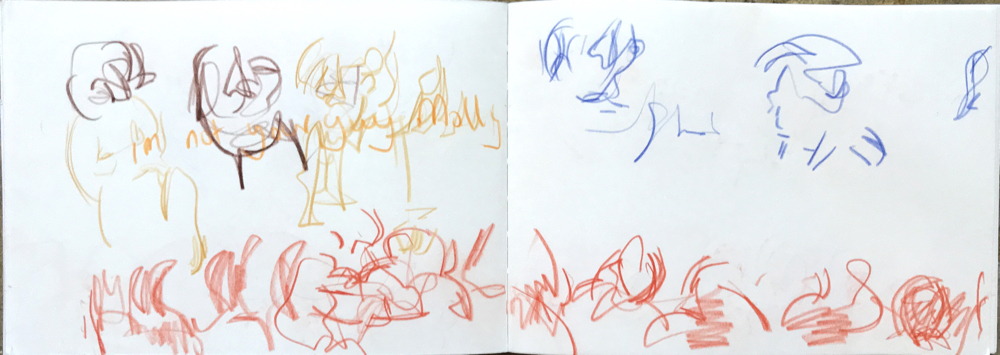
A keen film fan, I took my sketchbook with me to the cinema and began to draw in the dark from the films. The previous drawing practice meant I could now make marks confidently at speed and I also began to add in phrases from the film dialogue and draw the silhouetted shapes of the audience. I drew with coloured pencils, choosing a selection of colours beforehand and then changing them randomly throughout the film. In the dark, I had no idea what colour I was using at any one time and I’ve ended up with some interesting colour combinations on the page.
If you plan to give this a try at the theatre or cinema, there are a few things to consider:
- people have paid to see the performance so be considerate and as unobtrusive as possible – I try and sit at the end of an aisle or with a friend/empty seat between me and other members of the audience
- try and angle your sketchbook so that the light from the film doesn’t make the white paper gleam
- don’t draw during quiet scenes if you can hear the scratch of the pen or pencil
- use a small sketchbook and a pen or a few pencils that you can hold in your hand, (but try not to drop them, especially during the quiet scenes!)


Reflecting on the Process
Drawing in the dark means having no idea what’s happening on the sketchbook page but it’s quite exhilarating taking the risk and I enjoy the anticipation of finding out what I’ve been thinking, about what I’ve been seeing. The drawings look like a collection of hieroglyphics and probably don’t mean much to anyone else but I love the energy and random colour combinations and the feeling that I’m looking at something that is talking to me on an subconscious level. The text too is unlike my everyday handwriting and seems in character with the drawing marks.
The process has revealed to me a more ‘true’ drawing language that I can access if I stop worrying about the drawing or trying to edit whilst I draw. And whilst quite a few pages look a bit chaotic, I have been surprised by how balanced some of the pages have been in terms of composition: line/marks against negative space. Many of the marks I have recorded have a freedom and character that I trying to incorporate into my other drawings, a visual language that prioritises seeing and enjoyment in the dialogue between my eye/hand, the object and the drawing.’