
See Three Shapes


By Paula Briggs
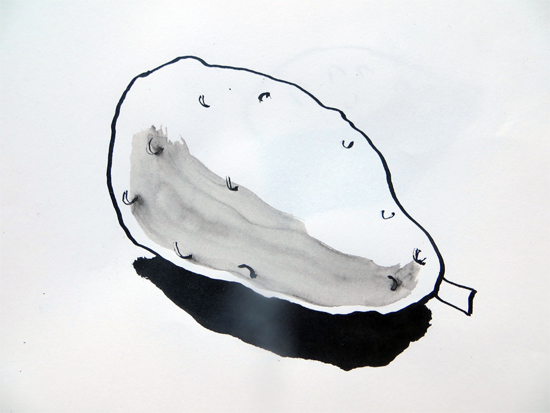
This resource shares a simple exercise to help children (or adults) appreciate how seeing simple shapes can help improve drawing skills, and how one material can be used in a variety of ways to create different qualities of line.
Log in as a member to see the full resource and video.
To access all content, I would like to join as…
An Individual

Creative practitioners, educators, teachers, parents, learners…
An Organisation...

Schools, Colleges, Arts Organisations: Single and Multi-Users
AccessArt is a UK Charity and we believe everyone has the right to be creative. AccessArt provides inspiration to help us all reach our creative potential.
See This Resource Used In Schools...


You May Also Like...
Pathway: Exploring Form Through Drawing


The drawing journey

All AccessArt ink resources

Sheila Ceccarelli
October 10, 2013 @ 12:14 pm
Wow! These images are absolutely brilliant and what a fantastic teaching technique you’ve created here to get children to understand how to create a three dimensional sense in their drawing and also to understand tonal differences and how they can be used for that purpose. They are very sculptural drawings indeed and I love them!
Absolutely stunning. Can you think of a similar exercise in charcoal drawing big? I want to draw shells big next week and would love to get simple, sculptural form in their drawings… any ideas?
Thanks
Sheila
Carolyn Weisnagel
October 12, 2013 @ 4:27 pm
I love your methodology. Drawing is so much about seeing and learning how to know when to simplify or complicate. I will definitely teach this to my high school students. I used dry india ink wax resist with them this week to loosen-up their approach to drawing (I find the paintbrush is a great tool for this) and your lesson shows another application of the medium to use in formal ways of representation. Love the feathers as quills too.
Thank you again.
Carolyn (Montreal)
Paula Briggs
October 21, 2013 @ 1:34 pm
Hi carolyn many thanks for your comment – if you feel inclined to share your dry india ink was resist images we’d love to see them: info@accessart.org.uk! best wishes