Find a recording of a CPD session exploring how lecturers in Initial Teacher Education and Initial Teacher Training are using AccessArt resources to support the creative development and knowledge of our future teachers.
In this session, we hear from Maria Vinney and Kaytie Holdstock, who have used AccessArt as part of the ITT programme, and talk about the benefits of the resources.
If you’re from an institution looking to enrol students in an AccessArt membership, you can find out how to do this here.
This is a sample of a resource created by UK Charity AccessArt. We have over 1500 resources to help develop and inspire your creative thinking, practice and teaching.
AccessArt welcomes artists, educators, teachers and parents both in the UK and overseas.
We believe everyone has the right to be creative and by working together and sharing ideas we can enable everyone to reach their creative potential.
Talking Points: Samantha Bryan
A collection of sources and imagery to explore the work of Samantha Bryan.
This resource is free to access and is not a part of AccessArt membership.
Please note that this page contains links to external websites and has videos from external websites embedded. At the time of creating, AccessArt checked all links to ensure content is appropriate for teachers to access. However external websites and videos are updated and that is beyond our control.
Please let us know if you find a 404 link, or if you feel content is no longer appropriate.
We strongly recommend as part of good teaching practice that teachers watch all videos and visit all websites before sharing with a class. On occasion there may be elements of a video you would prefer not to show to your class and it is the teacher’s responsibility to ensure content is appropriate. Many thanks.
Samantha Bryan
“Working from her garden studio in Mirfield, West Yorkshire, Samantha Bryan has produced a new body of work for her exhibition at YSP celebrating 20 years of making. Known for creating distinctive figures, she has gained a worldwide cult following.
For two decades Bryan has been making humorous yet industrious fairy-like creatures; adorned with items from her eclectic hoard of buttons, spotted feathers, seed pods, dyed leathers, and contraptions influenced by Victorian flying machines. She combines these materials and found objects to inform their intriguing personalities.” – Yorkshire Sculpture Park
Introducing the BAAV Blimp
Brain’s Ariel Application Vehicle is a new cutting edge tool welcomed by the Fairy Dust Industry. This aircraft can do in minutes what it would take ground-based workers days to complete. Its increased capacity makes dust spreading incredibly efficient. It’s hopper can hold 120 pounds of dust and can sprinkle around 80 acres per hour. Revolutionary for fairy life.
51 x 41 x 21cm (w,h,d) 2022 Image: Red Photograpgy
Introducing… Brain’s Bottom Warming Garments for fairies. Vital for high altitude flying. 36 x 12cm x 10cm (h,w,d) 2022 Image: Joanne Crawford
Fairies often find themselves flying at high altitude. A dangerous pursuit with its many risks. The most obvious and most disastrous outcome would be ‘wing or limb freeze’. The consequence of which is high speed plummeting fairies. This is easily preventable if body temperature is maintained.
Brain’s Crash Helmet, designed specifically for accident prone fairies…
36 x 12cm x 10cm (h,w,d) 2015 Image: Jess Petrie
The clumsier variety of fairy would always be advised to wear a crash helmet rather than a standard issue helmet. The Crash Helmet offer greater head coverage and substantial inner padding for increased protection.
The fairy is wearing a tan leather flight suit, hand stitched with patch detail. It stands securely on a wooden base that can be easily mounted on the wall should you wish to do so. It features a typed label and is signed on the reverse
Brain’s Dust Distribution Vehicle (Glider)
35 x 31 x 35cm (w,h,d) 2014 Image: Edward Chadwick
Designed to enable a busy fairy to spread dust easily and efficiently
Questions to Ask Children
What objects can you see in Samantha’s fairies and inventions?
What do you like about the fairies and why?
Which fairy is your favourite and why?
How has Samantha created personalities for the fairies? Consider accessories, outfits and props.
Do you think the personality grows as she creates the fairies or she plans it in advance? Why?
If you were going to design a fairy based on you, what personality traits might it have? And how could you highlight those traits through accessories, outfits and props?
Our Creative Community: Finding Exhibitions Near You
Our Creative Community: Curating an Exhibition Part One
Our Creative Community: Curating an Exhibition Part Two
Our Creative Community: Tips for Organising an Exhibition Setting
Our Creative Community: Plates Inspired by Janine Burrows
Our Creative Community: Inspired by Samantha Bryan Part One
Our Creative Community: Inspired by Samantha Bryan Part Two
Our Creative Community: The Island: A Thinking Skills Workshop
Our Creative Community: Finding Artists In Your Community
CPD Recording: Sketchbook Share
You May Also Like…
see all sketchbook resources
The Sketchbook journey
Sketchbook pedagogy
Our Creative Community: Top Tips for Facilitating an Island Thinking Workshop
Our Creative Community: Preparing Screens
Our Creative Community: Inspired by Nigel Hoyle
Our Creative Community: Yorkshire Sculpture Park Visit
CPD Recording: Typography and Maps
Pathway: Explore Sculpture by Making a Mobile
Pathway for Years 5 & 6
Disciplines: Design, Making, Drawing, Sketchbooks
Key Concepts:
That a mobile is a kinetic sculpture which relies on balance and counter balance of materials.
That through ‘Design through Making’ we can explore how we can create objects which balance and move.
That we can be inventive and playful exploring sculptural elements which are both abstract and representational when creating a mobile.
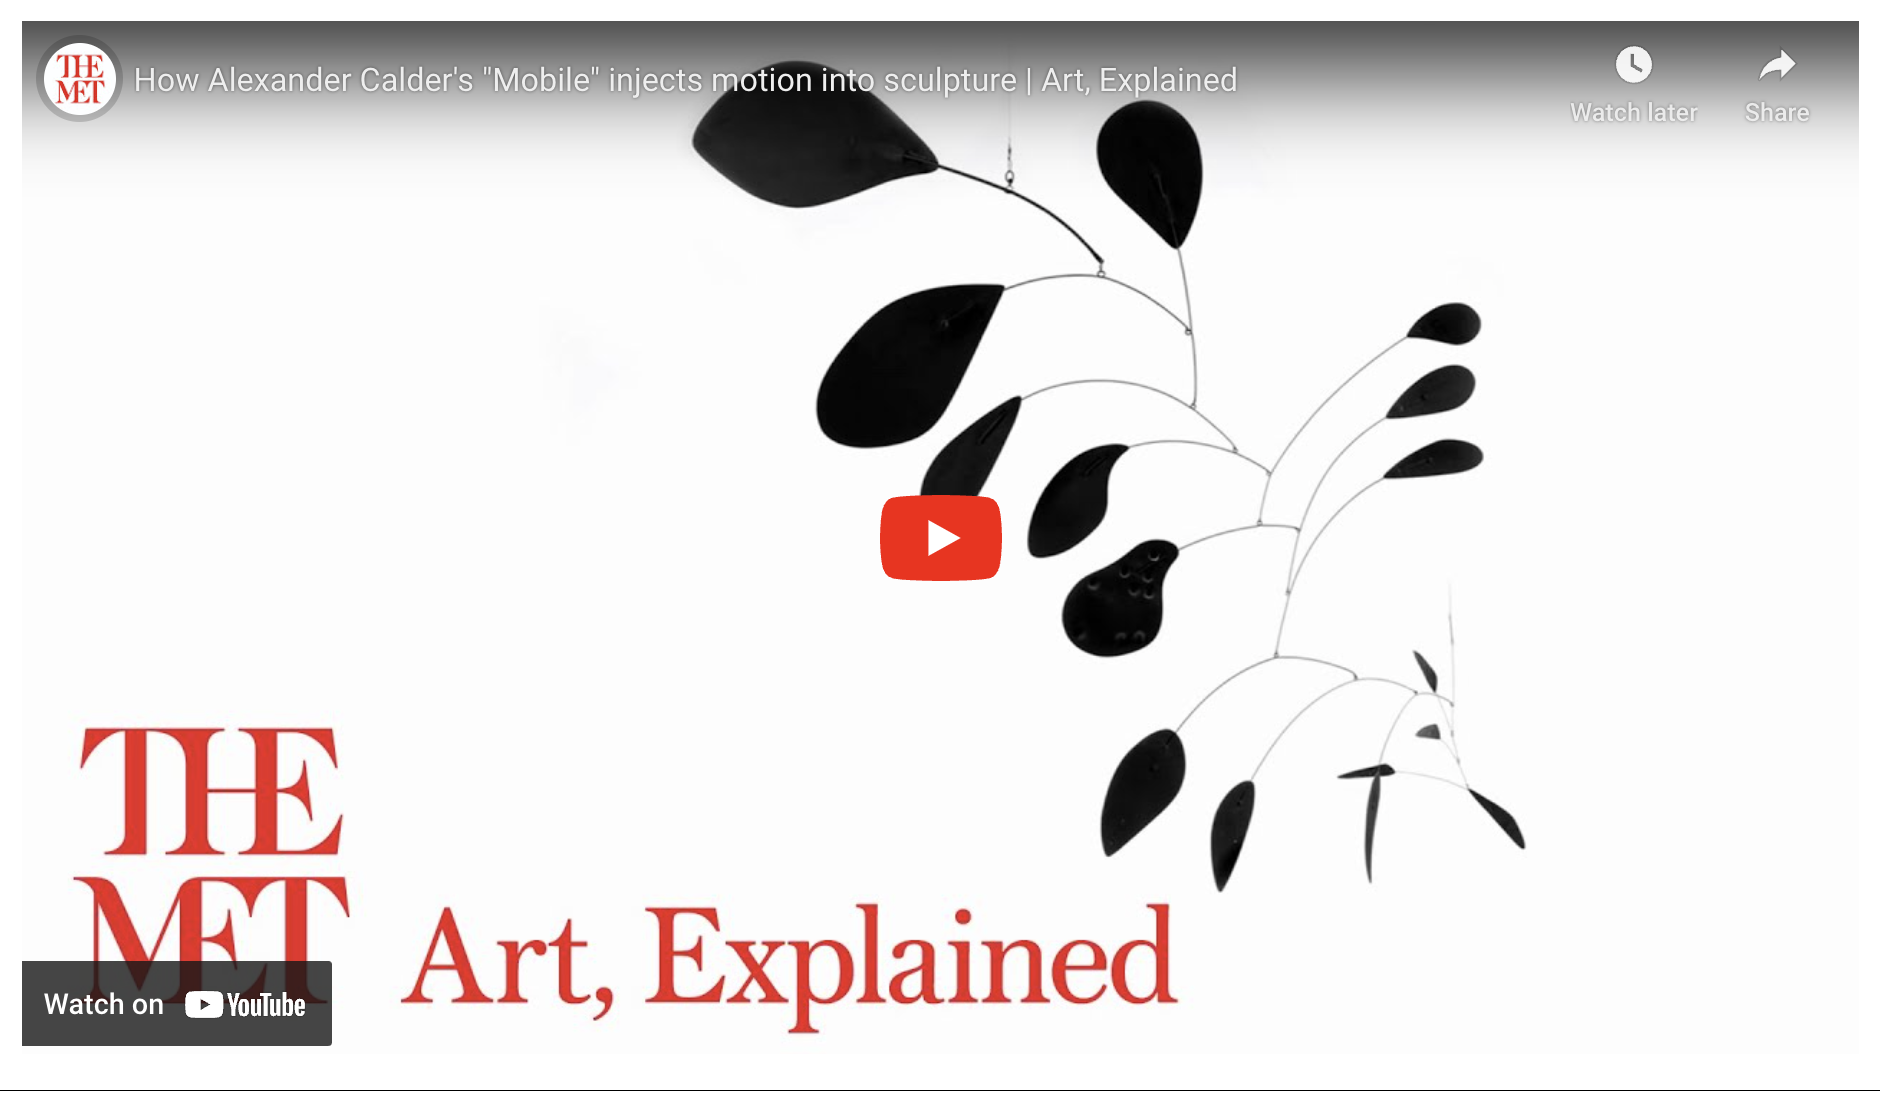
In this pathway, suitable for ages 9-11, we explore the work of Alexander Calder. Calder created sculptures and mobiles using solid blocks of colour and simple shapes, exploring the relationships between the objects and lines.
This pathway encourages children explore the relationships between line, shape, form and colour when working in three dimensions. Pupils explore the relationships between design and fine art, and practise Design through Making. They have the opportunity to explore balance and counter balance, and learn to take creative risks and solve problems.
This pathway will take approximately half a term, based upon a weekly art lesson.
If you use this resource in your setting, please tag us on social media: #InspiredBy @accessart (facebook, twitter) @accessart.org.uk (instagram) and share the url. Thank you!
We suggest this pathway is used to replace a “Working in 3 Dimensions” (Blue) or a “Drawing and Sketchbooks” (Orange) pathway for ages 9 and above. This pathway could replace the “Shadow Puppets” or “2D Drawing to 3D Making” (Years 5 & 6).
Please note the activities in this pathway are best suited to more confident teachers who are happy with a higher level of interaction with the work, and more able or experienced pupils.
You may also like to use the activities in this pathway with a smaller group of children in an after school club or community context.
Science: Weight, Position, Direction & Movement, Shadows, Forces and Gravity
I Can…
I have explored the work of a sculptor/designer and seen they explore shape, form, line, colour and balance to make mobiles (kinetic sculptures).
I can use my sketchbook to make visual notes to record and reflect. I can progress these notes into drawings in their own right.
I can use my sketchbook to research the types of elements I might make, linking to an appropriate topic or idea.
I can use the Design Through Making technique to create elements (shapes or forms) using colour, marks, etc, and see how these elements balance as a mobile. I can handle materials and tools and I can persevere when I need to.
I can present and share my work, talk about it with my classmates, and listen to their responses to my work. I can review my own work and think about what I might do differently.
I can respond to the work made by my classmates and I can share my thoughts.
I can take photographs of my work, thinking about focus, light and composition.
Time
This pathway takes 6 weeks, with an hour per week. Shorten or lengthen the suggested pathway according to time and experience.
Materials
Drawing materials, Large sheets of cartridge paper, Glue sticks, Foam board or Cardboard, Wooden kebab skewers (or Dowling or thin green garden canes), String.
Pathway: Explore Sculpture Through Making a Mobile
The aim of the pathway is to give children the opportunity to explore line, shape, form and colour in three dimensions, challenging themselves to make a sculpture which balances and moves.
Follow the prompts on the “Discussion & Sketchbook Work” part of the “Talking Points: Alexander Calder” to develop understanding through sketchbooks and conversation. Encourage children to create “Visual Notes” in their sketchbooks as they watch.
Week 2: Sketchbooks & Prep
Show Me What You See
Revisit “Talking Points: Alexander Calder” and this time make a series of drawings in sketchbooks based upon the “Sketchbook Development Work” section.
You may like to use the resource “Show Me What You See” for guidance on running the session. Encourage the children to not just make drawings of Calder’s mobiles, but also to understand how these drawings can begin to exist in their own right as images.
Decide which method is right for your class. You can also tie the project into an existing classroom theme, for example an exploration of weather, or colour, or costume…
Spend one or two lessons researching (use sketchbooks) and making the “elements” before going on to construct the elements into a mobile in the next week.
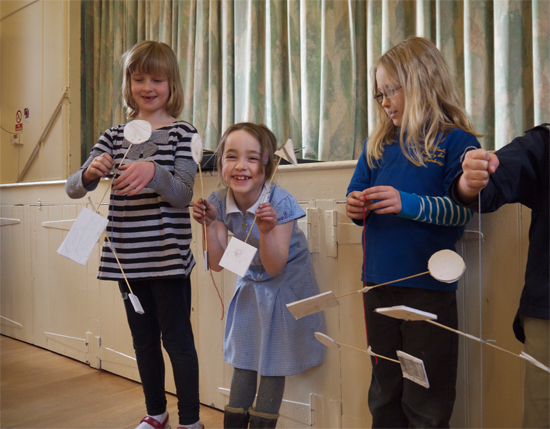
Week 6: Share and discuss
Share, Reflect, Celebrate
End the pathway by taking time to appreciate the developmental stages and the final outcomes in a clear space.
Display the work appropriately including having open sketchbooks. Use the “Crit in the Classroom” resource to help you.
Encourage children to reflect upon all stages of the journey.
If available, children can use tablets or cameras to take photographs of the work.
A range of sources designed to help you explore the work of sculptor, Alexander Calder.
Please note that this page contains links to external websites and has videos from external websites embedded. At the time of creating, AccessArt checked all links to ensure content is appropriate for teachers to access. However external websites and videos are updated and that is beyond our control.
Please let us know if you find a 404 link, or if you feel content is no longer appropriate.
We strongly recommend as part of good teaching practice that teachers watch all videos and visit all websites before sharing with a class. On occasion there may be elements of a video you would prefer not to show to your class and it is the teacher’s responsibility to ensure content is appropriate. Many thanks.
This resource is free to access and is not a part of AccessArt membership.
Alexander Calder
Alexander Calder (July 22, 1898 – November 11, 1976) was an American sculptor known both for his innovative mobiles (kinetic sculptures powered by motors or air currents) that embrace chance in their aesthetic, his static “stabiles”, and his monumental public sculptures. Calder preferred not to analyse his work, saying, “Theories may be all very well for the artist himself, but they shouldn’t be broadcast to other people.” – Wikipedia
Watch the video below to introduce children to the idea of “mobiles”. Stop the video frequently and use discussion to help children understand the ideas in the video. In particular draw the children’s’ attention to:
The idea of slowing down
The relationship of the elements to natural objects
The relationship of a moving sculpture to dance and music.
Throughout the process, have sketchbooks open on desks with plenty of drawing materials, and pause during the conversations so that pupils can make visual notes.
Watch the video below to introduce children to the idea of “mobiles”. Stop the video frequently and use discussion to help children understand the ideas in the video. In particular draw the children’s’ attention to the idea of “trial and error” (or as we call is Design through Making) as a way of constructing the mobiles.
Throughout the process, have sketchbooks open on desks with plenty of drawing materials, and pause during the conversations so that pupils can make visual notes.
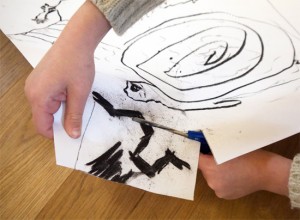
Sketchbook Development Work
Turn the sound down on the video below, and choose certain frames to stop the video so that pupils can make drawings in their sketchbooks based upon the compositions they see.
At first, you as teacher can choose the freeze frame, but then let the pupils make their own choices.
Encourage them to think of the paper of their sketchbook as the “stage” and invite them to draw the shapes, lines and colours they see, thinking carefully about the white space of the page as well as the shapes they draw.
Invite them to use a variety of different materials to capture the shapes. In particular you might want to invite them to use soft B pencils or graphite sticks in one drawing for example, handwriting pen in another, charcoal or collage in another….
Encourage them to work with momentum – for example tell them the film will be frozen for 1 minute/5 minutes etc. Set a clock and invite them to draw, before moving on.
Spend time looking at the drawings they create and invite them to share their thoughts:
What did they think when they were drawing Calder’s mobiles? How did they make them feel?
What do they think when they see the shapes they have drawn? What do they remind them off?