To help teachers navigate AccessArt resources, and to build an understanding of some of our key approaches to enabling creativity, AccessArt is creating a series of “pathways” along themes and topics which can be used in schools.
If you use our resources in schools please do tag @accessart (Facebook and Twitter) and @accessartorguk (Instagram) with any outcomes – we always love to see them! Any questions pls email info@accessart.org.uk
This pathway provides a framework for teachers to explore Henry Moore’s Shelter Drawings, which in turn gives children the opportunity to explore wax resist, watercolour, contour drawing, perspective and form, and charcoal. The pathway can also be widened to look at the work of Paul Nash. As with all AccessArt approaches, the emphasis is on a journey of building independent learning through lots of experimentation and creative risk taking, and balances sketchbook and exploratory work with high quality and varied final outcomes.
The pathway can be condensed or expanded but on average will take 6-7 weeks.
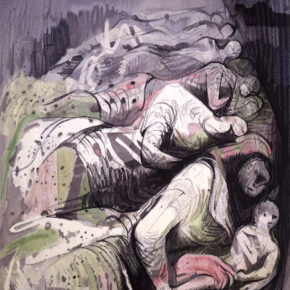
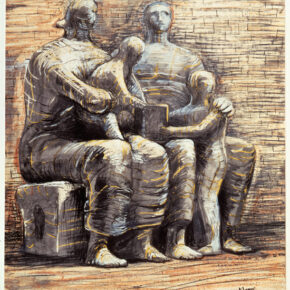
Step 1. Explore Henry Moore’s Shelter Drawings
Visit the Henry Moore Shelter Drawing resource to begin your exploration.
The Shelter Drawings can be used to:
-
Develop visual literacy skills
-
Explore watercolour, ink and wax resist
-
Explore how to convey form in drawings by using contour lines
-
Explore Chiaroscuro (light / dark) to convey mood
-
Explore perspective to build sense of claustrophobia / confinement
-
Explore themes of shelter, confinement, safety, being trapped
Step 2. Use “Guided Looking” to Help Explore Mark Making & Materials
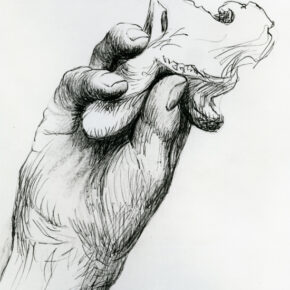
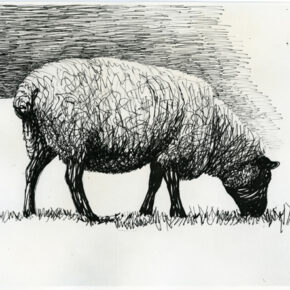
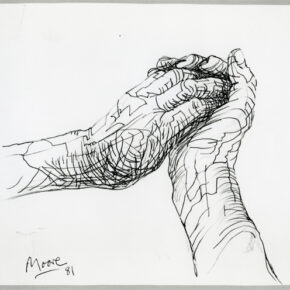
In this step, we help children develop their mark making vocabulary by looking at the work of Henry Moore. What kinds of marks does the artist use? Why would he choose those marks? How does he make those marks? How do we “read” those marks?
Children can then use their new understanding in their own art work, at a later stage.
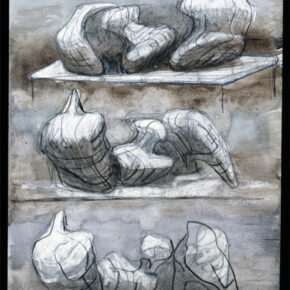
Adapt the Finding Marks Through Drawings Made by Artists resource, using the images below (click on them for a larger view), to help pupils explore the kinds of marks Henry Moore made in his drawings.
Step 3. Exploration of Materials in Sketchbooks
In step 3 we give children the opportunity to materials. This is an important stage which takes children from being inspired “by” the artist in question, to enabling them to start to “own” their individual creative journey, and make their own creative response.
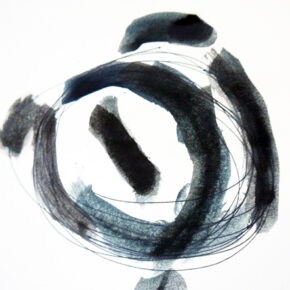
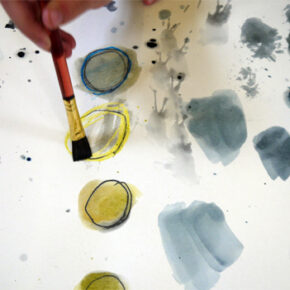
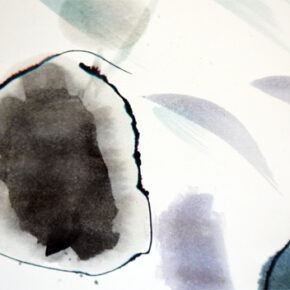
Adapt the Watercolour Washes Inspired by Henry Moore resource here to enable children to explore water colour and wax resist, mark making and colour mixing with a limited palette.
How: Work either in sketchbooks (ideally A3) or, and perhaps preferably, on loose A3 sheets of sugar paper. Try using neutral or mid tone sugar paper (ie dark cream, ochre, pale yellow, grey).
You might choose to run the this session as a guided activity.
Remember: The aim here is for the children to explore and experiment. Give them the space and time to do this. As a teacher, understand how this might feel like a risk to you if you are used to teaching in a tighter way, but remember you ARE offering a structure (materials, technique, colour palette) and you do understand the intention of the session (to ask the questions: What can you do with these techniques and materials? What can you discover for yourself?), but that it is important to offer space for children to take their own creative risks. Be confident in “allowing” the study sheets of paper filled with marks to exist, knowing this is how artists work in their sketchbooks. Don’t judge the marks as outcomes, instead consider them as signs of exploration and curiosity.
Teaching Tips: Don’t hold children back if they are filling many sheets. Encourage children to share and celebrate outcomes. If you feel a child might need to push their experimentation further (i.e. they are holding back) return to a guided exploration with that group of children.
Question: Do your children “own” their exploration? Have they discovered ways they can use the materials and techniques to make their own marks?
Step 4. More Sketchbook Work to Explore “Form”
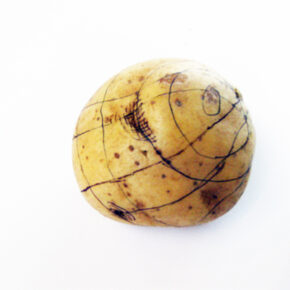
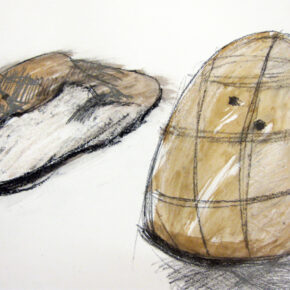
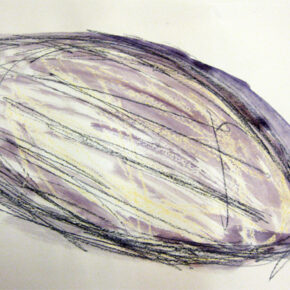
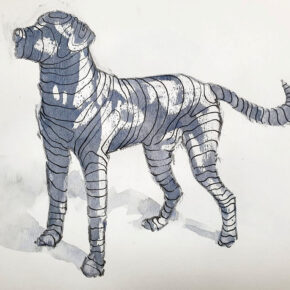
Next, bring in a physical subject matter (in this case potatoes, pebbles and playmobil), and combine with the mark making skills learnt previously, to explore how we can create a sense of form and 3d shape through line. Use the Drawings with Mass resource here.
Remember: The aim here is to help children find ways to describe form (3d shape) using the techniques they explored in their sketchbook work (wax resist, graphite, contour lines). Start with simple shapes, such as potatoes and pebbles, and get the children to work organically. Then work up to more complex forms – we choose playmobil figures for their simple but sculptural forms.
Teaching Tips: This is still an exploration; ask the question: How can we draw these pebbles and potatoes so that they feel solid and heavy? You are not teaching – you are enabling an exploration of that question.
Question: What kinds of lines might we use to make a drawing of an object which feels heavy and solid? Where is the shadow? Where is the light? How can we make it feel rounded?
Step 5. Creative Response
Next we need to find a way to help children connect with the subject matter, so that the artwork they create is relevant to them. Do this by creating an experience…
There are two suggestions below; both provide opportunities for the class to explore emotions and feelings, and how we can express these through media and marks.
By Creating Models
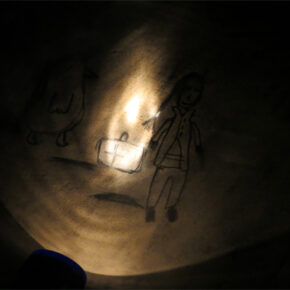
ADAPT the Drawing by Torchlight resource. Create small scenes in cardboard boxes, arranging toys and torches to create mood and drama. Use these to inspire observational drawings which can be developed into more experimental drawings (below).
Through Drama
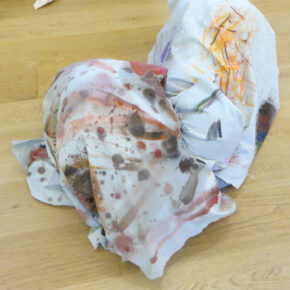
Combine with drama and split the class in 2 or 4 groups. Half the group can make a den like environment and use sheets and lights to create a sense of enclosure which the pupils can inhabit, sitting or reclining in groups. The other group can then use this as the basis to make observation drawings/sketches (drawing from life). Swap groups. Use these exploratory drawings as the basis for more experimental final pieces below.
Materials you might like to use / combine for your final piece
Charcoal
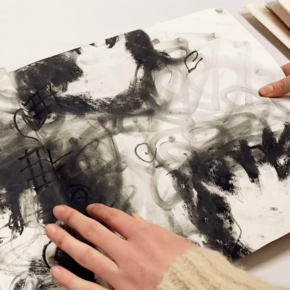
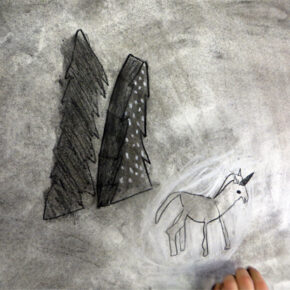
ADAPT the Drawing Stories resource and enable children to make a creative response to the environment they built above by exploring charcoal. Explore “chiaroscuro” (light/dark) to create drama and mood.
Graphite, Watercolour, Wax Resist
Use watercolour or ink over wax resist, plus graphite or pen to build line.
Handwriting Pen
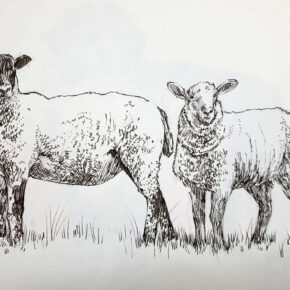
Use handwriting pen, sharpie or marker pen to make drawings which capture a sense of 3d form through mark making. Look at cross hatching too to help build areas of dark to help convey mood.
Tying Loose Ends…
Make a sketchbook from all your exploratory drawings.
Fasten Exploratory Drawings Together to Make A Backwards Sketchbook
Other Artists / Avenues of Exploration…
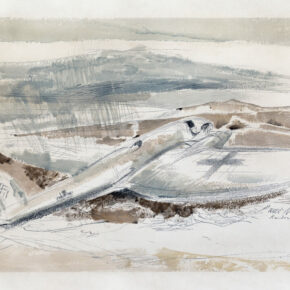
The Raider on the Moors (1940) by Paul Nash. Original from The Yale University Art Gallery.
Paul Nash
Paul Nash was a war artist during World War 1 and 2. Whilst Moore was drawn to the interior spaces of underground shelters, where people sheltered, Nash was drawn more often to landscapes which were affected by war – images of aircraft on the ground, or natural landscapes torn about by bombs.
There is an opportunity for pupils to make drawings outside which capture the spirit of open skies, trees and fields. Contrast these to work made inspired by Moore’s Shelter drawings which are about confinement and claustrophobia.
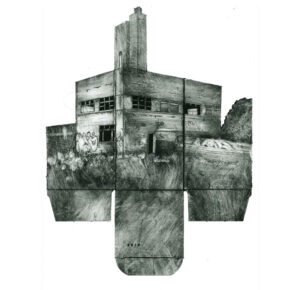
Karen Wicks
Contemporary Artists Inspired by War Shelters
www.instagram.com/lisa.traxler/ – artist who lives inside a war bunker and uses it as her inspiration.
www.instagram.com/marklippettartist/ – painter inspired by abandoned spaces.
www.instagram.com/ianchamberlainartist/– printmaker inspired by industrial objects in landscape.
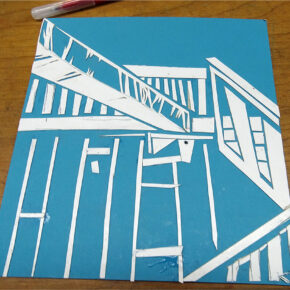
Making Collagraphs

