Pathway for Years 5 & 6
Disciplines:
Design: Typography, Drawing, Collage, Sketchbooks
Key Concepts:
-
That when designers work with fonts and layout it is called Typography.
-
That we can use the way words look to help us communicate ideas and emotions.
-
That we can create our own typography and combine it with other visual elements to make artwork about chosen themes.
In this pathway children are introduced to typography design and they explore how they can create their own fonts and designs. Children explore how we can use visual letters and other elements to help convey ideas and emotions.
They are introduced to the work of an artist and a designer who have both used lettering combined with maps to produce maps which tell stories. Children then go on to create their own visual and often three dimensional maps.
Themes:
Identity, Environment, Habitat
Medium:
Pencil, Pen, Paper
Artists: Louise Fili, Grayson Perry, Paula Scher, Chris Kenny
If you use this resource in your setting, please tag us on social media: #InspiredBy @accessart (facebook, twitter) @accessart.org.uk (instagram) and share the url. Thank you!


Teaching Notes
Find the MTP for this pathway here.
Please find the CPD session recording of the Typography and Maps pathway here.
Curriculum Links
Geography: Trade links, digital mapping, ordinance survey maps, detailed sketching of maps.
History: Create maps inspired by your chosen ancient civilisation topic e.g. an Anglo Saxon settlement or village.
Maths: Pictorial representations, 2D / 3D shapes.
PSHE: Collaboration, Peer Discussion.
English: Leaflets, posters
I Can…
-
I have understood that Typography is the visual art of creating and arranging letters and words on a page to to help communicate ideas or emotions.
-
I have seen how other artists work with typography and have been able to share my thoughts on their work.
-
I have explored how I can create my own letters in a playful way using cutting and collage. I can reflect upon what I like about the letters I have made.
-
I have drawn my own letters using pen and pencil inspired by objects I have chosen around me. I can reflect upon why my letters have a meaning to me.
-
I have used my sketchbooks for referencing, collecting and testing ideas, and reflecting.
-
I can make my drawings appear visually stronger by working over maps or newspaper to make my marks stronger.
-
I have seen how some artists use their typography skills and drawing skills to make maps which are personal to them. I have been able to reflect upon what I think their maps mean, what I like about them, and what interests me.
-
I can use my mark making, cutting and collage skills to create my own visual map, using symbols, drawn elements and typography to express themes which are important to me.
-
I have shared my work with the class, reflected upon what was successful and been able to give useful feedback on the work of my peers.
Time
This pathway takes 6 weeks, with an hour per week. Shorten or lengthen the suggested pathway according to time and experience. Follow the stages in green for a shorter pathway or less complex journey.
Materials
Soft B pencils, handwriting pens, cartridge paper, black sugar paper, assorted papers/cards, old maps or newspapers, A1 cartridge paper, assorted small objects and plants, PVA glue, tape, scissors.
Pathway: Typography and Maps
A PDF of this pathway can be found here.
-
Aims of the Pathway
This pathway aims to give pupils the opportunity to explore the work of designers who work with font and typography. Pupils go on to create their own typography and develop their skills further in a visual map project.
- Week 1: Introduce Typography
What is Typography?
Visit the free to access “Talking Points: What is Typography” resource. Enable children to understand how typography can be used creatively to express thoughts and communicate ideas visually. Make some “Visual Notes” in sketchbooks.
- Introduce an Artist
Louise Fili
Explore the work of Louise Fili who is a pioneer in establishing herself as a woman working in Typography. Use the free to access “Talking Points: Louise Fili” resource to see how she and her team created a poster for the New York Subway.
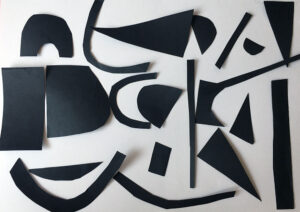
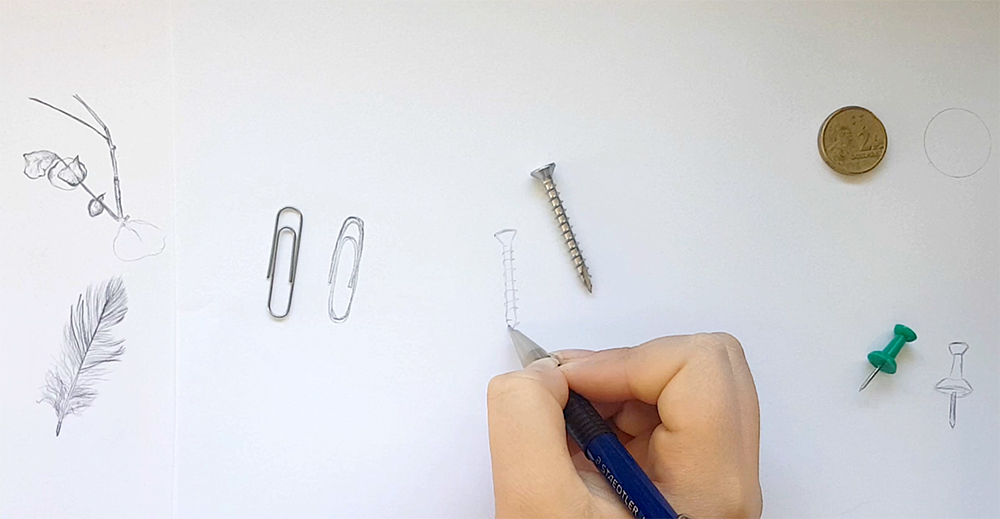
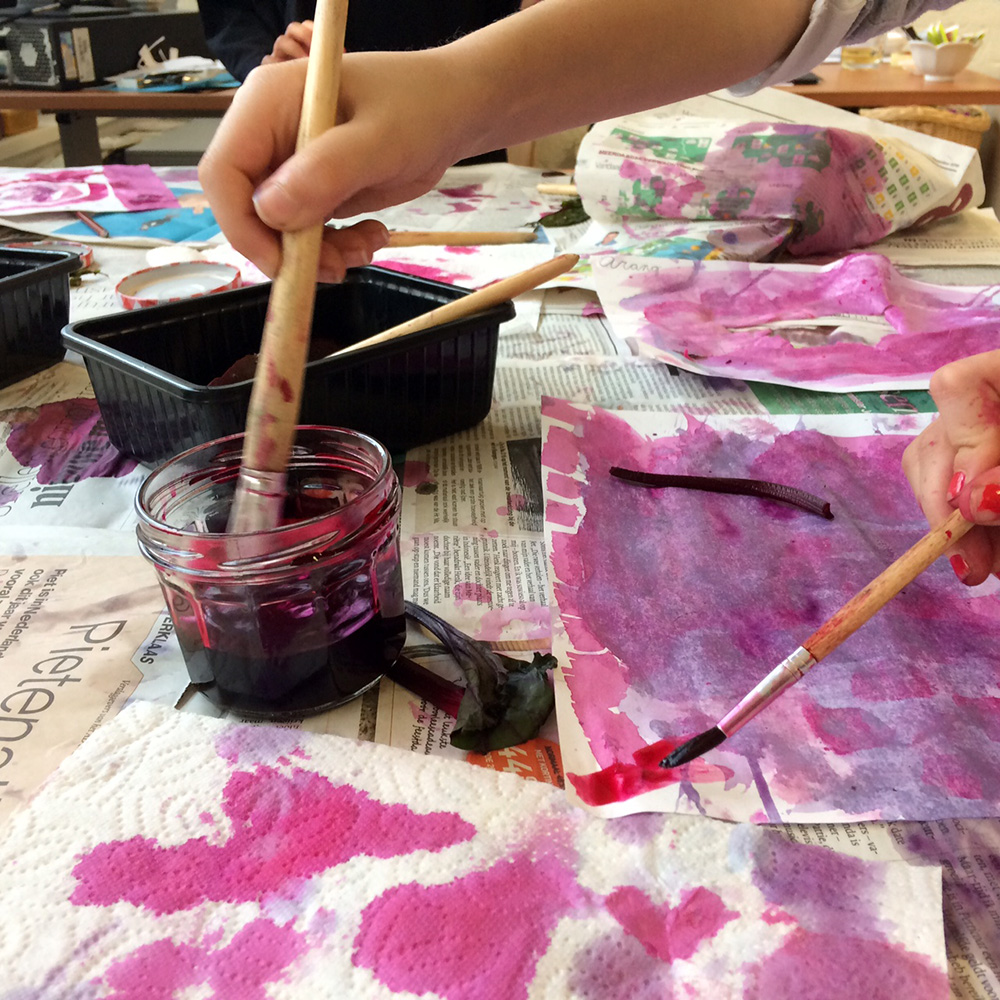
- Play & Experiment
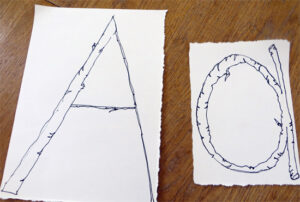
Play with Cut Out Typography
Invite the children to create their own letters in a playful way to discover arrangements they like. Use the “Cut Out Typography” resource.
Stick the outcomes in your sketchbook. Think about what you like about the letters you create, and what you might like to develop further.
- Week 2: Continue Exploring
Create Your Own Typography
Create your own letters of a typeface in an intuitive and fun way in the “Create Your Own Typography” resource.
Work on large sheets or in your sketchbooks. Explore as many variations of letters as you can.
If you have time, develop a whole word or even phrase, but pay just as much attention to each letter.
Pupils will be drawing on previous knowledge and skills in creating varied mark-making. For a recap on mark-making explore “Finding Marks Made by Artists“.
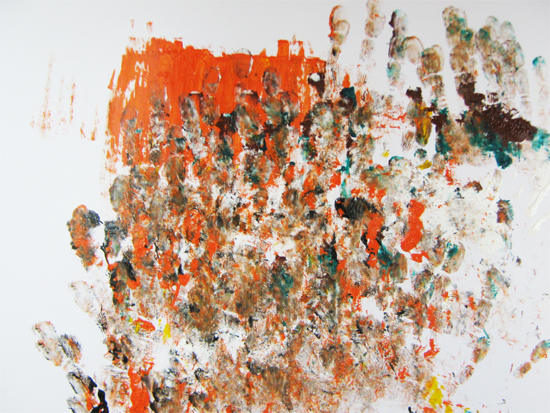
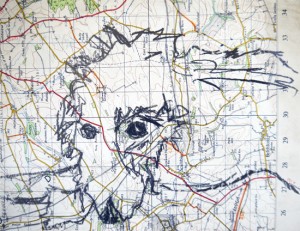
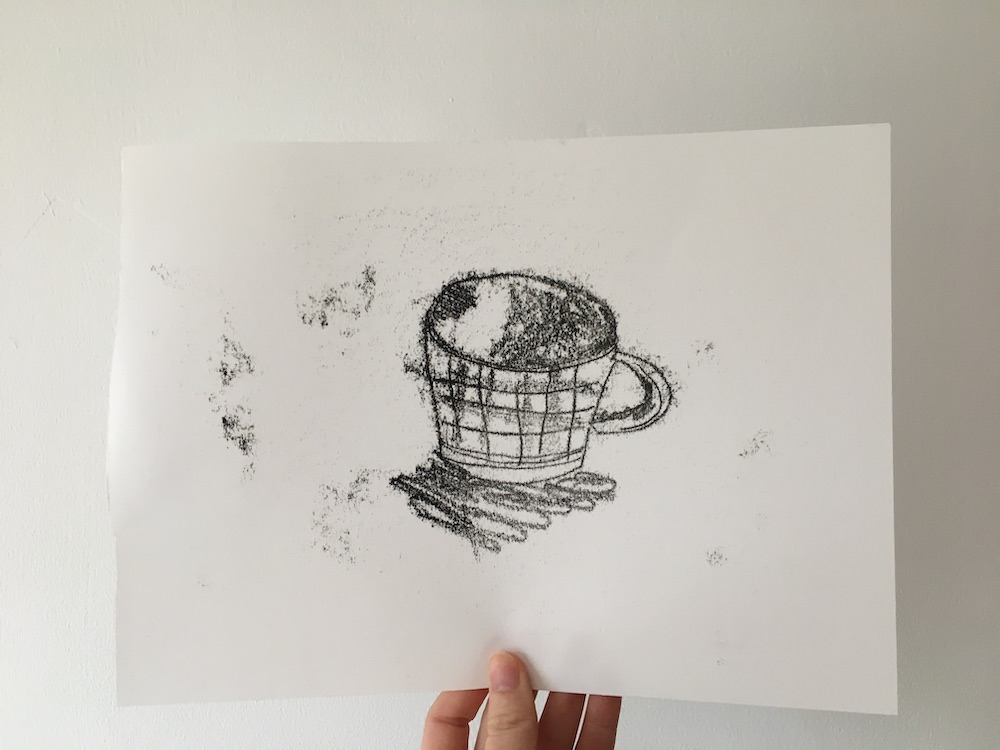
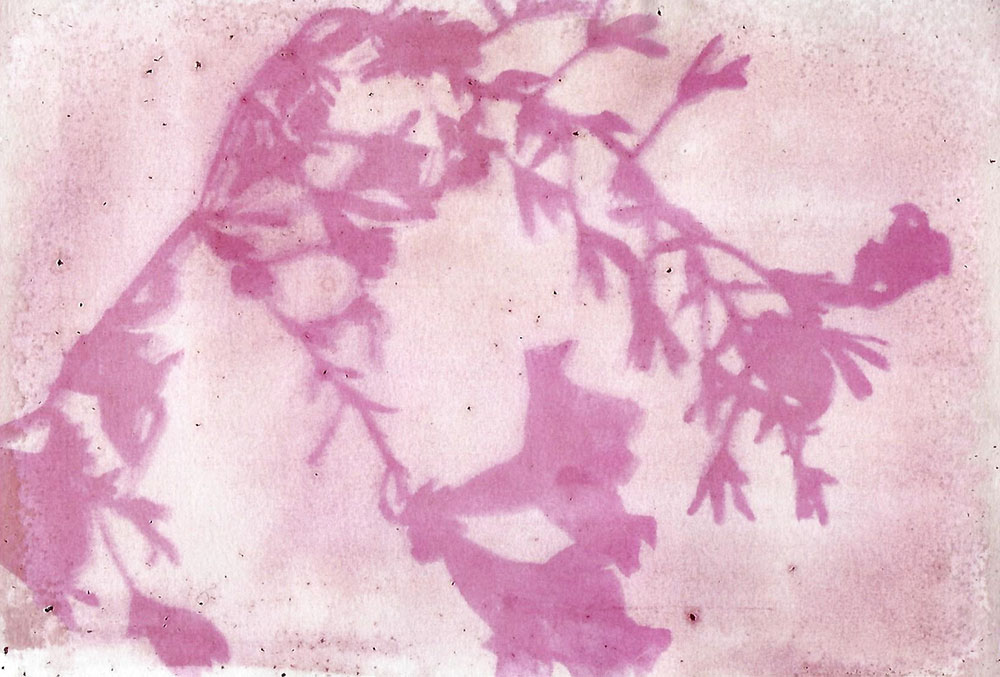
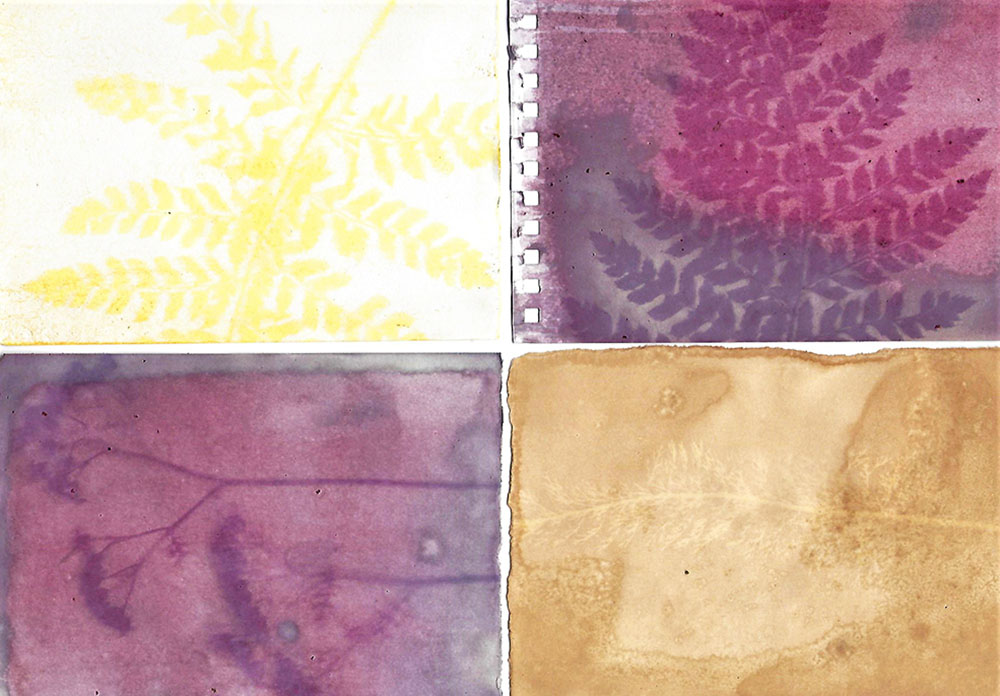
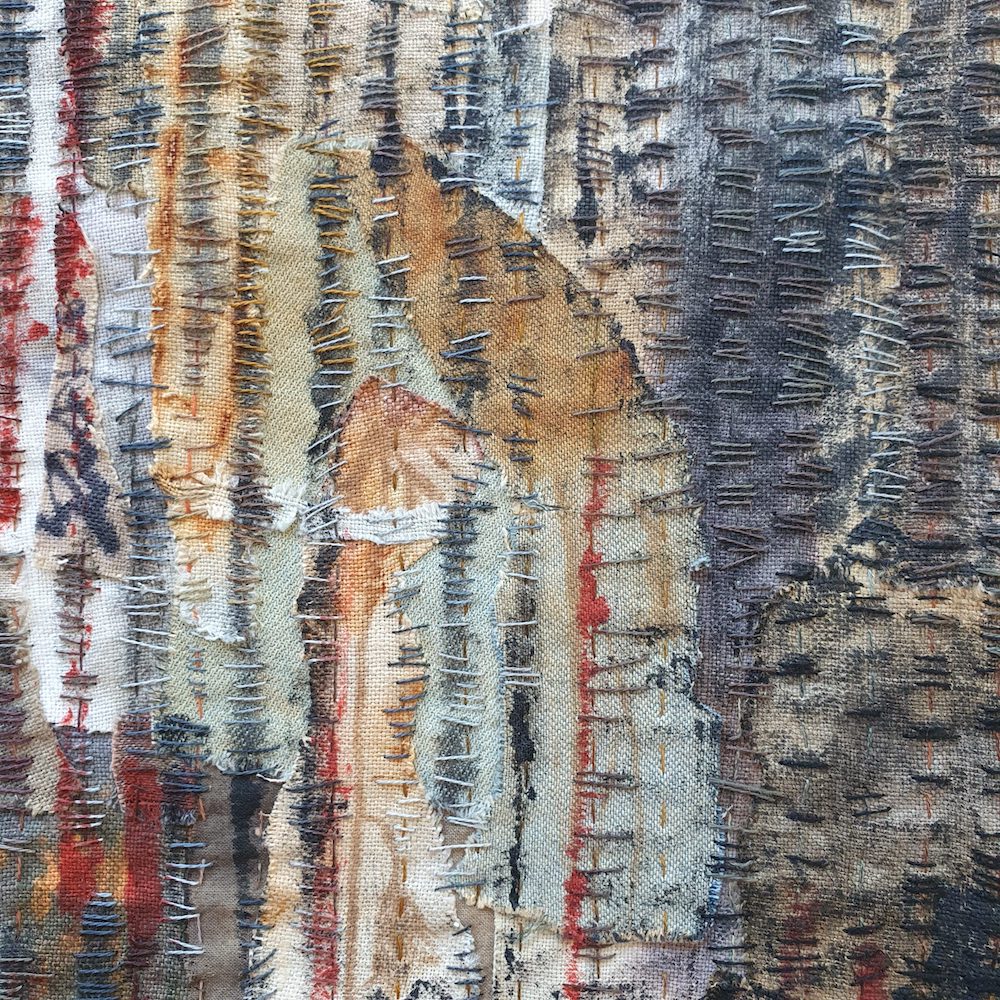
- Week 3: Developing Stronger Drawings
Explore Making Powerful Visual Imagery
Sometimes we need help to make our drawings visually powerful.
Use the “Making Stronger Drawings” resource to help you develop strong mark-making skills.
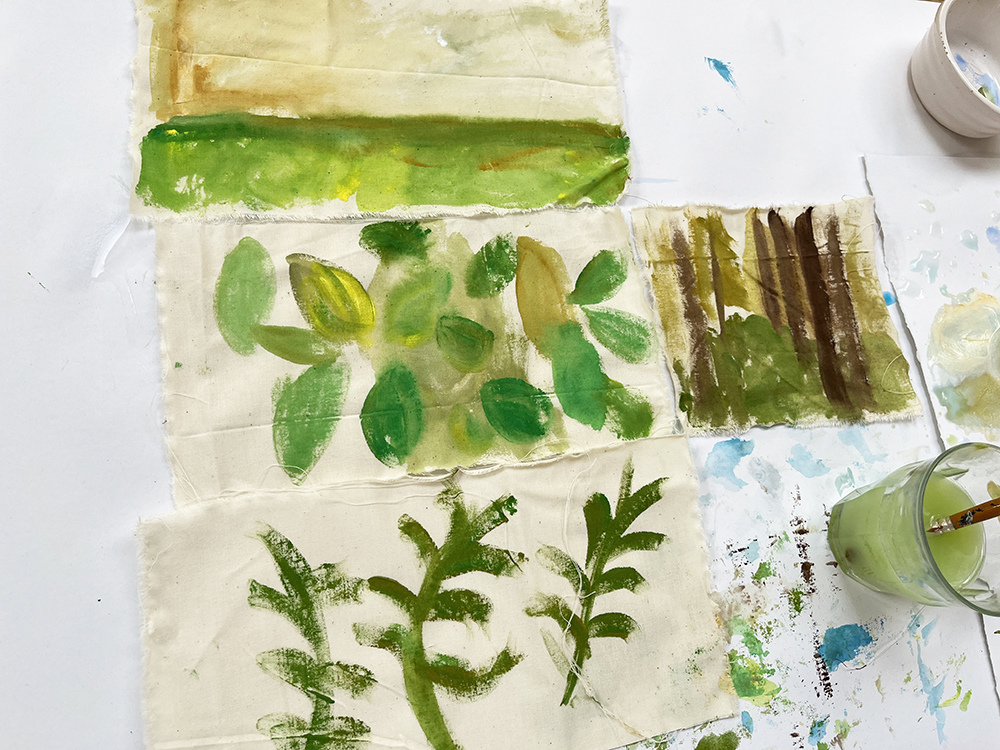
If you don’t have maps to work on you can do the same exercise working on newspaper or other paper which is pre-printed.
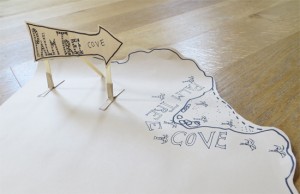
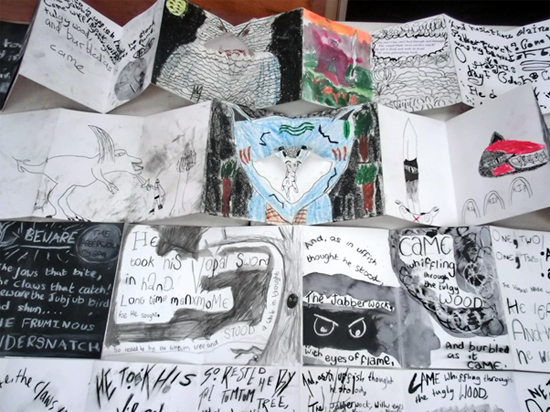
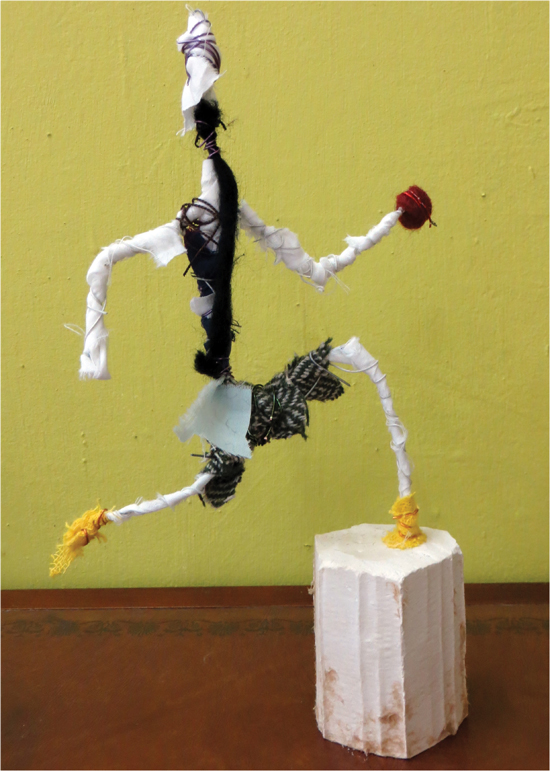
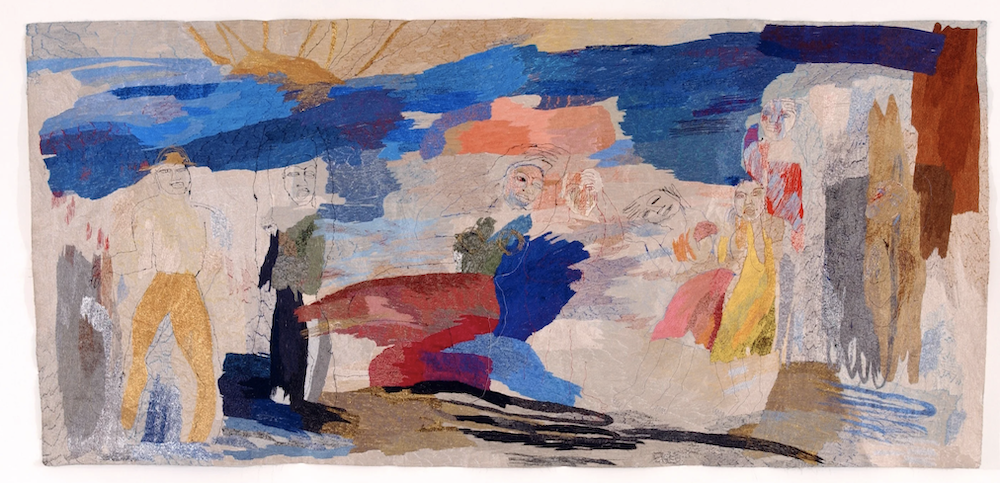
- Week 4 & 5: Creating a Visual Map
Messages in Maps
The next stage of the project is to apply your new typography skills and your powerful drawing skills to make a visual map.
- See How Artists Create Maps
Grayson Perry & Paula Scher & Chris Kenny (and the Marauder’s Map)
Maps don’t just have to tell us where to go. They can also be very personal places which reveal things about the artist that made them, or they can be comments about culture, place and time. They can also be a place where messaging is concealed and revealed. They can be based upon reality or imagination, or both.
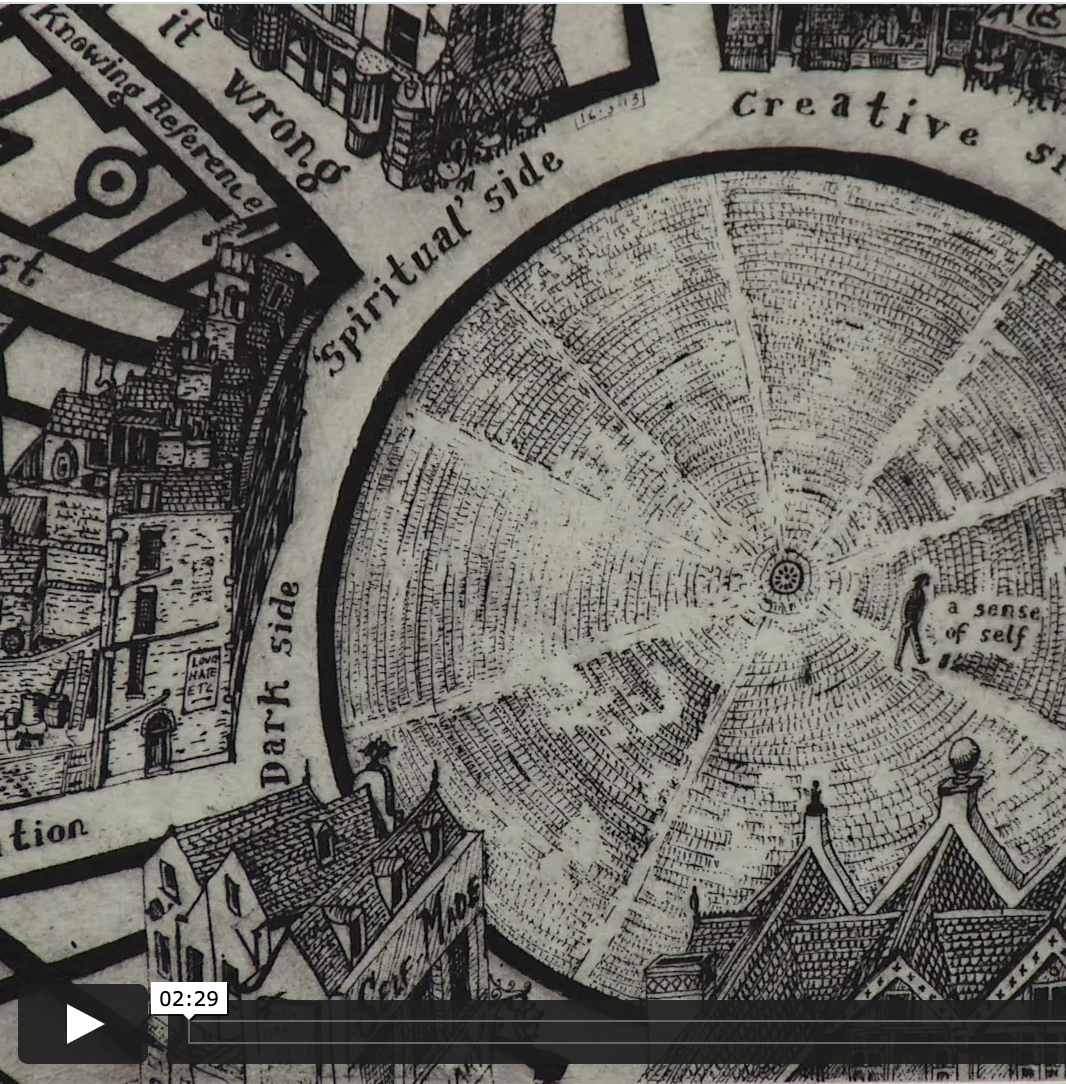
Introduce children to a selection of artists who use maps in their work to express identity. Create “Visual Notes” in sketchbooks inspired by your choice of artists.
Choose from the following of free to access Talking Points:
-
“Talking Points: Grayson Perry ‘Map of Days’” Please Note: Please be advised that at 1.51 of the video via this link there is inappropriate language shown on the map. You may wish to show up to this point or to skip past the shot of the language in question.
-
“Talking Points: Paula Scher”
-
“Talking Points: Chris Kenny“
Or explore the design and typography used in the visual Marauder’s Map using the “Talking Points: Hogwarts’ Maps” resource.
-
- Make
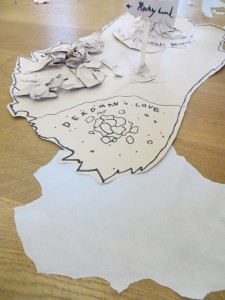
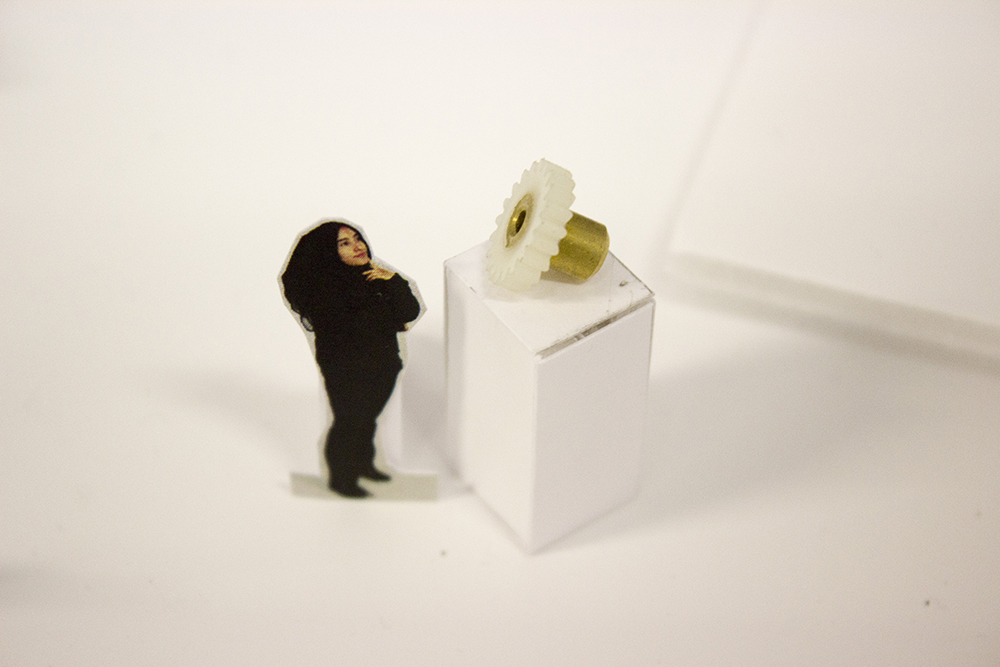
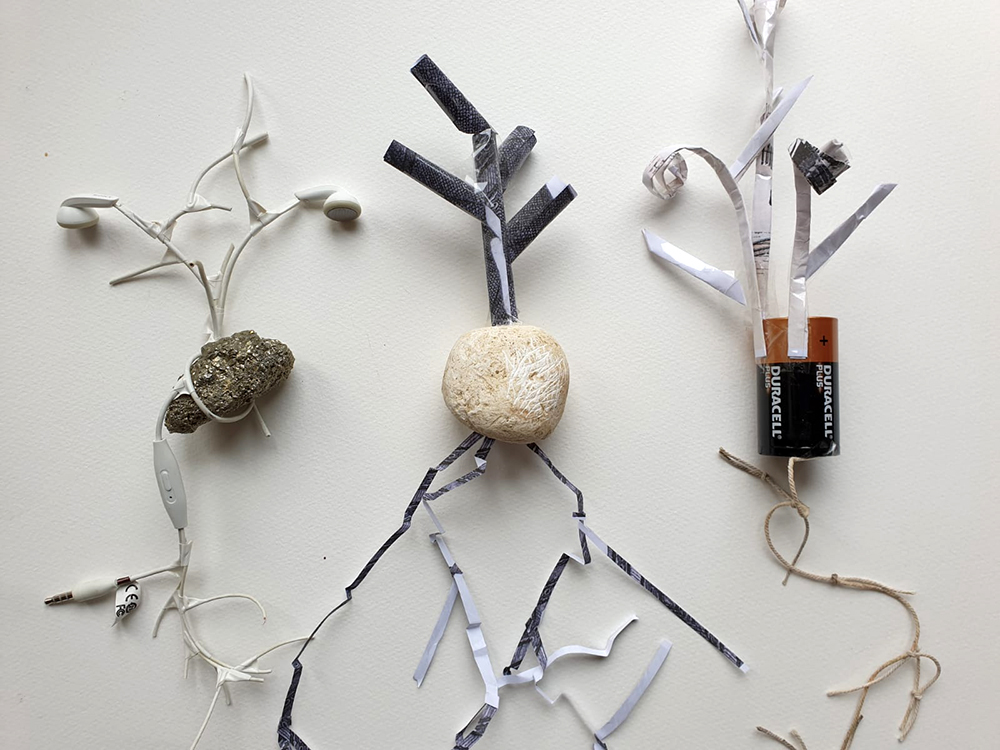
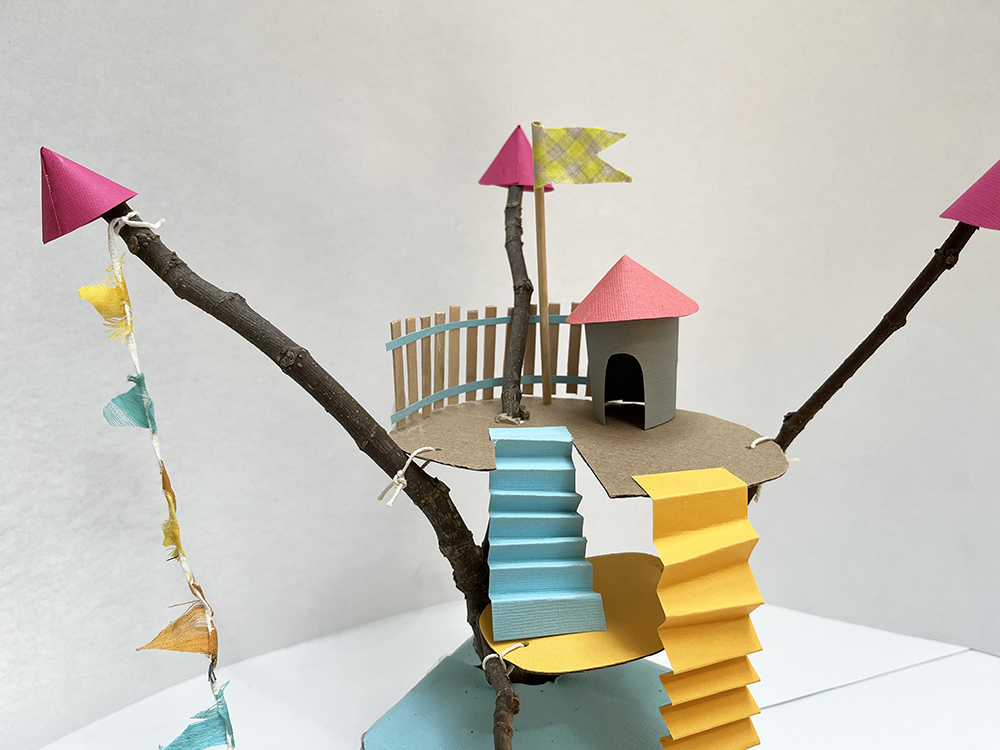
Begin Making a 3D Visual Map
Using ideas developed from the Typography activity in Week 2, follow the “3D Visual Maps” resource to understand how we build on the idea of creating visual text, and how this can be applied to map making.
- Develop
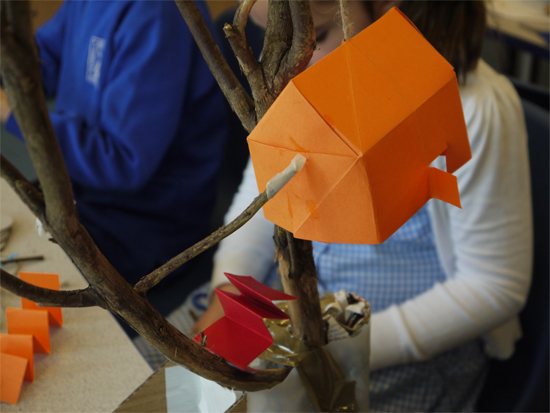
Annotate Your 3D Visual Maps
Ask the children to use explorations of identity to annotate their 3D Visual Maps with typography, references, thoughts, ideas and associations. They can do this both in 2D and 3D, using cut out paper. See “Manipulating Paper from 2d-3d” for inspiration.
Questions to ask:
Where am I in my map? Why have I chosen to place myself here and what is around me?
What words do I associate with home and where I live?
What things or places am I surrounded by and why is this important to me?
- Week 6: Reflect and Discuss
Share and Celebrate the Outcomes
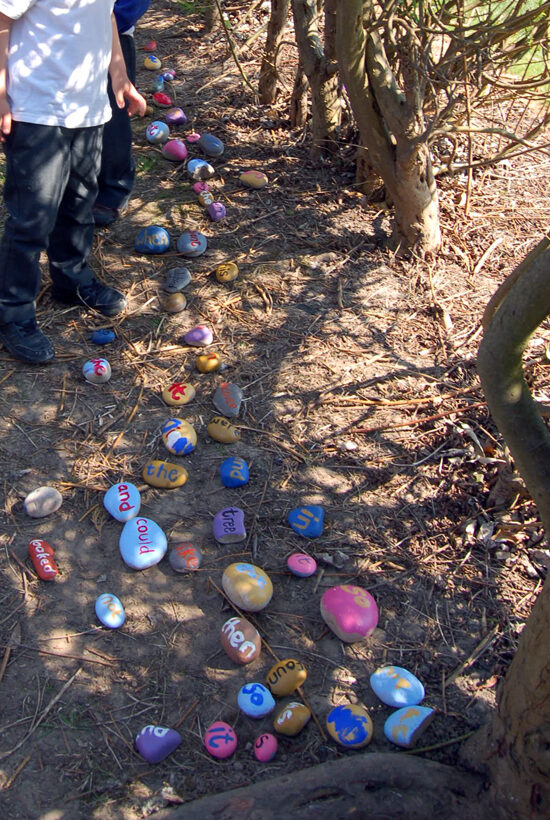
Lay the maps out on the floor if possible. You could even use the playground or school hall if the weather/space allocation permits.
Ask the children to walk around each other’s work. Take time to absorb and discuss.
Use the resource here to help you run a class “crit” to finish the project.
See the Pathway Used in Schools…


If You Use AccessArt Resources…
You might like to…
Join our Facebook Group

Join the AccessArt Network group on Facebook and ask questions of others using our resources
Share and Tag

Share photos of work made by tagging us on social media
You May Also Like…
inspired by google earth

Use images from Google Earth as inspiration for drawings
making illustrated letters

Personalise letters according to interests
inspired by google earth: Making

Use images from Google Earth as inspiration for a sculpture
Making Maps Magical with Thermochromic Paint


 Introduce pupils to the technique of mono printing with ink. Watch this video on


")


, Intimacy, c. 1877-80. kks9159, kks9159 by SMK Statens Museum for Kunst (officiel) is marked with CC0 1.0.")
 (1880) by Odilon Redon. Original from the Art Institute of Chicago")


 Use the free to access “


 Use the “


 by Vincent Van Gogh. Original from the MET Museum.")
 by Vincent Van Gogh. Original from the Barnes Foundation.")