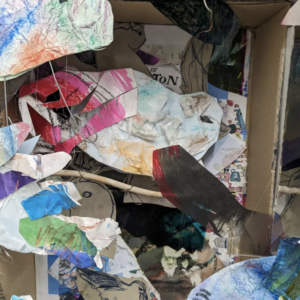
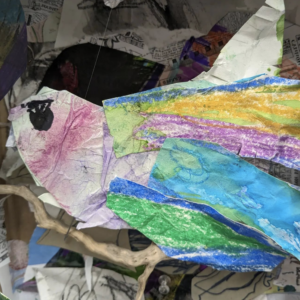
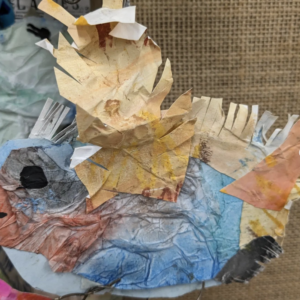
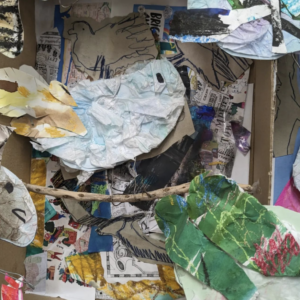
Illustrating ‘The Jabberwocky’

By Eleanor Somerset

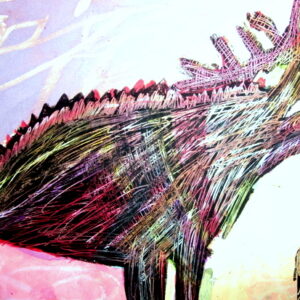
In this resource, AccessArt contributor Eleanor Somerset illustrates how she worked with a group of 7-10-year-old pupils and another of 10-15-year-old budding artists at the Little Art Studio in Sheffield, on a series of workshops to illustrate Lewis Caroll’s The Jabberwocky.

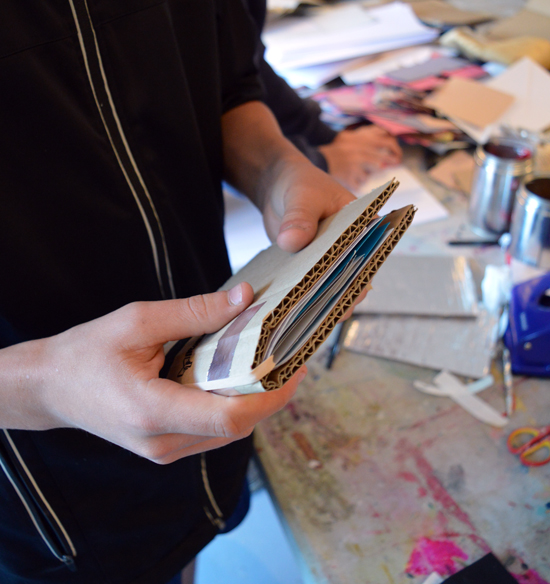
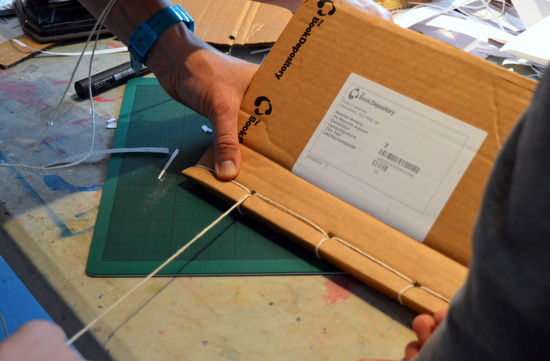
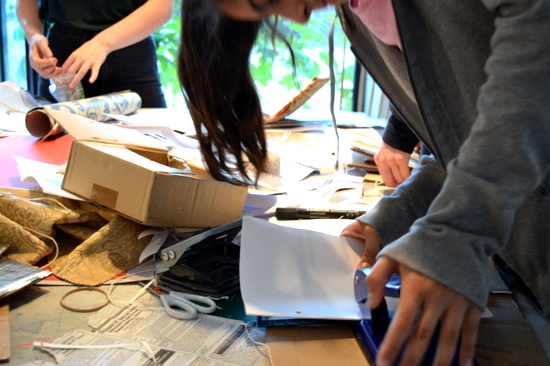
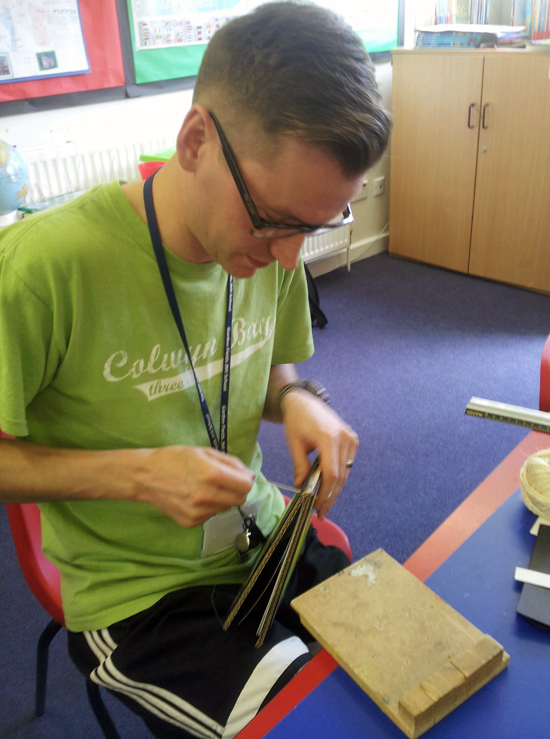
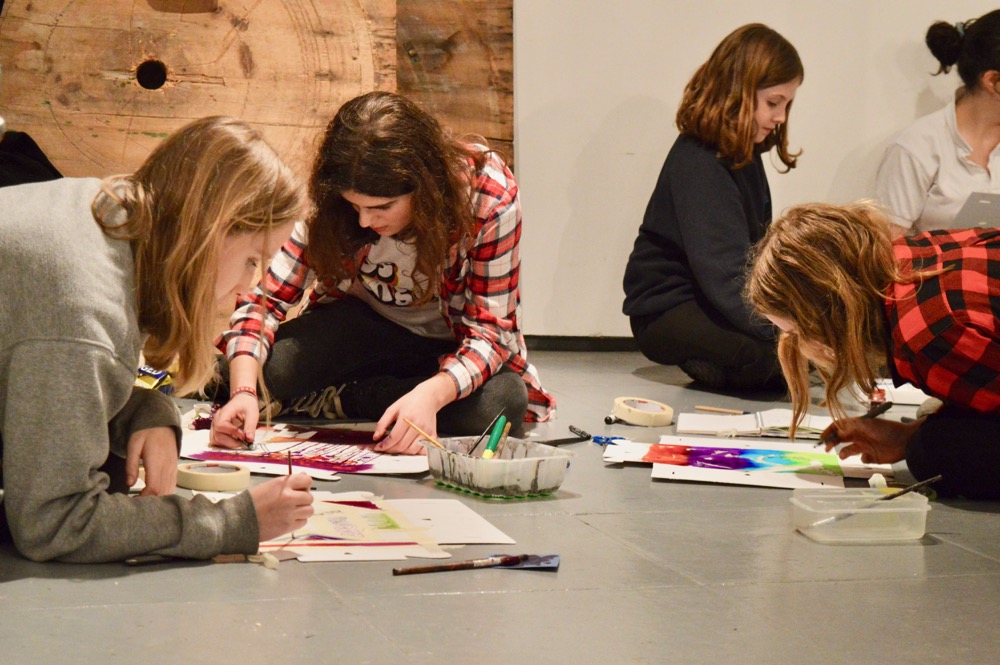
Eleanor worked over several weeks, during the dark, winter months, on this project and approached it by delivering a series of highly creative and imaginative sessions exploring experimental and elemental drawing, culminating in the production of concertina sketchbooks illustrating the poem.


Ellie Somerset Jabberwocky


Ellie Somerset Jabberwocky

Illustrated poem Ellie Somerset


Please log in here to access full content.

Username
Password


Remember me
Forgot Password


To access all content, I would like to join as…

An Individual

Creative practitioners, educators, teachers, parents, learners…


An Organisation…

Schools, Colleges, Arts Organisations: Single and Multi-Users


AccessArt is a UK Charity and we believe everyone has the right to be creative. AccessArt provides inspiration to help us all reach our creative potential.


See This Resource Used in Schools…

Year 4, Ashley Manor Preparatory School
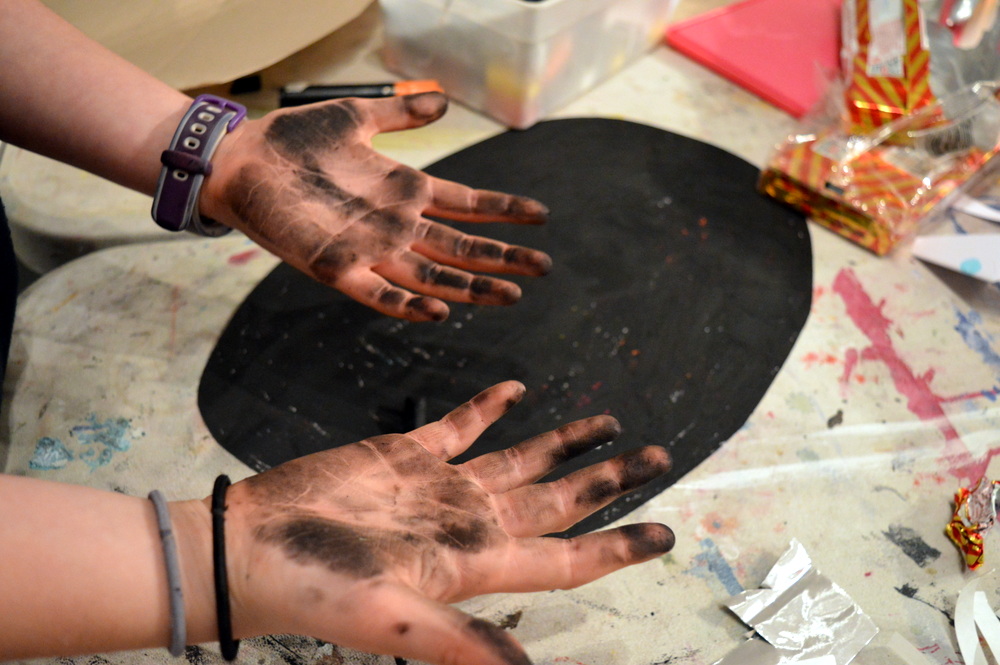
Child's hand using charcoal in sketchbook
The Grange School

You May Also Like…

Pathway: Storytelling through drawing

This is featured in the 'Storytelling Through Drawing' pathway

This is featured in the ‘Storytelling Through Drawing’ pathway

Talking Points: Laura Carlin

Laura Carlin The King of the Sky https://vimeo.com/266949422

Talking Points: Shaun Tan

The Arrival by Shaun Tan https://vimeo.com/139679090


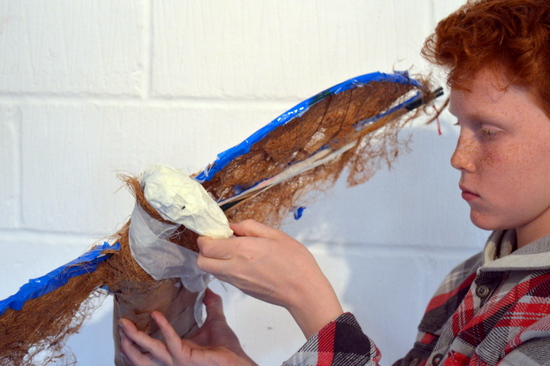
Sculptural Birds in Flight by Teenage Makers

You May Also Like….

Visual Arts Planning Collections: Birds

Drawing Birds with Oil Pastels and Washes

Rook – Transforming Materials

Drawing feathers

SCULPTING BIRDS FROM OLD BOOKS

10


Make a Sketchbook, Ideas Book or Travel Journal this Summer!

Simple Elastic Band Sketchbook

Simple Elastic Band Sketchbook

Japanese Book Binding

Japanese Book Binding

Simple Hole Punch Sketchbook

Simple Hole Punch Sketchbook

Simple Sewn Sketchbook

Simple Sewn Sketchbook

Many thanks for teenagers at AccessArt’s Experimental Drawing Class and their parents as well as teachers from Garden Fields JMI School, St Albans for inspiring this post.

Happy sketchbooking and have a wonderful summer!


Teenagers Make Prompts to Overcome White Page Syndrome


Inspired by Joseph Cornell: Making a Decorative Aviary Box

See This Resource Used In Schools…

Year 2, Ruth at Carden Primary School


A Model Studio by Susie Olczak


Printmaking with Salvaged Sticky Back Aluminium Foil, Mixed Media and Cardboard


Wax Resist with Coloured Inks and Sgraffito on Foamboard


3D Drawing in a Frame


Chimera – A Drawing Workshop with Eleanor Somerset

You May Also Like…

Visual Arts Planning Collections: Literacy

Units Painted on Paper by Yu-Ching Chiu

Wax Resist with Coloured Inks and Sgraffito on Foamboard

Drawing feathers

Chimera Drawings into Beautiful Terracotta Tiles

Painting white slip onto terracotta tiles


Teenagers Make Small Sculptures: Exploring Felt-Making and Transforming Materials


Paper Sculptures: Dipping Objects in Paper Pulp


Exploring Materials: Merino Wool and Water and Making Felt


Exploring Materials: Plaster and String


Printing Patterns on Jewellery Pieces


Exploring Materials: Paper and Water and Making Paper


Exploring Materials: Clay and Water


Gothic Revival: Craft Techniques for the Class Room Inspired by the Leach Firm of Cambridge

How to Make a Tessellated Design
‘Pouncing’: A Simple Technique to Transfer Patterns onto Plaster Tablets
Gilding and a ‘Touch of Gold’
Painting on glass

The Firm

In 1862 Frederick Leach started F. R. Leach & Sons, artist-decorators who worked with the best-known Victorian architects/designers including William Morris, Charles Kempe and George Bodley.

Their expertise led the firm to work on ecclesiastical and civic arts, crafts and decoration as well as domestic architecture and interiors.

If their workshops could talk they would have told of stained glass being designed, painted and fired; stone statues carved; wooden decorations turned; panels chiselled, decorated and gilded; furniture crafted; metal forged; and tiles painted. In fact they could create anything that a well-decorated house, church or college would need.


Pouncing

Wall painting was a popular decoration for churches during the neo-gothic revival in the mid to late Victorian era.

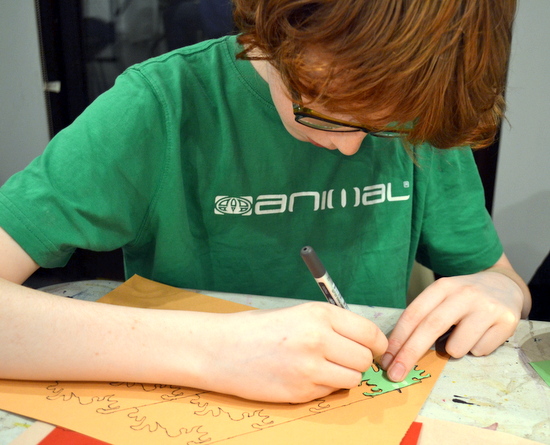
The paint colour was mixed by hand and then often applied straight to the wall or ceiling. The design was often painted freehand or using stencils which included a technique called ‘Pouncing’.

This technique is where the design is drawn out on paper and the outline is pricked all around to produce small holes.

Click on the image above to see How to Make a Tessellated Design.

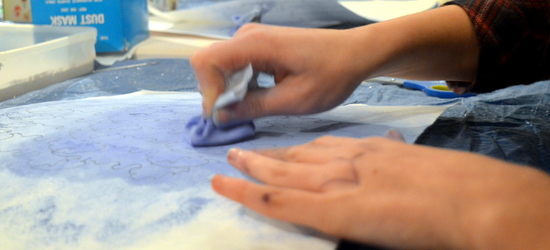
This is then placed on the wall and dabbed all over with a small bag of fabric filled with powdered graphite or chalk. The powder is forced through the holes so that when the paper is removed it leaves an outline of the pattern on the walls.

Click on the image above to see how teenagers used ‘Pouncing’ to Transfer Designs onto Plaster Tablets


Gilding

Gilding was a popular finish for the ornaments that decorated the ceilings of neo-gothic churches.

These ornaments were made of lead or plaster and were often start that shone down from their great height once gilded in gold.

The first stage to gilding is when gold is pounded until it becomes as thin as tissue paper (25g can be beaten out to cover an area of 3m square).

The surface of the ornament to be gilded is prepared by brushing it all over with a glue called size.

This is left to dry until it reaches a ‘tacky’ state.

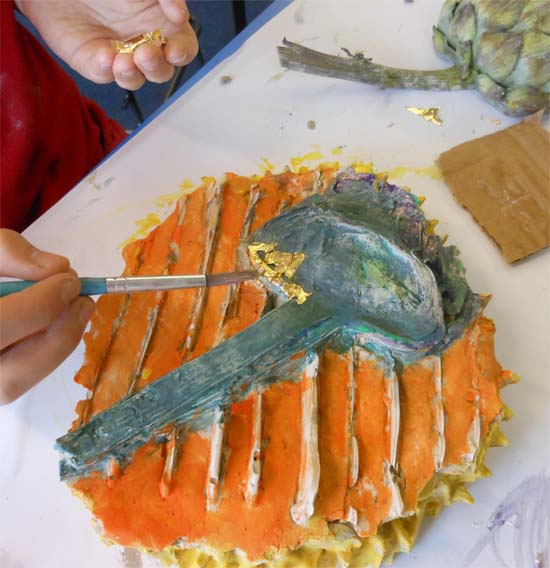
The gold sheets are then carefully laid onto the surface of the ornament and the size sticks it to the surface.

The gold is then worked into all the areas of the ornaments using a brush to push it down. There were special brushes made for doing this including one made from squirrel’s fur.

Click on the image below to see how to apply gold leaf to a plaster relief sculpture Gilding and a Touch of Gold


Stained Glass

The neo-gothic revival saw a resurgence in stained glass design for churches and domestic architecture of the day.

One technique used was that of Silver Staining Glass. This is where silver nitrate is painted onto clear glass and fired until the silver paint becomes part of the molecular structure of the glass and produces colours from a pale yellow to a rich orangey-amber.

Follow the link above to see How to Print on Glass.

Motifs or designs were painted onto glass ‘quarries’ or shapes of glass that would be could together to form a leaded window.

For this reason diamonds, squares or other shapes that would tessellate were popular. This type of stained glass window also allowed a lot of light into the building which went well with the decoration of a neo-gothic church where the walls were decorated and deserved to be seen.
‘Pouncing’: A Simple Technique to Transfer Patterns onto Plaster Tablets


Design Lab: Phoebe Cummings at the V&A