Pathway for Years 3 & 4
Disciplines:
Painting, Drawing, Collage, Sketchbooks, Relief
Key Concepts:
-
That when artists make work in response to static objects around them it is called still life.
-
That still life has been a genre for many hundreds of years, and is it still relevant today.
-
That when artists work with still life, they bring their own comments and meaning to the objects they portray.
-
That we can make a still life creative response in many media: drawing, painting, collage, relief…
-
That we can use line, shape, colour, texture, and form to help us give meaning to our work, and explore composition, foreground, background, and negative space.
In this pathway children are introduced to the genre of still life as an old art form and also one which is still enjoyed by many contemporary artists. Pupils revisit and develop their drawing (and looking) skills using observational drawing of physical objects, and then go on to explore a project, either working in collage, photography and paint, clay relief, or graphic still life.
Along the way children consolidate and develop their understanding of how we can use line, shape, colour, texture, form and composition to make their work.
Medium:
Acrylic or poster paint, pen, pencil, ink, clay (depending upon project chosen)
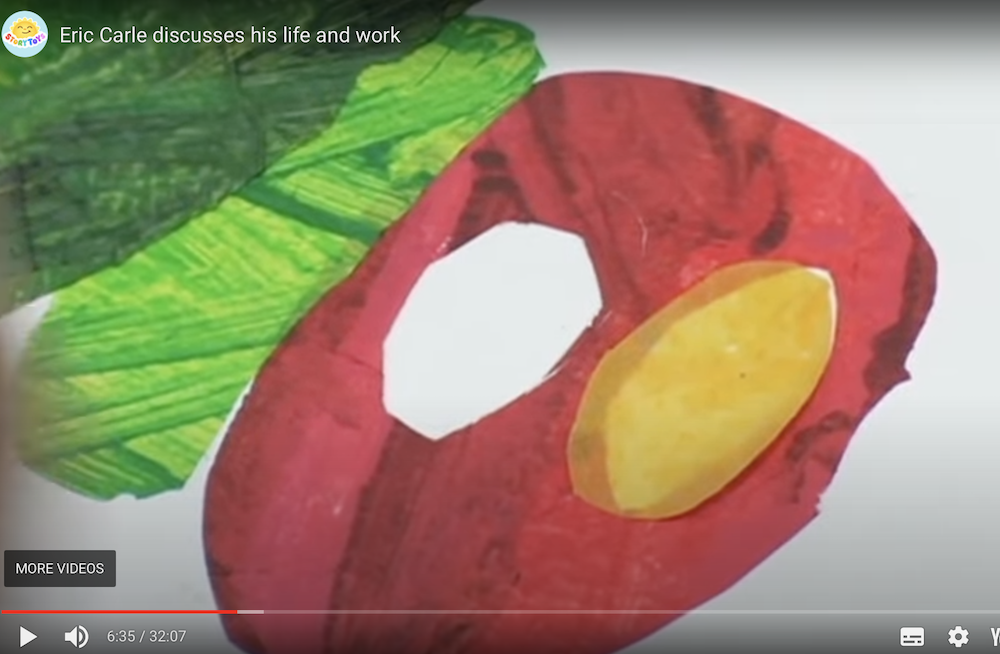
Artists: Paul Cezanne, Peter Claesz, Melchior d’ Hondecoeter, Jan Davidsz, Jacob Vosmaer, Hilary Pecis, Nicole Dyer, Baas Meeuws, Hirasho Sato
If you use this resource in your setting, please tag us on social media: #InspiredBy @accessart (facebook, twitter) @accessart.org.uk (instagram) and share the url. Thank you!


Teaching Notes
Find the MTP for this pathway here.
Please find the CPD session recording of the Exploring Still Life pathway here.
Curriculum Links
History: Depict objects related to your chosen ancient civilisation topic or even arrange for a museum handling collection to visit your school.
Maths: 2D and 3D shapes, Pattern (on object).
Science: Plants, trees and flowers, rocks and fossils, light and shadow (explore all of these through your still life arrangement).
I Can…
-
I have explored the work of contemporary and more traditional artists who work within the still life genre.
-
I have felt able to express my thoughts about other artists’ work, and talk about the meanings of objects as artists present them.
-
I can use my sketchbook to make visual notes, record and reflect.
-
I can draw from observation and think about how I can use line, colour, shape, texture, form and composition to make my artwork interesting.
-
I can present and share my artwork, and explain how my sketchbook work helped build my knowledge and skills towards my final piece.
Time
This pathway takes 6 weeks, with an hour per week. Shorten or lengthen the suggested pathway according to time and experience. Follow the stages in green for a shorter pathway or less complex journey.
Materials
Soft B pencils, cartridge paper, sharpies or felt tip pens, handwriting ink or watercolour (undiluted or thick & diluted down to a wash), a fine brush and a thick brush, a small, solid object to draw.
Option 1: Cut Paper Collage Still Life – (to make the collage papers) A2 cartridge paper, A3 coloured sugar paper, sponges, brushes, bubble wrap scraps, acrylic or ready mixed paint (to make the collage), a still life arrangement, PVA glue, scissors.
Option 2: Cezanne Paintings to reference (digitally and printed), a still life arrangement (textured cloths/tea towels, colourful fruits, large bowls, glass vase or bottle, tea pot etc), large pieces of card in various colours for background, iPads/tablets/digital camera/iPhone for photographing.
Option 3: Clay Fruit Tiles – Selection of fruit and vegetables, drawing materials: charcoal, graphite, pencil, chalks, pastels, paper, card, tissue paper, scissors, cardboard, camera, photocopier or tracing paper, clay, clay tools, rolling pins, clay knives, boards, plastic bags, sponges, water pots, brushes, toothbrush and water (for joining clay onto your tile), acrylic paint.
Option 4: Graphic Inky Still Life – Inks, foamboard or cardboard, quills/brushes/pens, craft knife and cutting mat, PVA glue, variety of bottles to draw.
Pathway: Exploring Still Life
A PDF of this pathway can be found here.
-
Aim of the Pathway
The aim of this pathway is to introduce children to the genre of still life, explore traditional and contemporary still life artists, and make their own creative response.
In doing so, they consolidate and develop many technical and visual literacy skills and concepts, including looking at line, colour, shape, texture, form, composition, foreground, background and negative space.
- Week 1: Introduce an artist
Introduce the artist Paul Cezanne
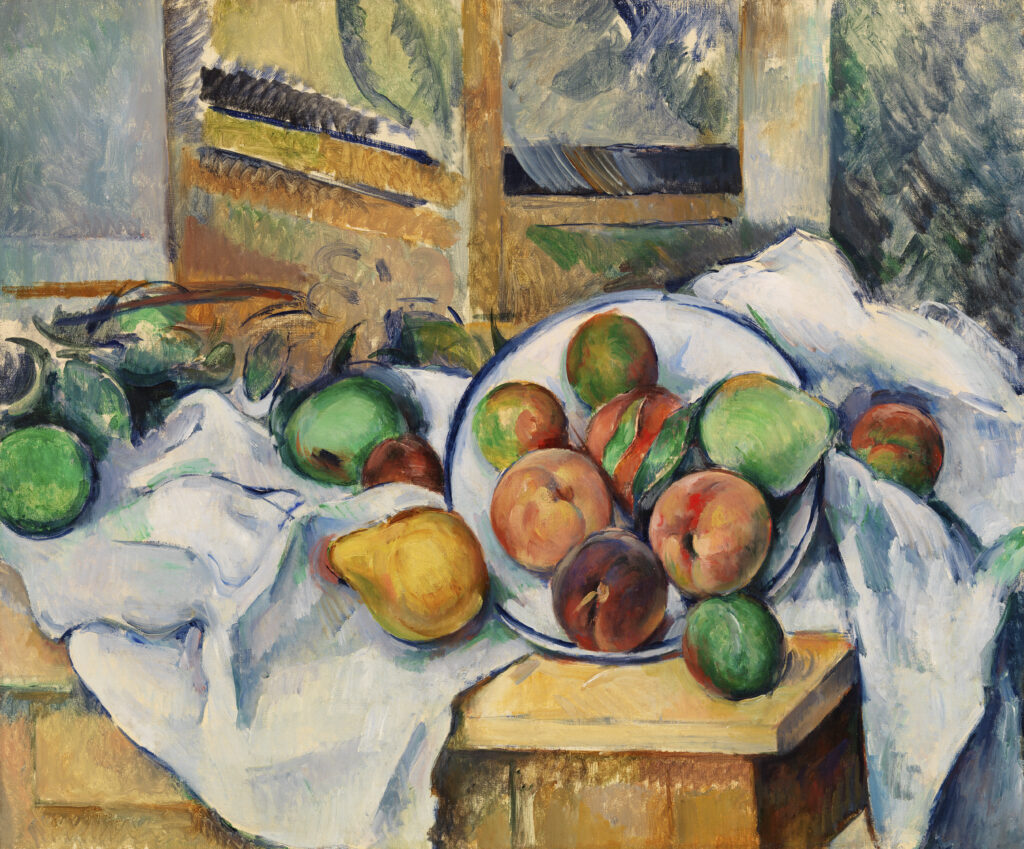
Use the free to access “Talking Points: Cezanne” resource to introduce pupils to the still lifes of Paul Cezanne.
Invite children to capture elements of his paintings in their sketchbooks as you discuss his work (focusing particularly on colours, lines and shapes).
You might like to use the “Show Me What Your See” or “Making Visual Notes” resources to help children embed exploration in their sketchbooks.
You might also like to visit the “What is Composition?” resource to help pupils think about about composition in still life artwork.
- Work in sketchbooks
Choose One of the Drawing Exercises Below
Use the “See Three Shapes” exercise to help children appreciate how seeing simple shapes can help improve drawing skills, and how one material can be used in a variety of ways to create different qualities of line.

Use the “Four Colour Gestural Drawing Exercise” resource to help children build their understanding of the subject matter, and think about how they can use marks to share their understanding.
- Week 2: Explore Further
Explore the Work of Contemporary and Traditional Still Life Artists

Explore a variety of contemporary artists who study still life in different forms. Use our free to access “Talking Points: Contemporary Still Life” to prompt class discussion about the artists work.
Compare and contrast with the work of Dutch and Flemish 16th century artists using the free to access “Talking Points: Flemish Painters” resource.
Use the “Making Visual Notes” resource to record and reflect.
- Weeks 3, 4 & 5: Find Your Focus
Choose a Project
Choose between an exploration of:
-
Painting and collage
-
Photography, composition and painting
-
Clay, texture and painting
-
Still life sculpture
-
- Option 1: Paint and Collage
Cut Paper Collage Still Life
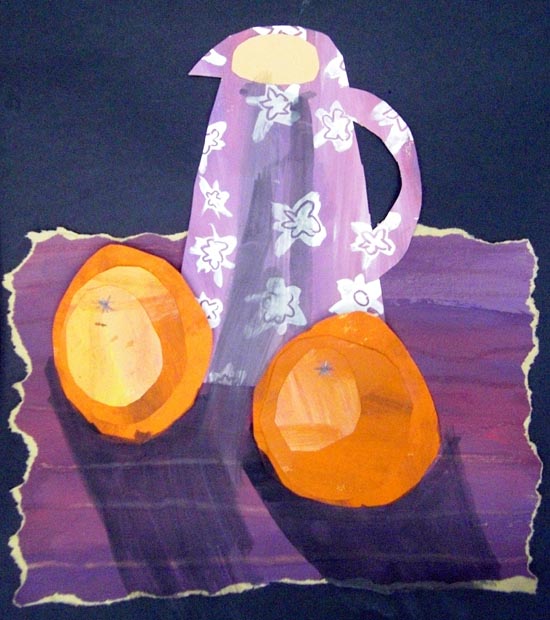
Use the “Cut Paper Collage Still Life” resource to facilitate a collaged still life activity. This technique is very accessible – pupils paint sheets of paper before collaging with them.
-
Or…
- Option 2: Photography, Composition and Painting
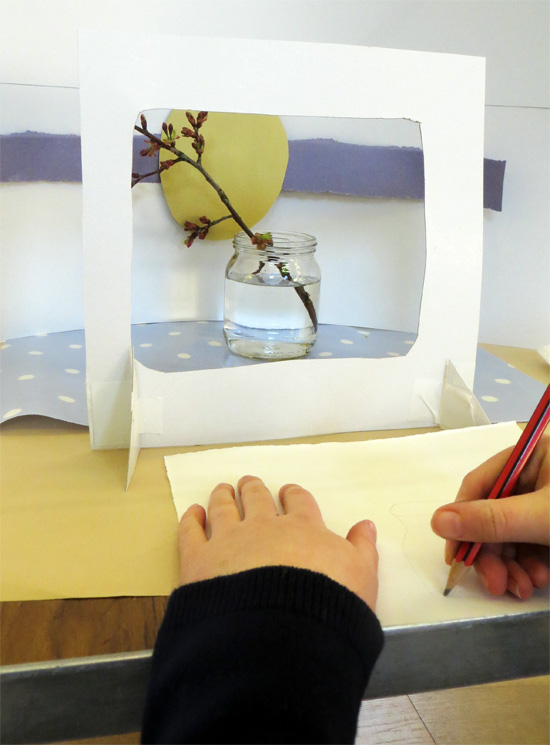
Still Life Inspired by Cezanne
Use the “Still Life Inspired by Cezanne” resource to invite pupils to make their own still life compositions, before photographing and painting them. This option is a great way to bring cameras into the classroom.
-
Or…
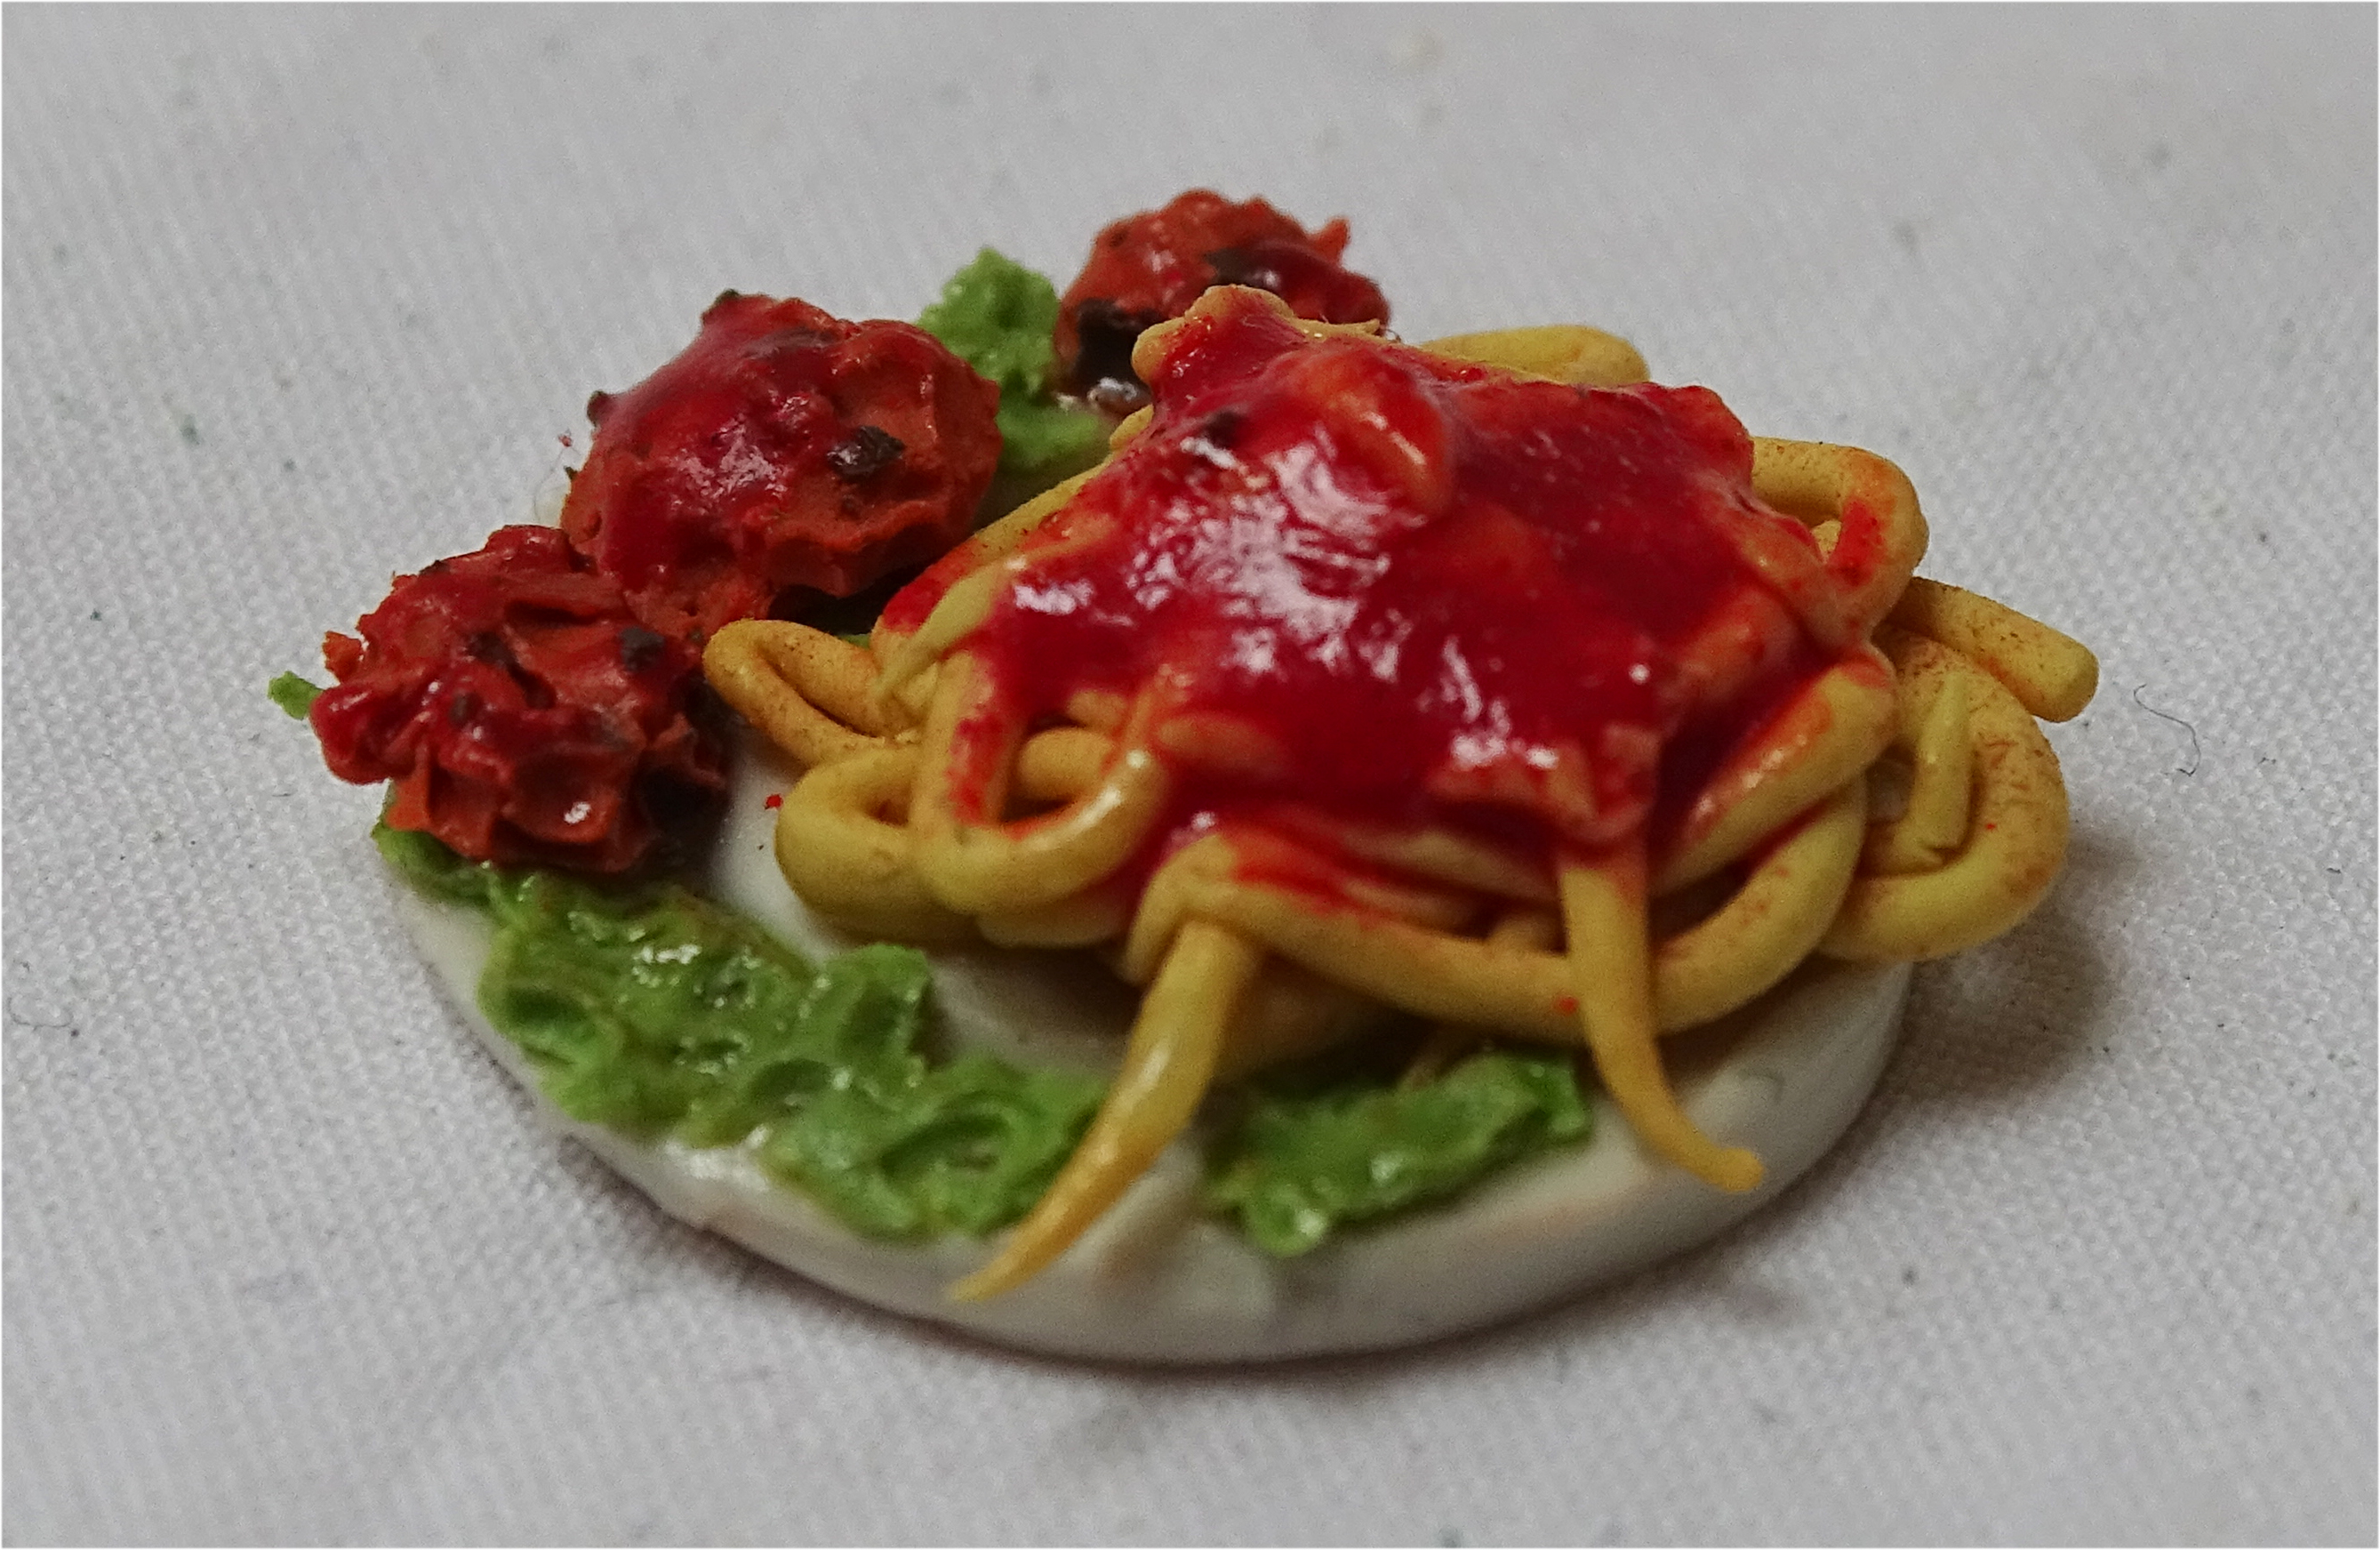
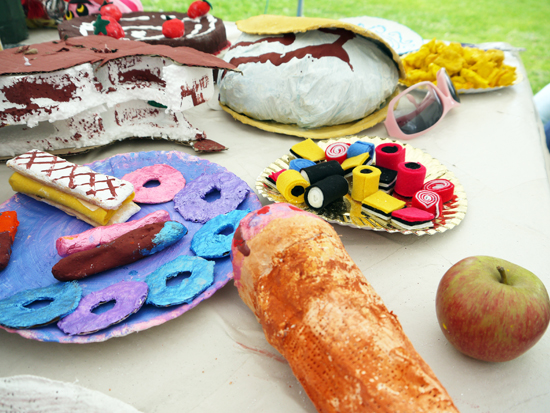
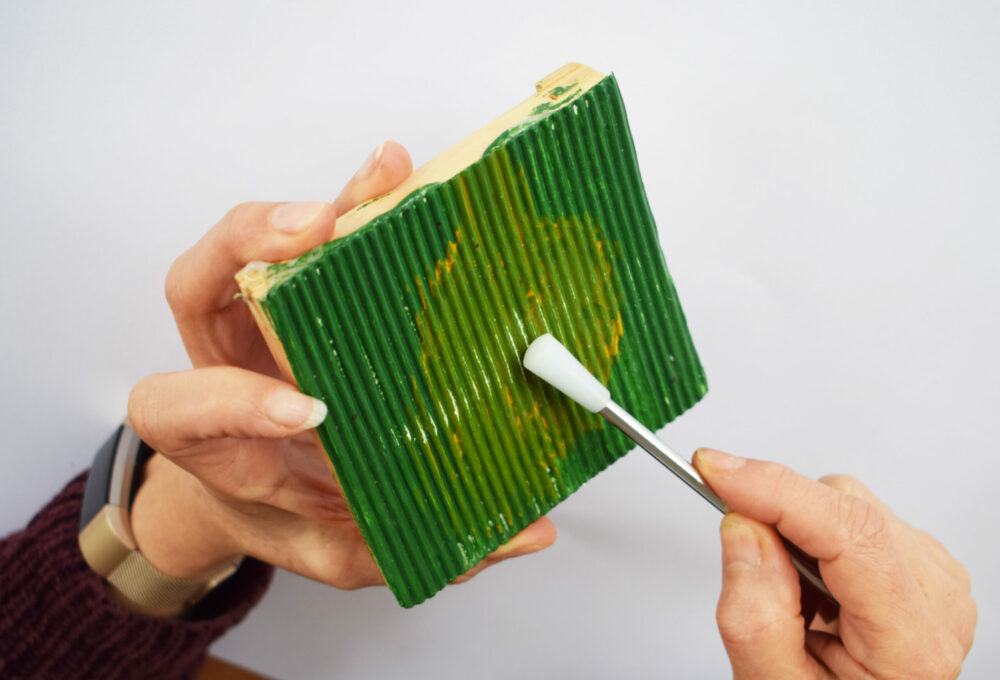
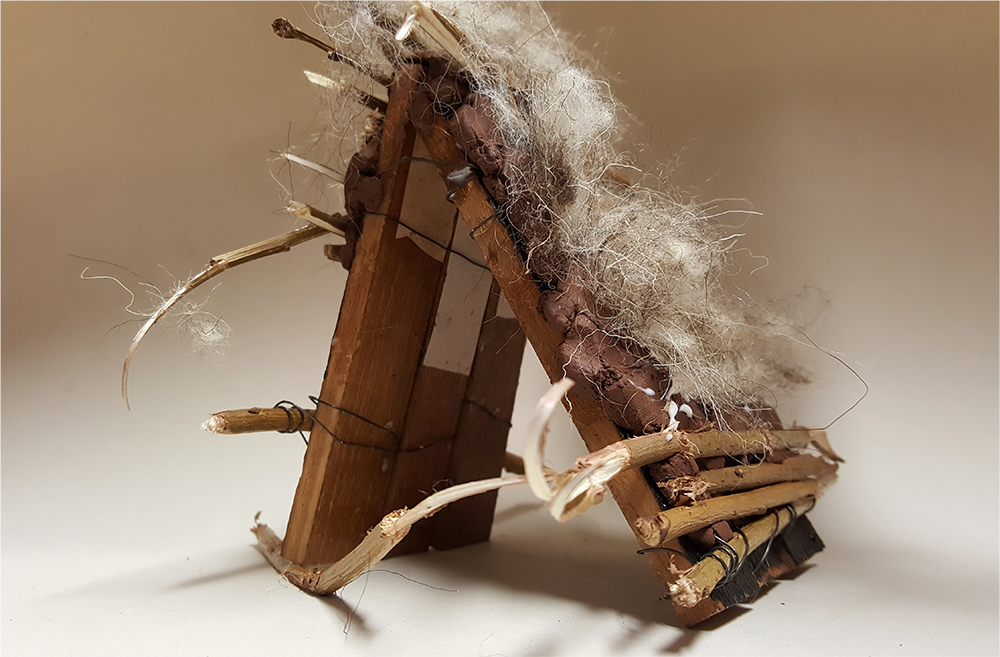
- Option 3: Clay, Texture, Paint
Clay Fruit Tiles
 Give children the opportunity to work with clay to make decorative “Clay Fruit Tiles“.
Children will gain skills in working with clay as a resistant and responsive material, resulting in an exploration of texture, mark making, colour and composition.
-
Or…
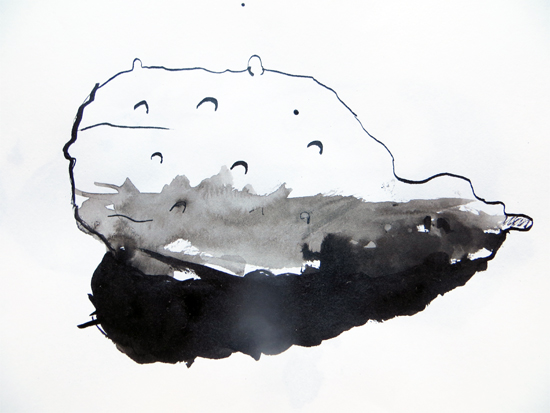
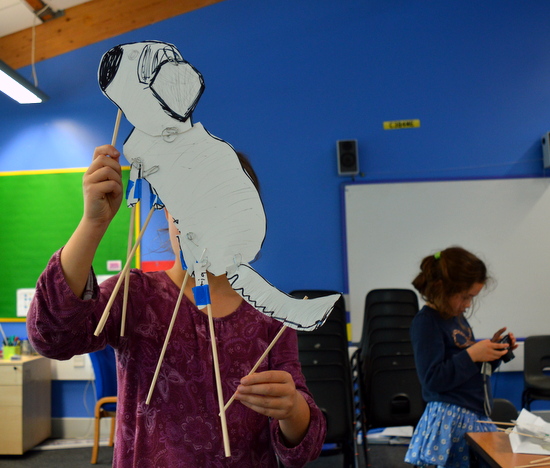
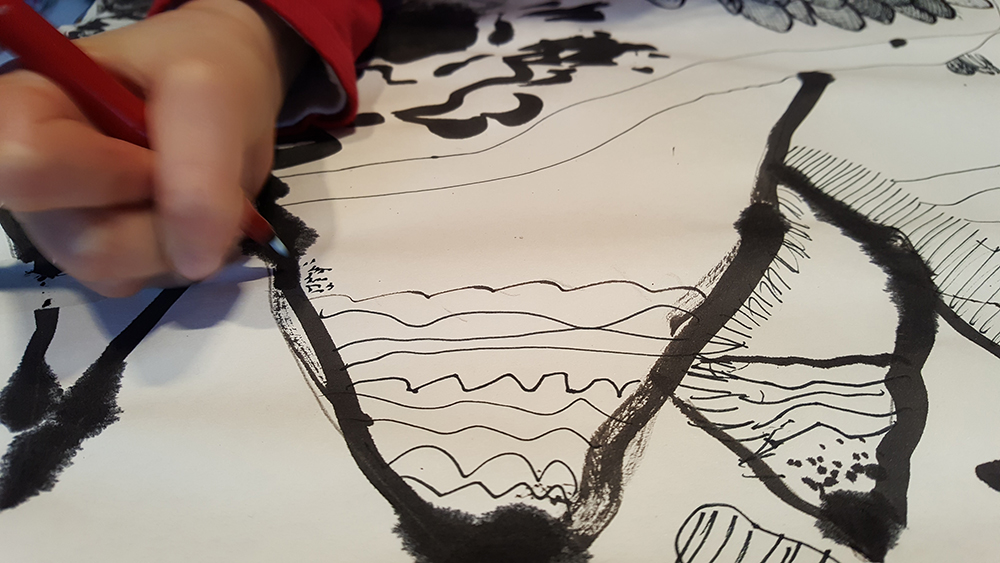
- Option 4: Still Life Sculpture
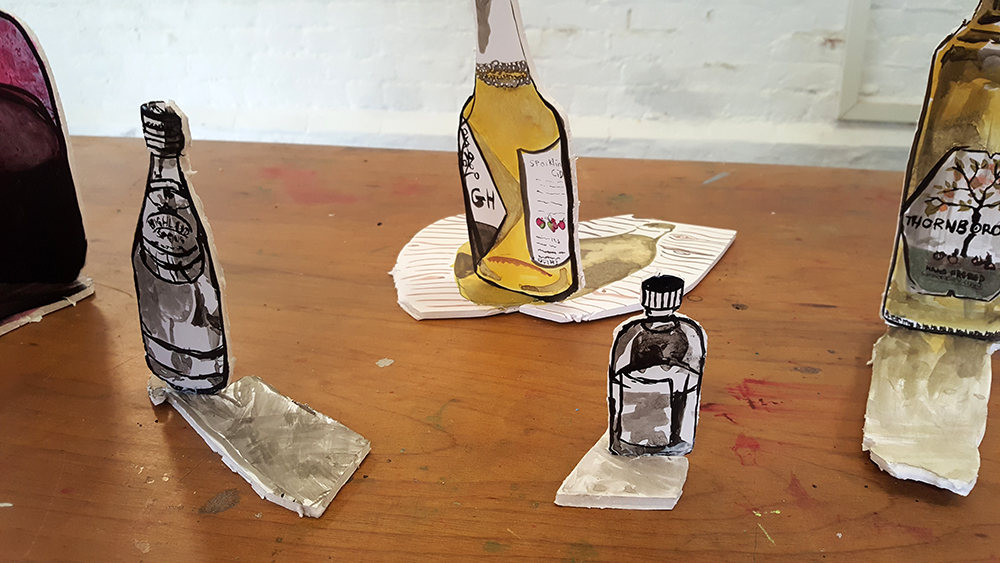
Graphic Inky Still Life
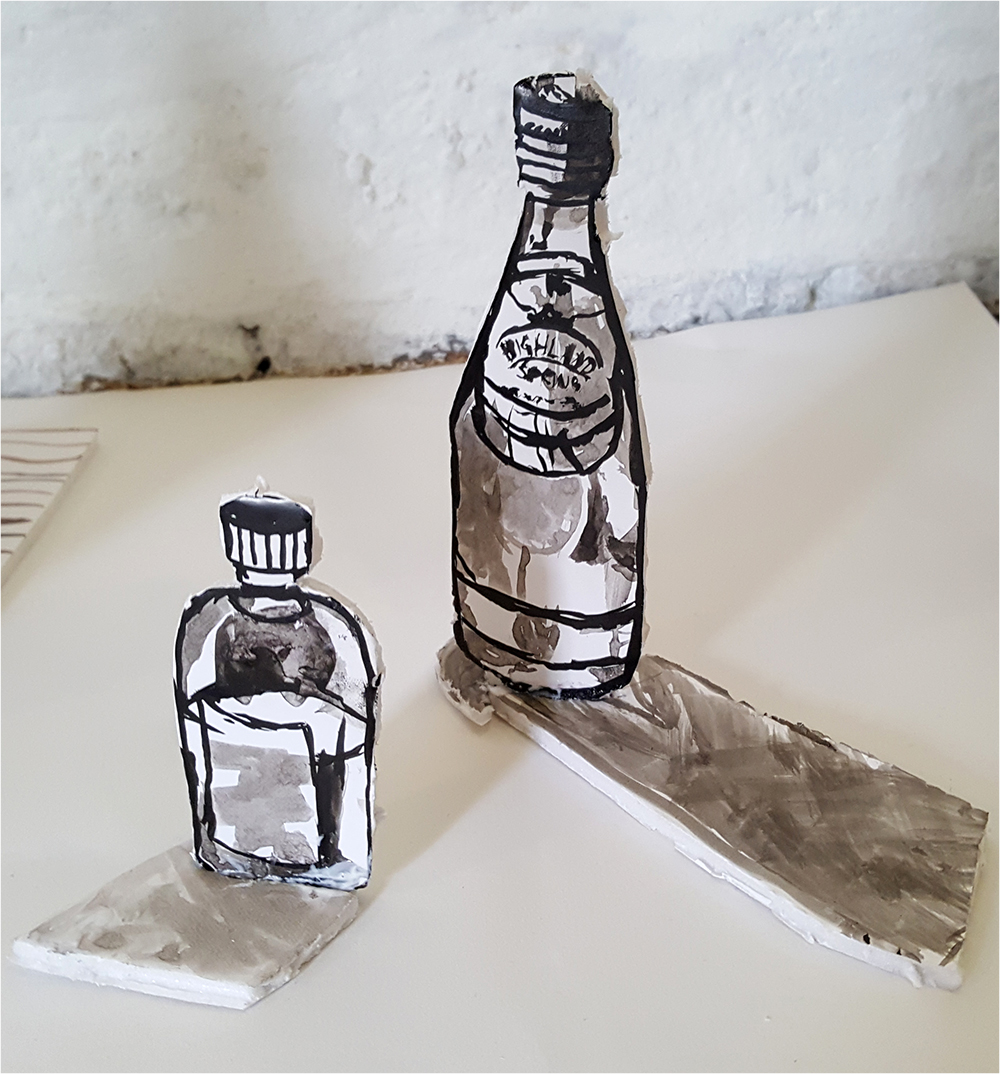
Explore still life through drawing and construction. “Graphic Inky Still Life” gives children the opportunity to develop their observation and mark making skills to create charming and powerful 3d graphic images.
Scaffold with sketchbook exercises such as “Continuous Line Drawing” and “Thoughtful Mark Making” to extend the project.
Tip: This project was originally shared with slightly older children. It’s perfectly suited to this age group – just replace the knife-cutting of the foamboard shapes of the bottles with scissor cutting working on cardboard instead.
- Intervention
Learning to see
If you feel pupils need help learning to see, use the exercises on the “Painting on Plaster” activity, which includes drawing exercises to explore composition, setting up an individual still life to encourage close looking, and using a viewfinder to help you see. Don’t progress to painting on plaster, unless you are interested in painting on plasterboard (link coming soon).
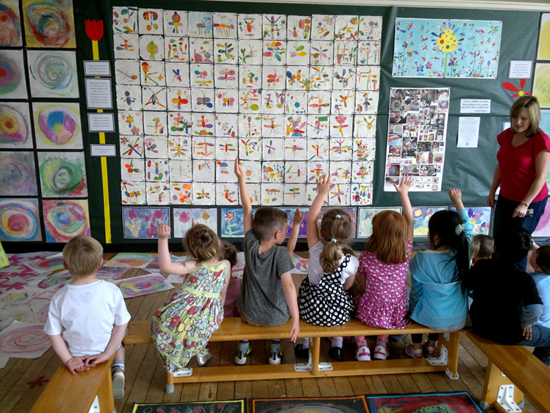
- Week 6: Present and Celebrate
Share, Reflect, Discuss
Time to see the work which has been made, talk about intention and outcome.
Invite children to display the work in a clear space, and walk around the work as if they are in a gallery. Give the work the respect it deserves. Remind the children of their hardwork.
If you have class cameras or tablets, invite the children to document their work, working in pairs or teams.
Use the resource here to help you run a class “crit” to finish the project.
See the Pathway Used in Schools…


If You Use AccessArt Resources…
You might like to…
Join our Facebook Group

Join the AccessArt Network group on Facebook and ask questions of others using our resources
Share and Tag

Share photos of work made by tagging us on social media
You May Also Like…
Thoughtful Mark making

Develop mark making vocab and decision making skills
Using pastel to capture texture

Explore using pastels, with graphite, to capture the texture of fabric
Blind Contour Drawing

Match the speed of drawing with the speed of looking
Drawing Vegetables

Explore a variety of media through drawing vegetables
Japanese sushi inspires our art

Create large-scale mixed media drawings inspired by food from Japan
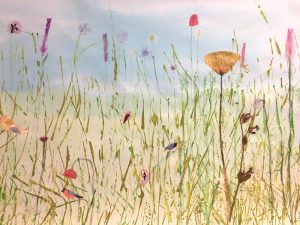
still life acrylic paintings


 Artwork by Rosie Hurley
 Artwork by Rosie Hurley
 Artwork by Rosie Hurley
 Felted and Embroidered Yellow Living Room by Gabby Dickson
 Chalkboard Prop for Kitchen By Gabby Dickson
 Rosie Hurley Set Design
 Artwork by Gabby Savage-Dickson


, 1913, 1931.511, Art Institute of Chicago.jpg\" by Wassily Kandinsky is marked with CC0 1.0.")


 Take inspiration from the ‘


 Explore the free to access “
 Working in sketchbooks, use the “
 If you feel your pupils would benefit from being inspired by more art made by artists, introduce them to Projection Mapping and music with this video by Light Odyssey in our free to access “


 Dynasty 18 Reign: reign of Thutmose IV Date: ca. 1400–1390 B.C.")
 Classification: Bronzes Credit Line: The Cesnola Collection, Purchased by subscription, 1874–76")


