This series of six sessions explores Shakespeare’s A Midsummer Night’s Dream through art and is aimed at upper KS2 children (Years 5 and 6) although could be delivered to younger age groups with some simplification in terms of the use of text. The aim of the series is to introduce children to the work of Shakespeare in a fun and creative way.
In this fifth of six sessions inspired by A Midsummer Night’s Dream, we explore the role of magic in the play. Beginning with close observational drawing of small objects, the children move towards creating their own magic spell onto rolled scrolls of paper.
The aim of this session is for the children to look closely at some of the language and imagery used by the fairies and use creative writing skills to see how this imagery can be linked.
Go back to session four here.
Session Five: Making Magic Spells
Warm up: 15 minutes
Main Activity: 45 Minutes
Materials Needed: A3 cartridge paper, sketchbooks, drawing pencils, coloured pencils, pastels, charcoal, a range of small objects such as shells, pebbles, feathers, broken crockery, small toys, pencil sharpeners, twigs, bark etc, garden twine or string.
Focus Theme/s: Magic, The Fairies
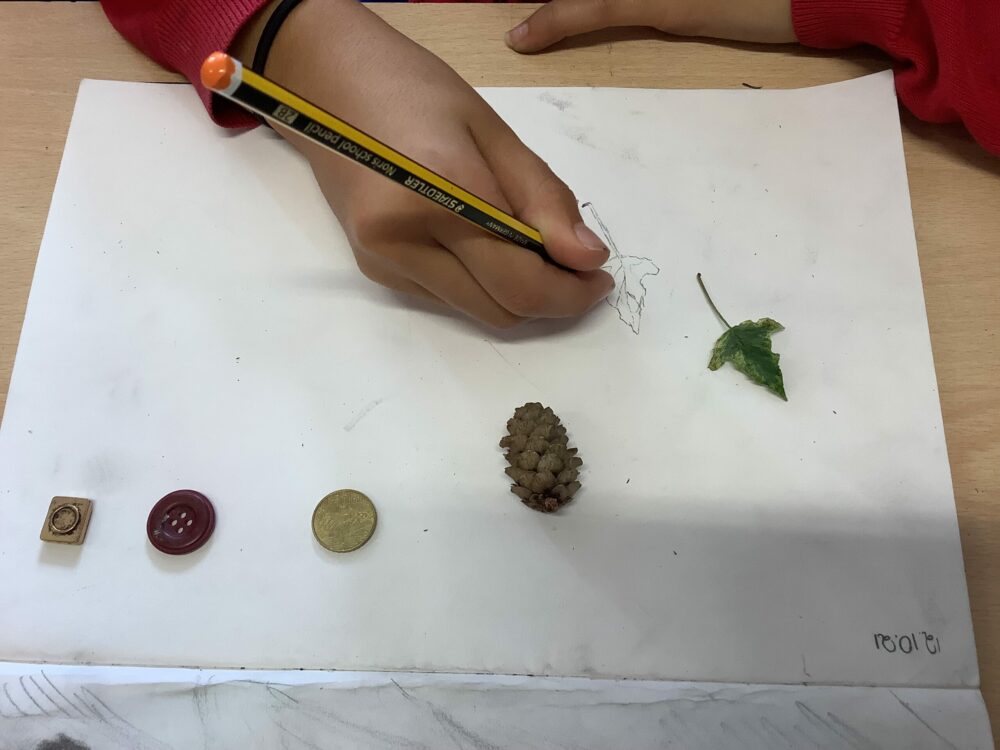
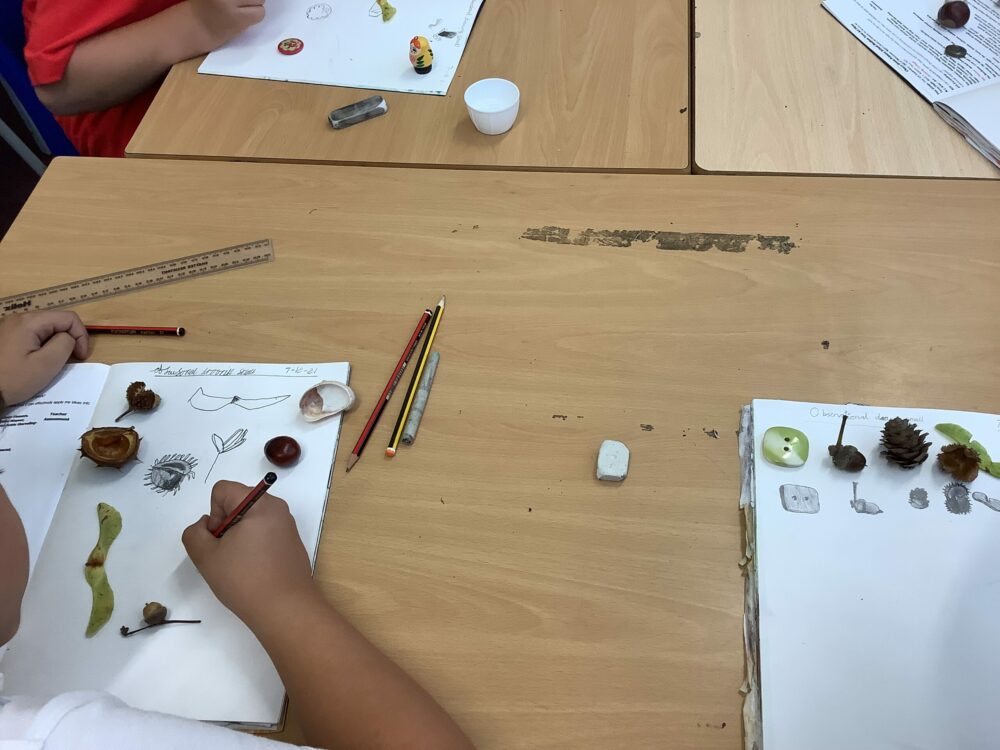
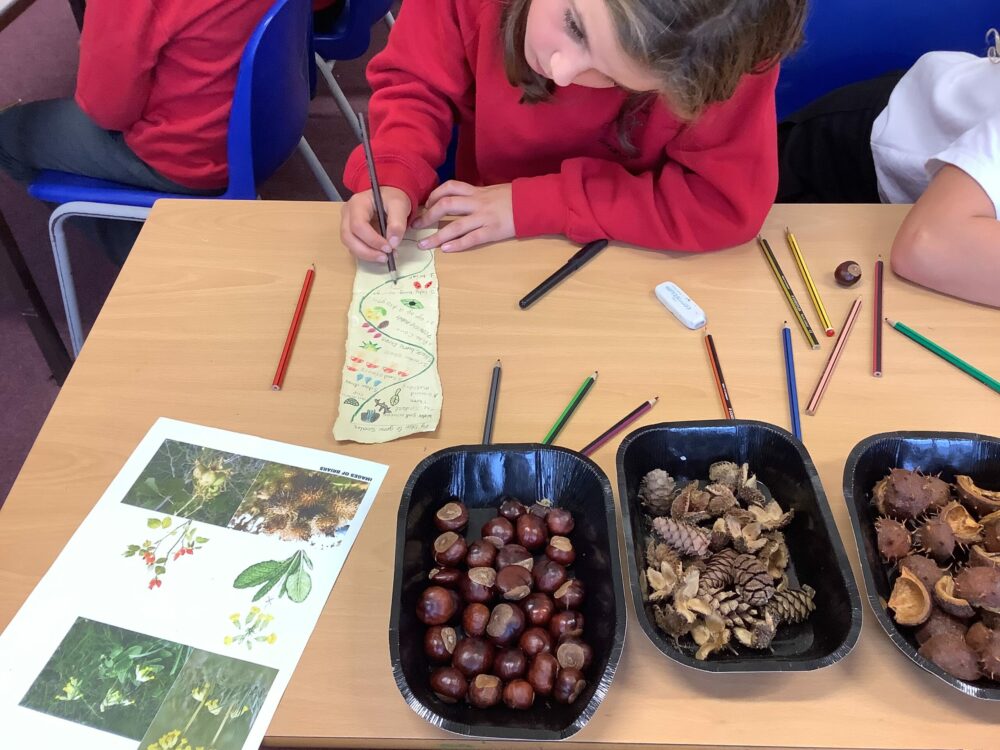
Time to Warm Up! Practice drawing small.
Choose 3 or 4 small objects from a collection available in the classroom. Choose what appeals to you and aim for contrasting objects where possible, eg a shell and a metal pencil sharpener. The objects should all be approximately 5cm in diameter – so very small!
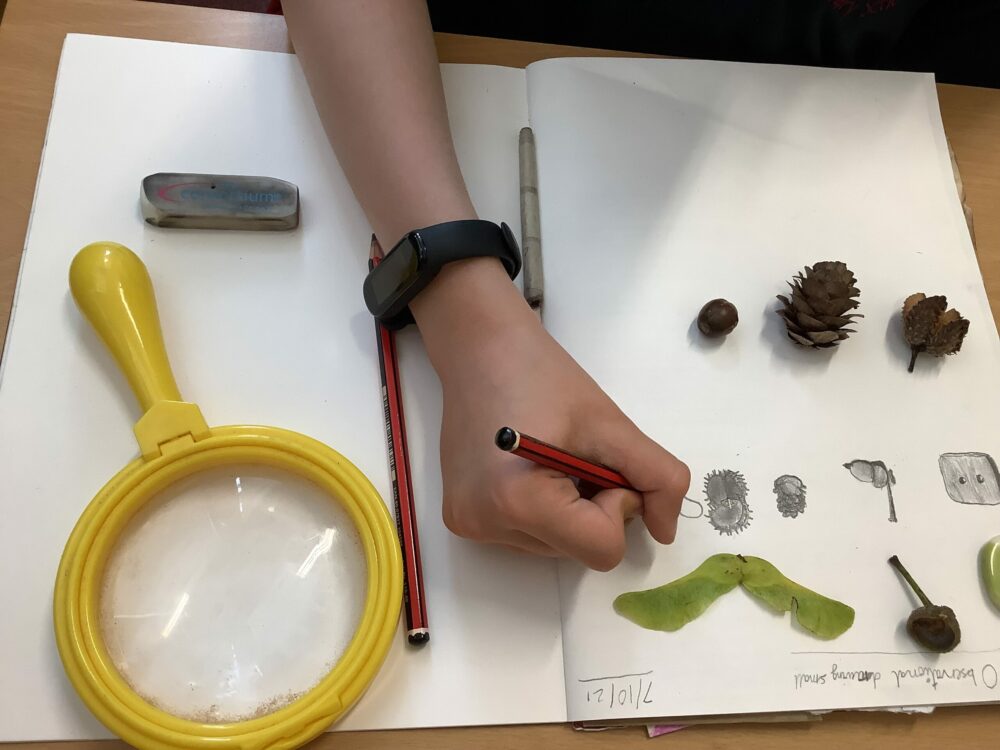
This activity aims to help you focus and relax, and to tune into the ‘small world’ in front of you. Don’t put pressure on yourself to draw perfectly – this is about developing skills in careful looking and observation and it takes time to practice this.
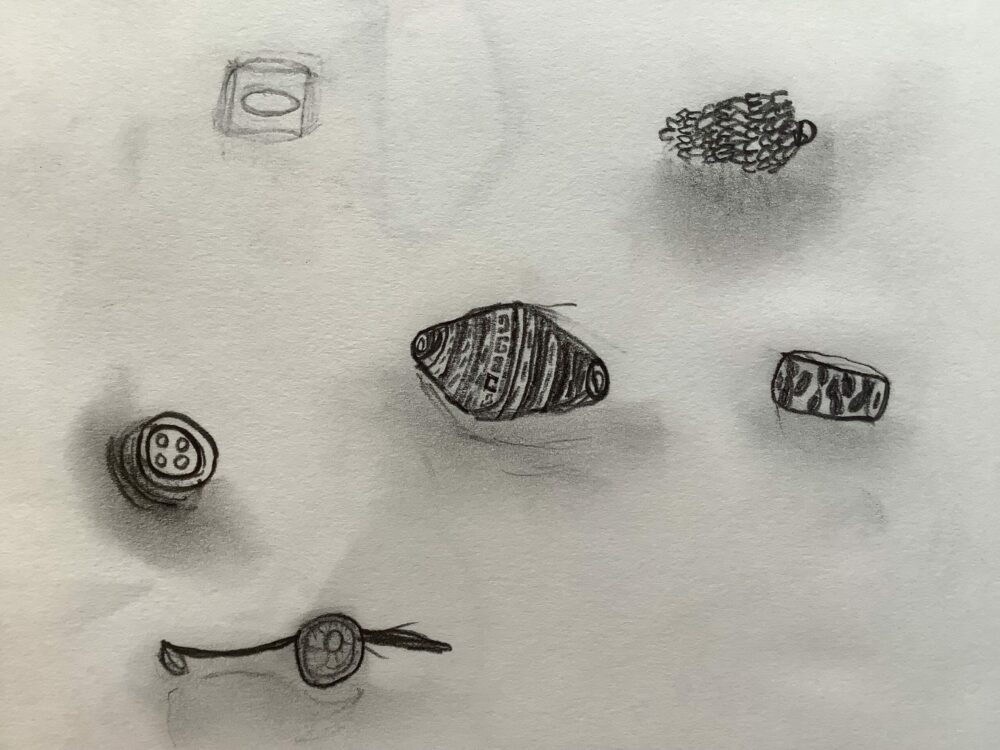
Arrange your objects in front of you on some paper and begin drawing them on the same paper. Your hand movement should be slow and small, and you should try and keep your eye on the objects more than the paper, so you are really looking at their texture, form and tonal value.
You may want to refer to the resource online here:
Starter Discussion:
The magic spell that Oberon casts on Titania and that Puck also gives to Lysander (thinking he is Demetrius) is central to the plot of A Midsummer Night’s Dream. It is this moment that propels the action forward and begins the chain of confusion that follows.
Oberon tells Puck where he discovered the magic potion: when he witnessed Cupid misfire an arrow into a small flower instead of his intended target of a young woman:
‘Yet marked I where the bolt of Cupid fell.
It fell upon a little western flower. The herb I showed thee once.
The juice of it on sleeping eyelids laid
Will make or man or woman madly dote
Upon the next live creature that it sees.
Fetch me this herb, and be thou here again
Ere the leviathan can swim a league’
How is the feeling of magic enhanced by the way Oberon speaks here? He is speaking almost as if reciting a poem. The words are lyrical and evocative – would you say they are almost like a spell?
Context: In Elizabethan England lots of people were farm workers or lived in the countryside. Stories that revolved around folklore, fairies, witches and other supernatural beings were commonly believed and spoken about. To a Shakespearean audience, a story that featured fairies in the way that A Midsummer Night’s Dream does would not have seemed strange.
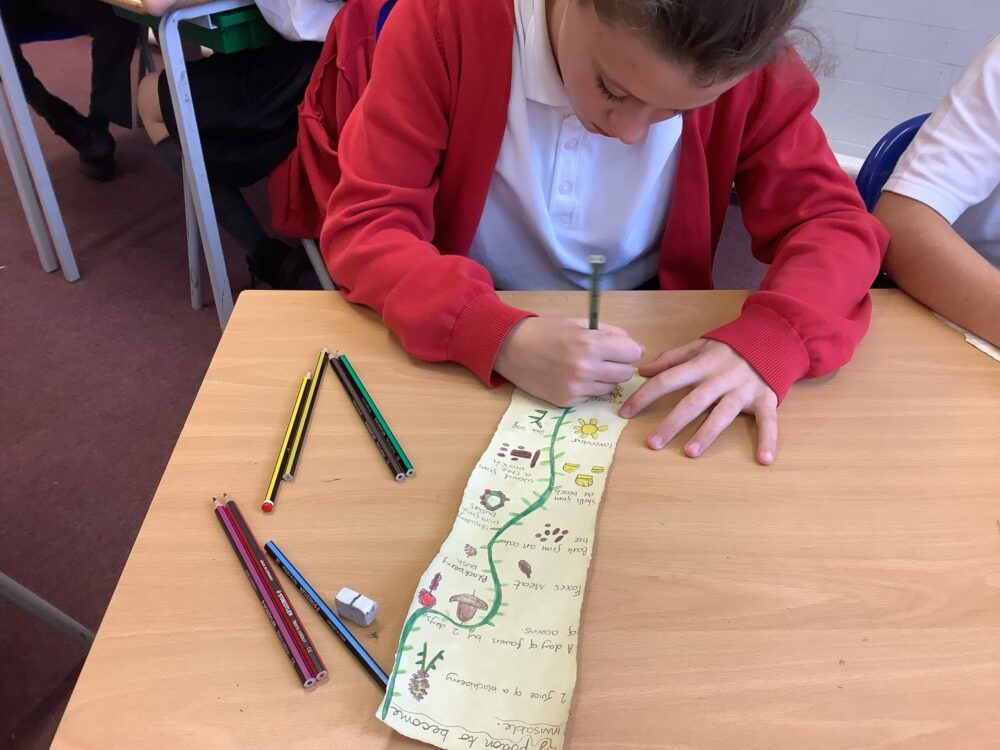
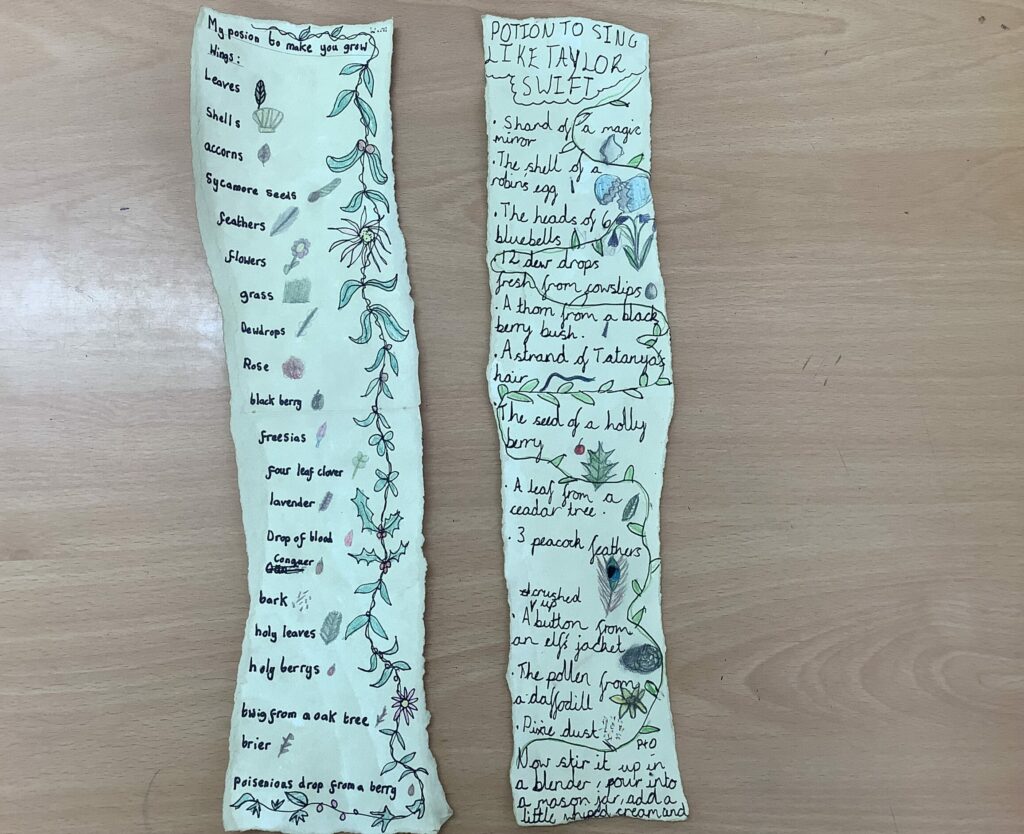
Main Activity: Spells on Scrolls
Take a piece of A3 cartridge paper and gently tear a strip down its length, approx 8cm wide. One piece of A3 should be enough for about 3 children to end up with a strip. Those with the straight edge will need to tear down the length of their paper twice so you end up with two torn edges.
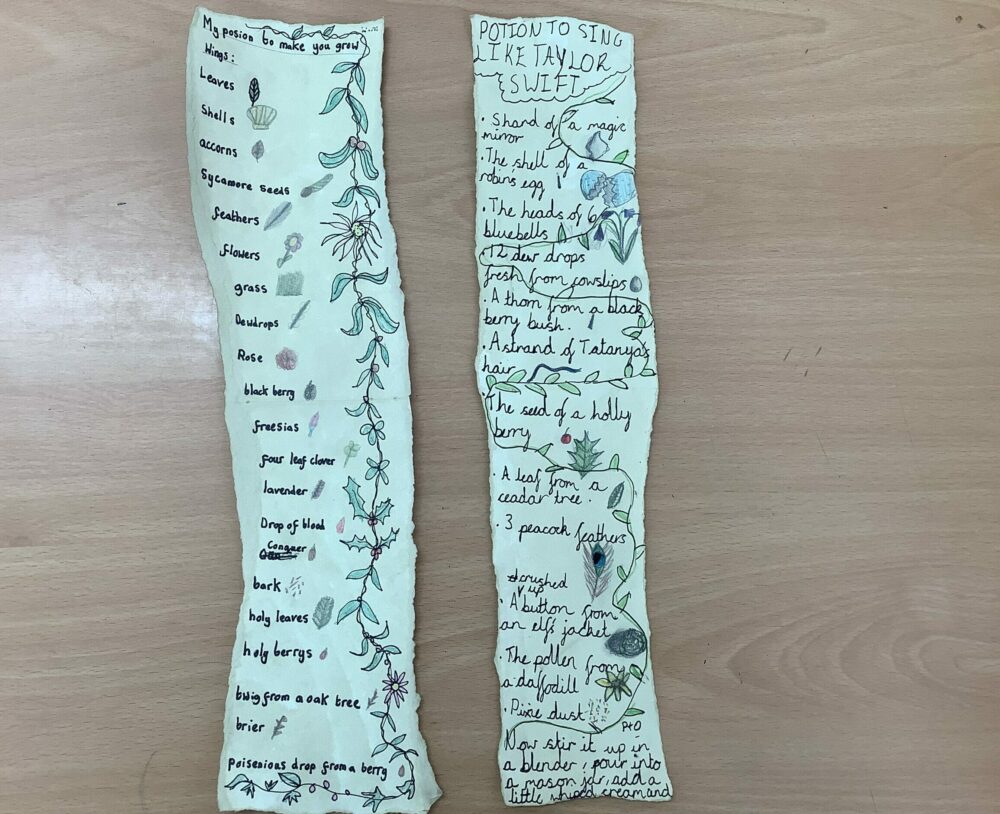
You are going to imagine you are drawing an ingredient list for your own magic spell. Oberon’s is a love spell – what will your spell be for? Perhaps to make someone grow wings and fly? To be invisible? To be able to travel in time?
Instead of writing out your spell, you’re going to draw it – but you may want to use some words and phrases too.
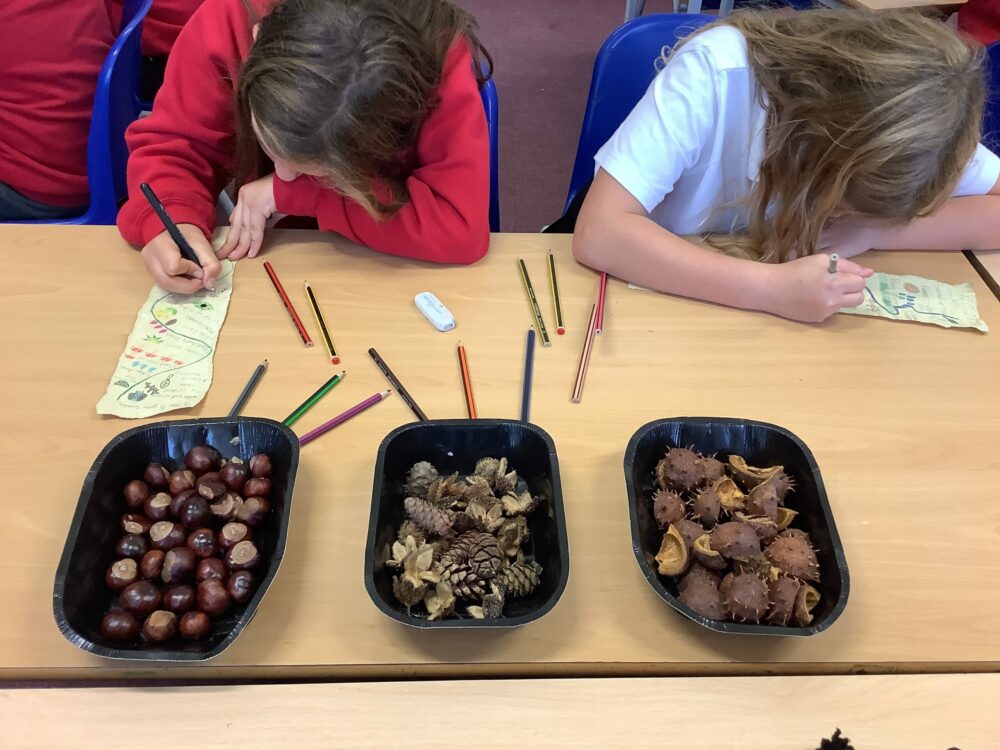
Begin by selecting 5-6 small objects. These can be from the same collection you used in the warm up (NB teachers: Try and edit this collection to only include natural forms, adding a few more into the collection items for interest!)
Oberon talks about using the nectar from a particular flower and squeezing in into Titania’s eyes. How could the objects you’ve chosen be used to make a magic potion? Perhaps a pebble could be ground up and mixed with some dried leaves? This could then be mixed with raindrops and taken as a drink. Keep these ideas flowing as you work and maybe note a few down.
Using the narrow strip of paper as your guide, begin to draw one object at one end. Use the skills of careful looking used in the warm up to help you. By this point you should understand what certain drawing materials do and the different effects they make on paper. Choose the ones you like best and explore them further. You may like to use colour or you may prefer to stick with pencils and charcoal.
You may need to share some of the items so sit together in groups if need be.
Take a moment to observe and think about the objects. Can you see any connections between them or how they might align in an interesting way? For example, a small feather next to a bit of cracked eggshell or a shell next to a beach pebble. Find relationships between the objects and discuss these.
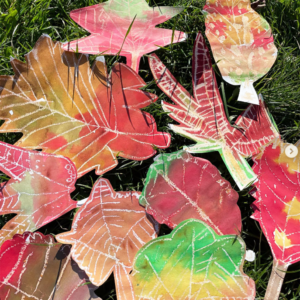
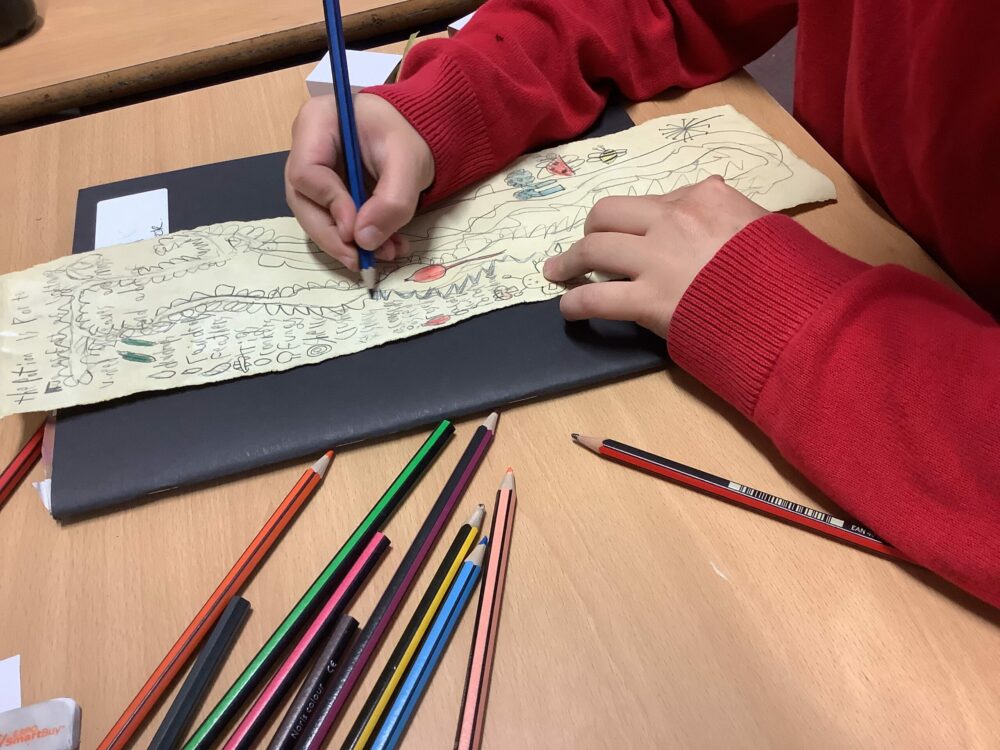
When you’re happy with your first object, begin drawing the next. What lines or marks can you use to connect them together as if by a plant shoot or vine? Try and make the objects connect in a way that mirrors all the natural forms mentioned in A Midsummer Night’s Dream.
Continue drawing your objects until you have filled the scroll of paper.
Next, have another think about any words of phrases you could annotate your drawings with. Look back over Oberon’s words and how rich and poetic they are? Can you think of your own that relate to your chosen objects, keeping in mind what your potion is for?
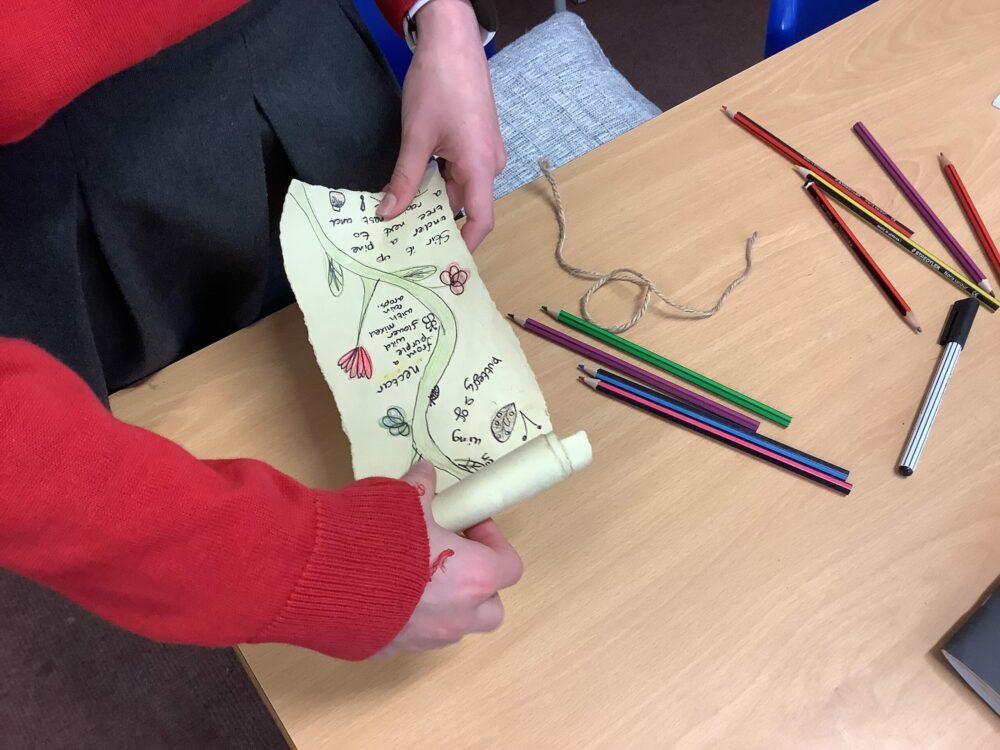
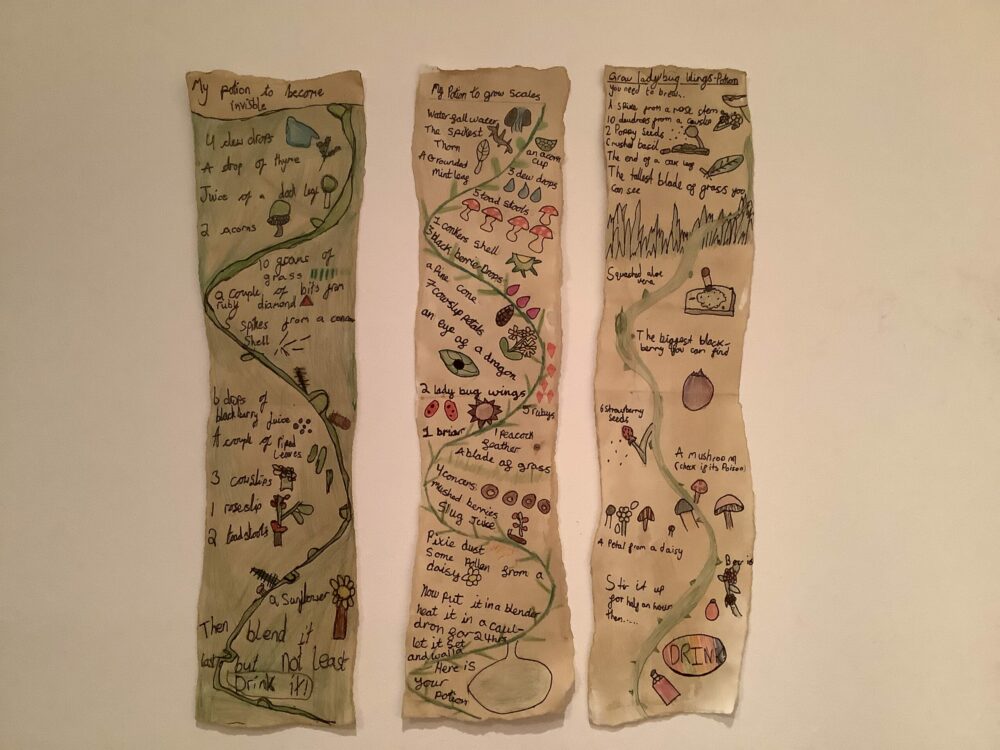
When you are finished you can roll up your scroll spells and secure them with some garden twine or string!
Reflection:
Would anyone like to share their spell? Can you practice reading or describing the ‘recipe’ for your spells altogether as if you were Oberon?!
What imagery did you choose from the text? How did thinking of these images help you imagine your spell?
Move onto session six here.

Sutton Valence Preparatory School")


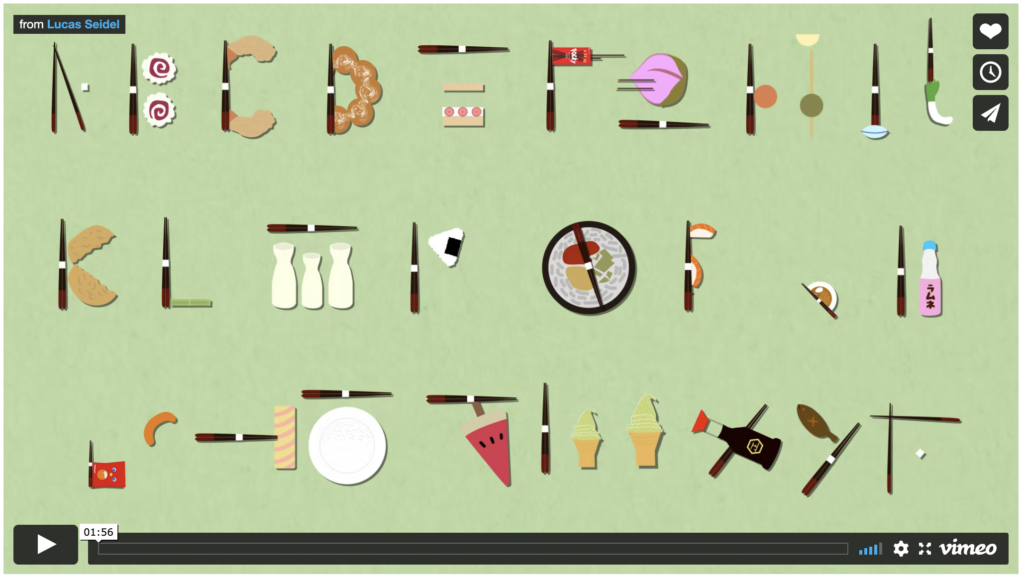
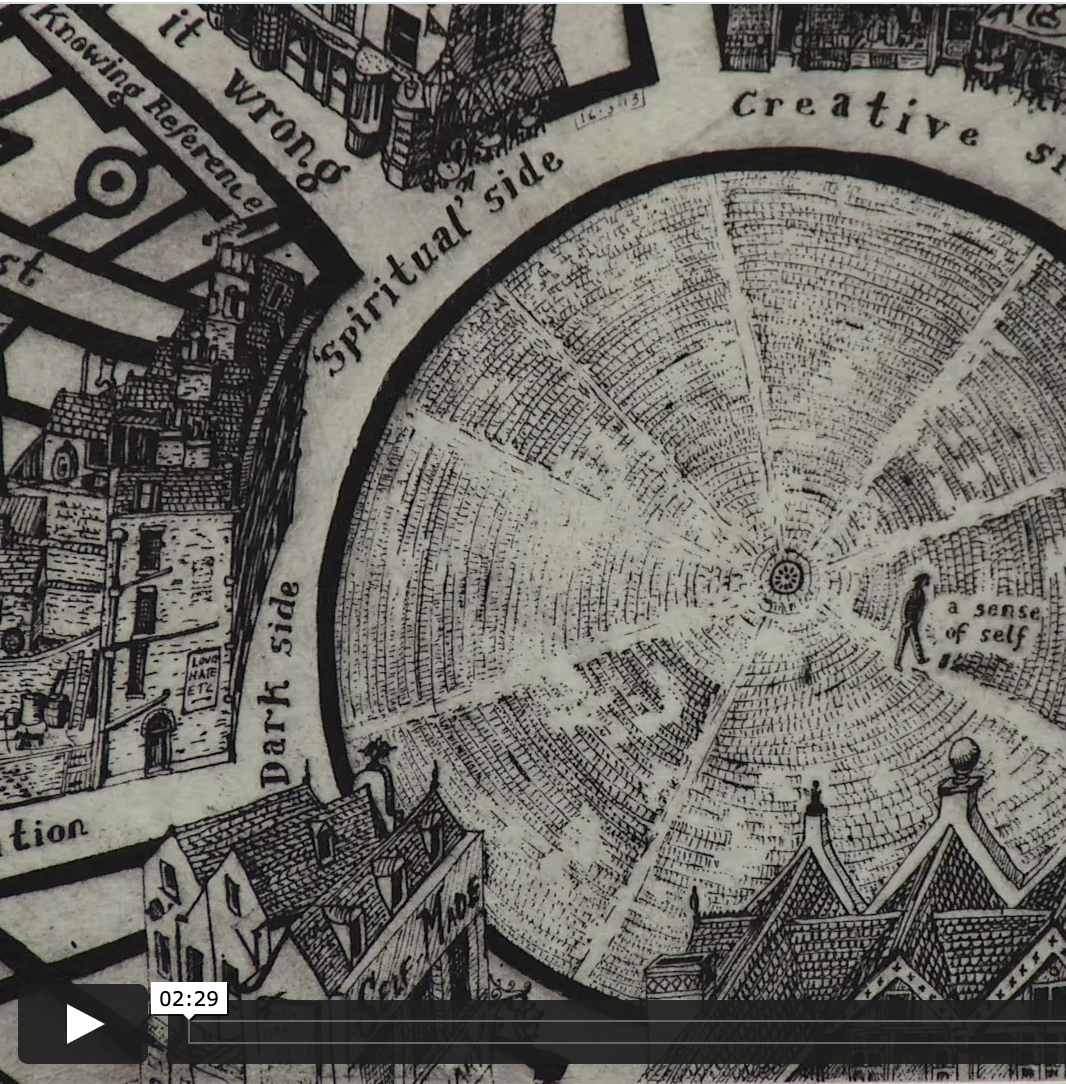
 https://vimeo.com/518101698")


, Intimacy, c. 1877-80. kks9159, kks9159 by SMK Statens Museum for Kunst (officiel) is marked with CC0 1.0.")
 (1880) by Odilon Redon. Original from the Art Institute of Chicago")