
DrawAble: Making Illustrated Letters by Isobel Grant


By Isobel Grant
Isobel Grant is an illustrator and graphic designer currently based in Hull. Isobel’s art combines analogue and digital media, and focuses on bold colours, shapes, and textures. As part of DrawAble, Isobel inspires children to create their own pictorial letters.
You may also like to watch Isobel’s Let Me Inspire You video before you start this activity.
Notes for Teachers
What is the aim of this exercise?
This resource offers children and teenagers a fun activity focusing on illustrated letters. The learners will be able to personalise their letter according to their interests; this activity could provide an enjoyable introduction to calligraphy or lettering skills.
What age can this exercise be used with?
This resource can be used with ages 6 and upwards, including teenagers.
What materials will the learners need?
For this activity, the learners will need paper and a range of drawing materials of their choice (for example, pencils, pens, markers or crayons).
How long does this exercise take?
Activity One can take between 20 minutes and an hour, depending on the complexity of children’s letters. Activity Two can take from 30 minutes up to an hour.
How do I measure success?
Success will be measured by the children’s enjoyment and engagement with the activity.
More able or engaged learners may create more complex illustrations of animals and be more adventurous in their creative choices. They may want to progress to Activity Two for an extra level of challenge.
Encourage children to think about their interests (for example, favourite food, sports or pets) and ways they can incorporate these into their letters. Offer the learners suggestions about enhancing their artwork with a wider range of media.
What can we try after this exercise?
Other resources exploring typography as well as animal drawing.
Try other DrawAble exercises and projects.
Introduction
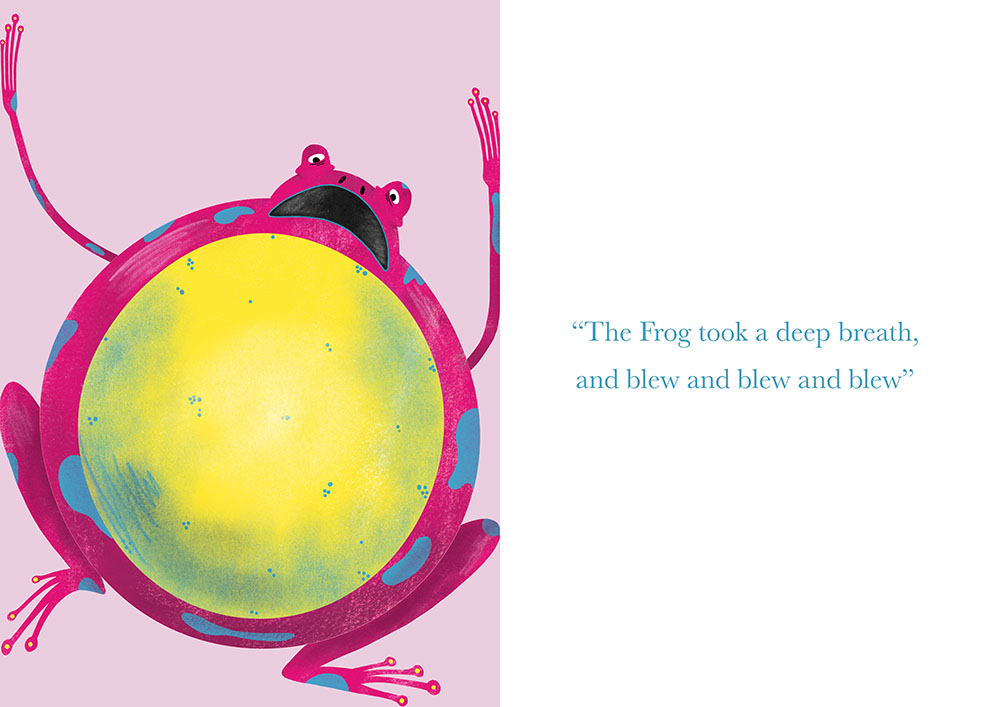
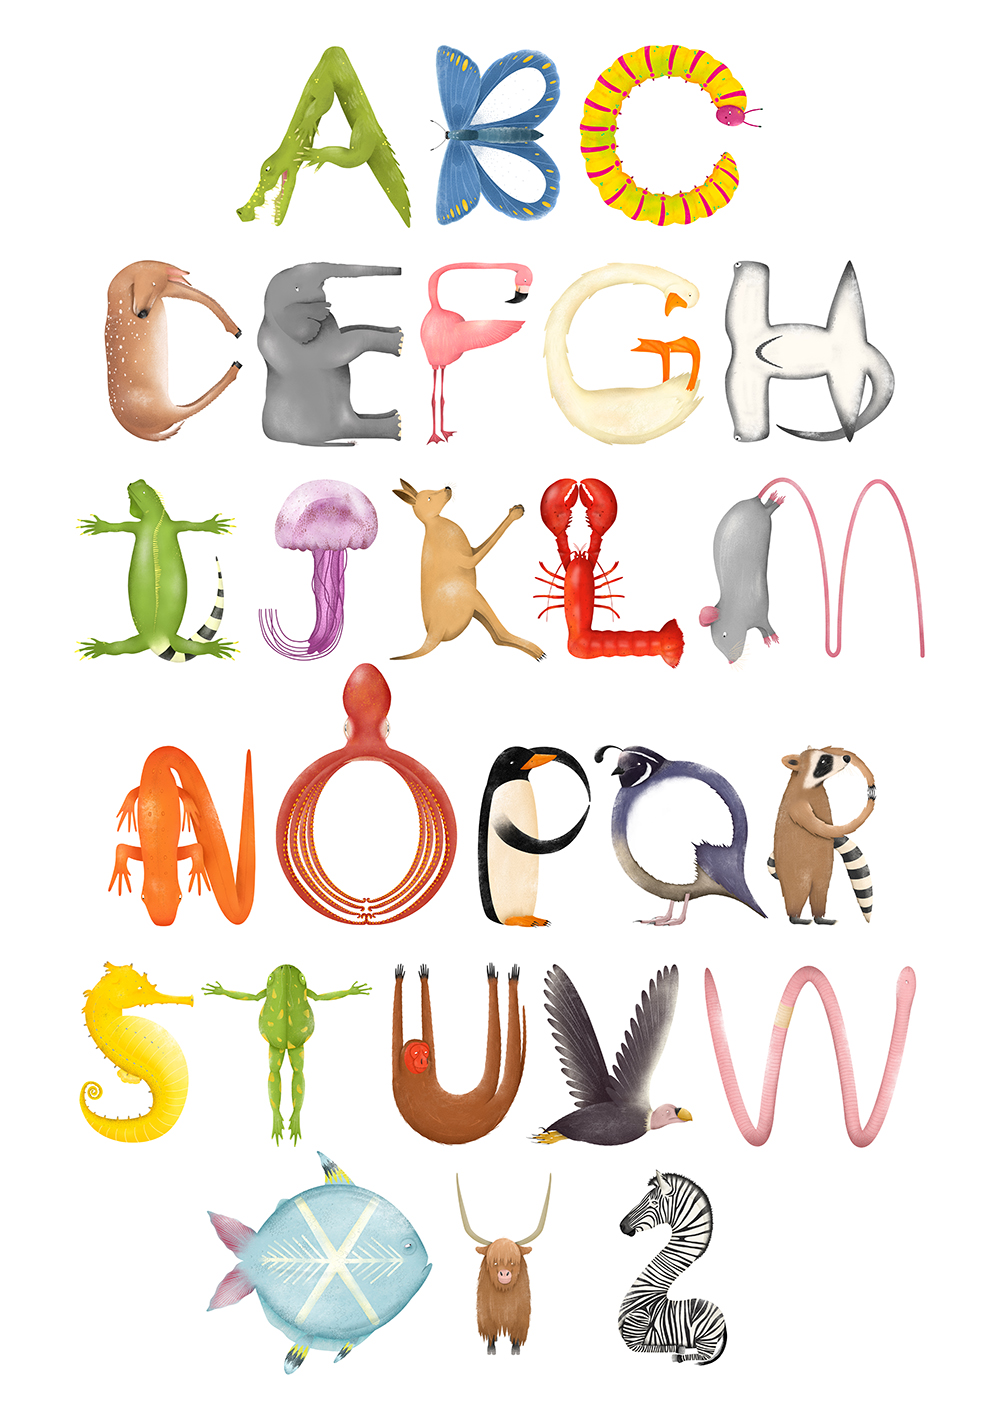
Illustrated letters mix two very important parts of illustration: drawing and type! An example of illustrated letters is the ‘ABC of Animals’: a visual alphabet made of animals from across the globe. In this alphabet, which can be seen above, the shape of each letter is made by the animal itself. In the activities ahead, we’re going to be creating our own illustrated letters by drawing subjects in the shape of the letters they begin with!
Activity One
In this activity, we will be drawing our favourite animal in the shape of the letter it begins with! For example, a Cat in the shape of the letter C. To begin, we will be sketching our idea!
Sketching Your Idea
Firstly, choose your favourite animal! In these examples, I have chosen a cat. Next, find an image of your chosen animal. This could be from a book, the internet, or anything else!

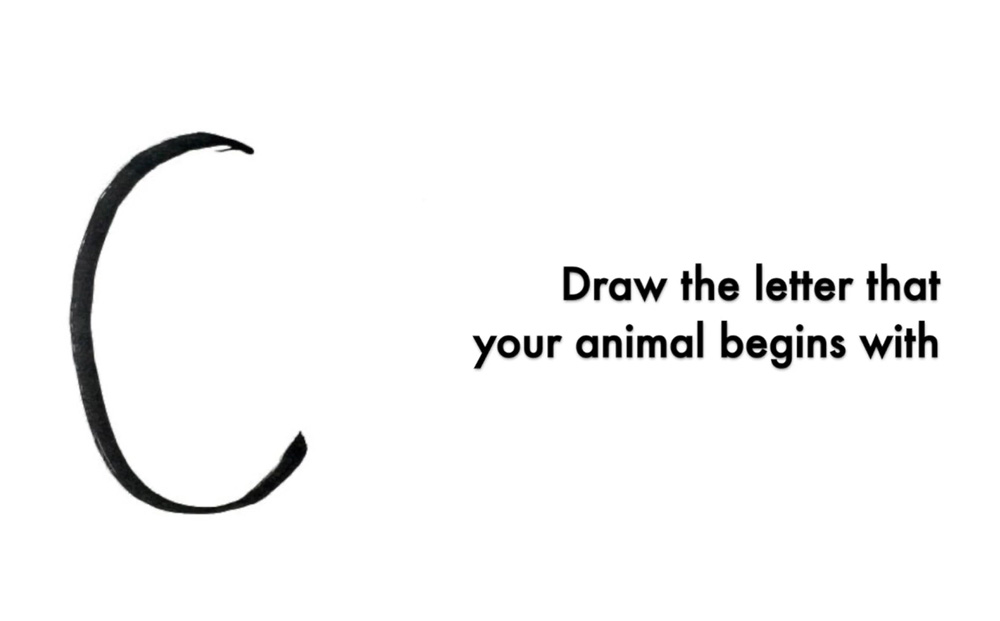
On your paper, draw the letter that your animal begins with. Use a thick pen/marker for this, if you have one!
Think about how your chosen animal could make the shape of its letter. Can the animal’s arms and legs make part of the letter? Could you use the whole animal, or maybe just its head? Also consider the personality of your animal; what expression are they making? They could be smiling, sleeping, or even shouting!

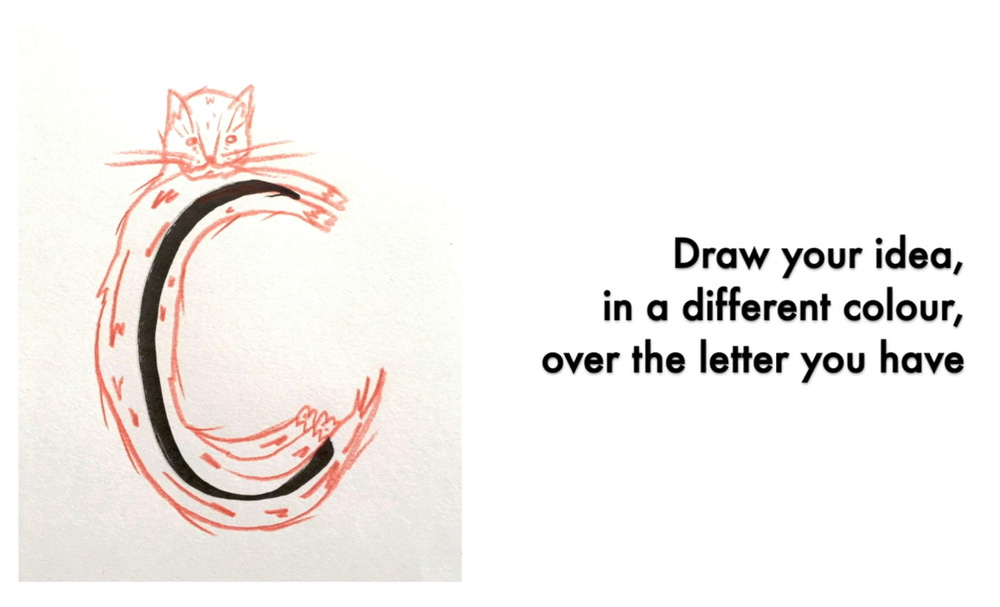
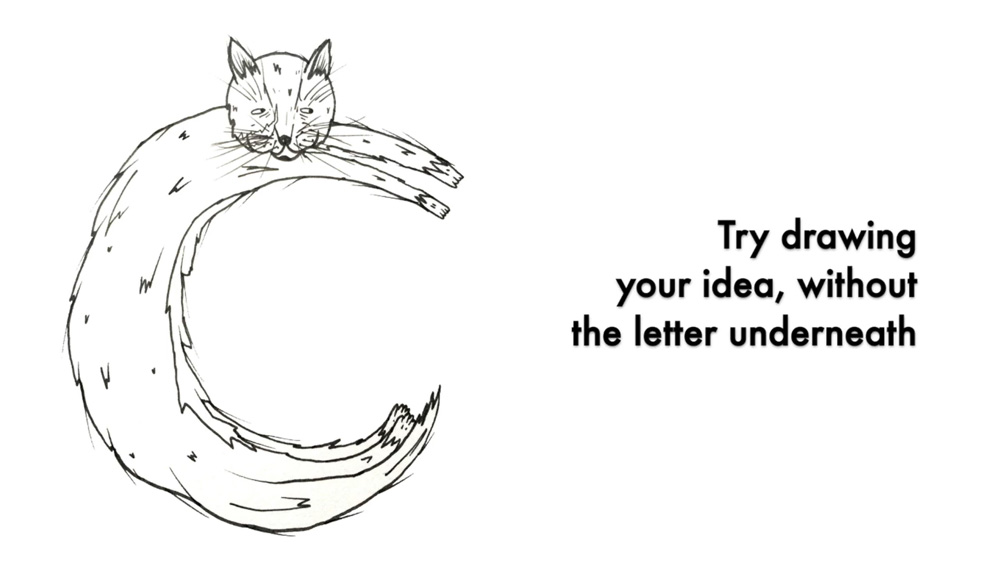
Try drawing your idea, in a different colour, over the letter you have. If you don’t like it, just start again, this is only an outline!
Once you’re happy with your idea and design, try drawing it from scratch without the letter underneath! Possibly sketch a few versions of your idea, before drawing your finished illustration!
Finalising your Illustration
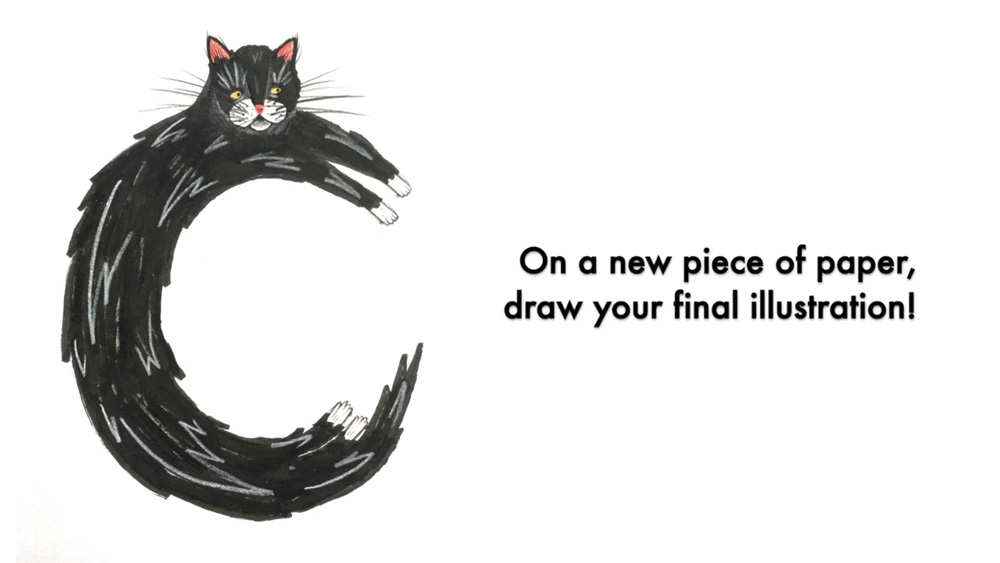
Before starting your final image, decide what drawing material you would like to use. Choose what colours you’d like to use too. These could be the animal’s real colours, or something from your imagination! I decided to keep my cat black and white.
On a new piece of paper, draw your final illustration of your favourite animal in the shape of the letter it begins with! Think about what extra details you could add to your picture. Does your animal have fur, feathers, or scales? Could you include these details in your drawing? For my illustration, I added some pencil marks to create fur!
Once you’ve finished your illustration, why not try out the next activity?
Activity Two
For Activity Two, we will be drawing things that represent you, in the shapes of the letters of your name. These could be words that describe you, things you like, or a combination of the two. You could choose your favourite food, flower, toy, anything you can think of!
Here is an example, using my own name (Isobel):
I is for Imaginative
S is for Sweets
O is for Owl
B is for Berries
E is for Energetic
L is for Lavender
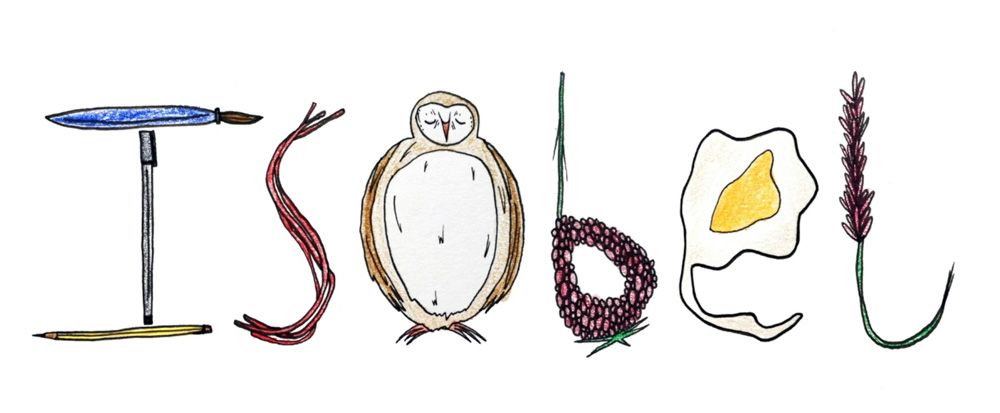
I have used a mixture of words that describe me, things I like, and an animal that I feel best represents me.
-
When designing the letters of your name, consider:
-
The size of the letters – Are they the same throughout your name, or are they different?
-
The placement of the letters – Will they be close to each other, and do they sit in a straight line or not?
-
The colour palette – Do the colours of the letters look good together, or is it black and white?