By Mandy Barrett and Jo Blaker
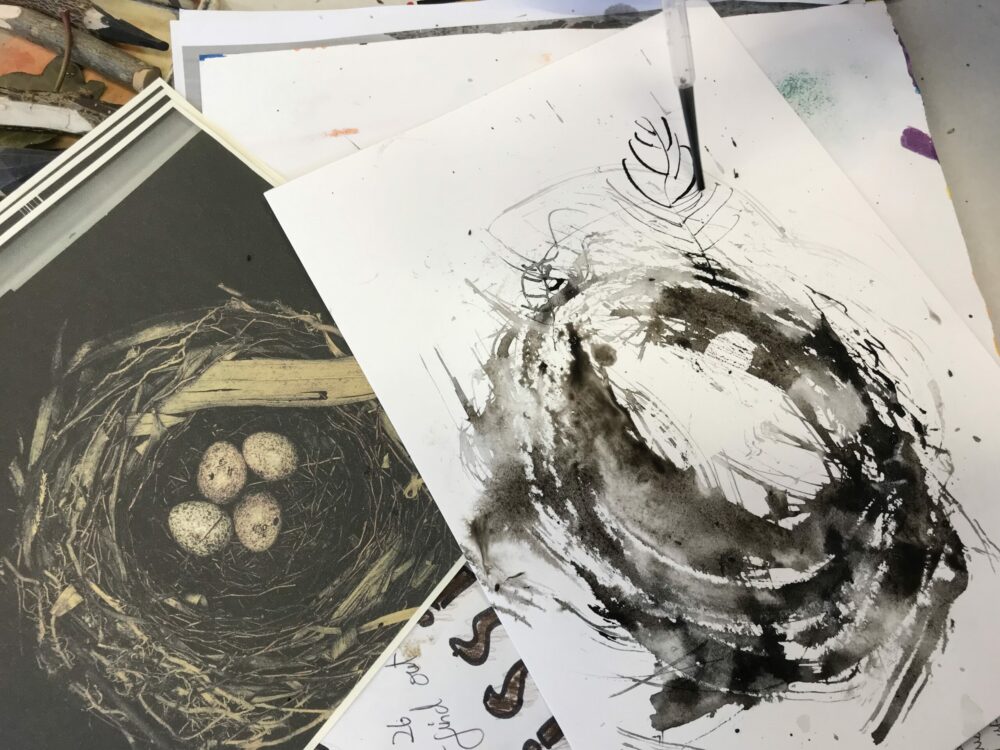
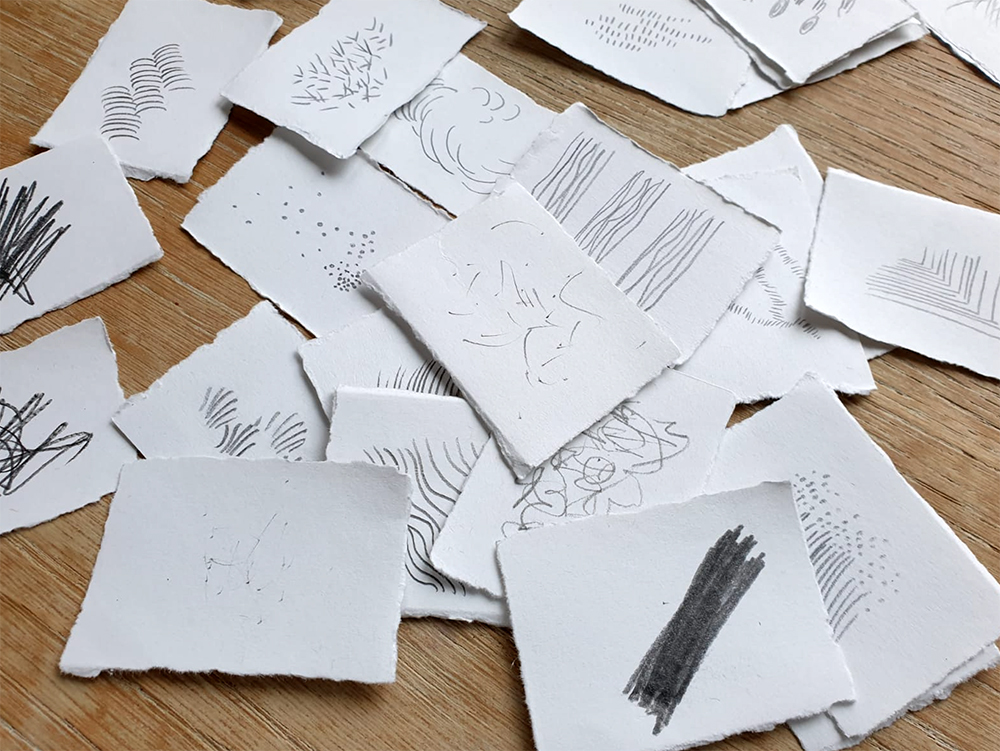
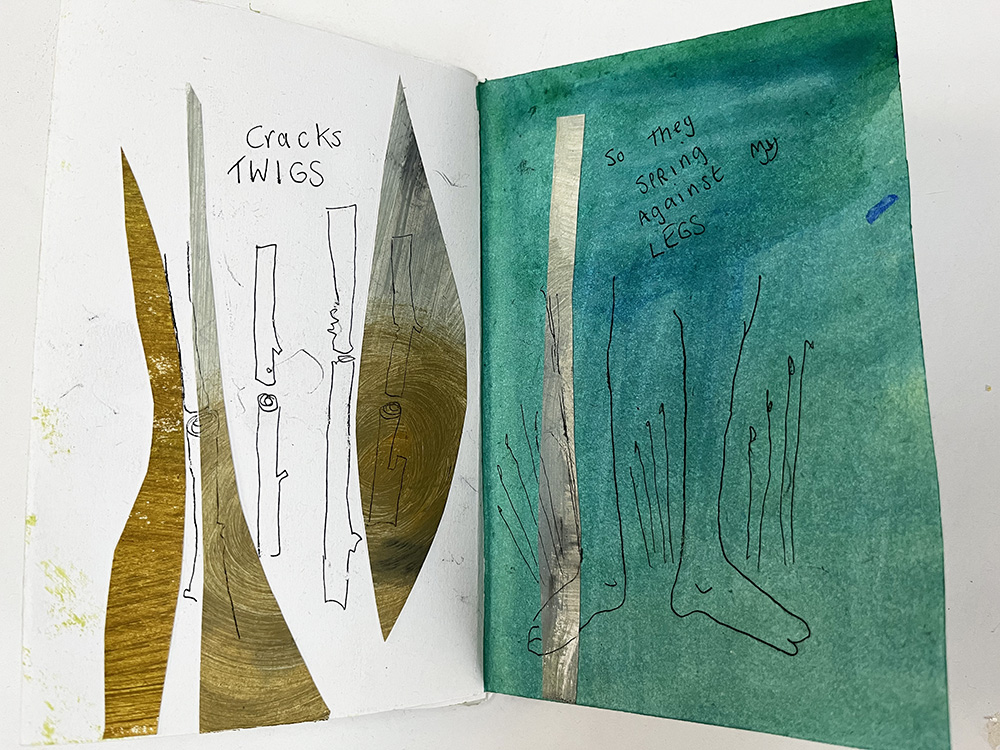
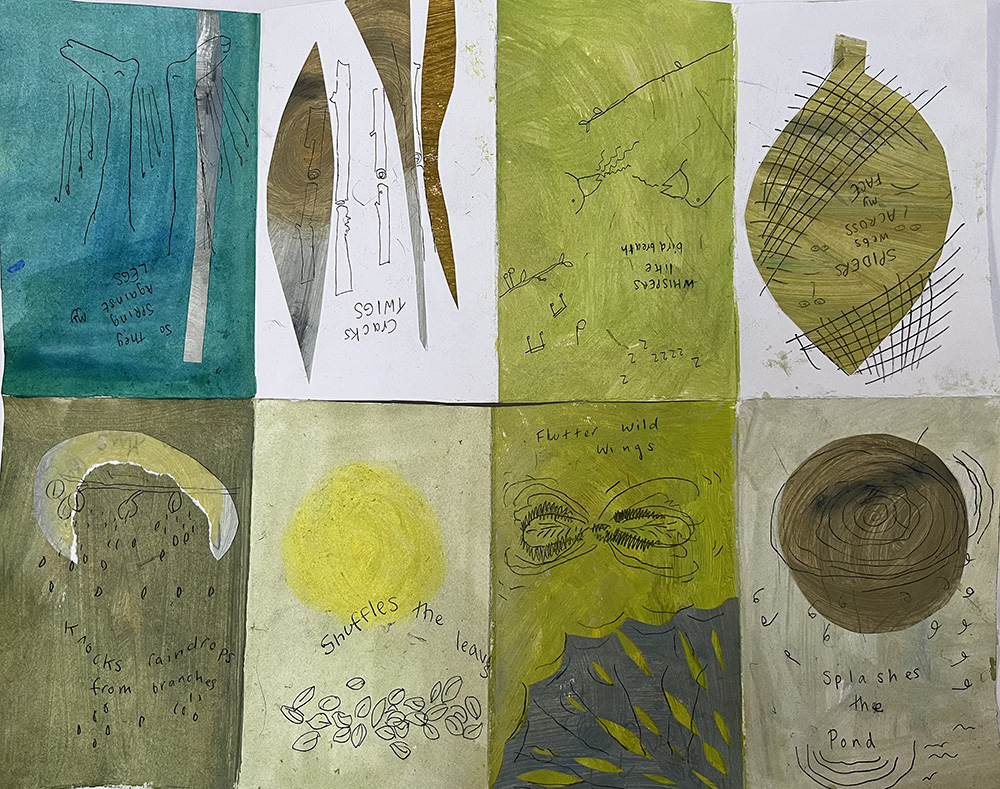
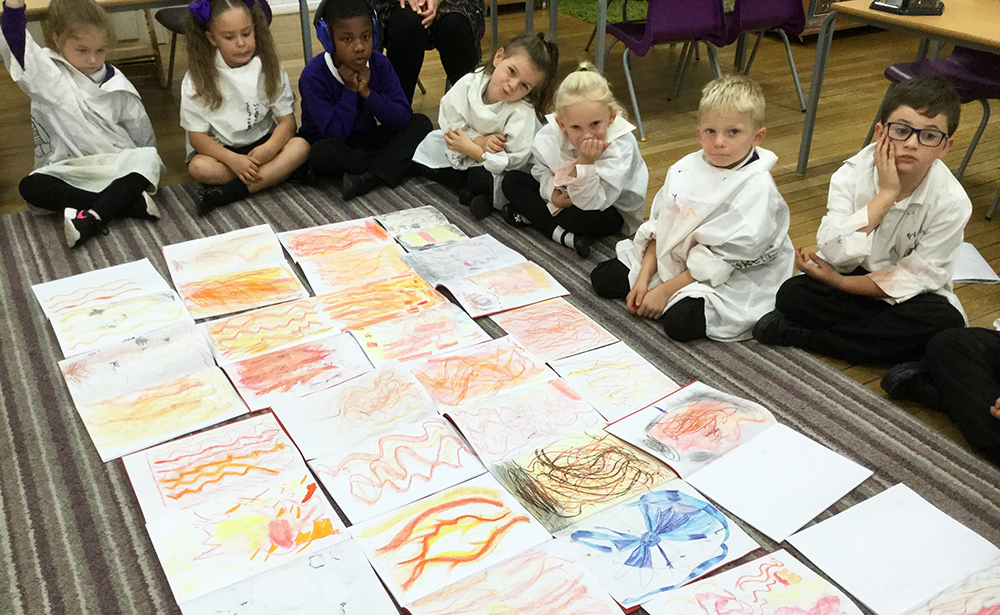
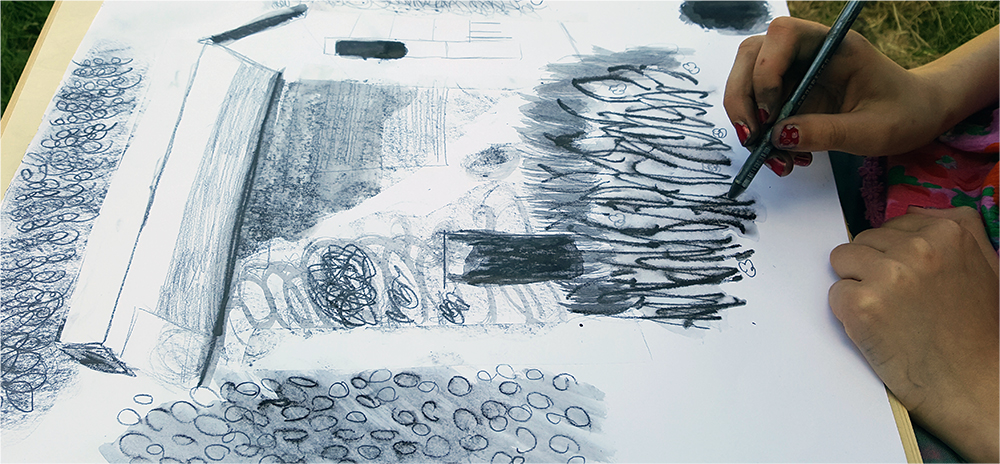
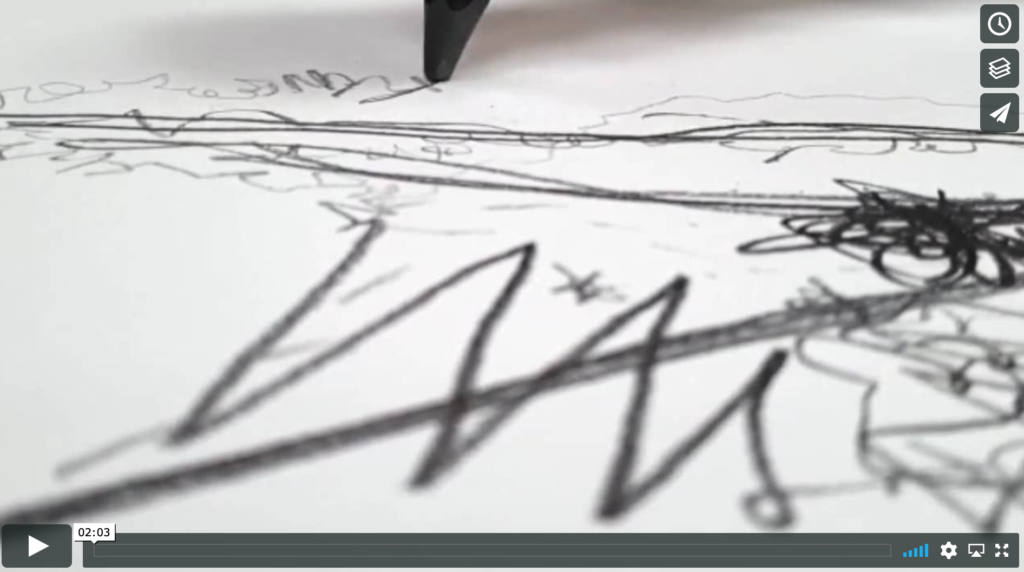
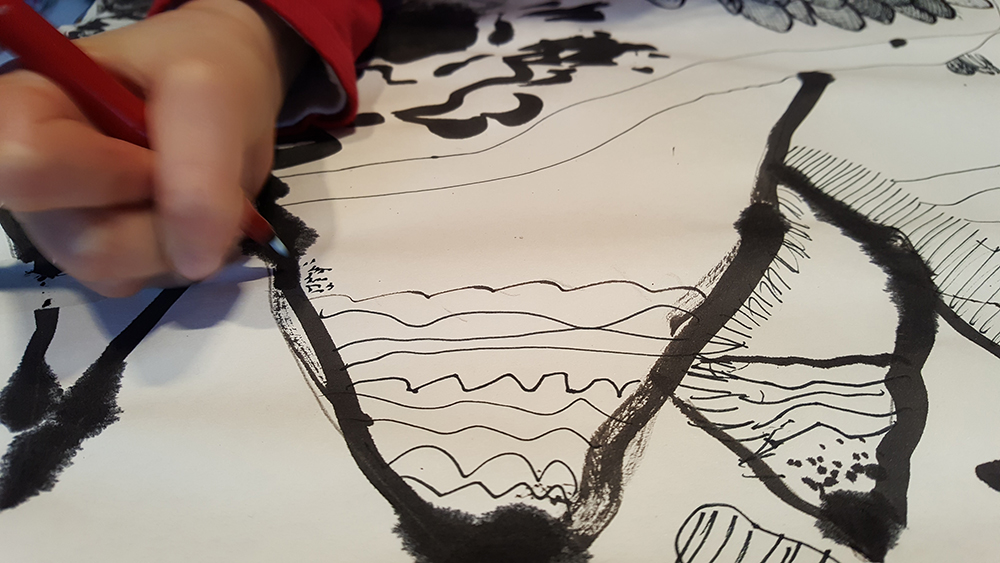
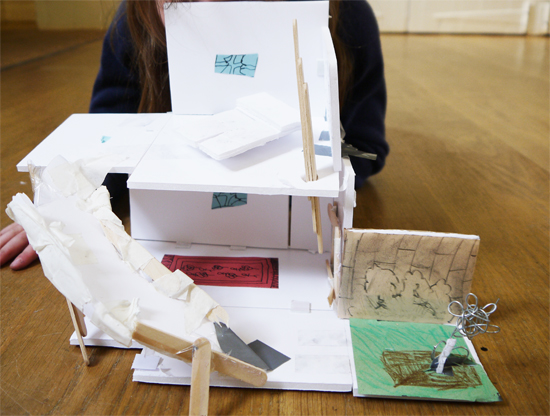
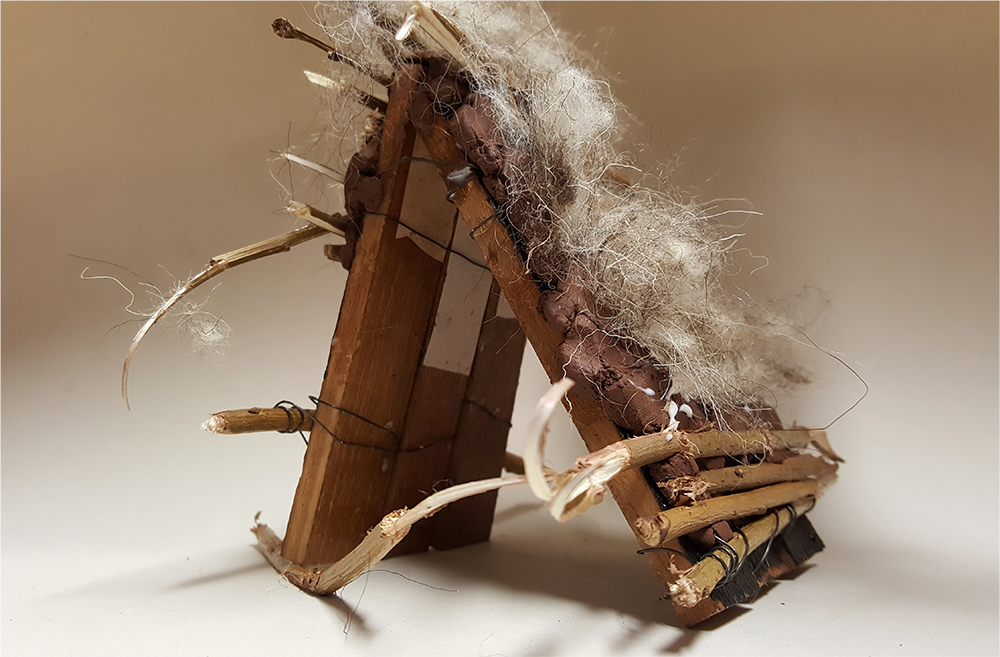
In this third of a series of three posts, Teacher Mandy Barrett and Artist Jo Blaker journey on a project that considers the materials and structures of nests. In this third post the class begin to refine their nest drawings using pencils, oil pastels and ink.
Click on the links to post one: Materials, Tools, Testing and Sketchbooks and post two: Observational Ink Drawing.
To access all content, I would like to join as…


AccessArt is a UK Charity and we believe everyone has the right to be creative. AccessArt provides inspiration to help us all reach our creative potential.
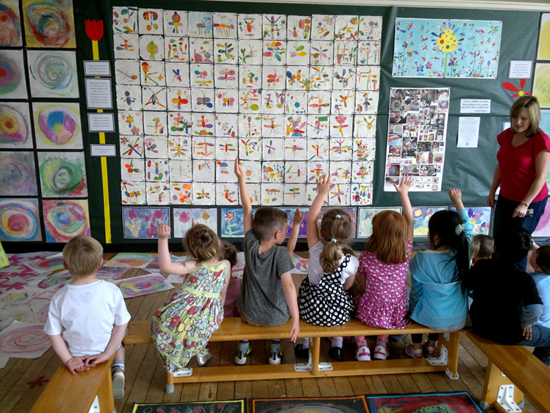
See This Resource Used In Schools…


You May Also Like…
Pathway: Sculpture, Structure, Inventiveness & determination

This is featured in the ‘Sculpture, Structure, Inventiveness & Determination’ pathway
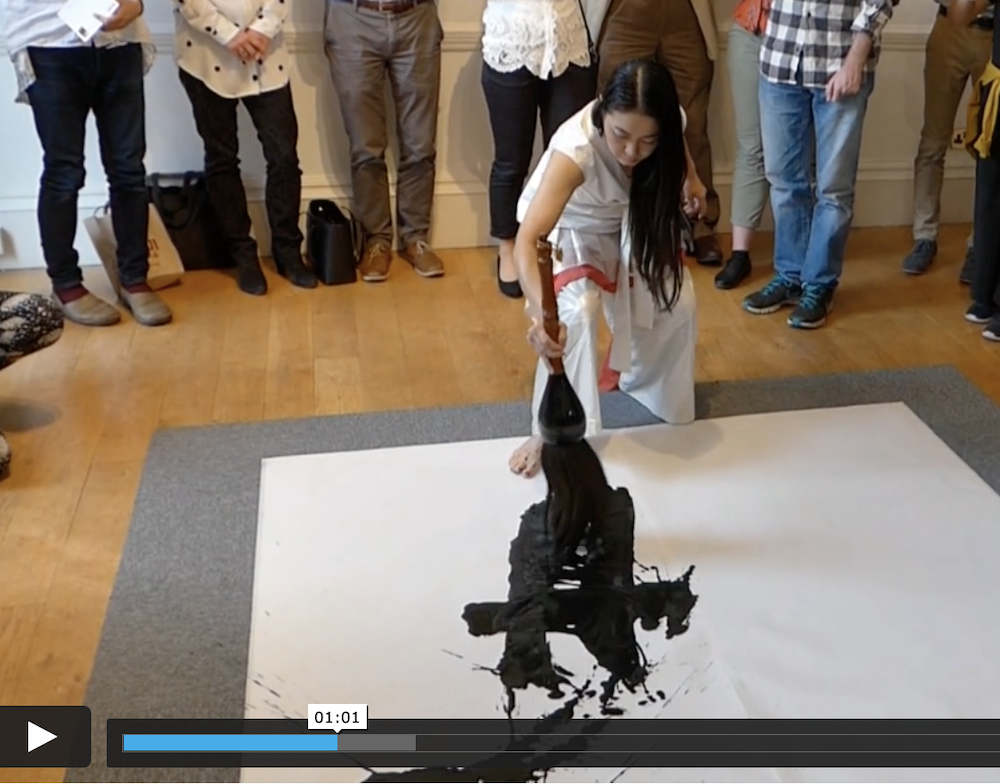
Talking Points: What can we learn from birds
 https://vimeo.com/518101698")
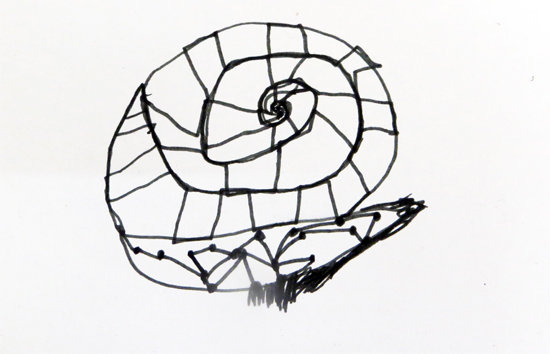
Drawing source material: nests
![]()


 Artwork by Rosie Hurley
 Artwork by Rosie Hurley
 Artwork by Rosie Hurley
 Felted and Embroidered Yellow Living Room by Gabby Dickson
 Chalkboard Prop for Kitchen By Gabby Dickson
 Rosie Hurley Set Design
 Artwork by Gabby Savage-Dickson


, 1913, 1931.511, Art Institute of Chicago.jpg\" by Wassily Kandinsky is marked with CC0 1.0.")


 Take inspiration from the ‘


 Explore the free to access “
 Working in sketchbooks, use the “
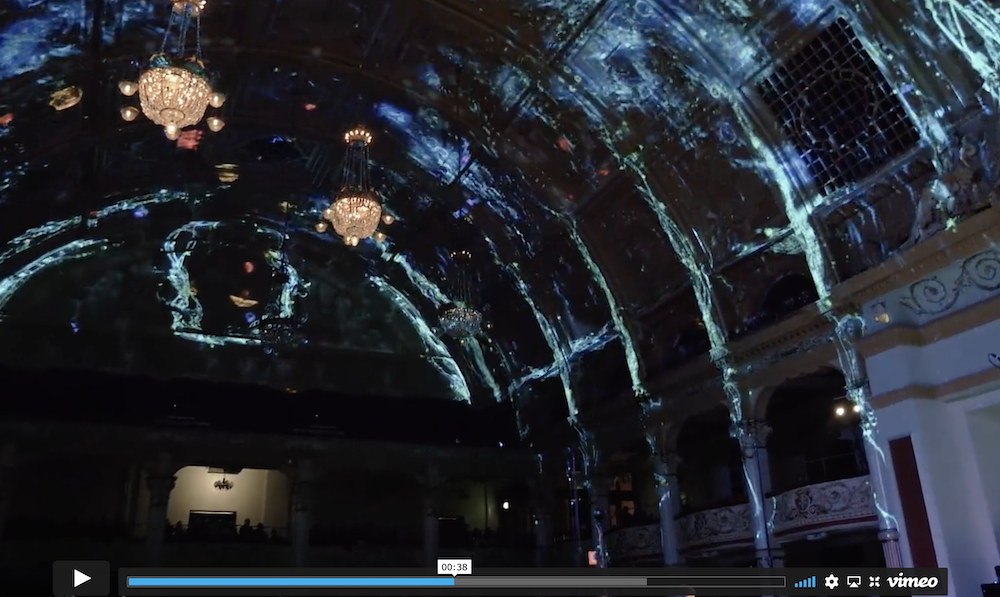 If you feel your pupils would benefit from being inspired by more art made by artists, introduce them to Projection Mapping and music with this video by Light Odyssey in our free to access “
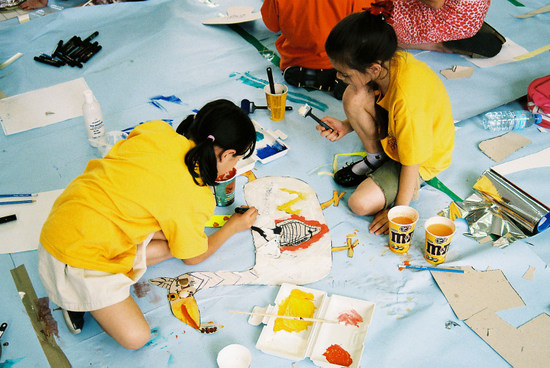


")
 (1880) by Odilon Redon. Original from the Art Institute of Chicago")


