Pathway for Years 5 & 6
Disciplines:
Architecture, Drawing, Sketchbooks
Key Concepts:
-
That architects have a responsibility to design buildings which help make our world a better place, including thinking about the environmental impact of the buildings they design.
-
That we can make creative choices which both serves ourselves as individuals and the communities we belong to.
-
That we can use form, structure, materials, and scale to design innovative buildings.
-
That we can build architectural models to test out our ideas and share our vision.
In this pathway children are opened to the idea that artists and designers have responsibilities, in the case of architects to design homes that help us have a brighter future. Children discuss as a class if it is best to design aspirational homes which make us feel good to live in, or tiny homes which benefit the environment. Or perhaps we can do both?
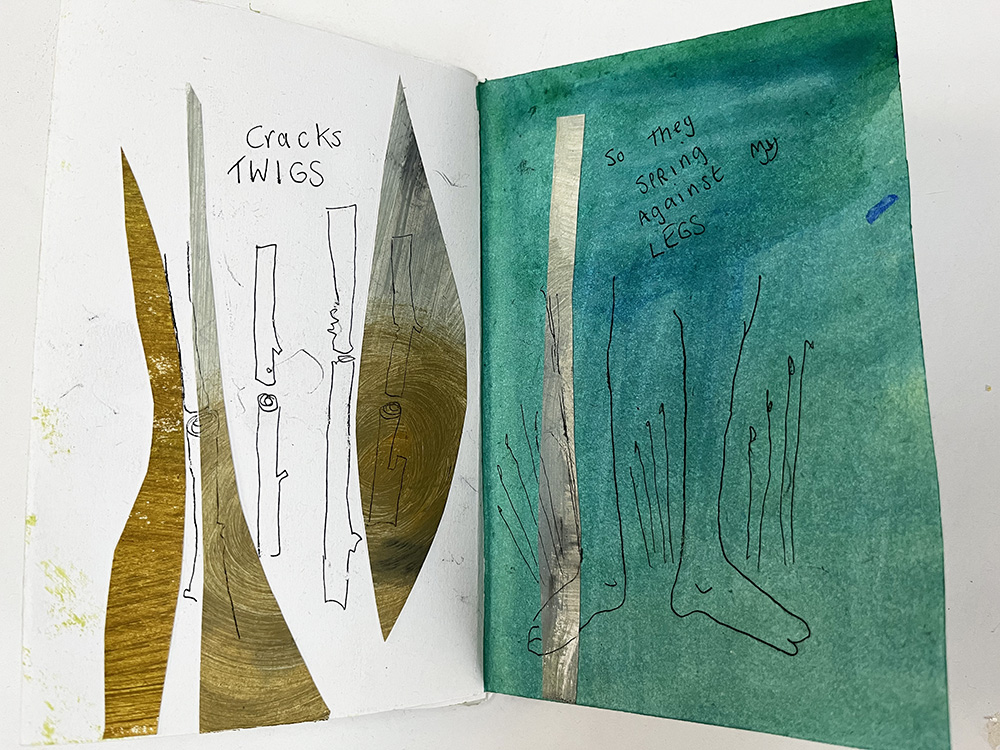
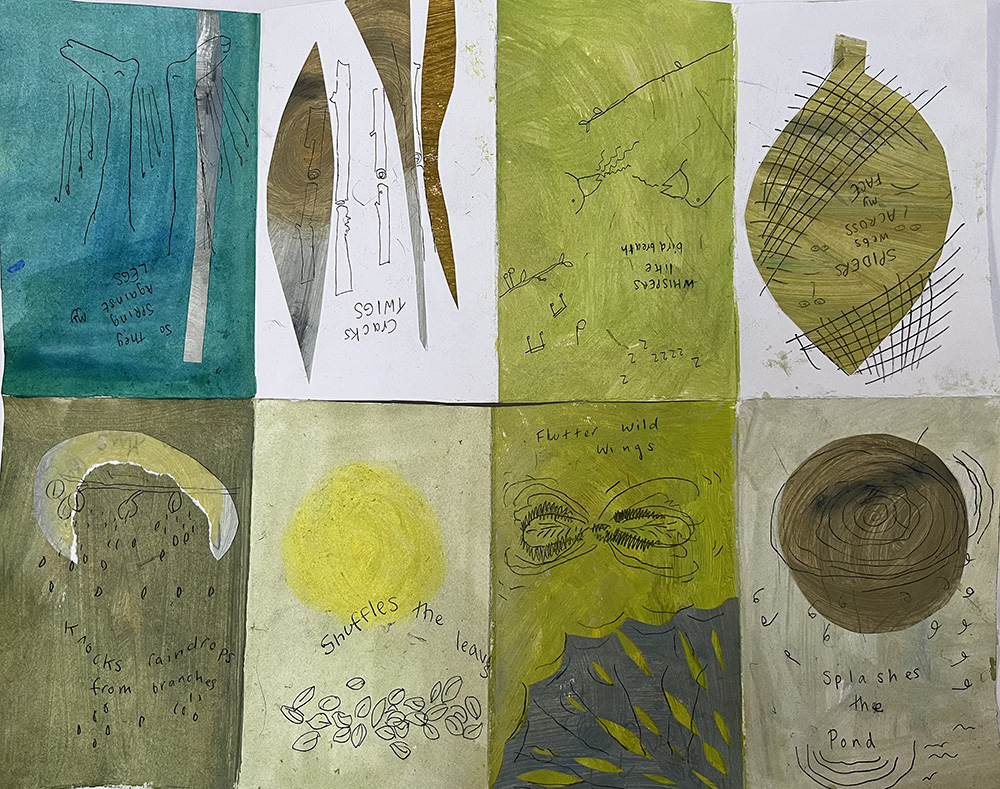
Children explore the work of architects and individual builder/designers, and use sketchbooks and drawing to collect, process and reflect upon ideas.
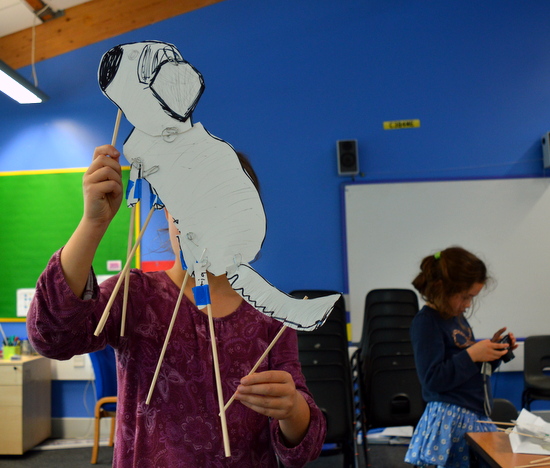
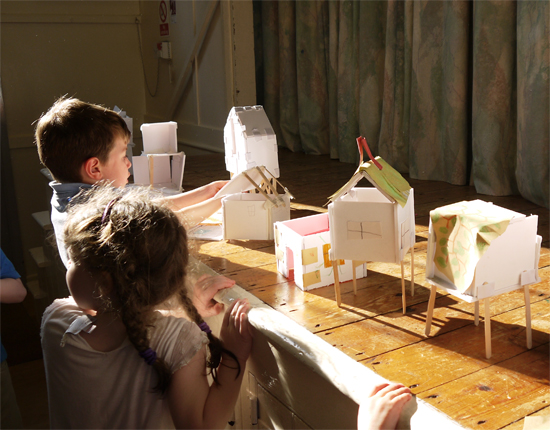
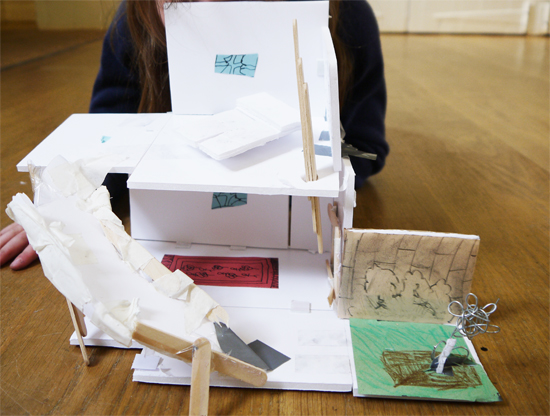
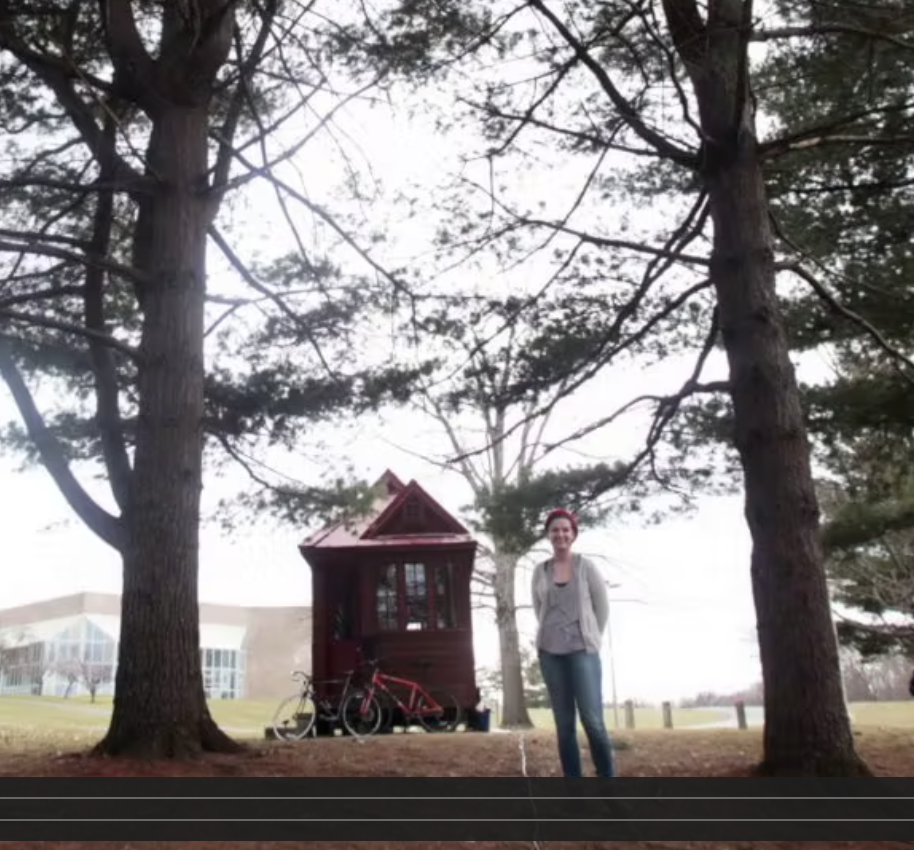
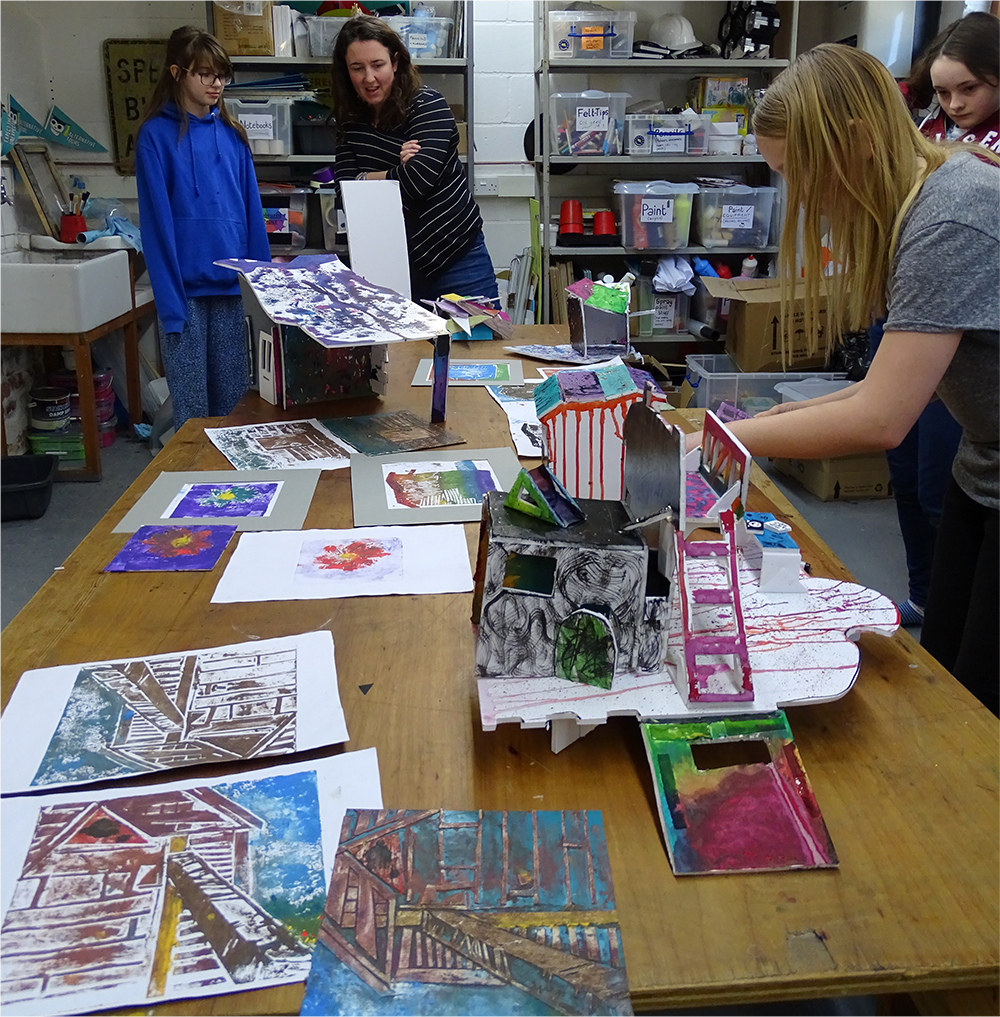
Children then go on to build an architectural model of their aspirational home or tiny house, before sharing as a class to see the village that has been made.
Medium:
Foamboard, Ink, Card
Artists: Shoreditch Sketcher, Various Architects
If you use this resource in your setting, please tag us on social media: #InspiredBy @accessart (facebook, twitter) @accessart.org.uk (instagram) and share the url. Thank you!


Teaching Notes
Find the MTP for this pathway here.
Curriculum Links
Geography: Opportunity to talk about issues surrounding climate change to inform the type of houses you make, and the materials you use.
History: Changes in Britain – How architecture has changed from your chosen civilisation topic. Design a bomb shelter inspired by WW2?
Maths: Measuring, 2D and 3D shapes, symmetry, angles.
PSHE: Responsibility to the planet, Collaboration, Peer Discussion.
I Can…
-
I have explored domestic architecture which is aspirational and large, and I have explored the Tiny House movement. I can discuss with the class how both these ways of designing might affect our lives.
-
I can use my sketchbook to collect, record and reflect my ideas and thoughts.
-
I can make larger drawings working from still imagery, using various drawing techniques for fifteen or so minutes.
-
I can explore how line, form, structure, material, and scale are all used to make architecture interesting, and help the designer meet the design brief.
-
I can make an architectural model using the ‘design through making’ technique, using my sketchbook to help free my imagination.
-
I can present my work, reflect and share it with my classmates.
-
I can respond to the work of my classmates, sharing my thoughts about their work in relation to the architecture we looked at during the project.
-
I can photograph my work considering lighting, focus and composition.
-
I can make short films of my work giving a close-up tour of my architectural model.
Time
This pathway takes 6 weeks, with an hour per week. Shorten or lengthen the suggested pathway according to time and experience. Follow the stages in green for a shorter pathway or less complex journey.
Materials
Soft B pencils, handwriting pens, sharpies, A2 cartridge or sugar paper. Construction Materials (see list here)
Pathway: Architecture – Dream Big & Small
A PDF of this pathway can be found here.
-
The Aim of the Pathway
The aim of this pathway is to give pupils the opportunity to use their growing creative independence to discuss, decide, and design. Pupils will explore the responsibilities architects have to create a better world for us all by exploring whether we should “dream big or dream small” when it comes to planning for homes for the future.
- Week 1: Introduce
Dream Big or Small?

Introduce pupils to the point for discussion and design:
“As architects, should we aspire to fill the world full of amazing beautiful buildings, or do we serve ourselves and the planet better by designing small, modest, cleverly designed eco homes. Or can we do both?”
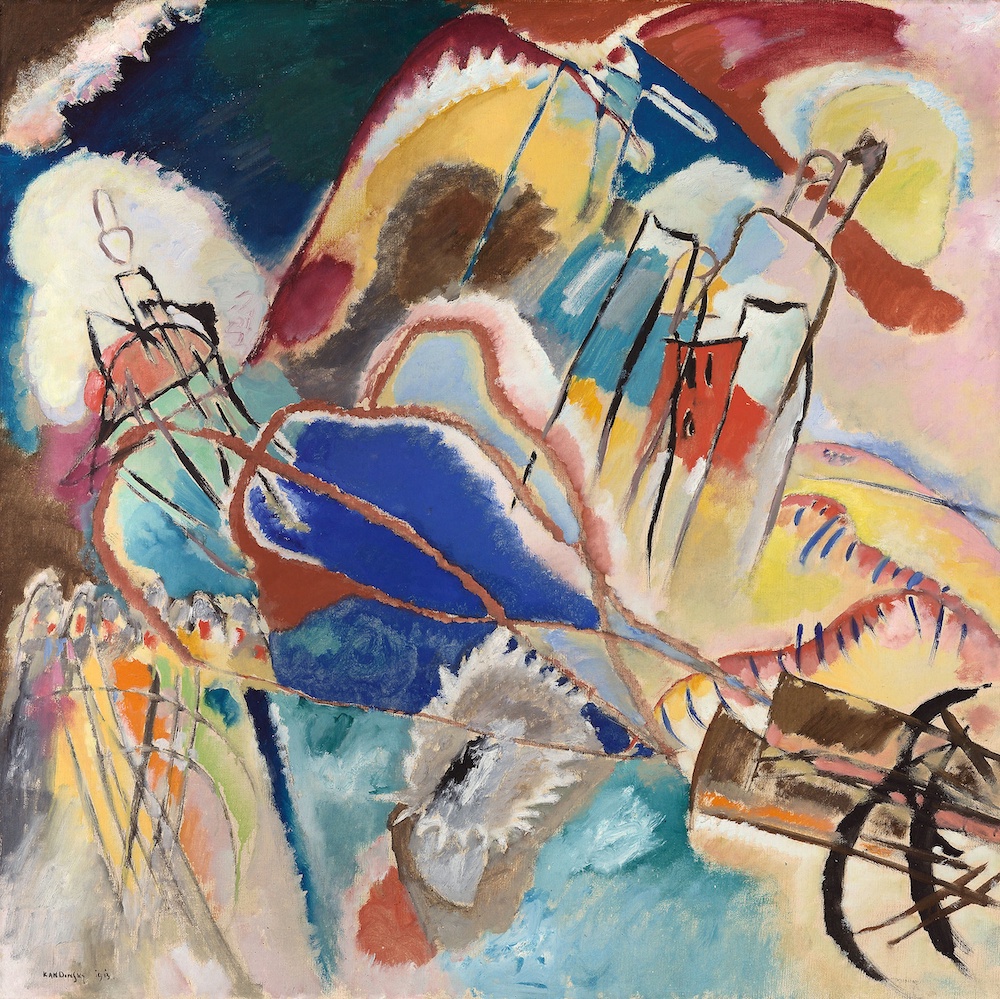
Use the free to access “Drawing Source Material: Amazing Architectural Homes” resource to see aspirational architectural design.
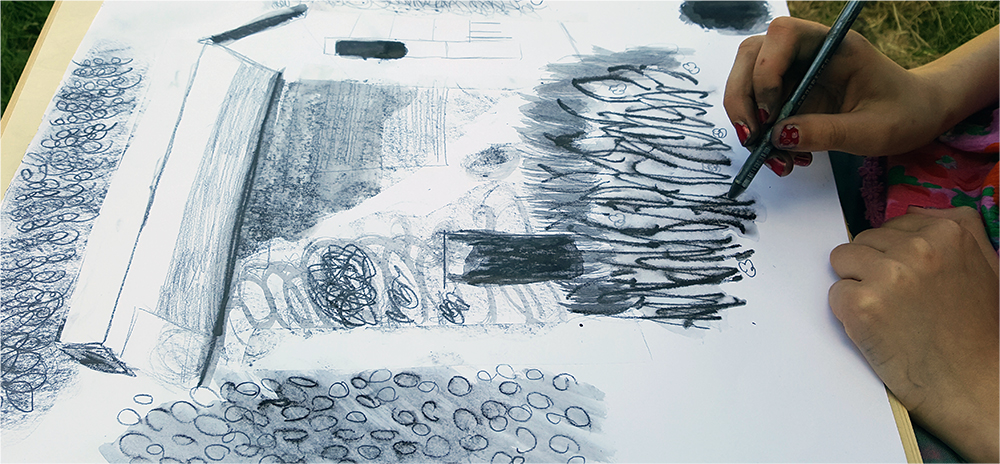
Use the “Making Visual Notes” resource to get children to note down forms, structures and materials that they like.
Then use the free to access “Talking Points: Tiny Houses” resource. Again, use sketchbooks to make visual notes of the details, structures, materials, and ideas which appeal to the children.
Have a class discussion, and perhaps even a vote, about what they feel is important in terms of house design to make the world a better place.
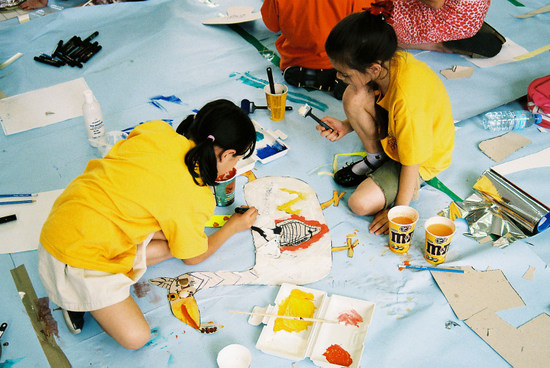
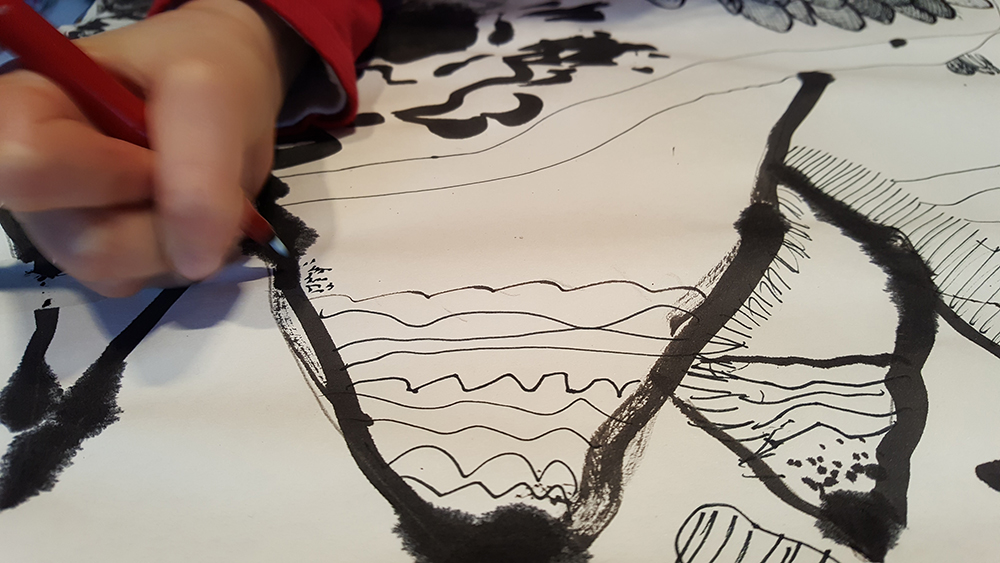
- Week 2: Draw
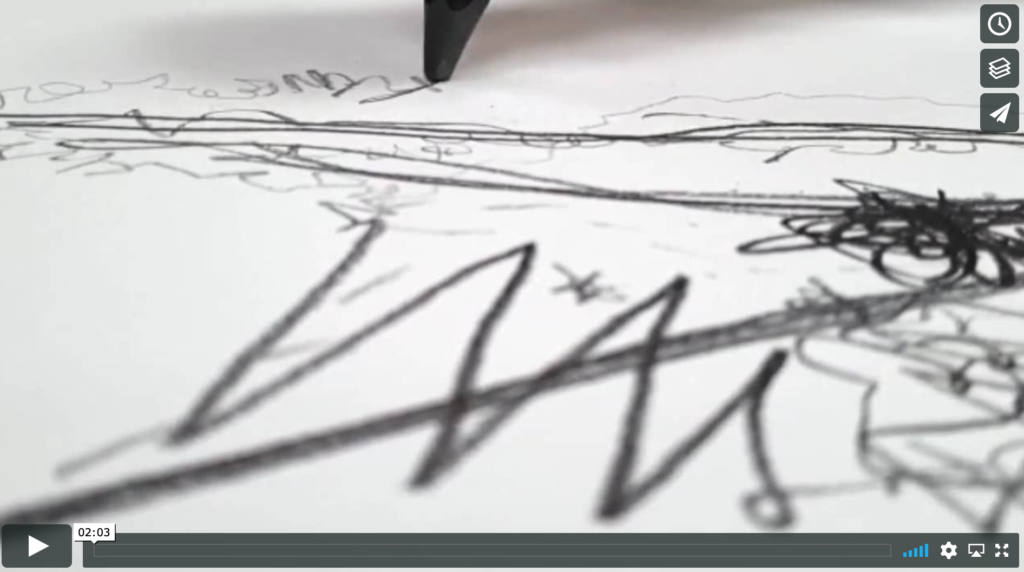
Drawing Houses
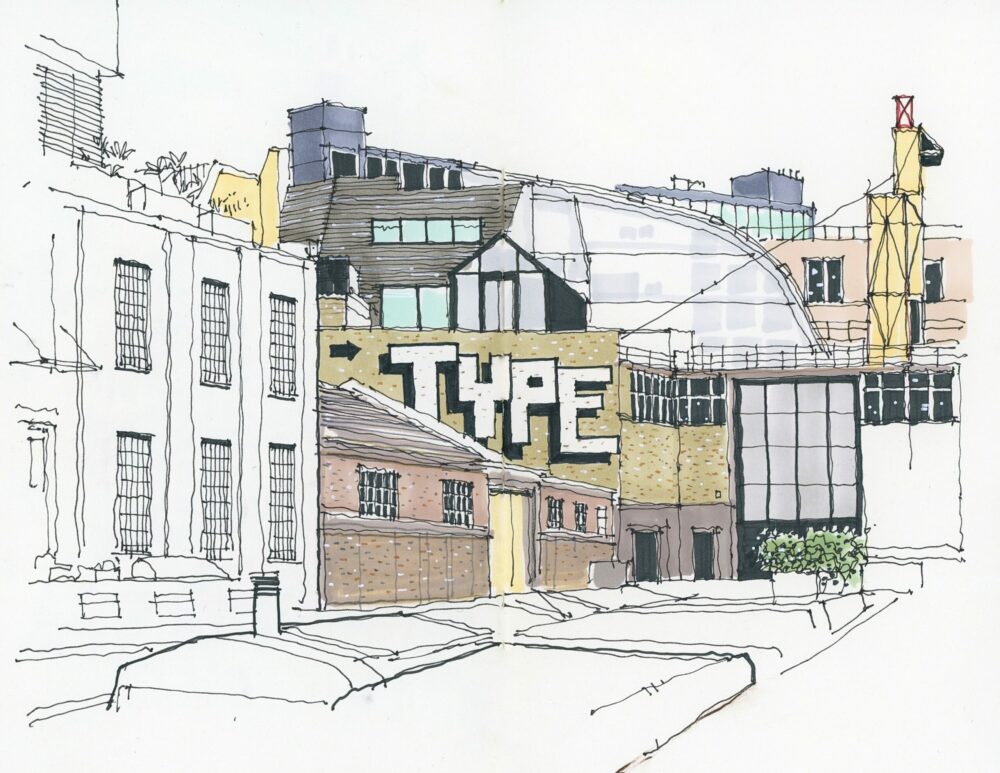
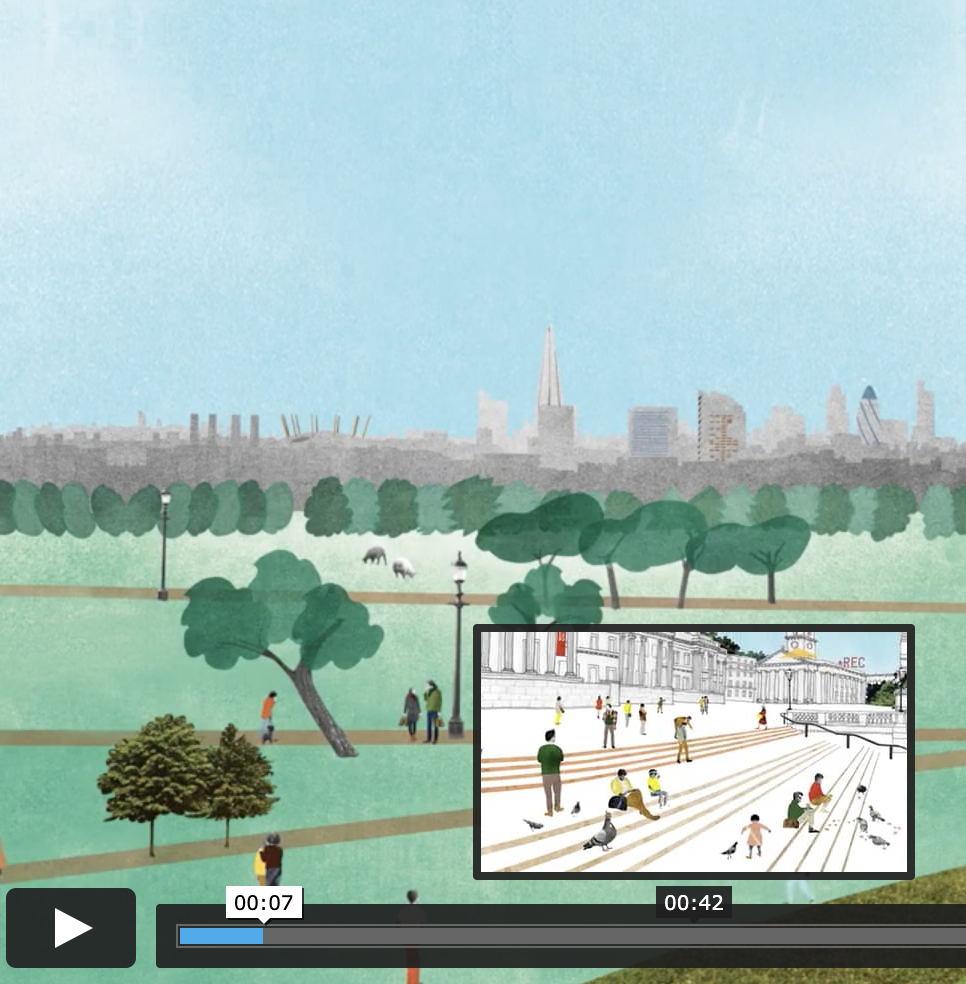
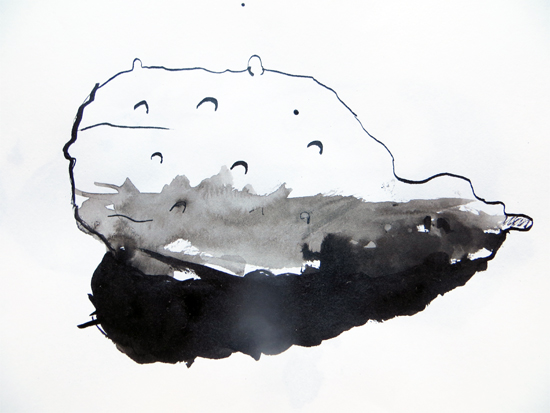
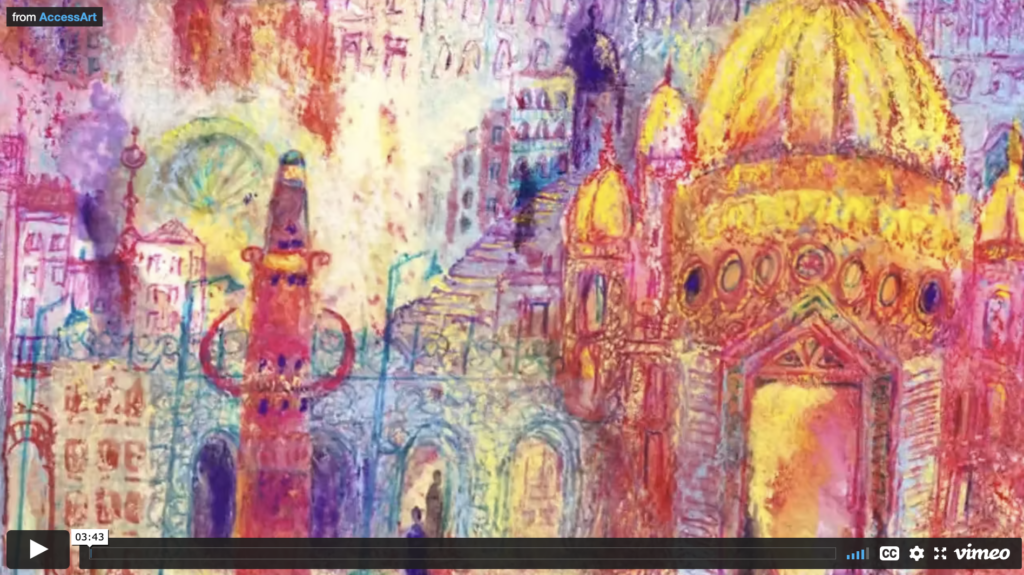
Regents Canal by The Shoreditch Sketcher This week, children will work on larger sheets of cartridge or sugar paper (A3 or larger) and revisit the two resources used last week (“Drawing Source Material: Amazing Architectural Homes” and “Talking Points: Tiny Houses“). This time pupils will make drawings of paused moments in the video (so they are working from a still image).
The aim here is not to design a building (they are not designing on paper) but instead to deepen understanding of the form and structures architects might use. Children will use drawing to help look more closely: to collect ideas for when they ‘design through making’.
Try to create between 3 and 5 drawings, each on a fresh sheet, during the session. Pupils will work in handwriting pen and, if they wish, coloured pen to highlight/accent certain features.
They might like to be inspired by the drawings by the Shoreditch Sketcher. You can see his work at “Talking Points: Shoreditch Sketcher“.
You might also like to use the following drawing exercises to inspire their drawings (using handwriting pen):
Continuous Line Drawing
Drawing with a Ruler
If there is a sense of perspective in the image pupils are drawing, invite them to try to capture it on the page. Sometimes, if they are drawing from a still image on a whiteboard, they can use a metre rule or a cane to help see where the lines of perspective are.
Rather than try to draw the whole image, invite them to record what they consider to be the most important elements of the architectural design.
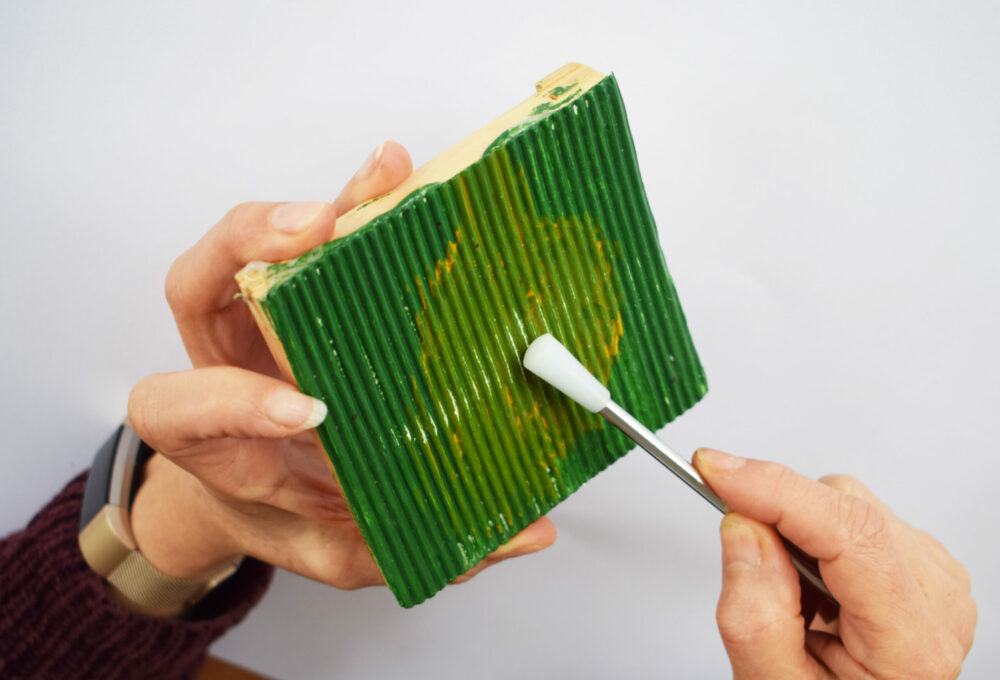
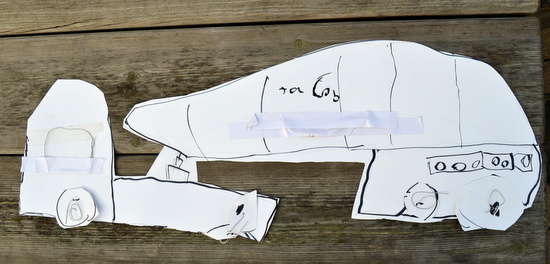
- Week 3, 4, 5
Make your Architectural Model
Start Week 3 with a recap about the architectural dilemma: dream big or small?
Decide as a class if the children are all going to make models of aspirational homes, or tiny houses, or a mixture of both.
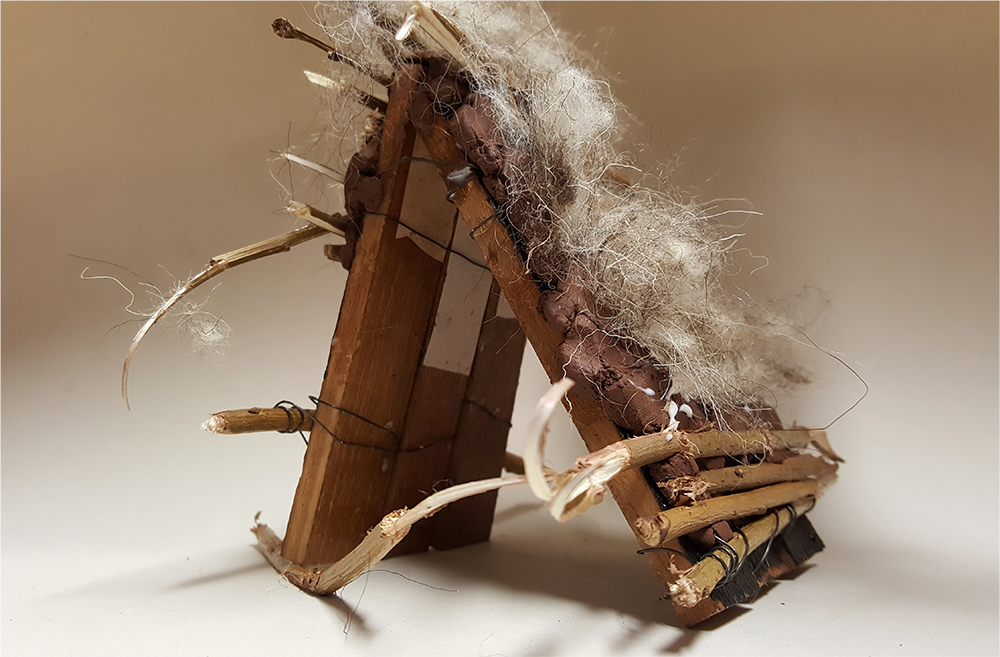
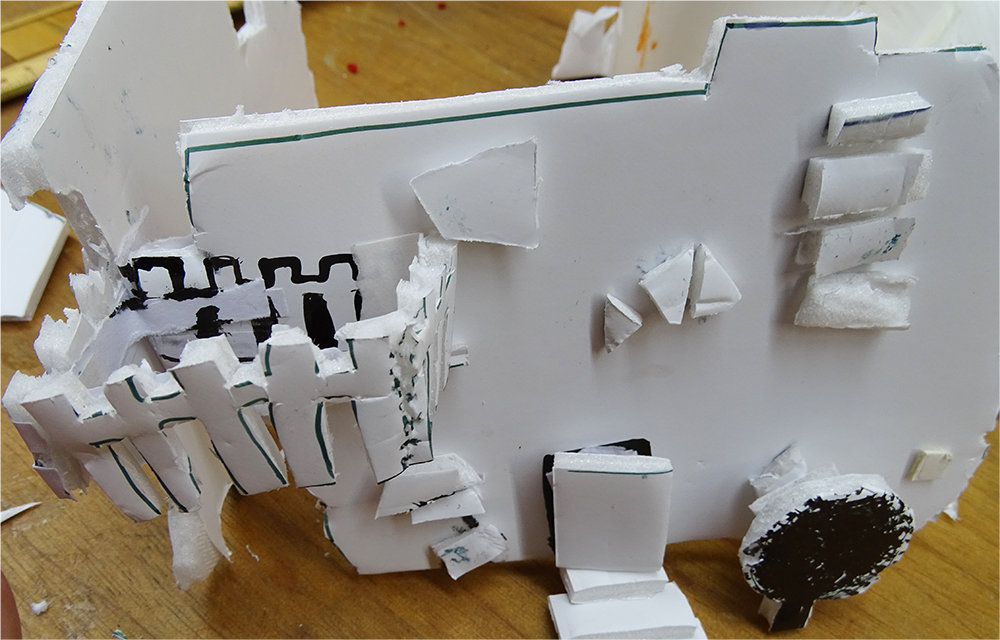
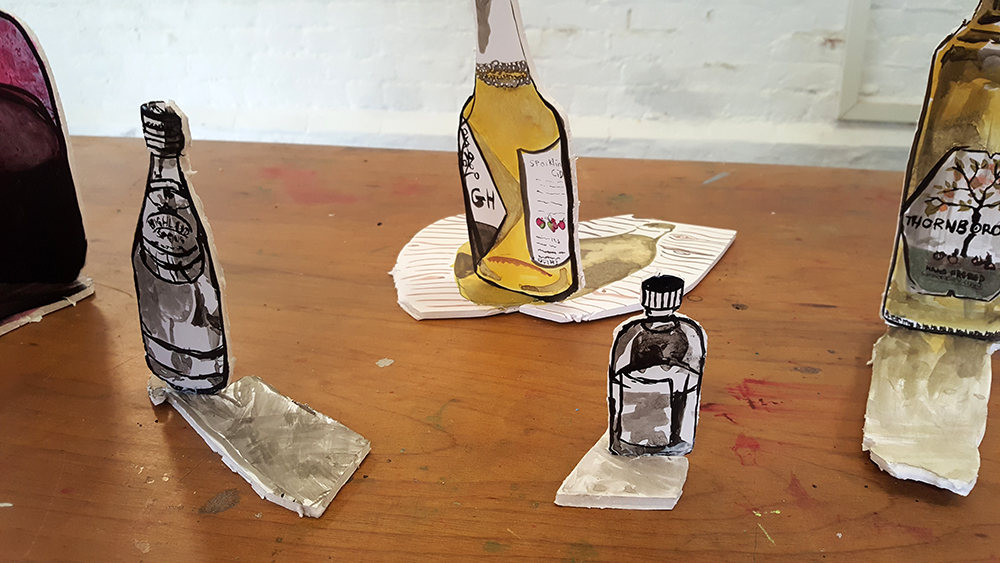
Have sketchbooks open so that pupils can use them as reference material, and have access to the drawings made the week before. Use the “Ink and Foamboard Architecture” resource to help pupils build their architectural models.
Tips:
Remember they are not designing on paper first. Instead pupils are using sketchbooks as reference and using the “Design Through Making” technique.
Remind pupils (if they get frustrated!) that Making is Hard!– but that’s ok!
Allow pupils plenty of time to cut and stick their shapes. You may want to get a head start by having a member of staff cut a selection of shapes beforehand so that pupils can use them as “building blocks” and then cut their own as they need them. See how to cut foamboard here Coming Soon.
Buying foamboard (coming soon)
- Week 6
Share, Reflect, Discuss
Time to see the work which has been made, talk about intention and outcome.
Pupils will display the work in a clear space, and walk around the work as if they were in a gallery.
Remember to display sketchbook work too, so that they remember the whole journey and give context to the outcomes.
Give the work the respect it deserves. Remind the children of their hard work.
If you have class cameras or tablets, invite the children to document their work, working in pairs or teams. You could also make films by bringing the cameras really close to the models, to see different perspectives and interiors. Explore how children can take high quality photographs of 3d artwork with this resource.
Use the resource here to help you run a class “crit” to finish the project.
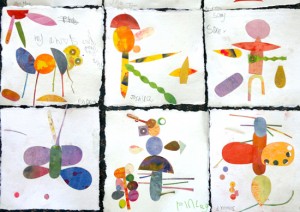
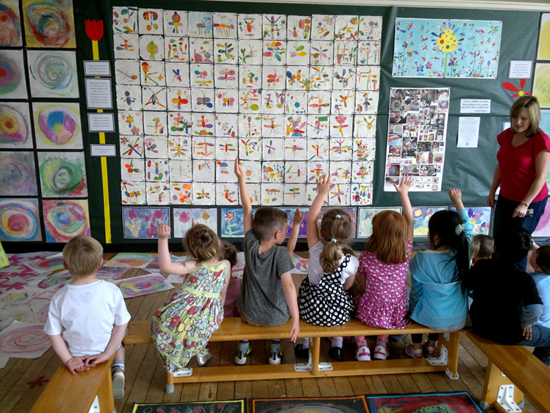
See the Pathway Used in Schools…


If You Use AccessArt Resources…
You might like to…
Join our Facebook Group

Join the AccessArt Network group on Facebook and ask questions of others using our resources
Share and Tag

Share photos of work made by tagging us on social media
You May Also Like…
Anglo Saxon Architecture

Making Architecture Inspired by Anglo Saxon Architecture
My House

A Cardboard Construction Project
Houses from Around the World


 Use the “
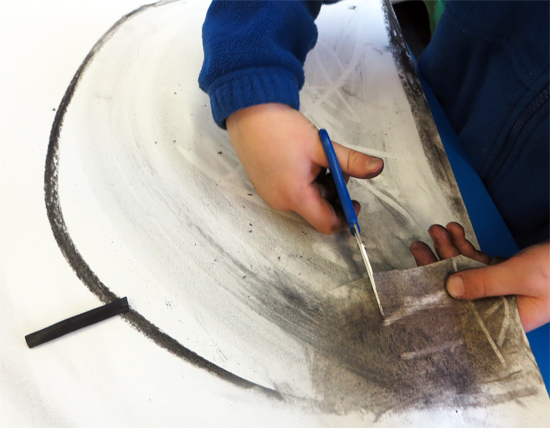


 Give children the opportunity to work with clay to make decorative “
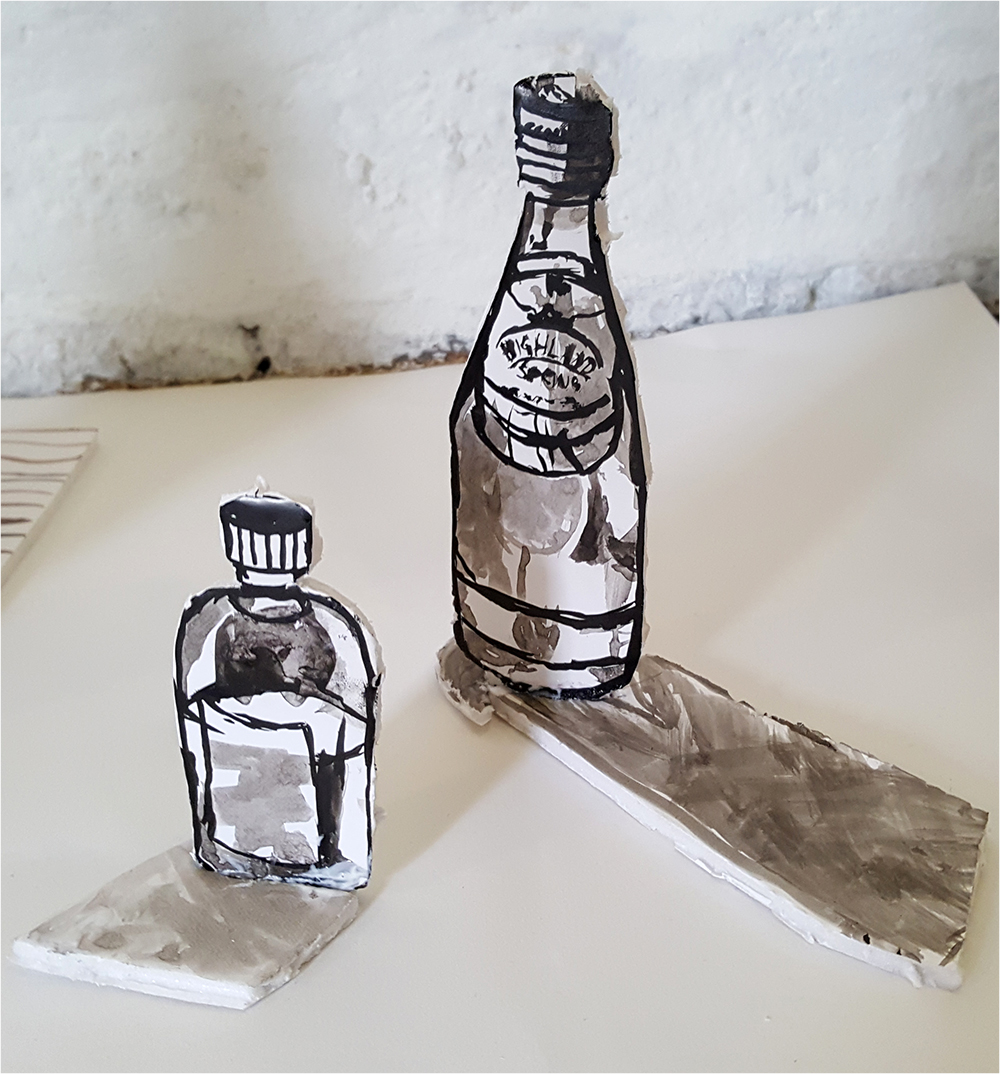


 https://vimeo.com/518101698")


 Take inspiration from the ‘


 Explore the free to access “
 Working in sketchbooks, use the “
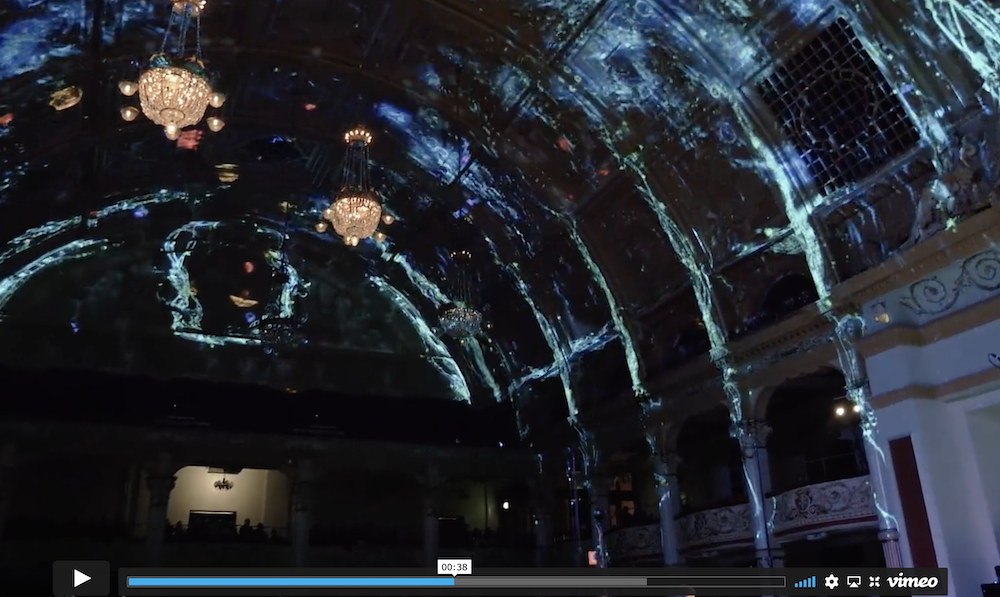 If you feel your pupils would benefit from being inspired by more art made by artists, introduce them to Projection Mapping and music with this video by Light Odyssey in our free to access “