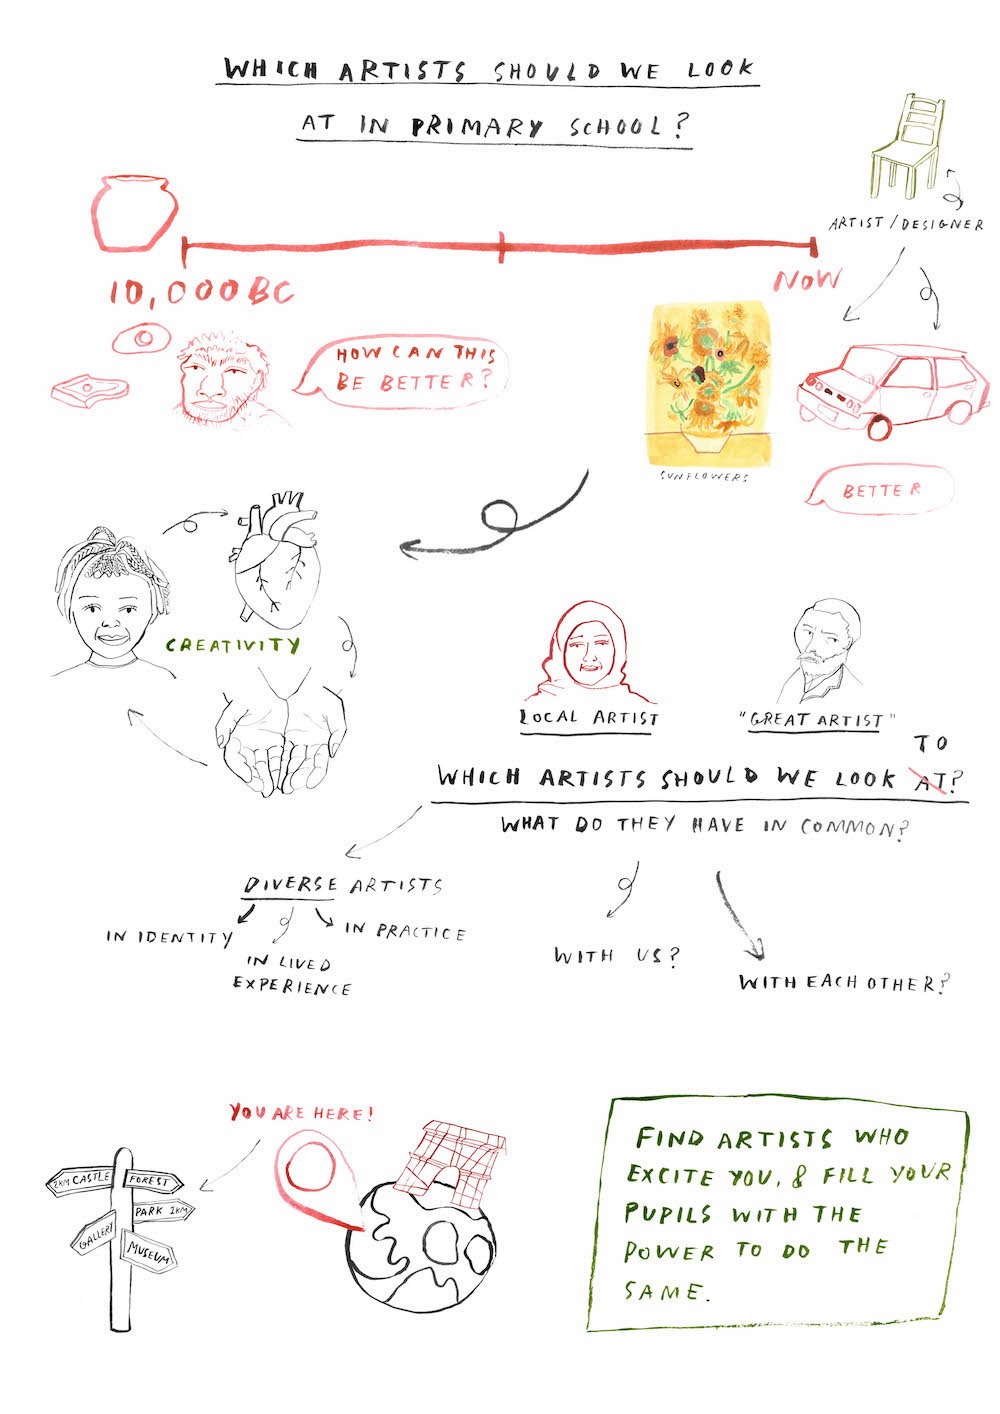
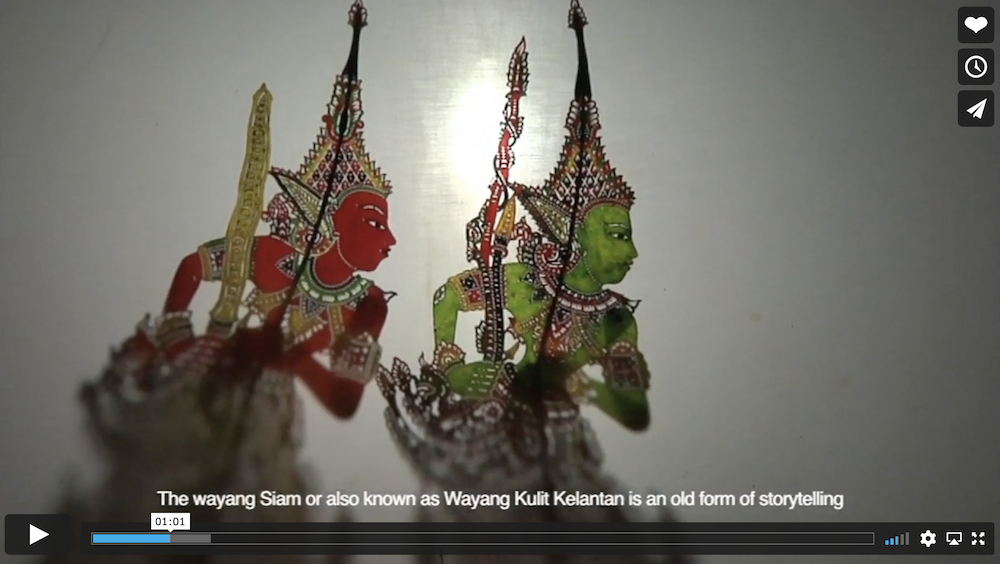
Find out how to decide which artists to look at in Primary School as part of our Pedagogy in 250 Words series. Become a member to watch the video.
To access all content, I would like to join as…


AccessArt is a UK Charity and we believe everyone has the right to be creative. AccessArt provides inspiration to help us all reach our creative potential.


 It’s important that children feel a sense of ownership with their sketchbooks. Invite children to
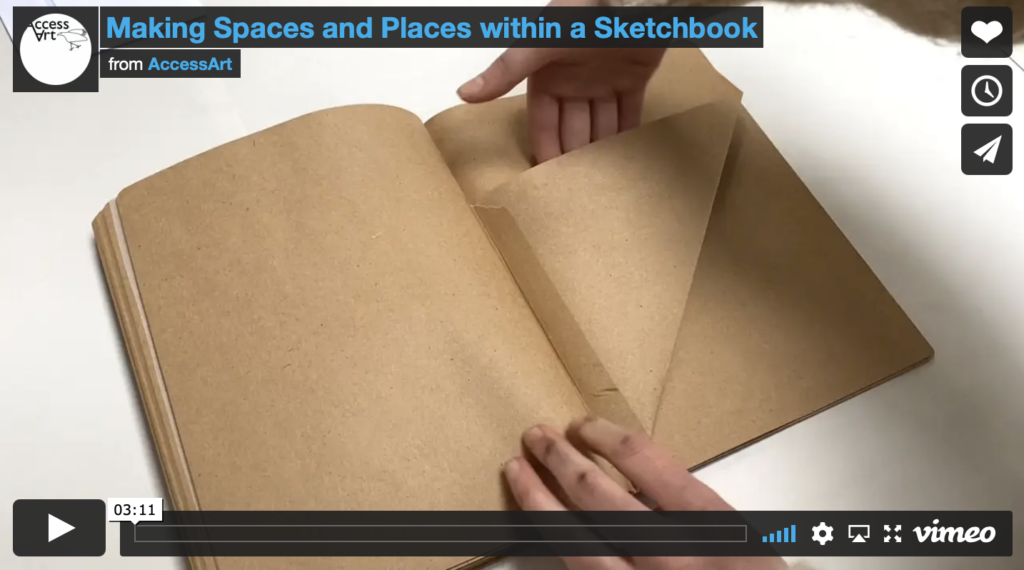 “
“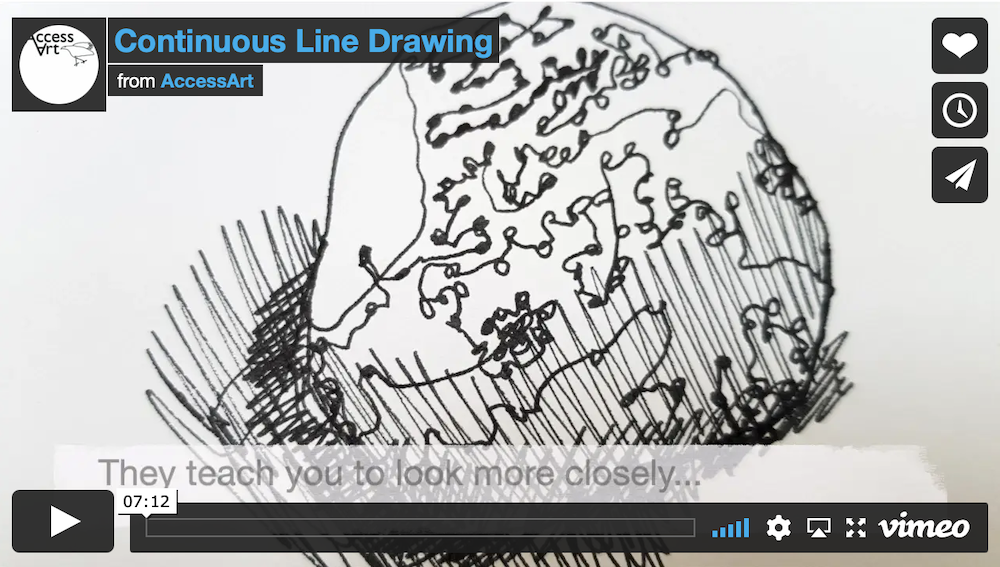 Start the session by creating a calm meditative environment. Use this exercise to create “
 Adapt this resource and experiment with “


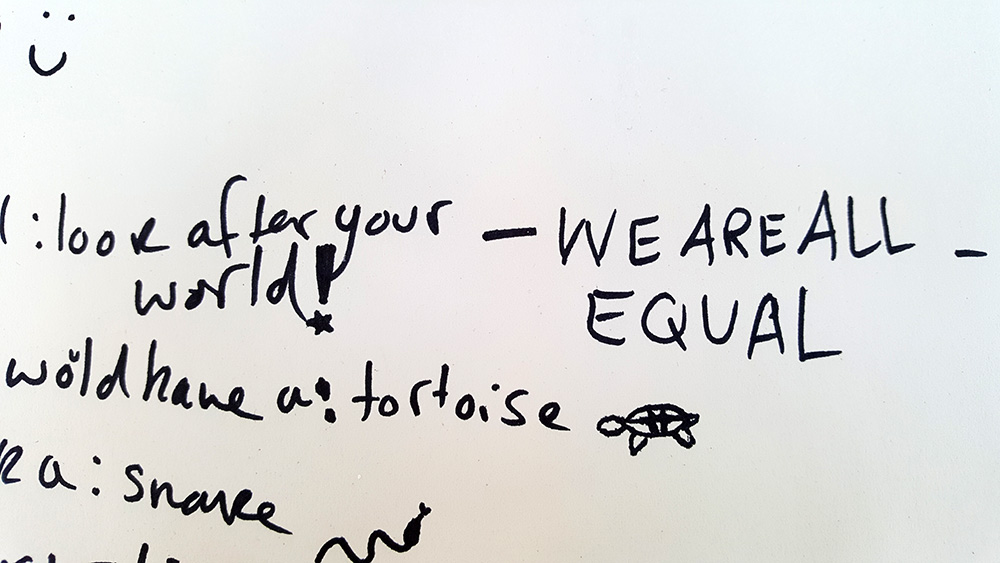


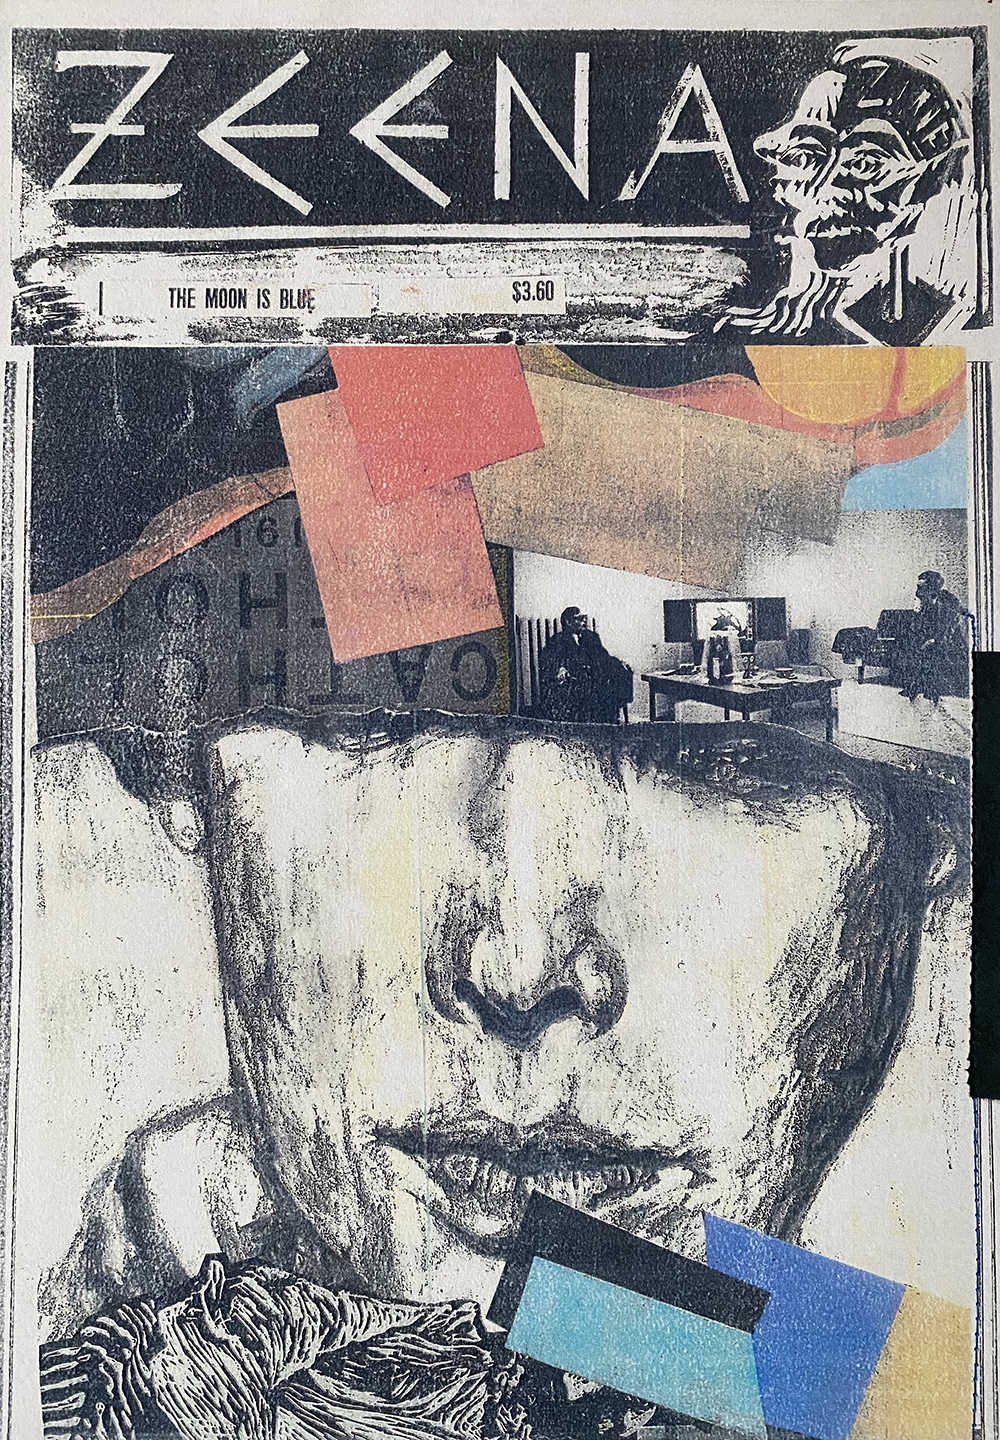 See how older pupils made zines about things they cared about in the


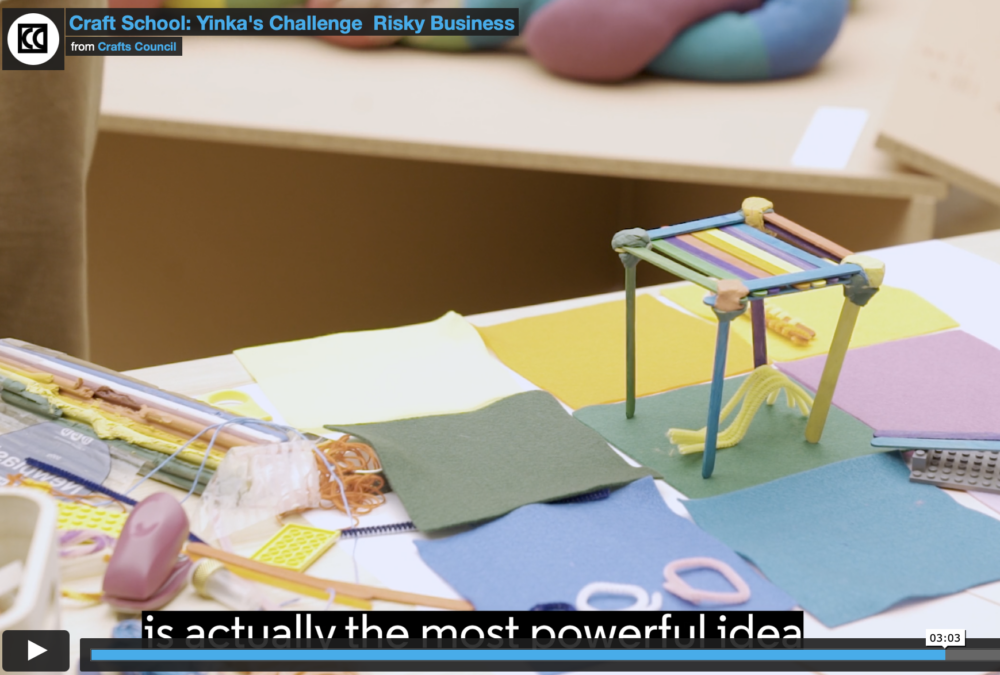
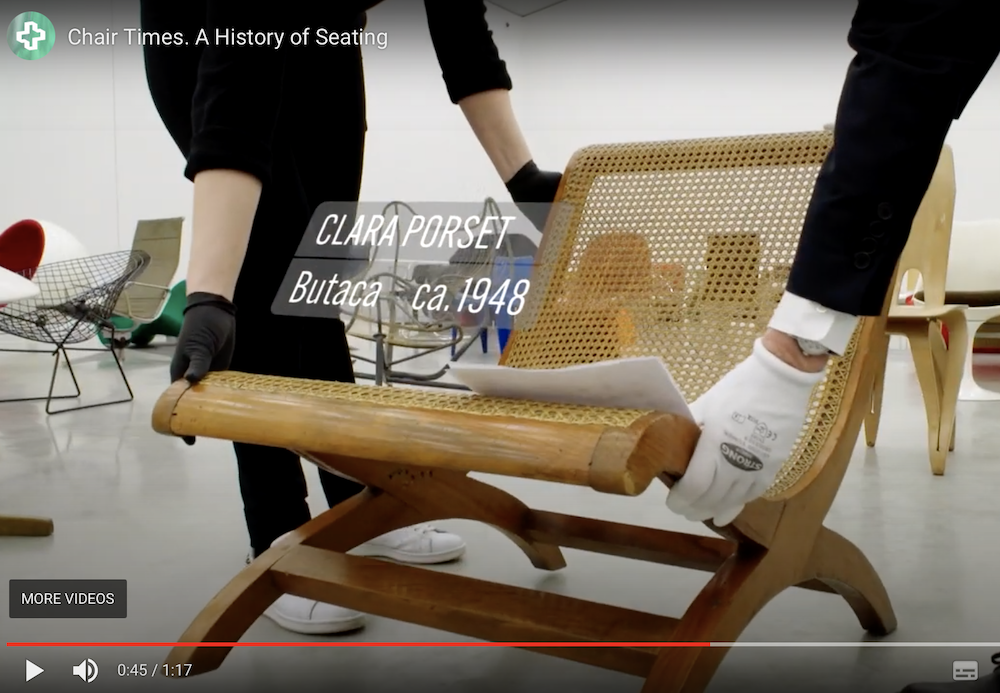
 Challenge children to become furniture designers with the “
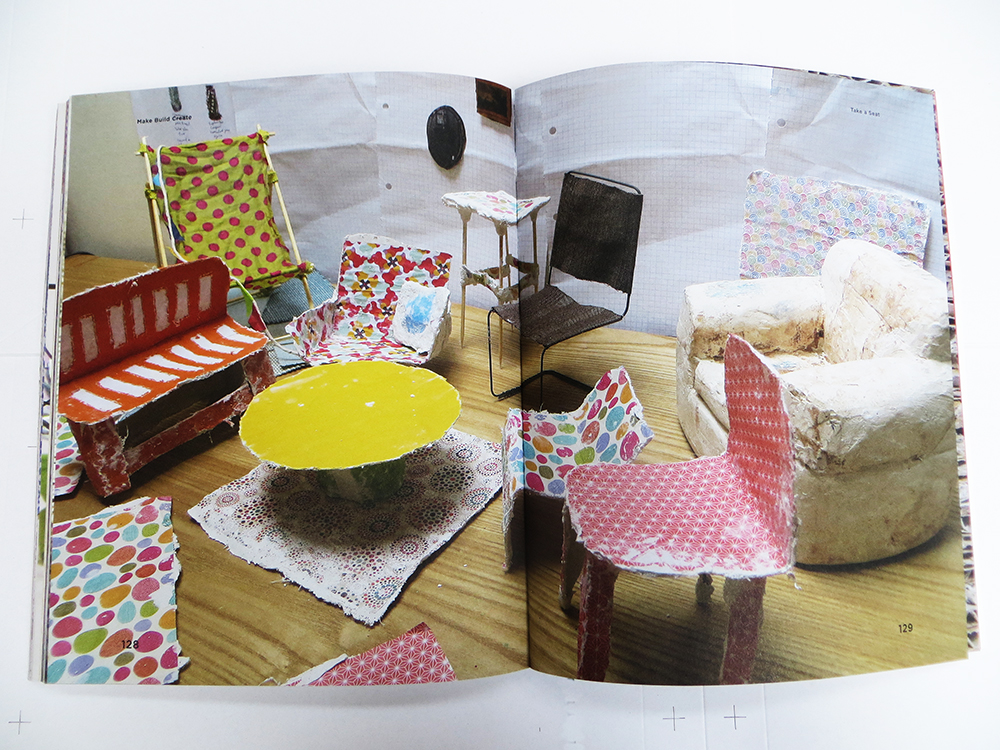


 Use the “


 Give children the opportunity to work with clay to make decorative “


 https://vimeo.com/518101698")