Making Mini Food
By Rowan age 11

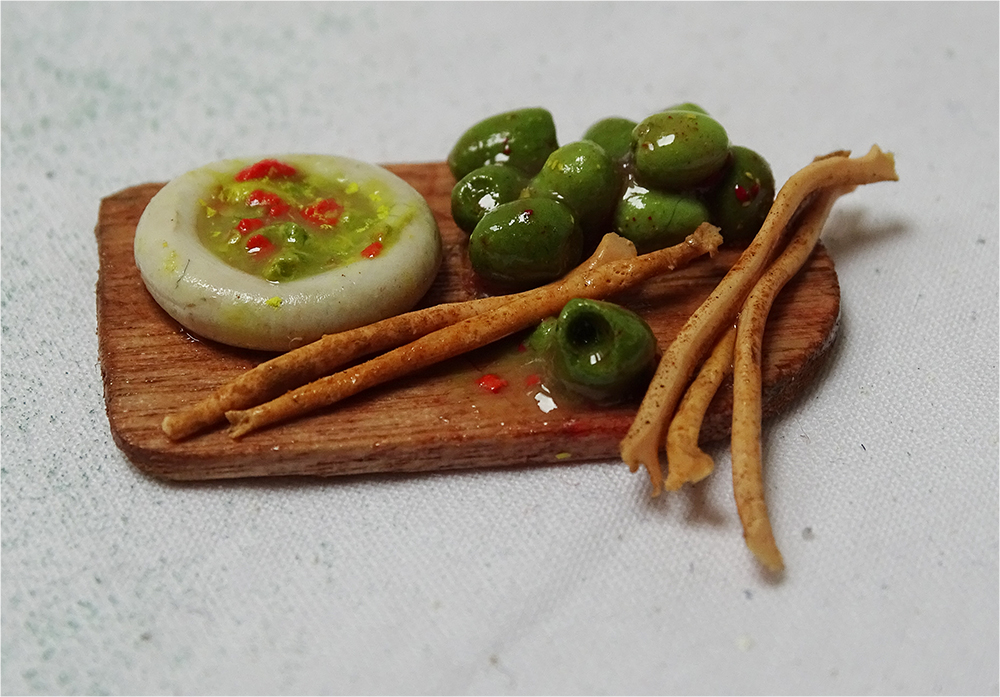
Making mini meals from Sculpey or Fimo clay takes good eye sight and nimble fingers! Here are some tips and tricks I have learnt along the way.
I bought white Sculpey clay rather than buying lost of different colours. This works out cheaper and has the advantage that you can colour the clay to suit your subject matter. Keep the clay in an airtight box until you need it. It should keep for a long time.

I use two types of varnish/glazes.
The Sculpey Gloss Glaze is used to add gloss to baked clay. It takes 30 minutes to dry between coats. Make sure you have finished baking your clay before you use this product.
The Fimo Liquid Gel is used both to join (fuse) elements or to add glaze. Fimo Liquid Gel hardens in an oven of tempertaure 130 degrees C or lower.

Look round the home for tools you can use in your clay work. I use nail dotting tools, cocktail sticks, a sharp knife and other shapes from the kitchen. I work on a sheet of glass or baking paper to stop my work sticking.


Adding Colour
There are many ways to add colour to the clay.
You can use a knife to shave a little pastel and use this as pigment.

You can dry-brush the pigment directly on to a finished sculpture…

Or you can mix the pigment with the Fimo Liquid Gel and use it as a paint which you bake in the oven.


Or you can mix paint (here gouache) directly with the clay before baking.

Here is my box of mixed samples:

A Tip about Making!
When you work with Sculpey or Fimo clay, the instructions say to bake in the oven for a certain amount of time per size of object (usually 130 degrees C). This gives a full bake resulting in a hard object. But when you are working with the clay and building very small objects it is very easy to squash your work when you are modelling it. One way round this is to part-bake as you go along. For instance if you want to make a slice of lemon, you can create a layered section (like a piece of rock – see image below), and then part-bake the clay roll. Just enough so that it holds its shape. Then when you cut the shape into lemon slices it won’t collapse, and you will end up with a circle rather than a squashed oval! Most of the mini meals below were part-baked many times. Part-bake all the individual elements before you bring them together.


So here is my mini meal gallery. Each meal is just slightly larger than a one pence coin. The plates are made from clay, the bread boards made from lolly stick which has been sanded and painted.


Sheila, AccessArt
June 17, 2016 @ 2:09 pm
This is a gorgeous post Rowan – your work is meticulous and looks delicious! Thank you for sharing your process so articulately! Sheila