Pathway for Years 4 & 5
Disciplines:
Sculpture, Painting, Drawing, Collage, Sketchbooks
Key Concepts:
-
That Illustrators use line, colour and shape to create drawings which bring stories to life.
-
That we can use other people’s artwork as a creative stimulus, and use lots of different media (paper, pen, paint, modelling materials and fabric) to work towards our own artwork.
-
That we can use our knowledge and curiosity of line, shape, colour and form to make playful and inventive art.
-
That we can make an individual artwork which contributes to a larger shared piece, or we can work on a shared artwork.
-
That making art can be fun and joyful, and that we can find subject matter which inspires us all and brings us together.
This pathway provides a framework for teachers to enable pupils to create their own work in a variety of media, in response to the work of an author/illustrator (in this case Maurice Sendak).
The project explores: Mark making with pen, pencil and ink, making a shared drawing, colour mixing (soft pastels), making sculpture (plastic bags, paper, wire, modroc) and collage.
As with all AccessArt approaches, the emphasis is on a journey of building independent learning through lots of experimentation and creative risk taking, and balances sketchbook and exploratory work with high quality and varied final outcomes.
Themes: Narrative, Landscape, Character Development
Medium: Pens, Soft B Pencils, Ink, Collage Paper, Plastic bags, Paper, Wire, Modroc, Modelling Materials
Artists: Maurice Sendak, Shaun Tan
If you use this resource in your setting, please tag us on social media: #InspiredBy @accessart (facebook, twitter) @accessart.org.uk (instagram) and share the url. Thank you!

Additional Pathway
This pathway is an additional pathway to help you extend, develop or further personalise the AccessArt Primary Art Curriculum.
We suggest this pathway is used to replace a “Working in 3 Dimensions” (Blue) Pathway – it works well in replacement of Telling Stories Through Drawing & Making (Years 3 & 4), or Set Design (Years 5 & 6).
Please note the activities in this pathway are best suited to more confident teachers who are happy with a higher level of interaction with the work, and more able or experienced pupils.
You may also like to use the activities in this pathway with a smaller group of children in an after school club or community context.


Teaching Notes
Tips from Teachers
“Put a long piece of paper down on each table. Four children per piece of paper works the best so they don’t get too crowded.
Put examples of the book on their tables and three different sized black pen. Do the ink drawings in one lesson and then the black pen detail in the next and colour in the next with pastels.”
Find the MTP for this pathway here.
See the recording of the Zoom CPD session Exploring Modroc.
Journeyful Teaching: Teaching for The Journey, Not The Outcome
Pedagogy in 250 Words: Making is Hard
Curriculum Links
English: Responding to Texts and Narrative
Geography: Landscapes and Habitats
Science: Animals, Plants and Trees
PSHE: Supports Responsibility to the planet, Collaboration, Peer Discussion.
I Can…
-
I have explored the work of an Illustrator and used my sketchbook to record my observations.
-
I can draw directly from life, making quick sketches expressing emotion and personality.
-
I can explore mark making, and use marks to create a (sometimes shared) background.
-
I can mix colours using soft pastels.
-
I can make a sculptural creature or person, understanding that by working in 3d my sculpture will be seen from different viewpoints, and be inspired by the drawn background.
-
I can present my work as part of a larger artwork, and I can share my response to my own work and also to the work of my peers.
Time
This pathway takes 6-8 weeks, with an hour per week. Shorten or lengthen the suggested pathway according to time and experience. Follow the stages in green for a shorter pathway or less complex journey.
Materials
Pens (3 different thicknesses), Soft B Pencils, Sketchbooks, A3 Cartridge Paper, Soft toys, Black Ink, Quills, Roll of Paper, Soft Pastels, Glue Stick
Modroc, Plastic Bags, Sellotape Construction Materials (see list here )
Pathway: Drawing and Making Inspired by Illustrators
A PDF of this pathway can be found here.
-
Aim of the Pathway
The aim of the pathway is to give children the opportunity to be inspired by the mark making and visual story telling of illustrators, and to feel enabled to make their own creative response in both two and three dimensions.
- Week 1: Introduce
Introduce an Artist
Begin by introducing story to inspire drawing and making.
You may want to explore Where the Wild Things Are, using our “Talking Points: Maurice Sendak“.
Or draw and make inspired by ‘The Arrival’ by Shaun Tan using “Talking Points: Shaun Tan“.
This pathway can be adapted to a book you are currently studying in class.
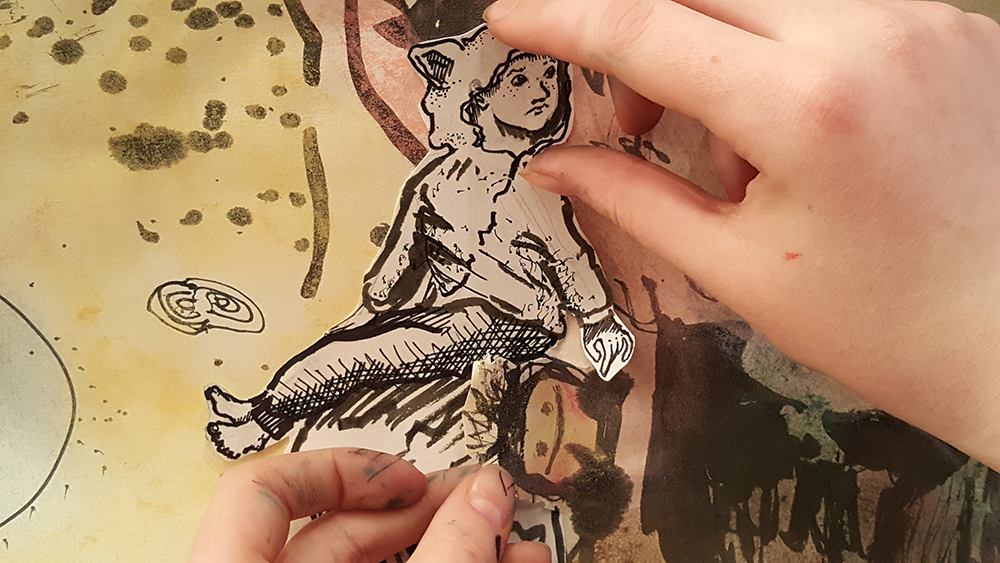
- Drawing & Mark-Making
Observational Drawing
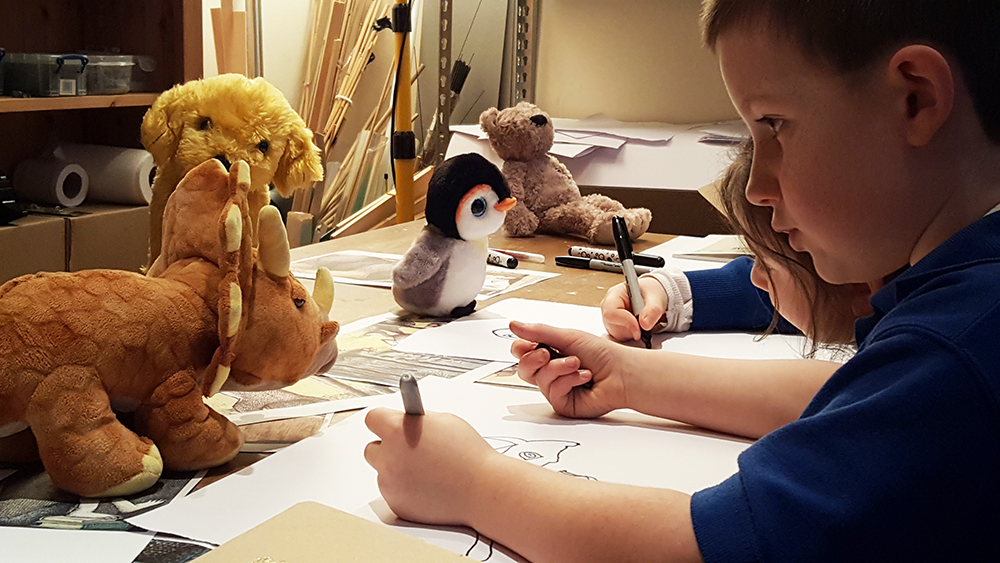
Be inspired by the mark making of Maurice Sendak and apply it to observational drawings of the children’s own toys in the Drawing Soft Toys Inspired by “Where the Wild Things Are” by Maurice Sendak resource.
By the end of this session children will have practised observational skills, explore mark-making (both their own and that of the artist) and produced one or more drawings of their own toys.
- Week 2: Collaborative Drawing
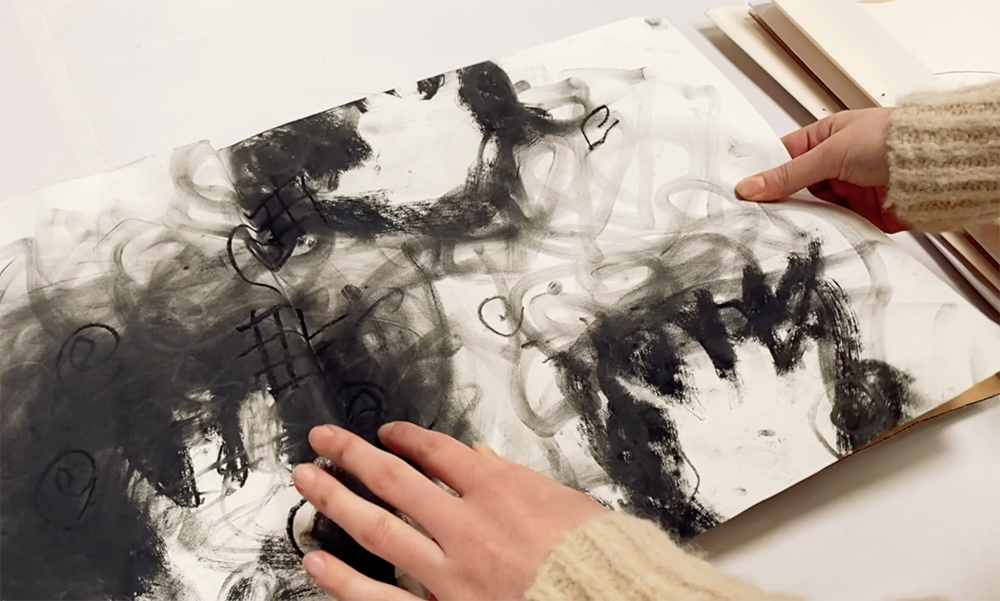
Shared Ink Drawing
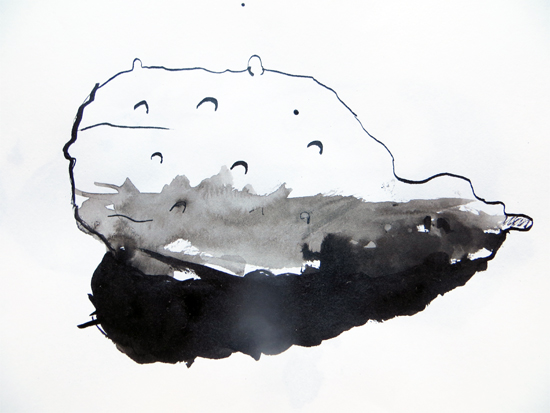
Explore making collaborative drawings in small groups, using new materials and new skills in the Shared Ink Drawing Inspired by “Where the Wild Things Are”resource.
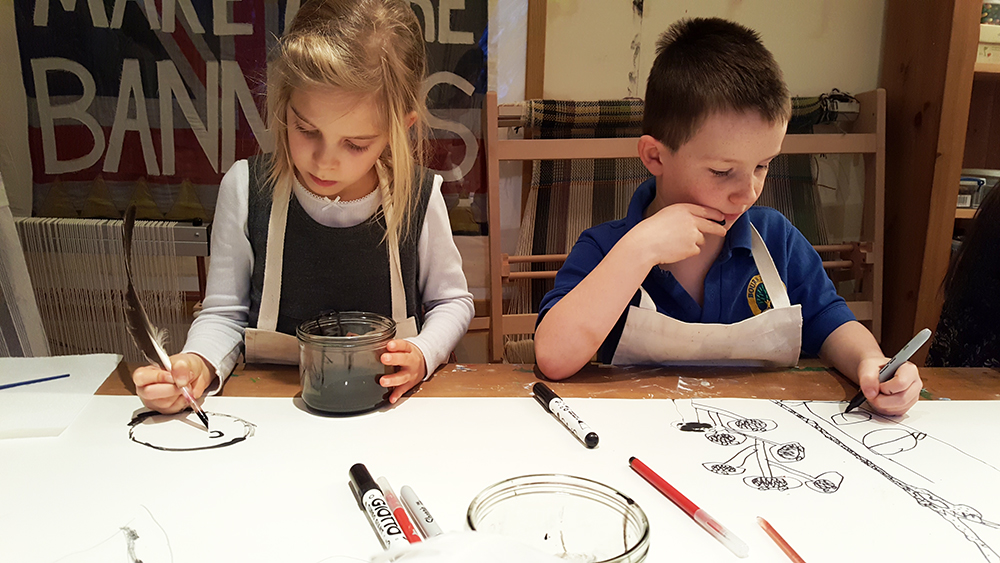
By the end of this session, pupils will have explored how they can work together to create sections of landscape, exploring notions of “background” and “context”, using ink and quills.
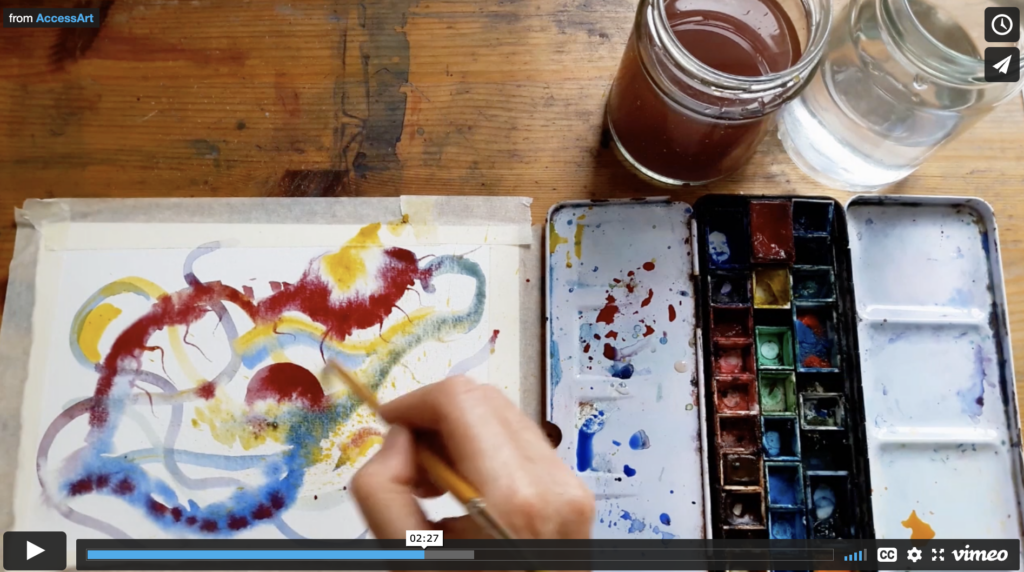
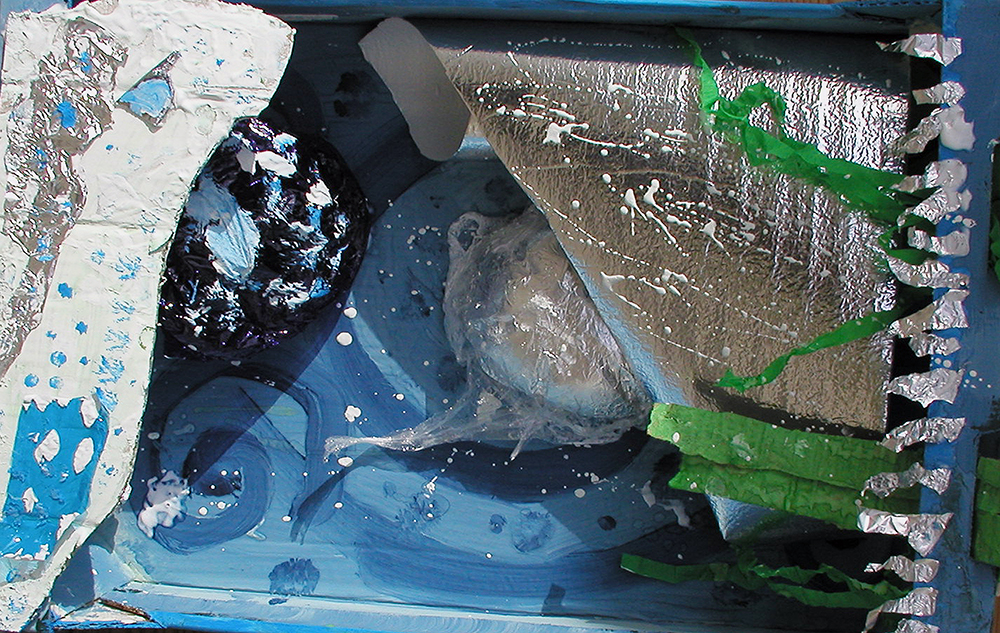
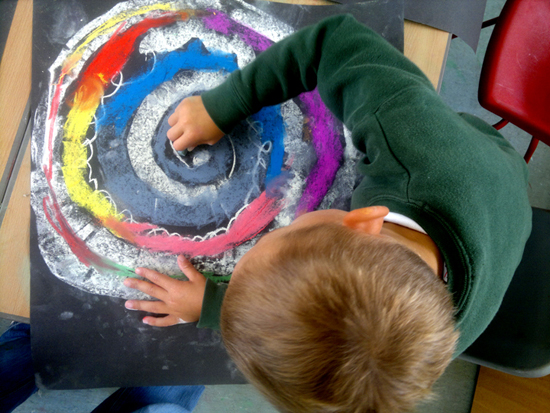
- Week 3: Colour Mixing
Adding Colour
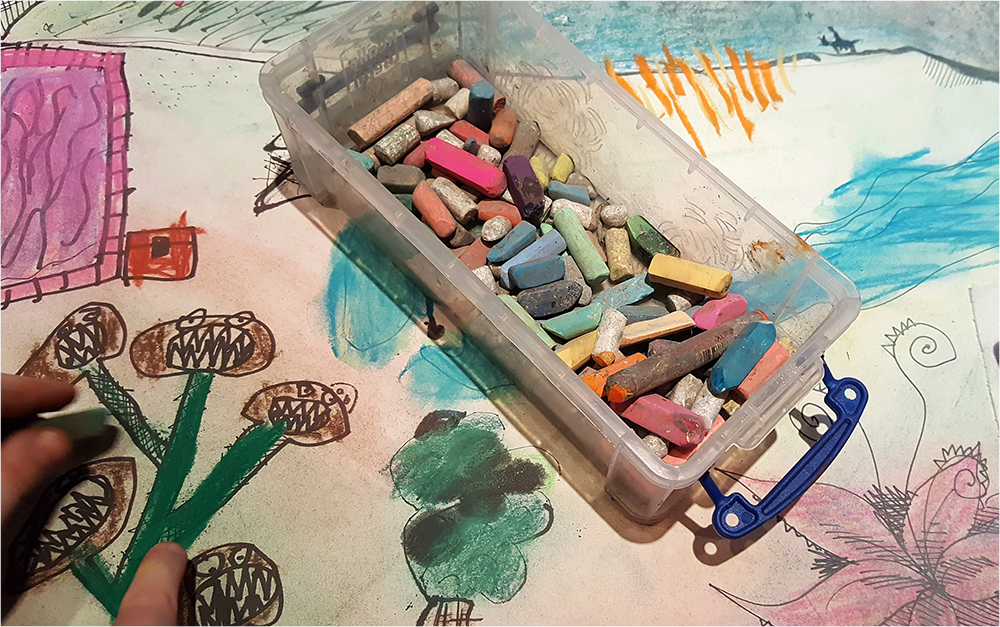
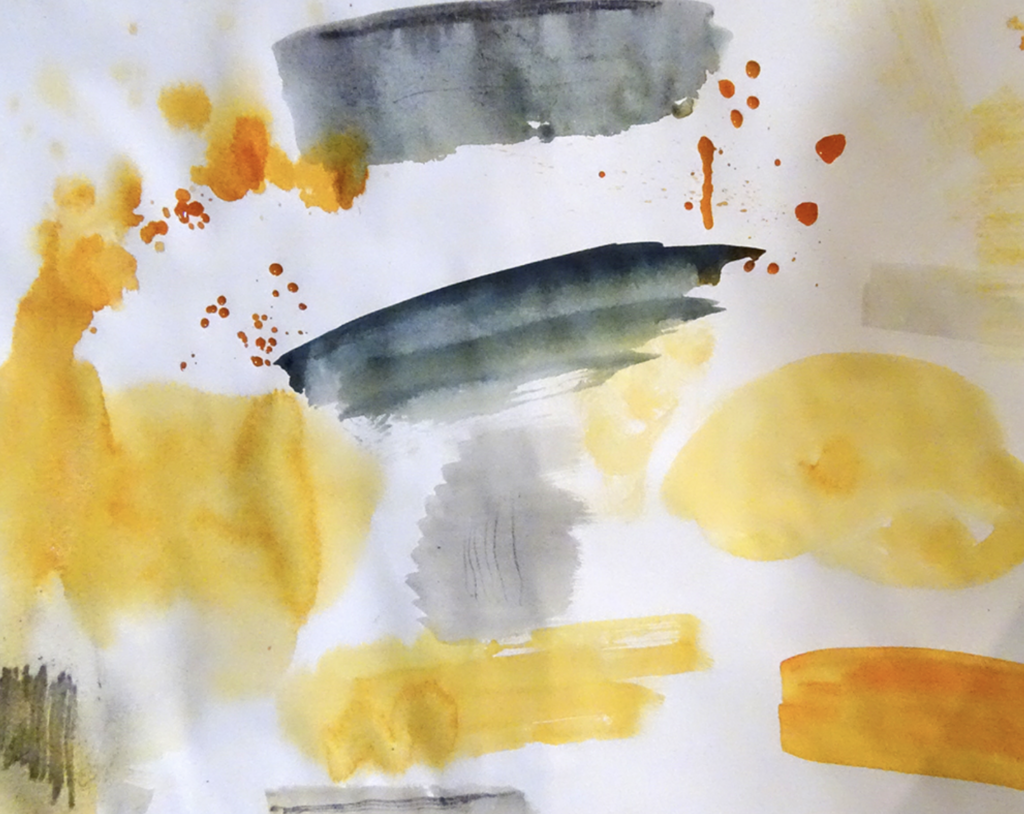
Explore colour mixing in an empirical way by mixing soft pastels directly onto the shared landscape drawing created above, as shown in the Adding Colour to Shared Ink Drawing Inspired by “Where the Wild Things Are” resource.
By the end of this session children will have created coloured backgrounds which are full of exciting marks and atmospheric colours, ready for the stage below.
- Week 4: (Optional) Life Drawing
Life Drawing Inspired by ‘Where The Wild Things Are’
 Practise drawing from life in the Life Drawing Inspired by “Where the Wild Things Are” resource.
 By the end of this session, children will have explored drawing directly from life, making quick sketches by looking for “big” shapes which express emotion and personality, to develop sketchbook work.
- Week 4: Drawing From Imagination
Drawing Imagined ‘Wild Things’
Combine mark making and life drawing skills with inspiration from the shared communal background drawing, to create drawings of wild things from imagination, in the Drawing our own “Wild Things” to Inhabit our Imagined Landscape resource.
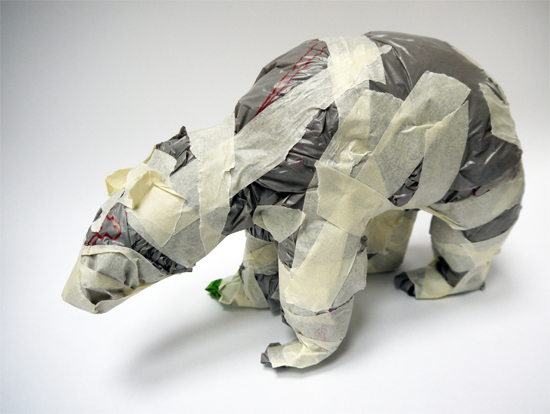
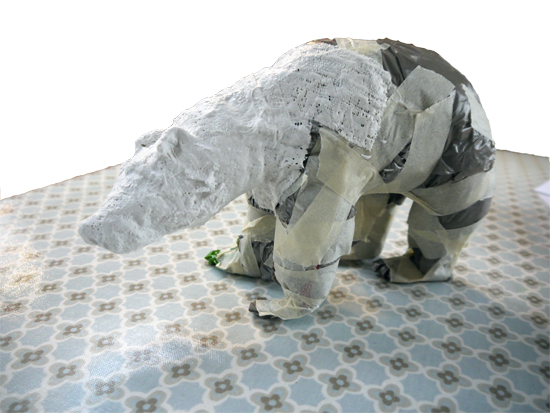
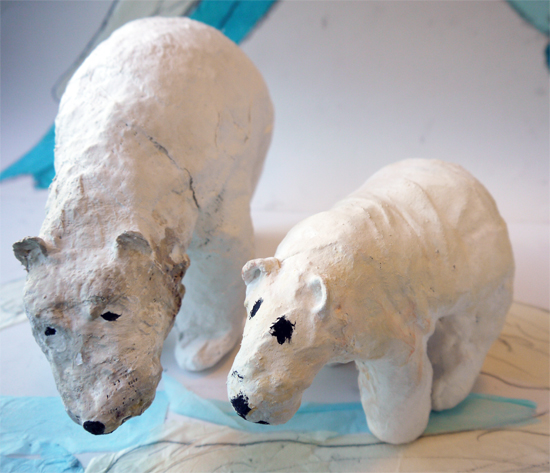
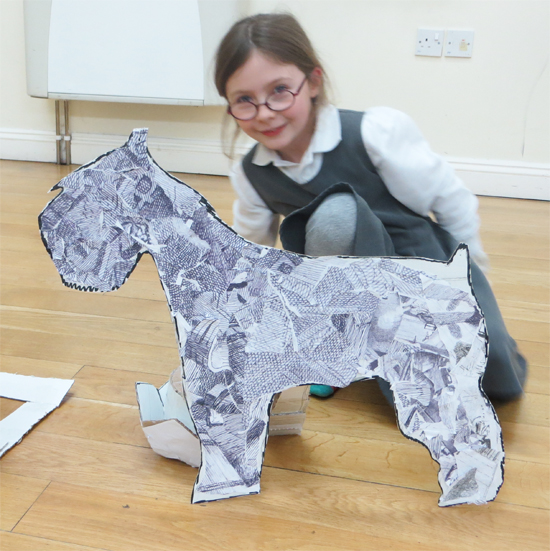
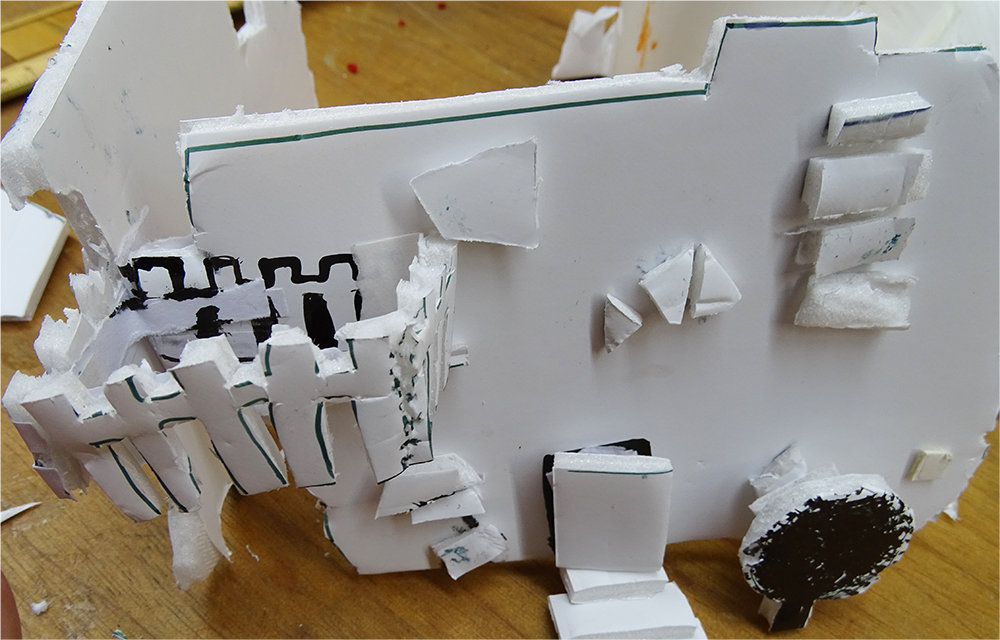
- Week 5 & 6 & 7: Making
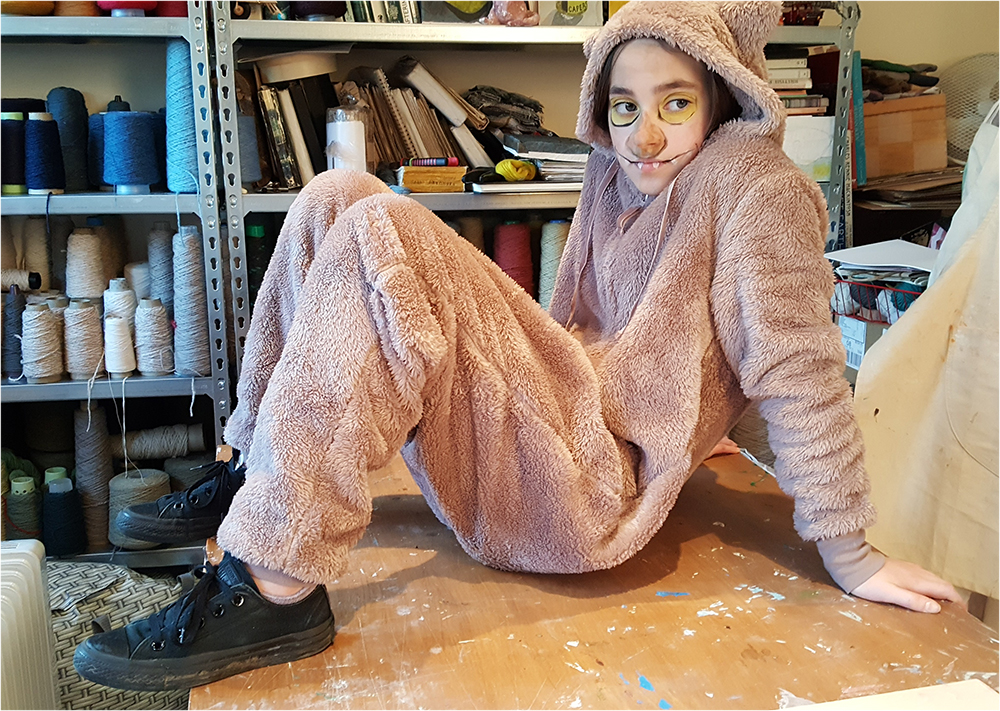
Making Sculptural ‘Wild Things’
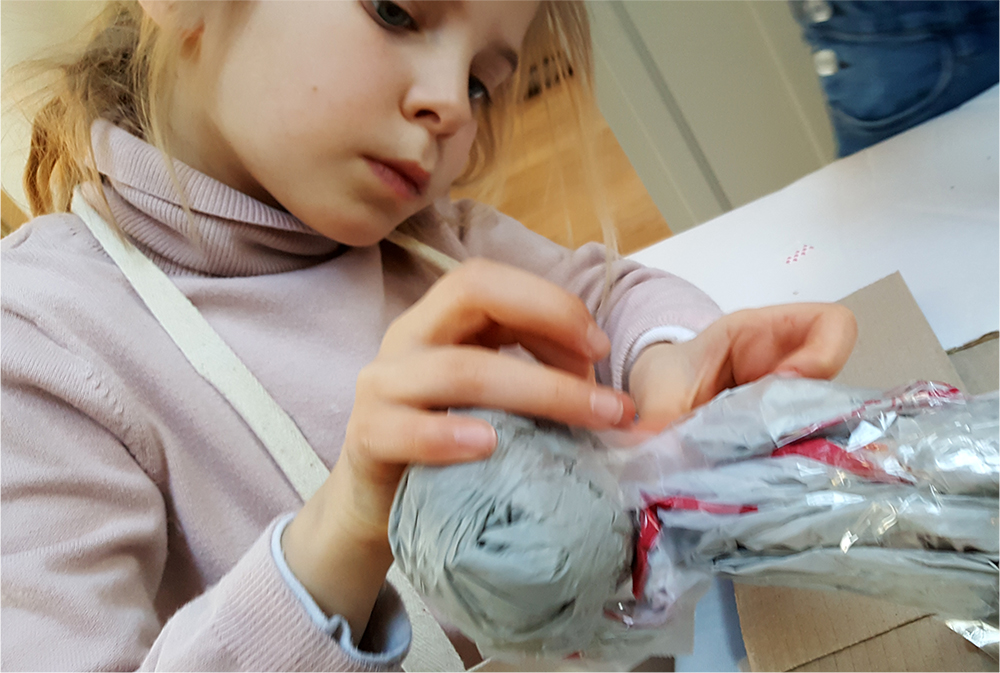
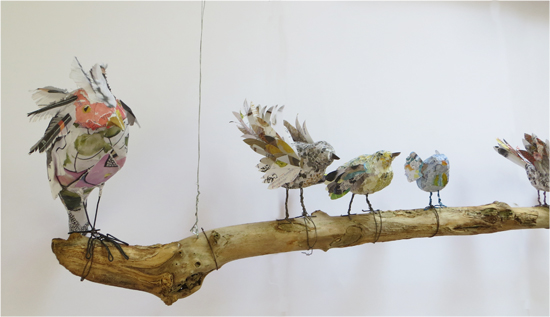
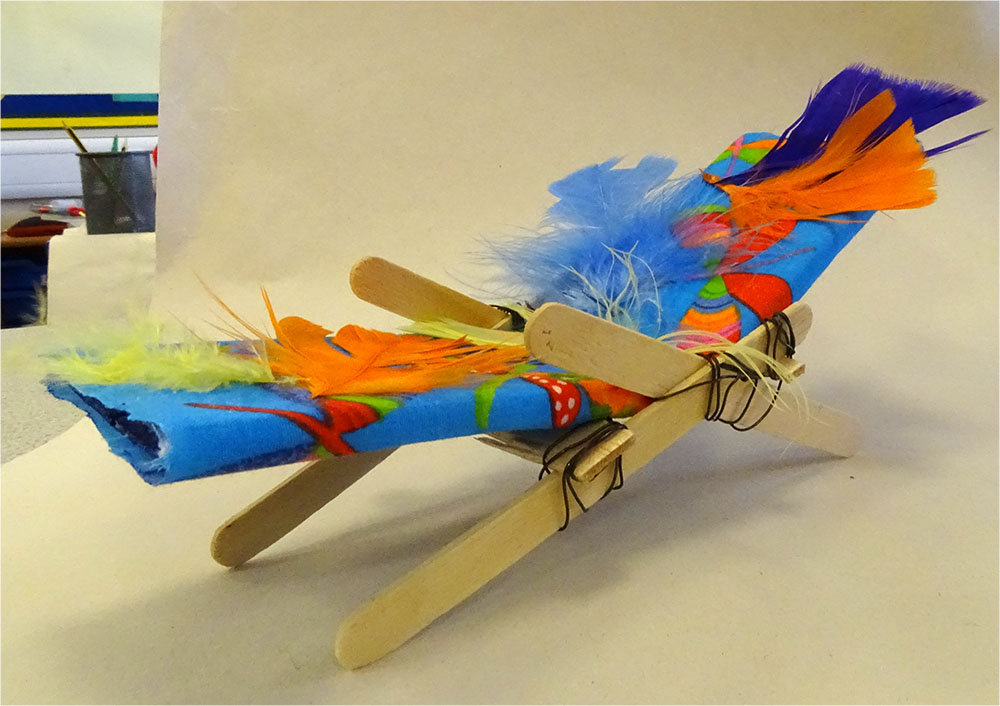
Explore working in 3 dimensions using wire, paper and modroc to create sculptures of Wild things, in the Making Sculptural “Wild Things” (Session 1) resource.
You can find detailed information on using Modroc in the classroom here.
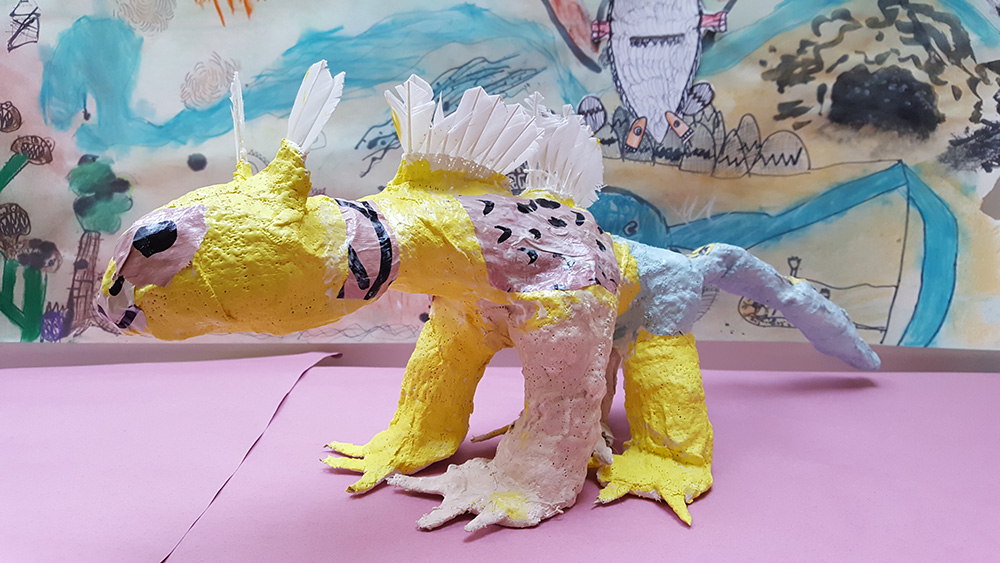
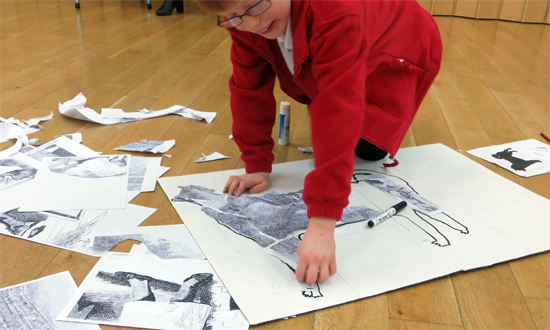
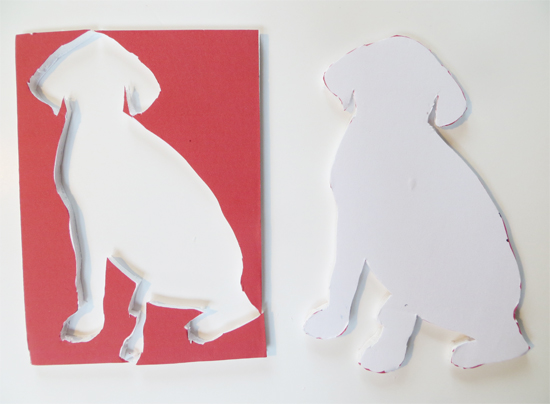
Continue working on the sculptures, and return to the starting point of the journey in week 1 by adding collaged drawings to the sculptures. Display the finished sculptures in front of the communal drawings. Making Sculptural “Wild Things” (Session 2 & 3)
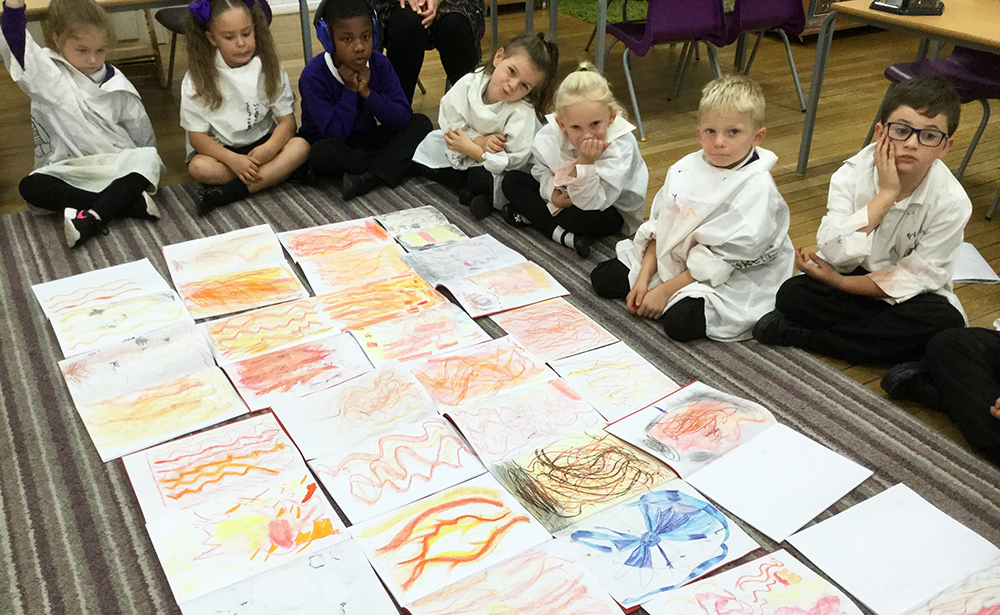
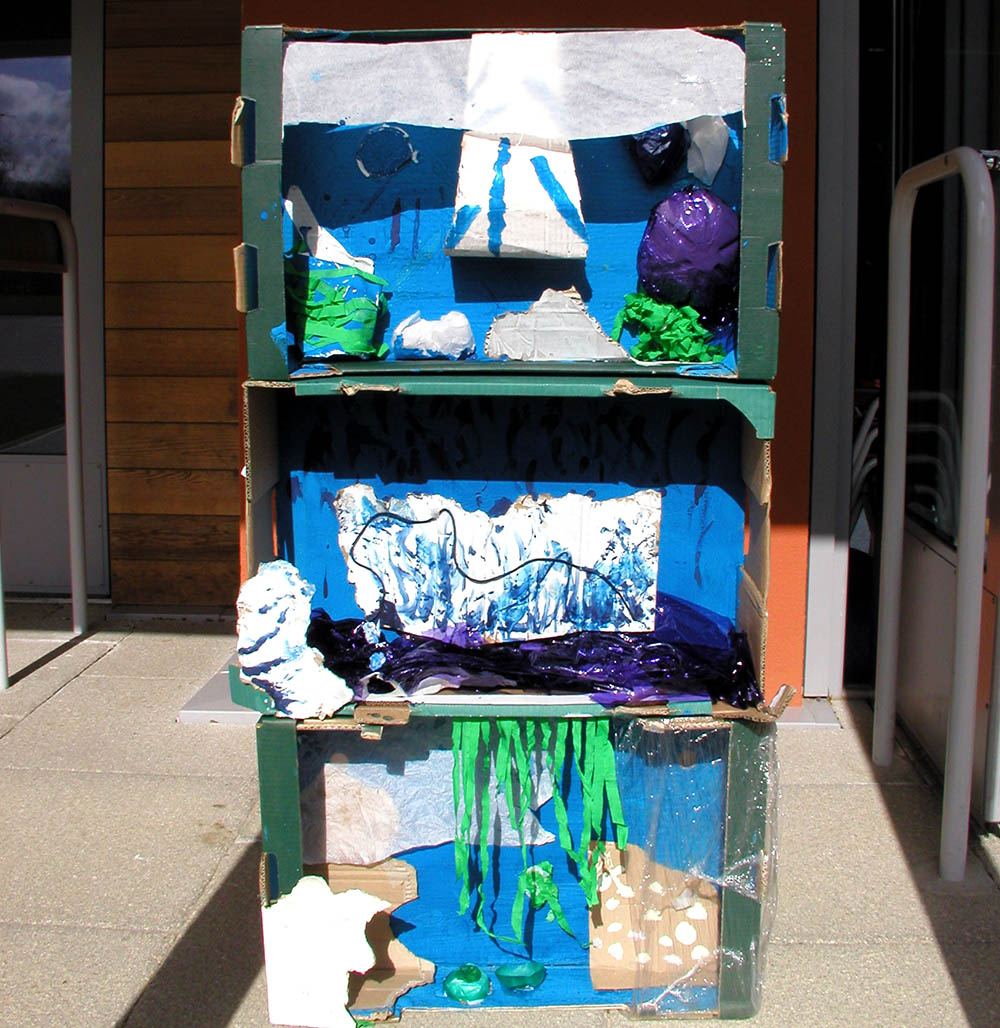
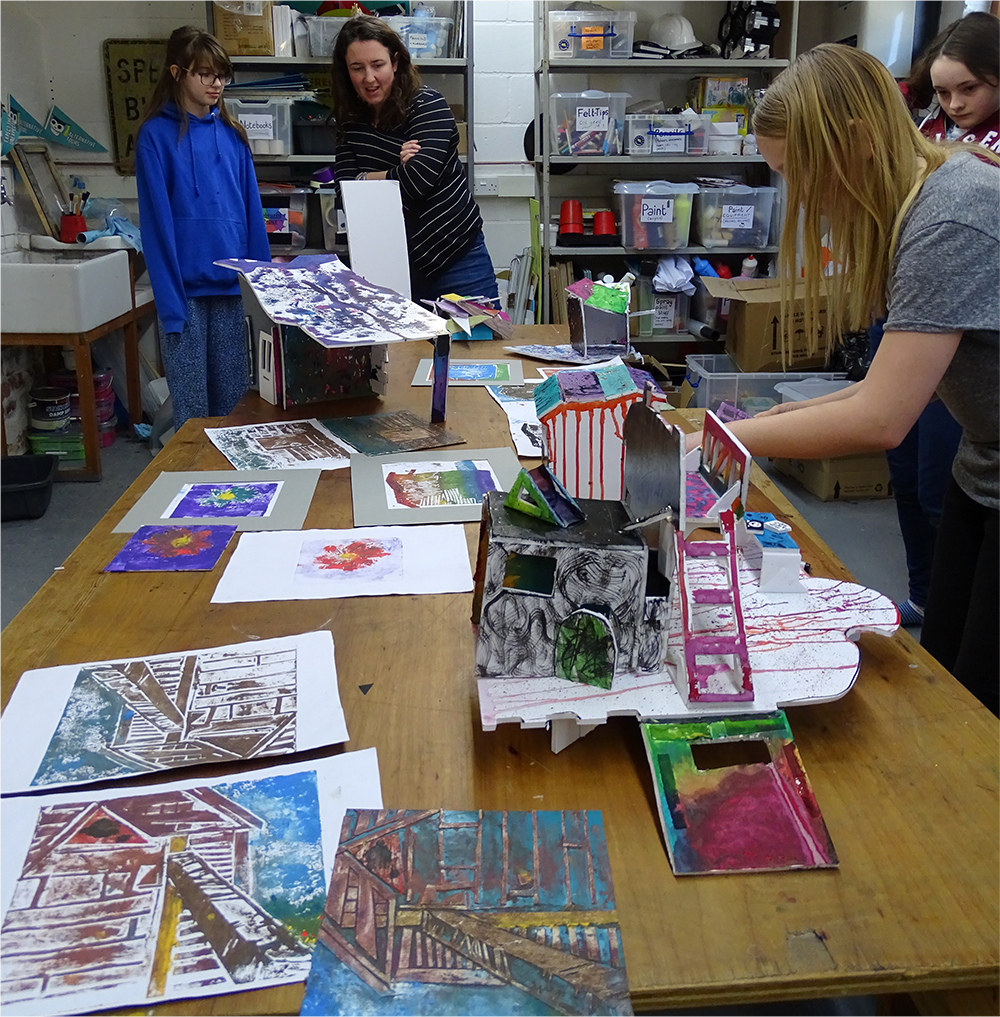
- Week 8: Share and discuss
Share, Reflect, Celebrate
End the pathway by taking time to appreciate the developmental stages and the final outcomes in a clear space.
Depending upon the project option chosen, display the work appropriately including having open sketchbooks. Use the “Crit in the Classroom” resource to help you.
Encourage children to reflect upon all stages of the journey.
If available, children can use tablets or cameras to take photographs of the work.
Explore how children can take high quality photographs of 3d artwork with this resource.
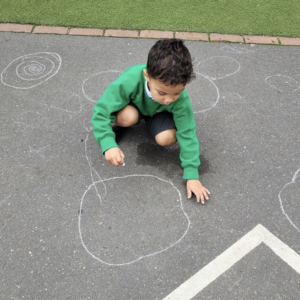
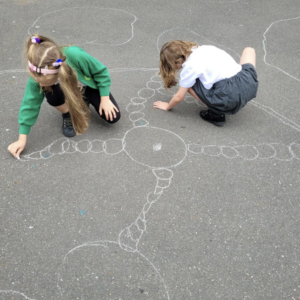
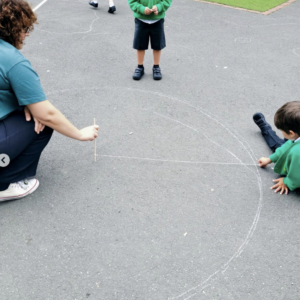
See This Pathway Used In Schools


If You Use AccessArt Resources…
You might like to…
Join our Facebook Group

Join the AccessArt Network group on Facebook and ask questions of others using our resources
Share and Tag


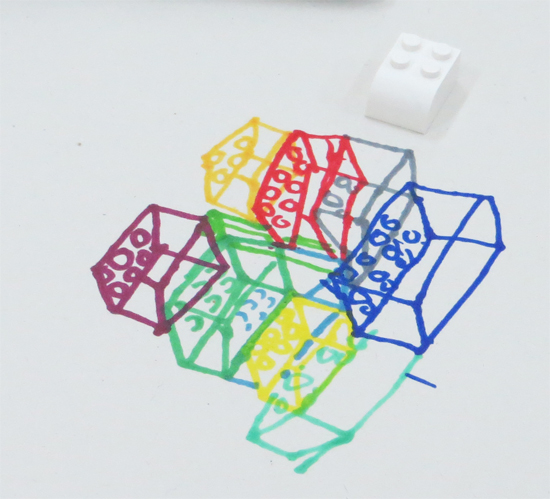 Invite pupils to create simple drawings of lego blocks on sheets of paper, considering angle and perspective. Use the “


 Begin by introducing pupils to the work of artist Frances Hatch through “
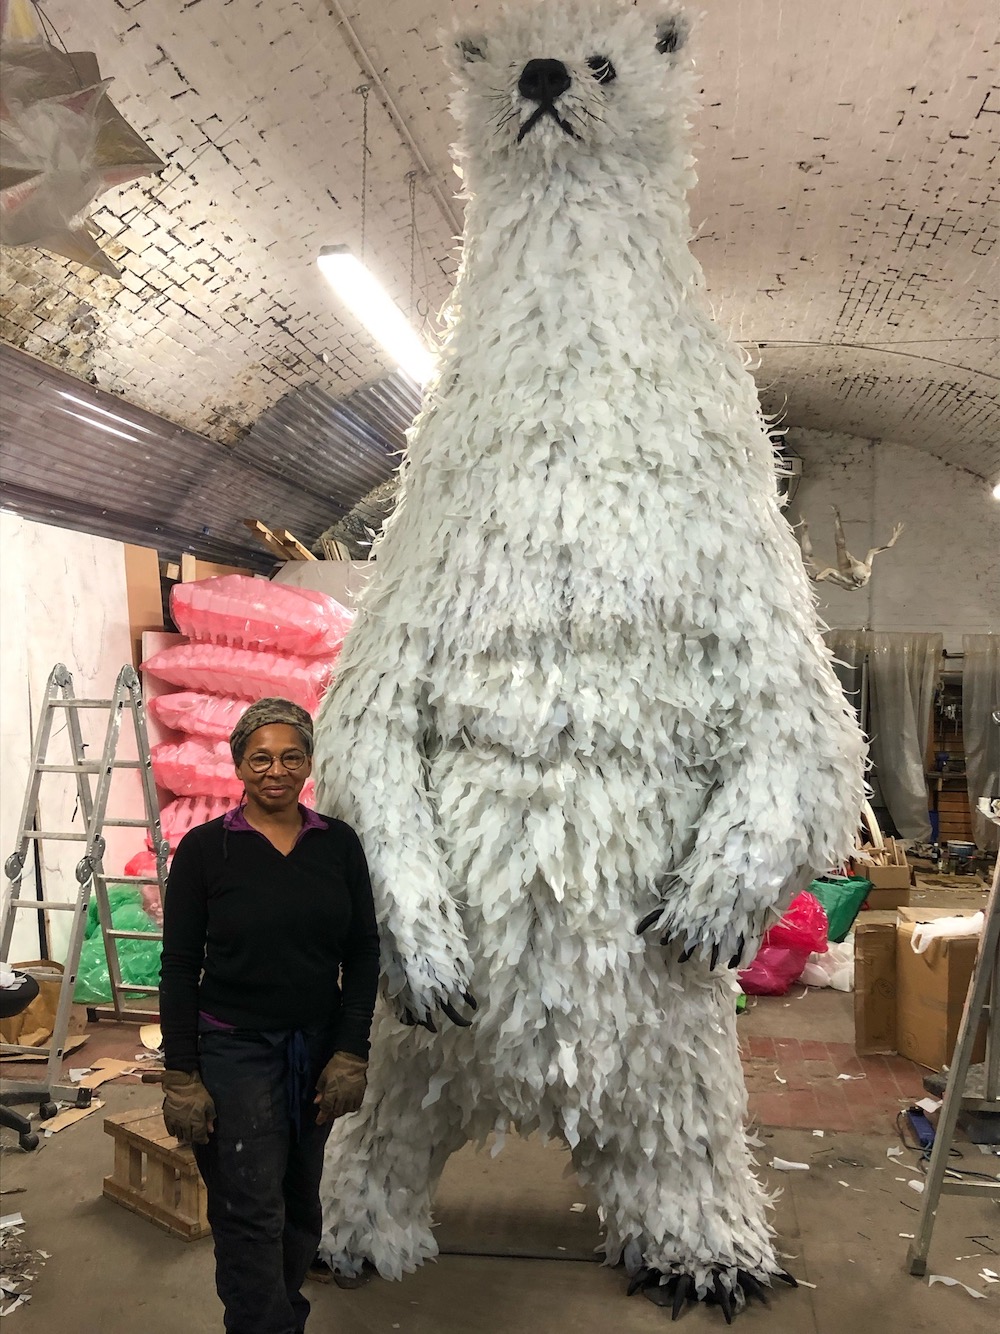


. Photo Michael Phipps. Reproduced by permission of The Henry Moore Foundation copy")


 It’s important that children feel a sense of ownership with their sketchbooks. Invite children to
 “
“ Start the session by creating a calm meditative environment. Use this exercise to create “
 Adapt this resource and experiment with “


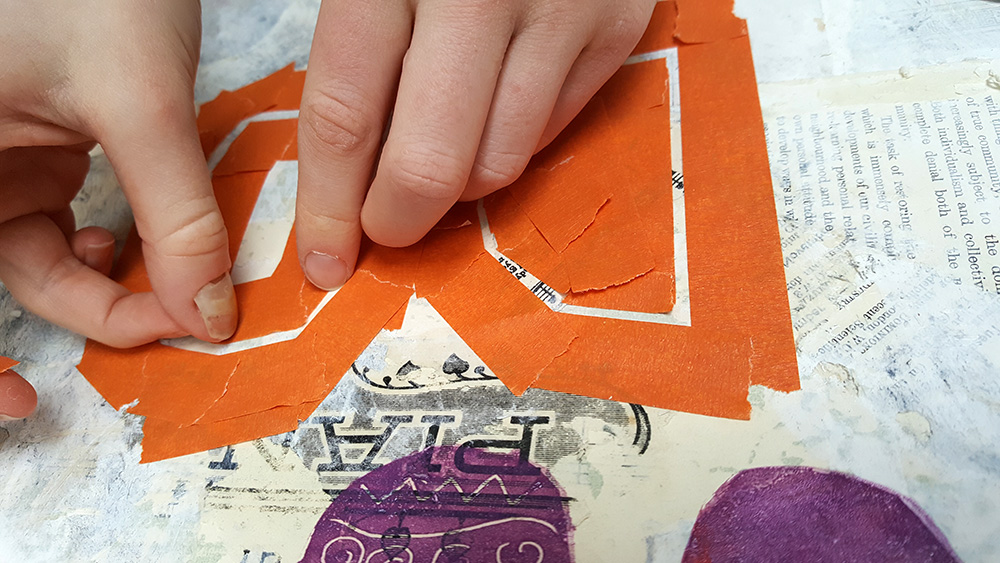


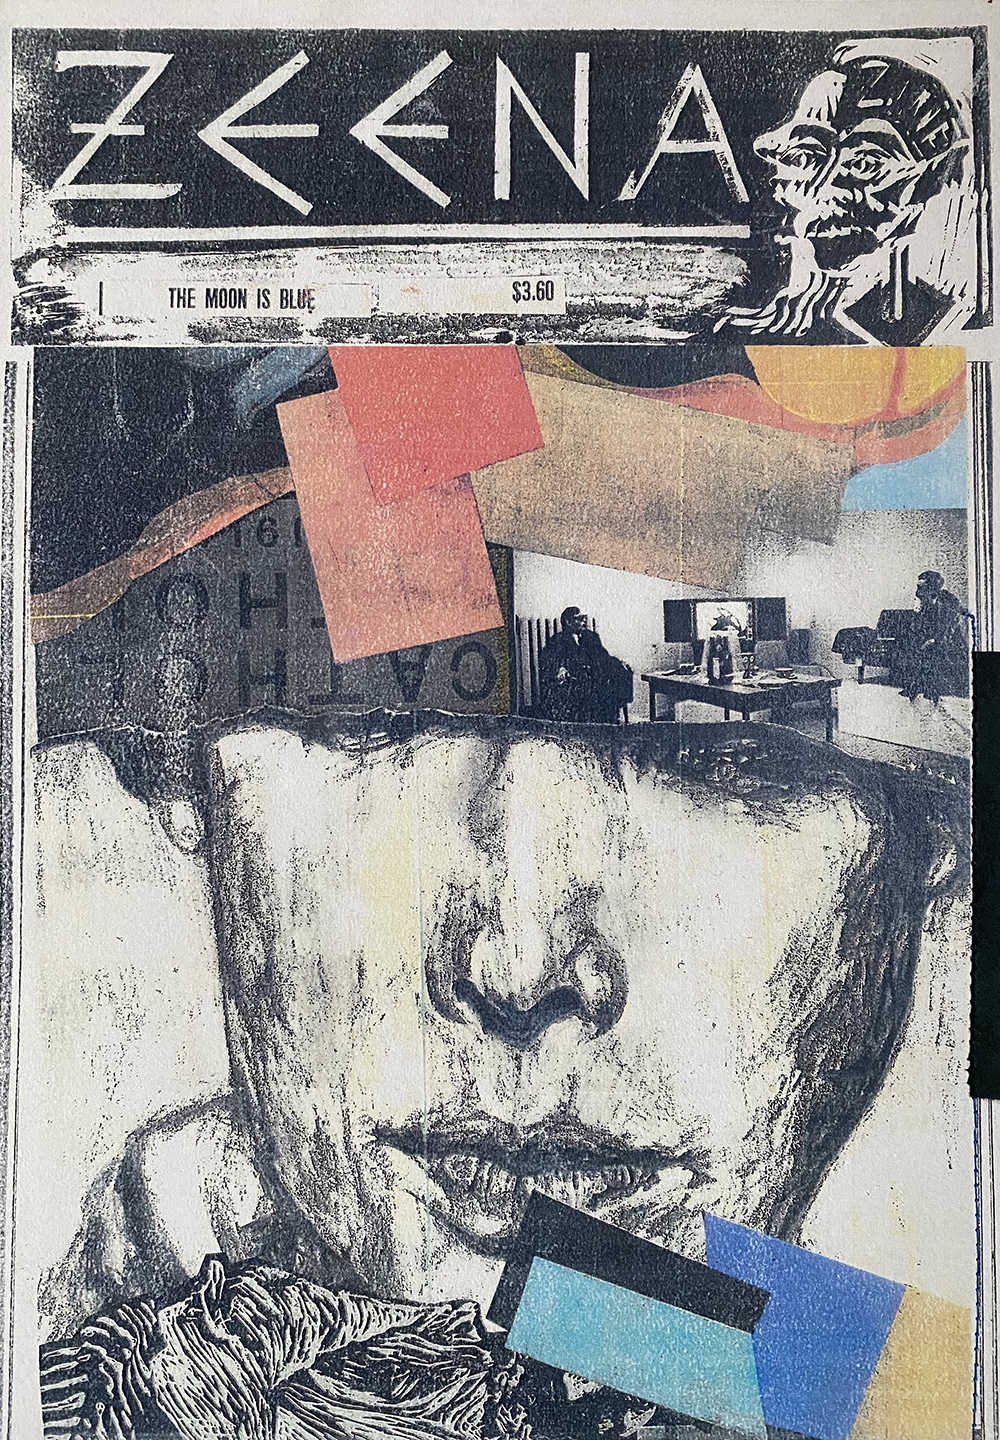 See how older pupils made zines about things they cared about in the


 Challenge children to become furniture designers with the “
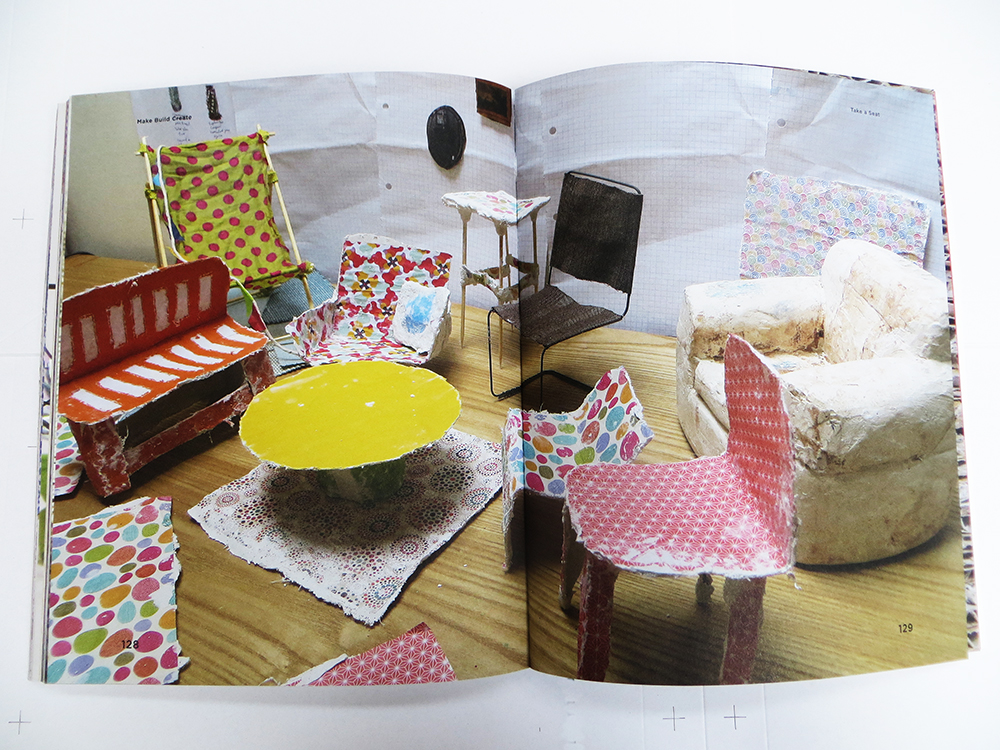


 Use the “


 Give children the opportunity to work with clay to make decorative “