Making Finger Puppets

AccessArt and Mencap have got three great ways for you to make finger puppets depending on your time or level of expertise. Starting with a simple print, colour, cut and stick and moving on to a full blown sculptural version, we hope you are inspired to make some puppets and possibly put on a show!
Version One: Keep it Simple!
These are the simplest finger puppets to make – we’ve done lots of the work for you but left enough opportunity for children to make the puppets their own.
You will need:
- Printed card versions of the templates.
- Sellotape
- Glue sticks
- Scissors
- Pens and pencils
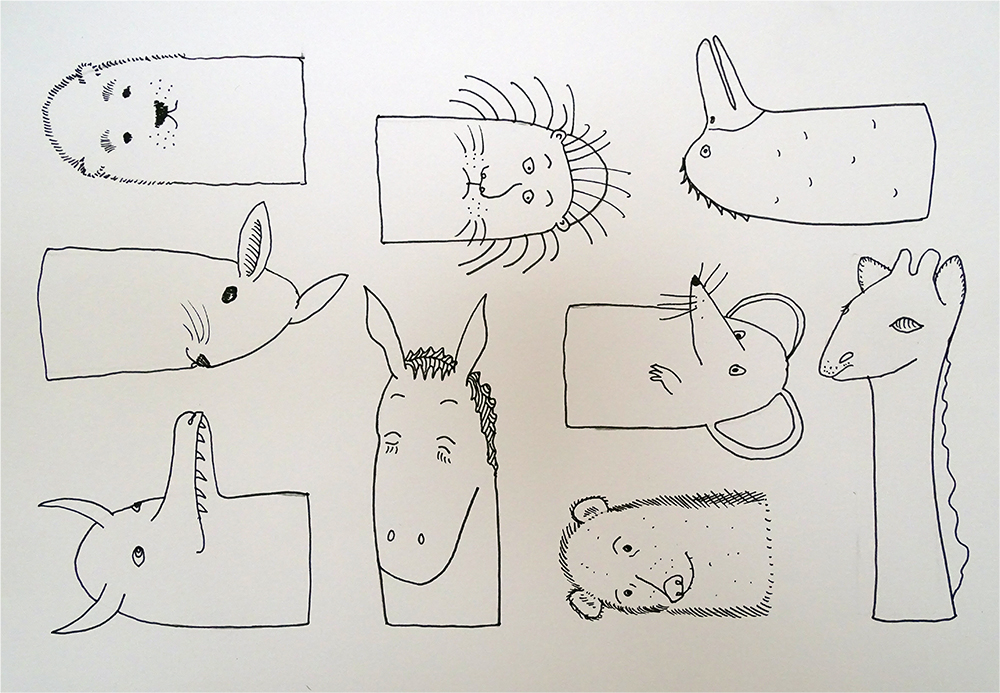
1. Print out the templates below.
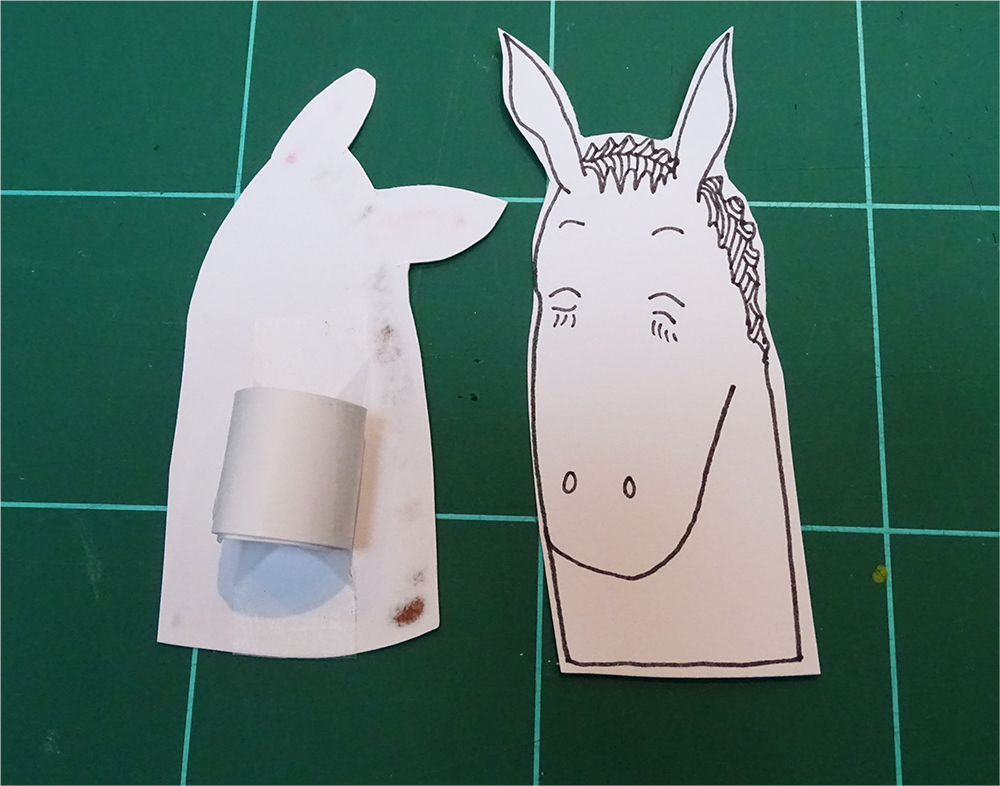
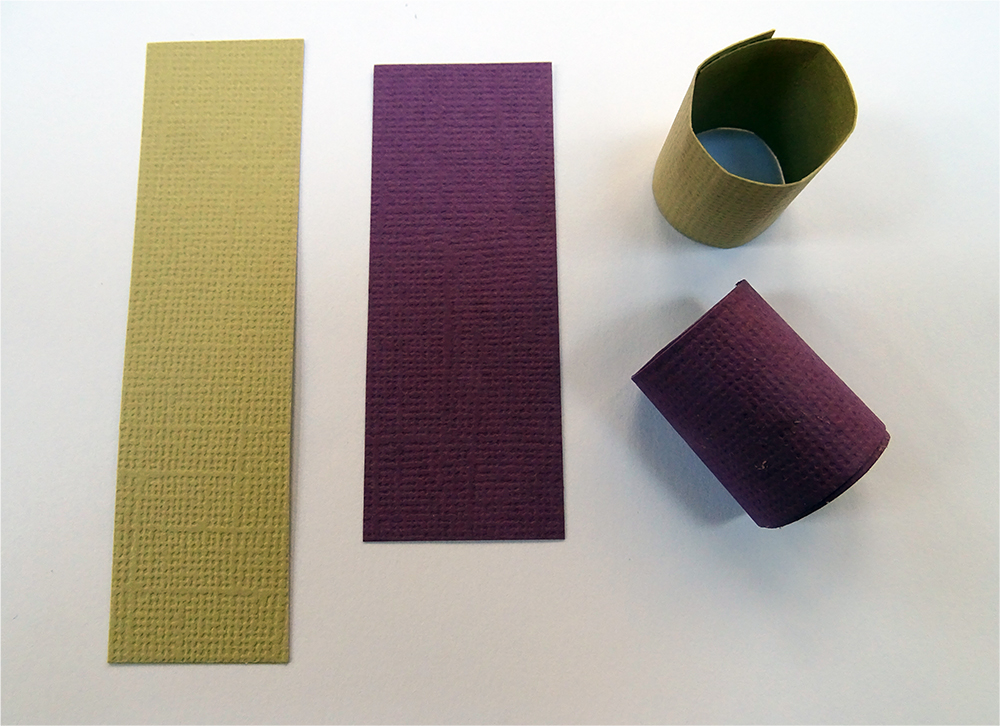
2. Cut strips of card to make the finger bands. Each strip should be 1cm x 6 cm. Roll these strips into hoops and secure with tape.
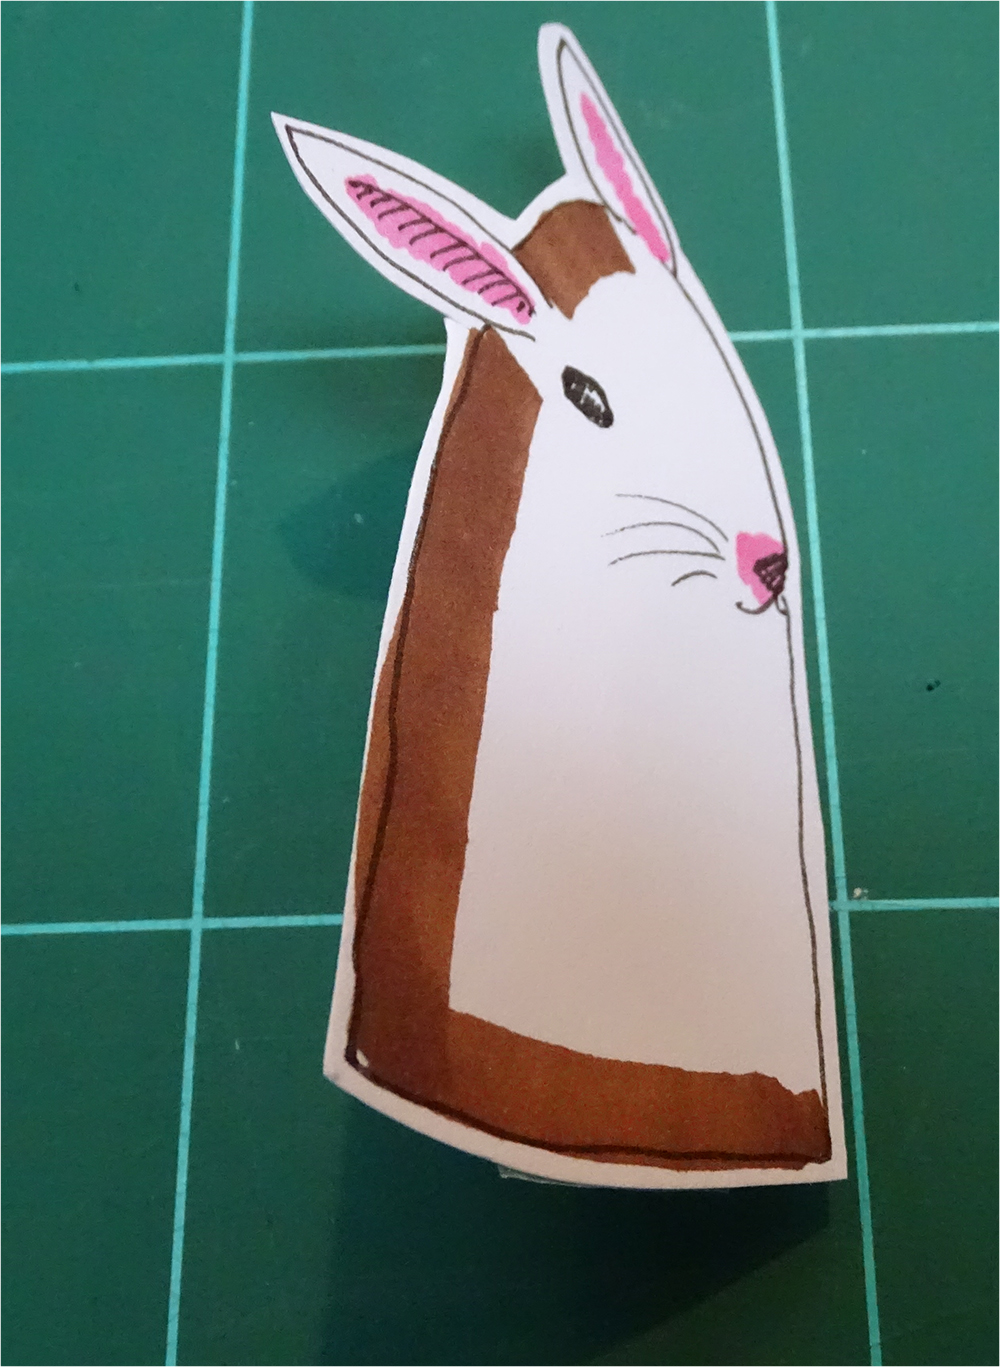
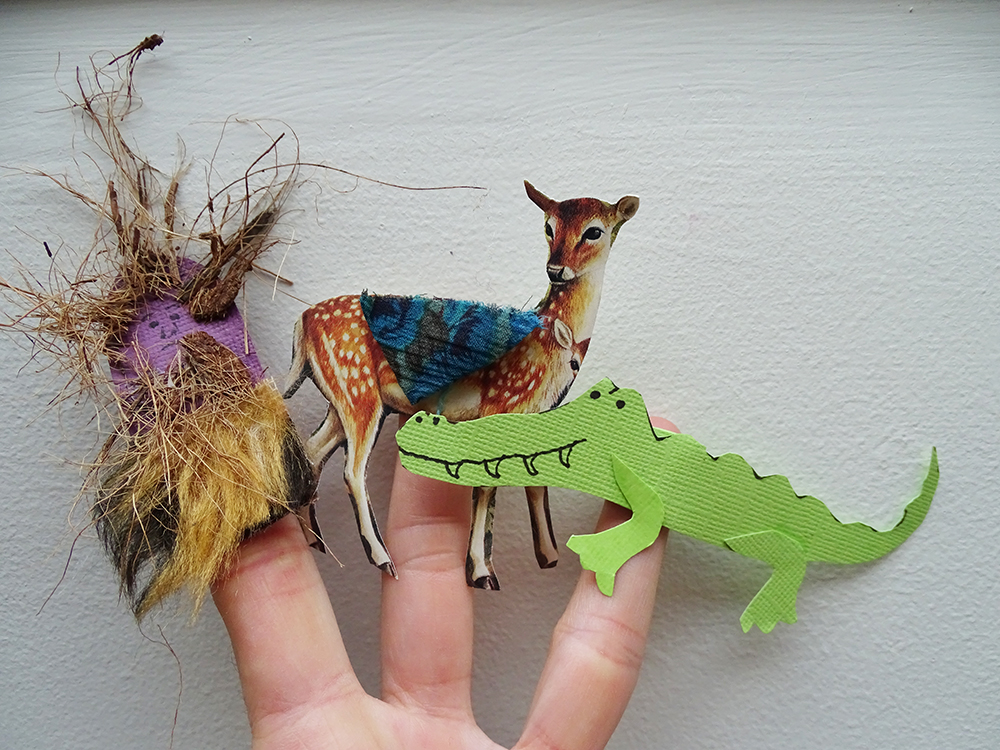
3. Cut out and colour the finger puppets. Add fabric and string if you wish.
4. Stick the finger bands on the back and you’re ready to go!
Version Two: Mix it up!
In this version children can really begin to experiment by creating their own characters and using different materials and textures.
You will need:
- Thin coloured card
- Pens, pencils
- Scissors
- PVA glue or glue sticks
- Sellotape
- Scraps of fabric and wool
- Begin by cutting a thin stip of card (approximately 1cm x 6cm) to make the band which goes around your finger. Curl it into a circle and secure with tape.
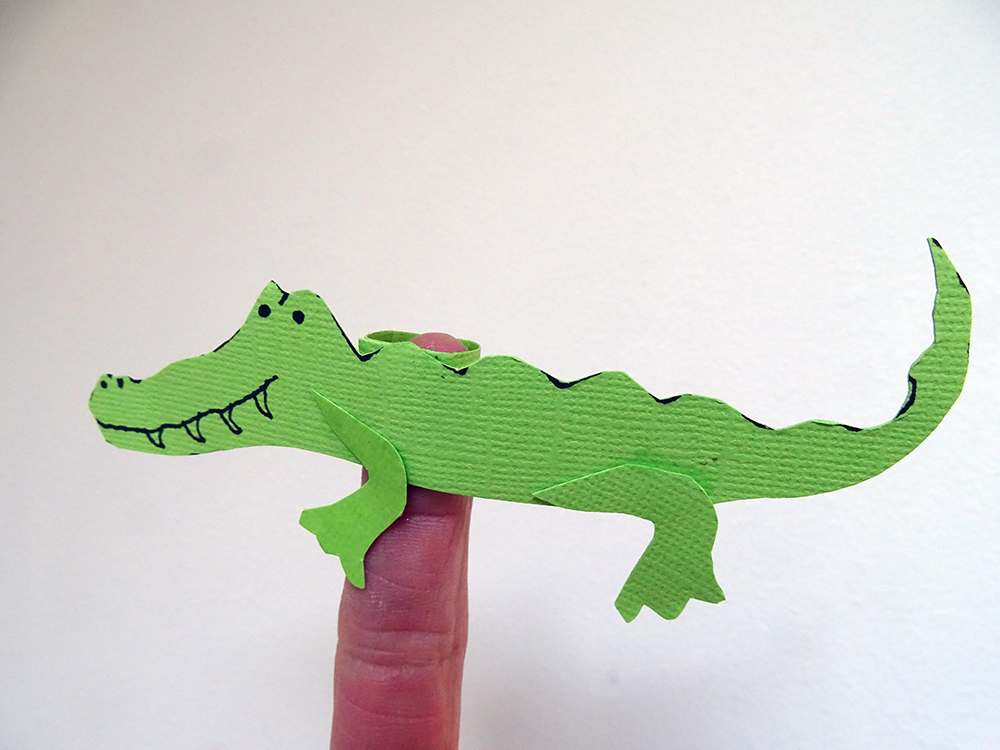
2. Next cut another shape out of paper which is slightly larger than your finger. This is the basis of your finger puppet, so think carefully about what kind of shape you want it to be? Will it be upright like a person, or have a large tall neck like a giraffe. Or might it have a big mouth like a crocodile?
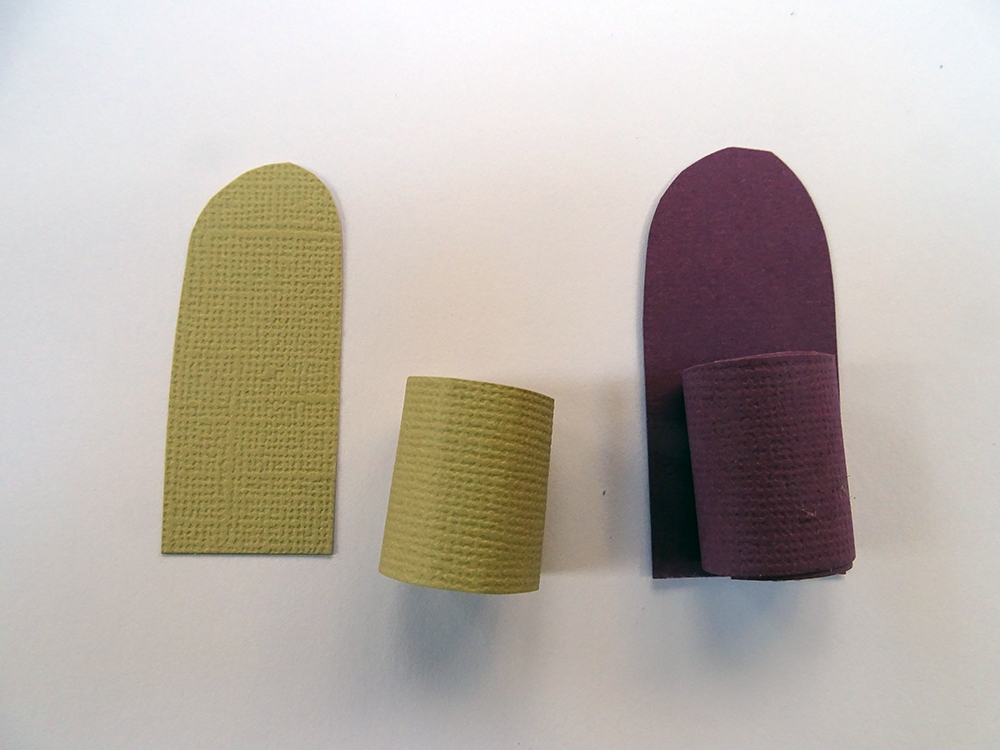
3. Stick the puppet to the finger band, and decorate with whatever you can find!
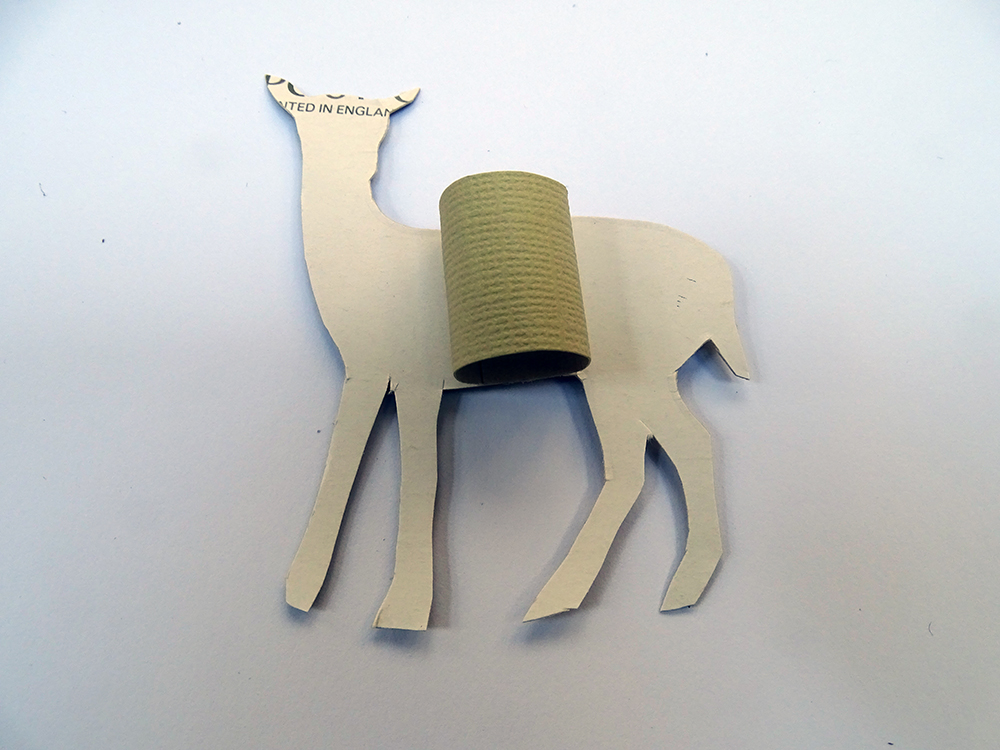
4. If you don’t want to draw a puppet you could also look for animals and people to cut out of magazines.

Version Three: Get Modrocking!
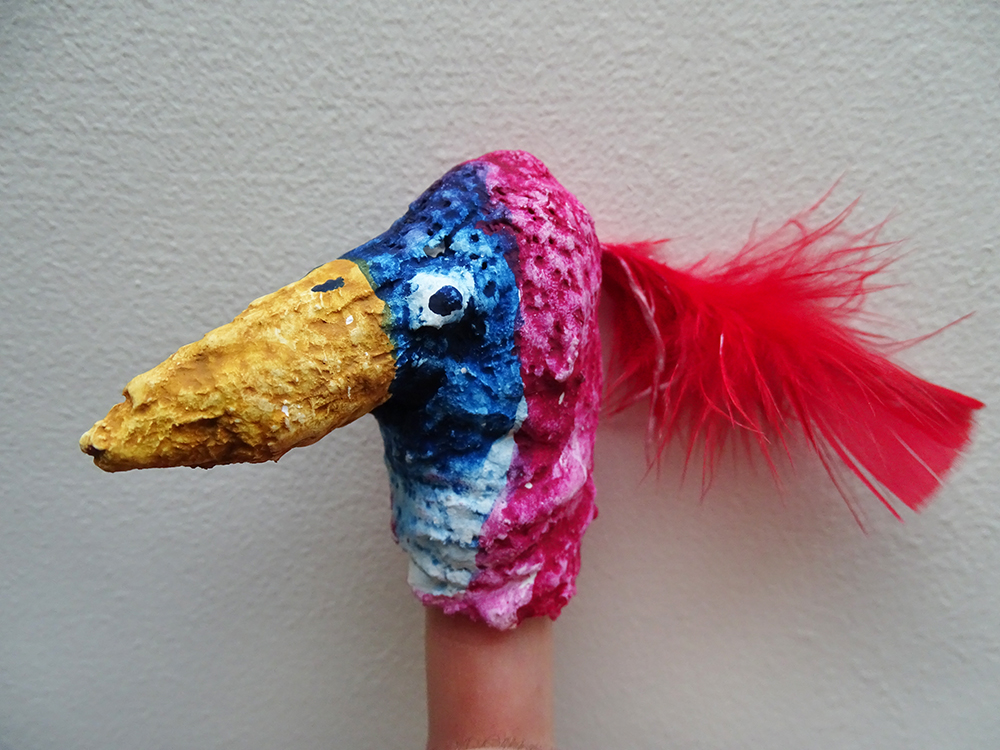
Ok, so if you’re feeling like a bit of fun and have more time, please do consider making these more sculptural finger puppets! They provide children with a great opportunity to get to grips with some sculptural techniques and you’ll have somefantastic puppets to create puppet shows with. Allow at least 2 hours to make this version.
You will need:
- Modroc (see this post for information about how to use modroc)
- Scissors
- Egg boxes
- Cling Film
- PVA Glue
- Sellotape
- Fabric and wool scraps
- Waterbased paint
- Access to water
- Small pots and cartoons to soak modroc.
- Start by cutting up the modroc into strips which are about 8 cm wide. Make sure you keep the modroc dry. Find tips on working with modroc here.

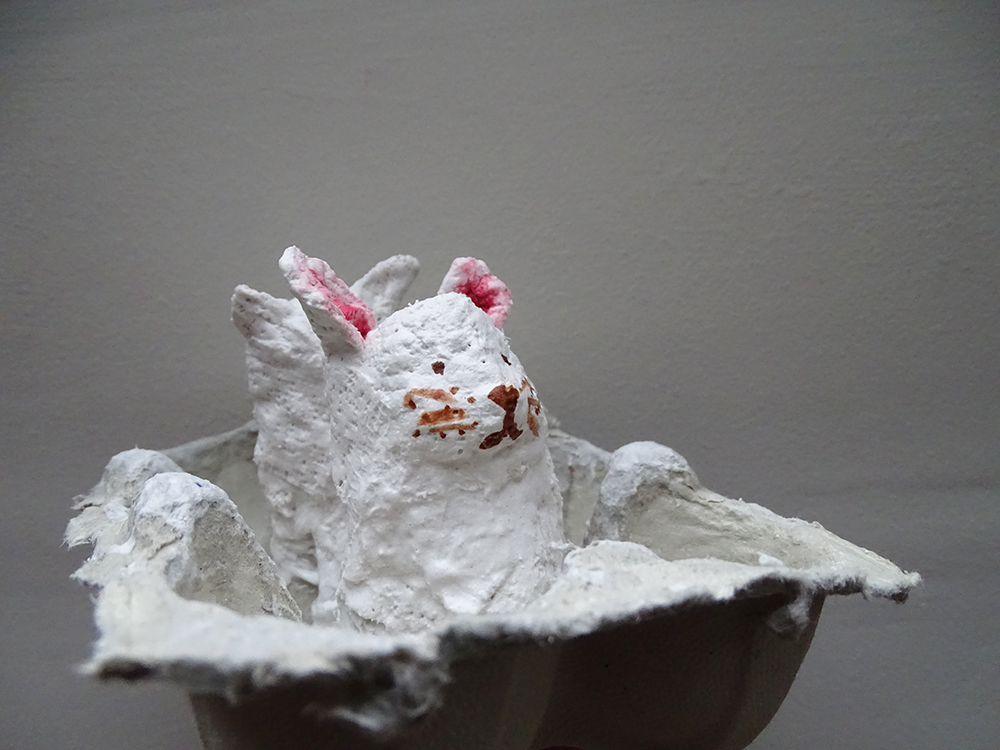
2. Take an egg box. You are going to use the upright sections of the box as moulds around which to make your finger puppets.
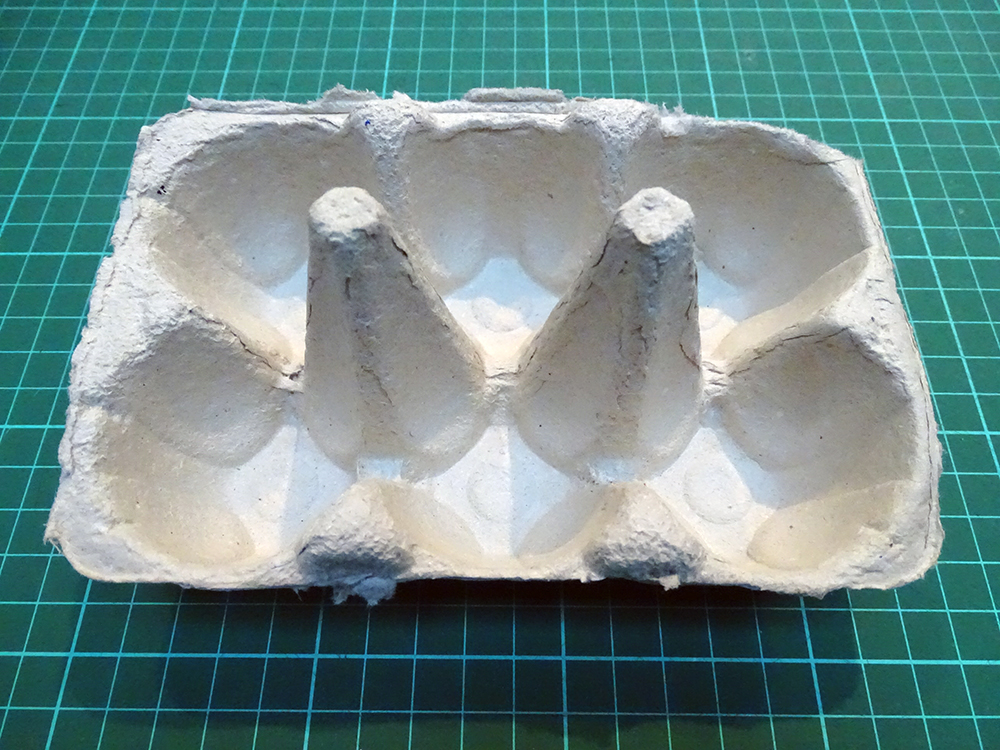
3. Wrap the upright sections in cling film, and secure with a piece of tape. If you have a large class of yound children you might want to do this preparation in advance. The cling film makes its easier to remove the finished finger puppet from the cardboard egg box.
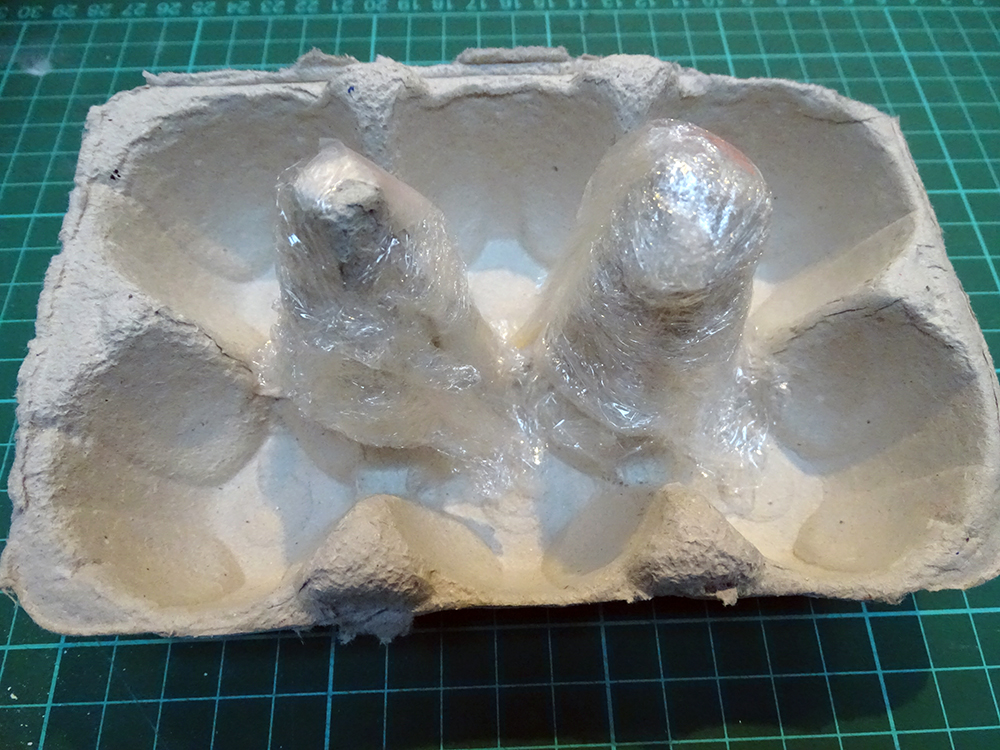
4. Dip a piece of modroc into clean water. Squeeze the modroc to remove some of the water, and then wrap the modroc around the upright section of the egg box. Try to keep the modroc even, and remember to cover the top too. Aim to use 2 or 3 layers of modroc over the whole upright section.
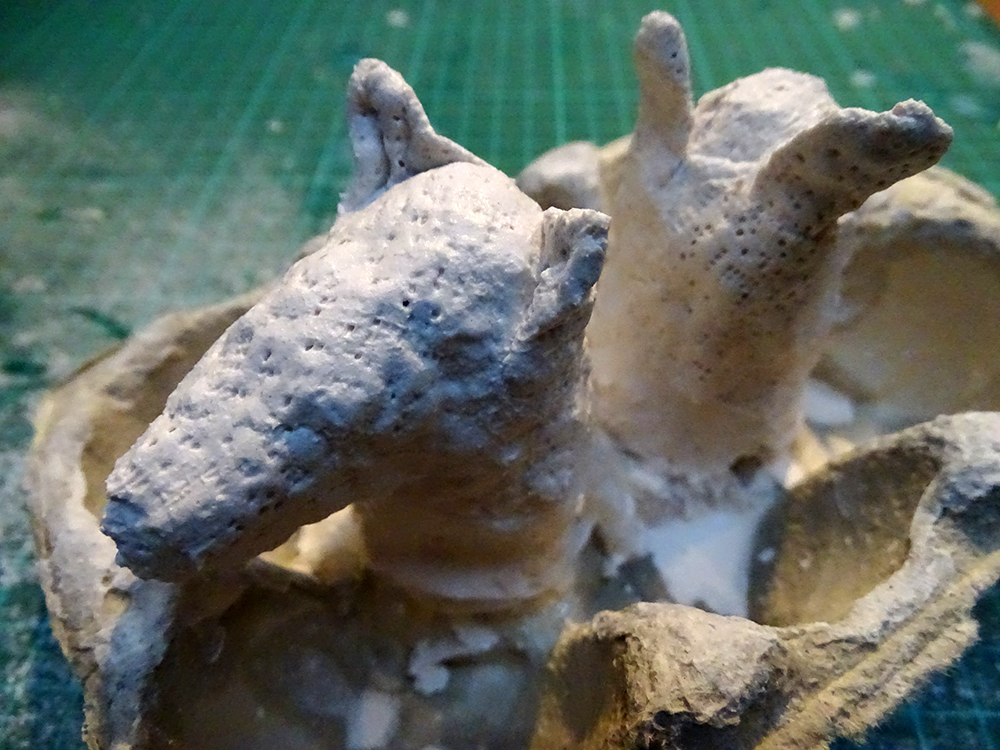
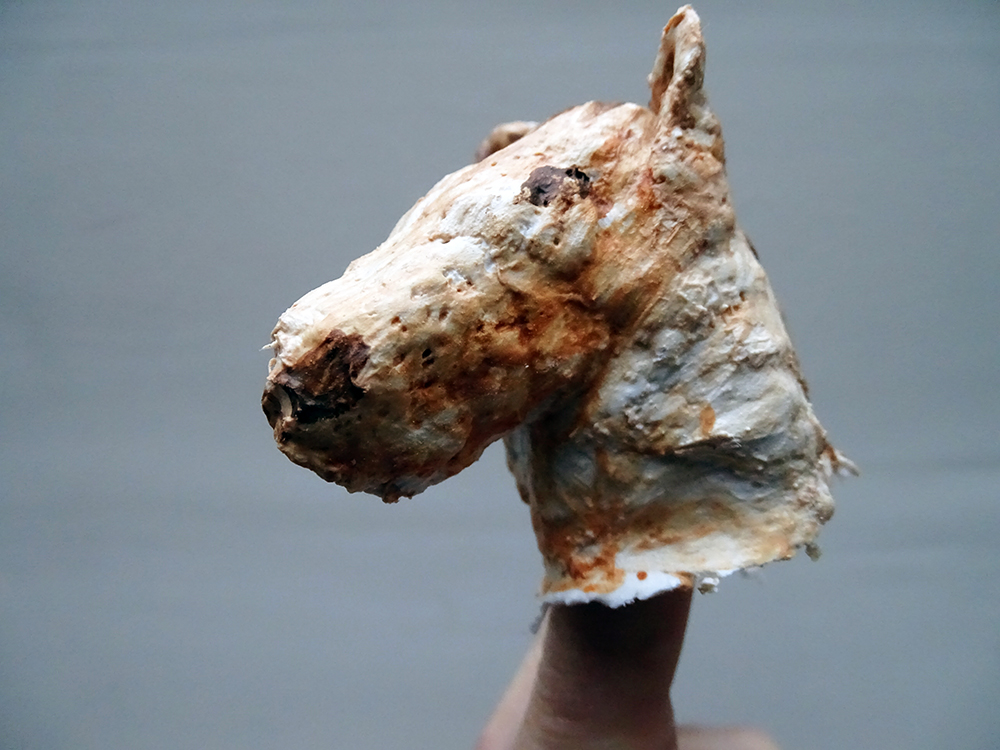
5. Now you can start to add more modroc to make the shapes you need to give the finger puppet character. You can cut the modroc into smaller pieces whilst it is still dry to help you make ears and noses etc. Use small pieces of modroc like tape to help attach elements. use your fingers to really smooth the modroc together – this will help make the finished puppet really strong.
6. Allow the modroc to set (30 minutes). You can then paint the finger puppet with waterbased paints, and add further detail with found materials and pva glue.
7. Once the whole thing is dry, carefully remove from the egg box. Pull our any cling film which has stayed inside the puppet.
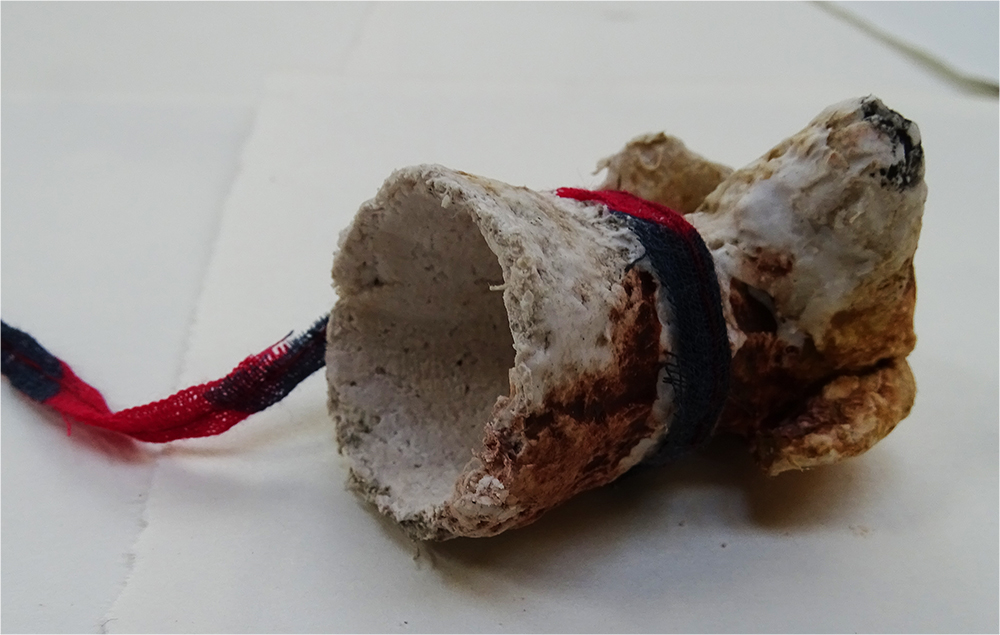
8. If the finger puppet is a little large for your finger, you can always put a little fabric or sponge inside to help it fit.
9. Enjoy!
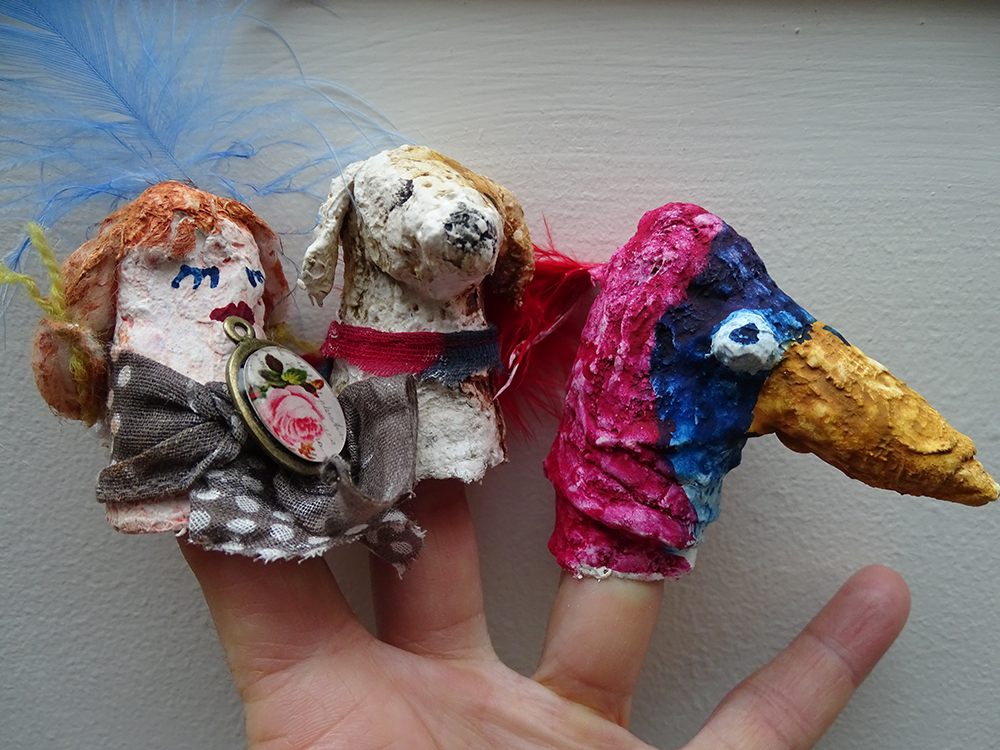
Once your puppets are made why don’t you think about putting on a puppet show for your classmates!