
Galaxy Painting


In this table top activity, AccessArt team member Rachel uses a classic water colour technique to create a colourful galaxy scene.
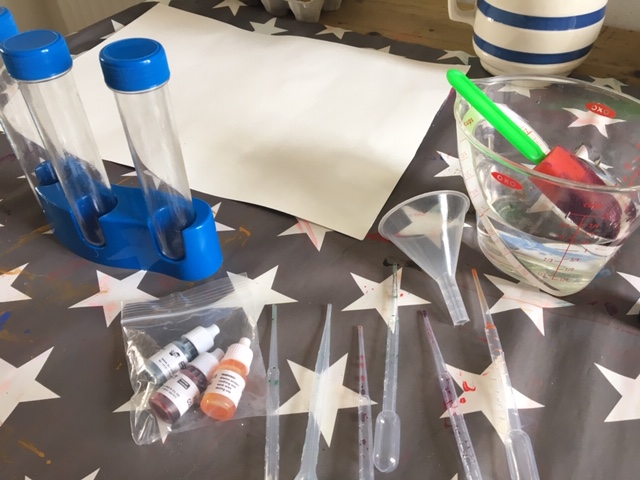
You will need:
- Some large water colour paper (unfortunately standard cartridge paper is not absorbent enough for this activity!)
- Water colour paints, inks or food colouring
- Pippets and/or brushes
- Test tubes, jug and funnel (if you don’t have test tubes then a standard paint pallet or a few pots work fine)
- A small sponge
- An ice cube tray or other colour mixing pots
To create a link between art and science, we used some equipment taken from a ‘science kit’ we have – namely, pippets, test tubes, a funnel and food colouring – but you can just as easily use paint brushes and water colour paint or inks. The advantage of pippets and funnels however, is that it creates a few more steps to the process, (therefore taking more time, keeping engagement up for more than twenty minutes!).
This activity uses a classic water colour technique of applying paint to a dampened piece of paper. The result is that the paint shows its lovely quality of travelling and swirling across the paper through the channels of wet paper. Young children love to see how colours can ‘magically’ merge together and create beautiful moving patterns.
Starter discussion: This is a great opportunity to combine a bit of art with science! Take a look at photos or books of how our galaxy looks. Observe the colours and patterns and talk about where space is and how we learn about it. I did this activity with my five year old daughter and a few minutes discussing space galaxies definitely seemed to help her focus!
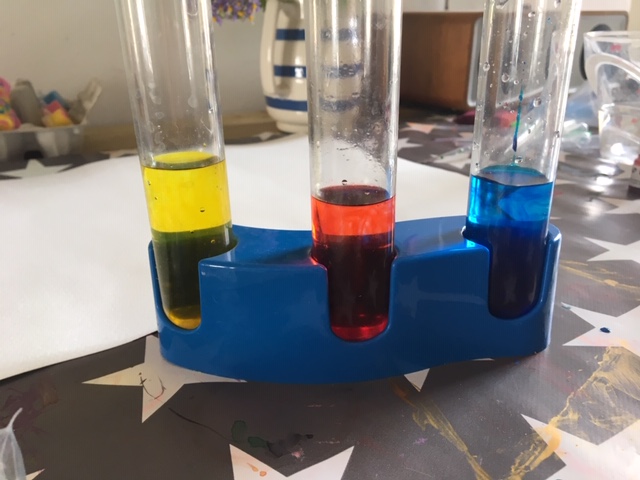
Then, we used the test tubes to mix our colours. This proved an engaging part of the process as we could use a small funnel and jug of water to first add some water into each tube, followed by some drops of food colouring. Inks or water colour paint work equally well here though.
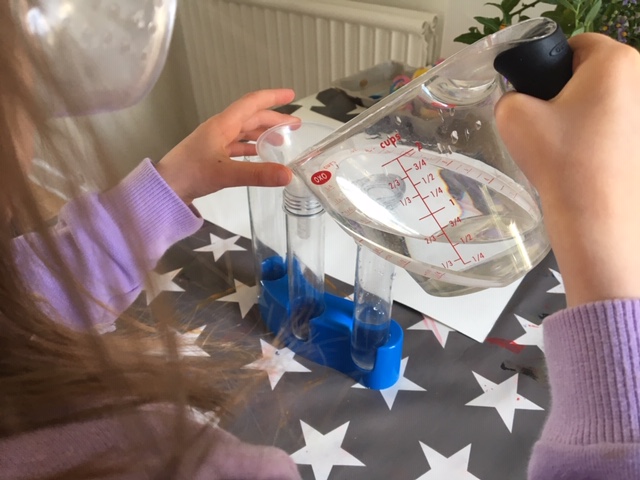
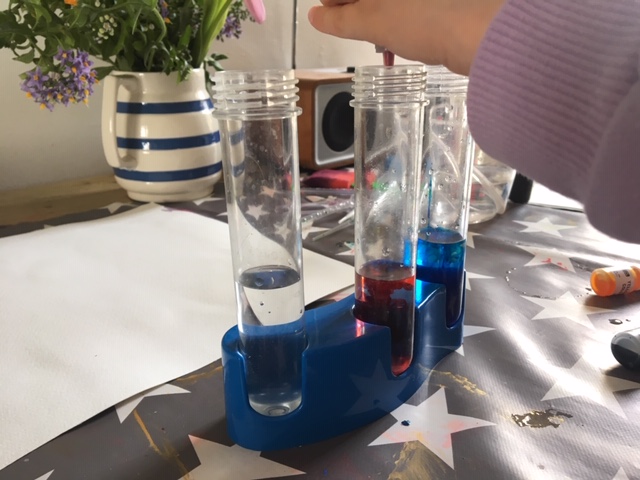
Primary colours work well here as there’s more scope for creating new colours.
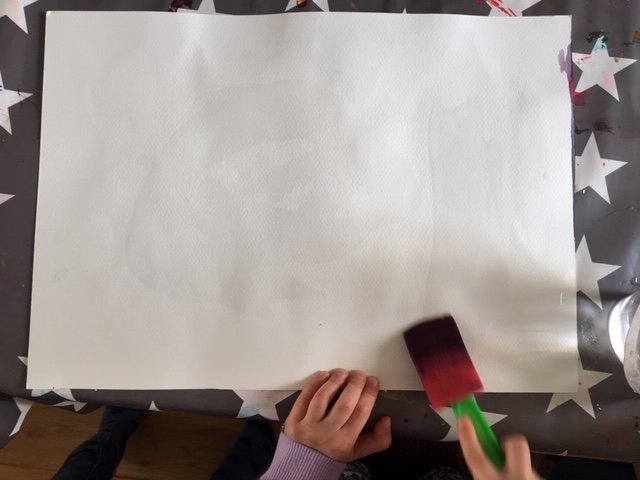
Then, take a large sheet of water colour paper that is as absorbent as possible. Using a sponge or large brush, spread some water across the paper evenly. Try not to make it too wet at this stage or the paper will become too saturated once the colour is added.
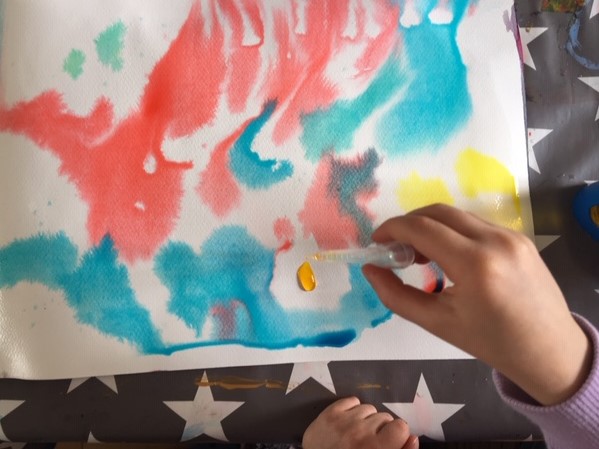
Next, use pippets (or brushes) to drop colour onto the dampened paper – and wait for the magic to happen!
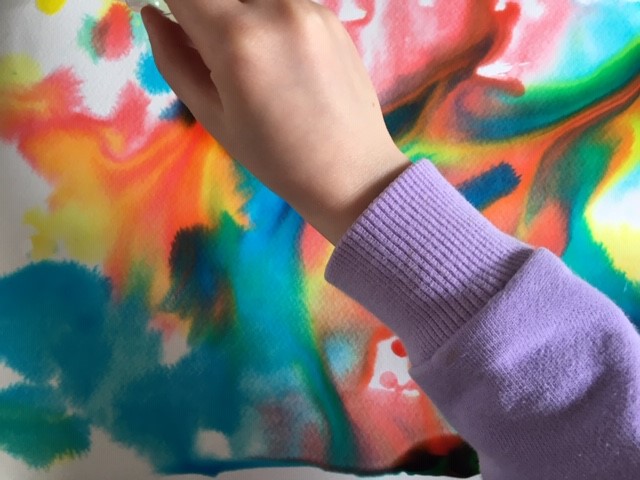
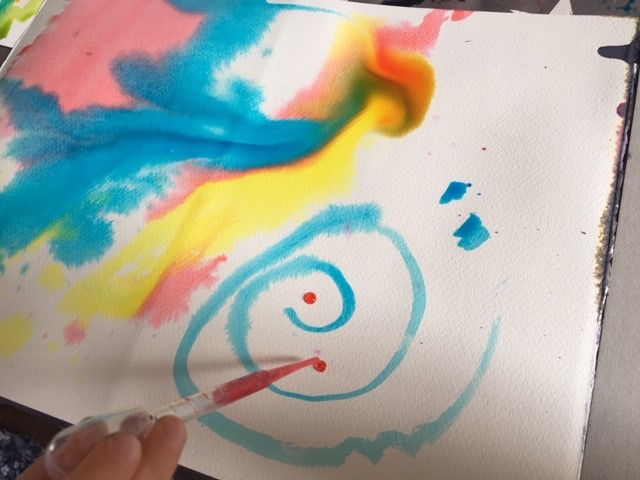
Create patterns with brushes and drop colour in between.

After a few minutes I introduced an old ice cube box that was useful for playing with colour mixing. I also got out a set of water colour paints to add variety.
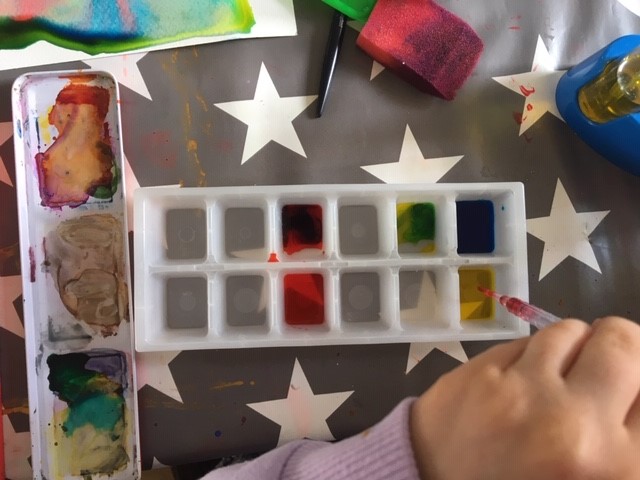
Spending a few minutes dropping colour into each ice cube section was an activity in itself!
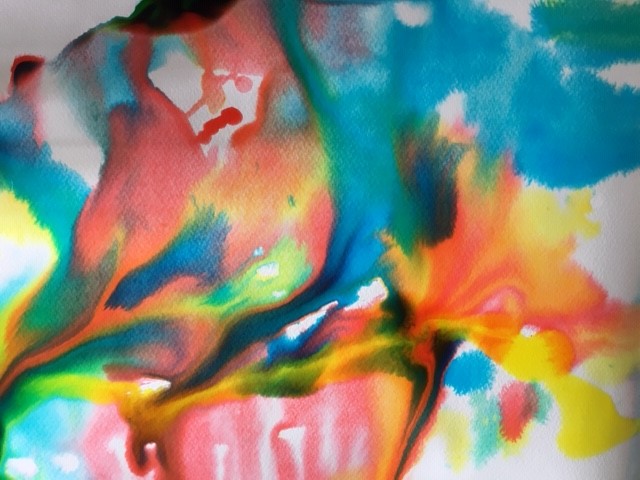
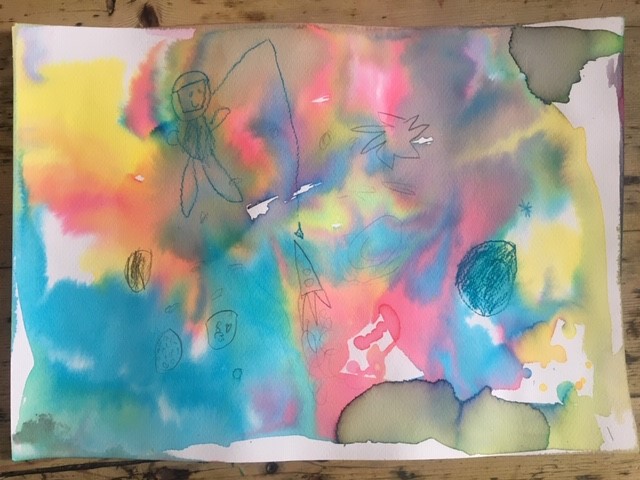
Once the paper has been covered with colour, and is probably getting to the point where it can’t hold much more water, set it aside to dry. If little puddles of coloured water are pooling on the paper, show your child how they can extract this using the pippet. This is a great technique to learn and encourages the child to make decisions about their painting and where sometimes, less is more! You can also do this with a dry paint brush, making sure you squeeze or blot the fluid out of it each time.
Once the painting is dry we moved on to looking at some space books, so some context was given for the next part of the activity.

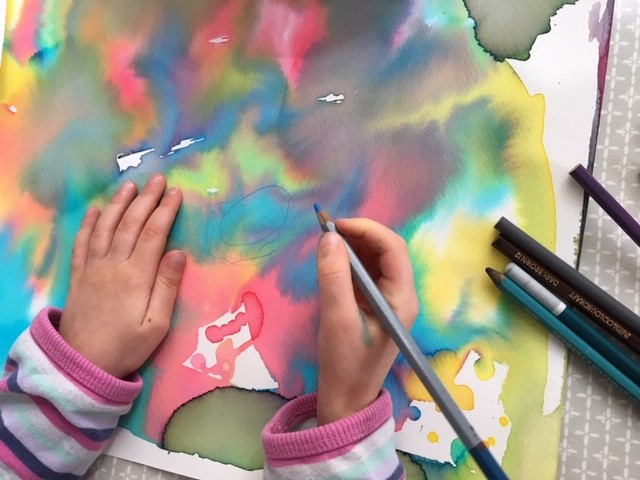
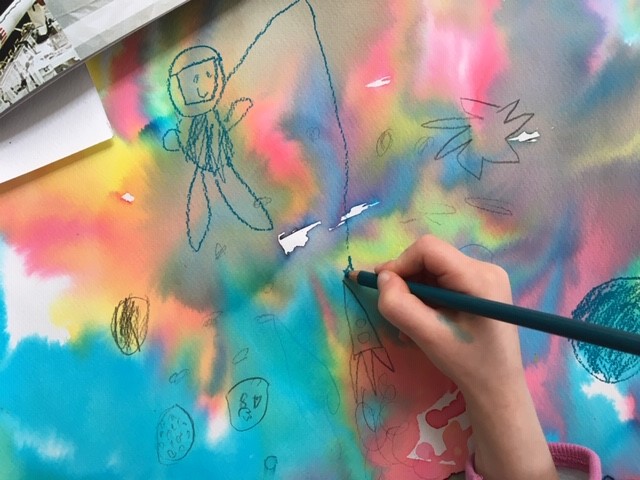
Then, using a range of drawing materials (my daughter mainly used simple colouring pencils as they have a lovely chalky quality over the top of dried water colour paper) draw your space picture! This is really an opportunity to let your child use their imagination and explore the composition of the page. Allow them to draw what comes to mind, only steering them towards discussions about space rather than dictating what they draw. My daughter was particularly drawn to a photo of an astronaut in the book we looked at and so wanted to re create that.
She began drawing some planets, some with rings around them.
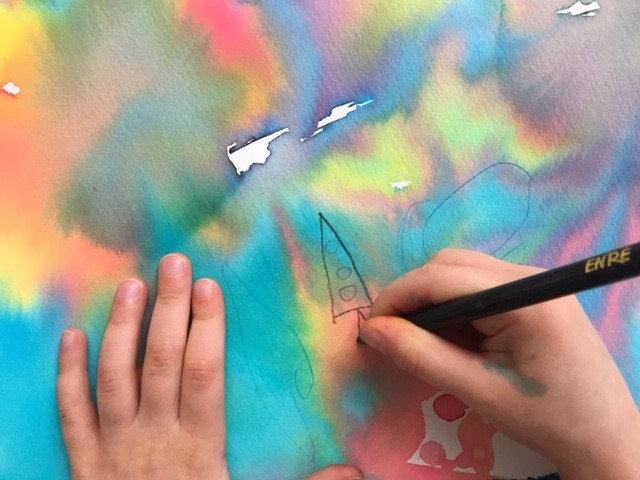
Next came a rocket!

And then the astronaut, he she decided was a girl astronaut called Sally.
Depending on your child’s attention span, this could take up half an hour or so – or even more! They may leave the picture and come back to it. Above all, keep it relaxed and open ended – and have fun!
You can see more of Rachel’s resources here.