
Shakespearean Sock Puppets


By Kate Gorely from The Belham Primary School, Peckham.
This is a project that I created with a Year 6 cohort. We were studying Macbeth in Literacy and working towards a performance for our whole-school Shakespeare Week.
The puppets were made in our DT sessions, which took place over 3 days. The students researched Tudor fashion and costume design before designing and making their own textile puppet. They used a variety of stitches to secure, join and embroider, as well as creating a structure onto which their puppet was formed. They made choices in fabrics, design and embellishments, each creating a unique character. It is a project that would also work very well for myths and legends, historical figures and fairy tales.
Session 1 – Research and Design
We shared a variety of images of Tudor clothing and costume as well as looking at some well known paintings. We discussed the work by John Singer Sargent and his 1889 depiction of Lady Macbeth which is on display in Tate Britain in London. Together, we established common themes and details in the clothing. The students then chose the character they wished to make from Macbeth. They came up with a number of designs before choosing their final costume design for the puppet. They annotated their sketches and chose the fabrics and braiding they wished to use.
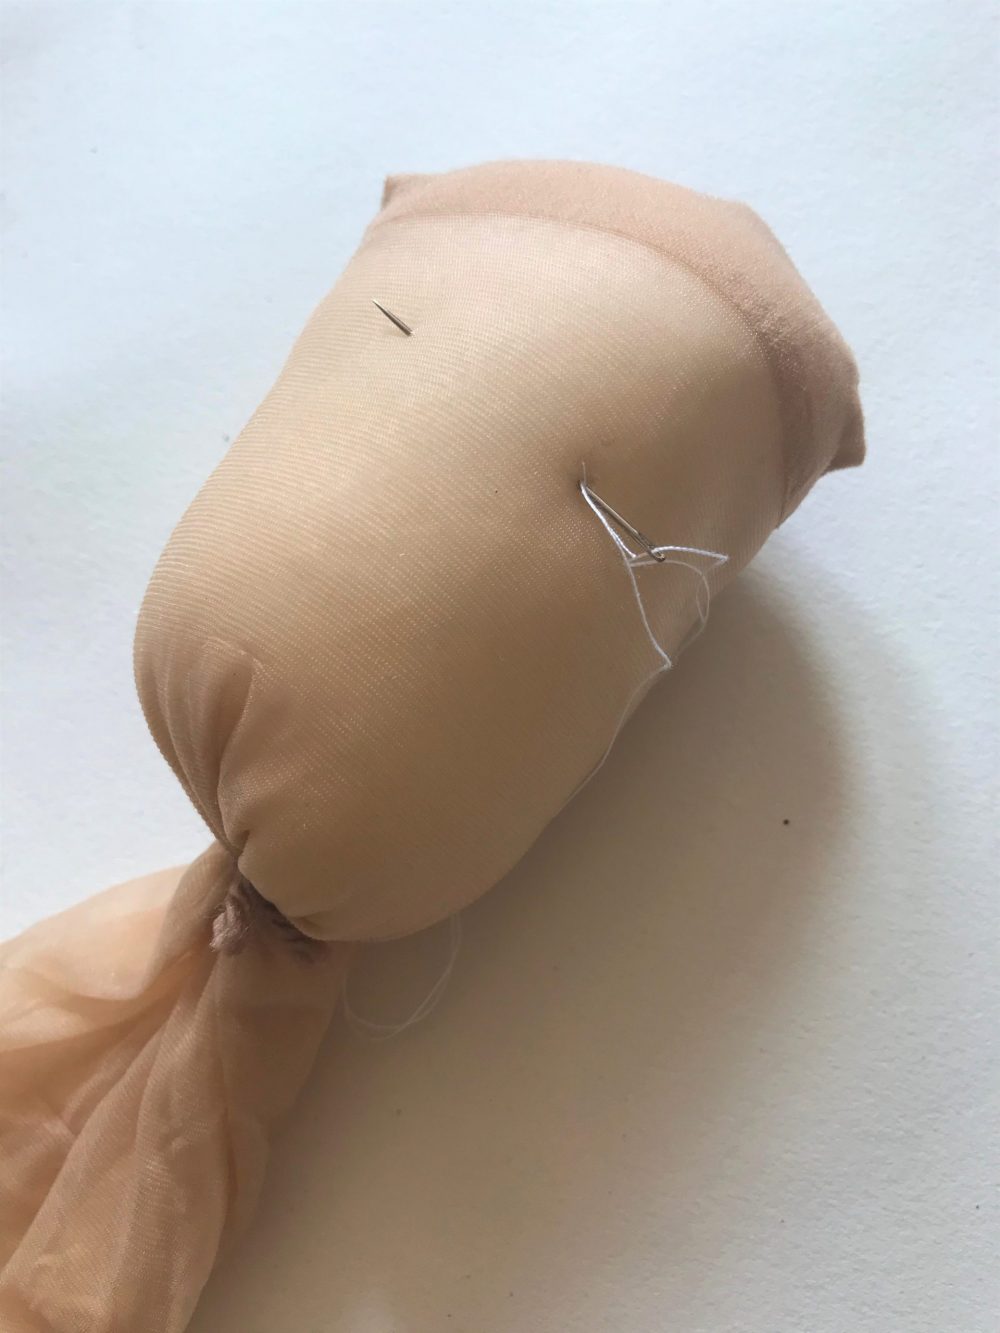
Session 2 – Creating the Head
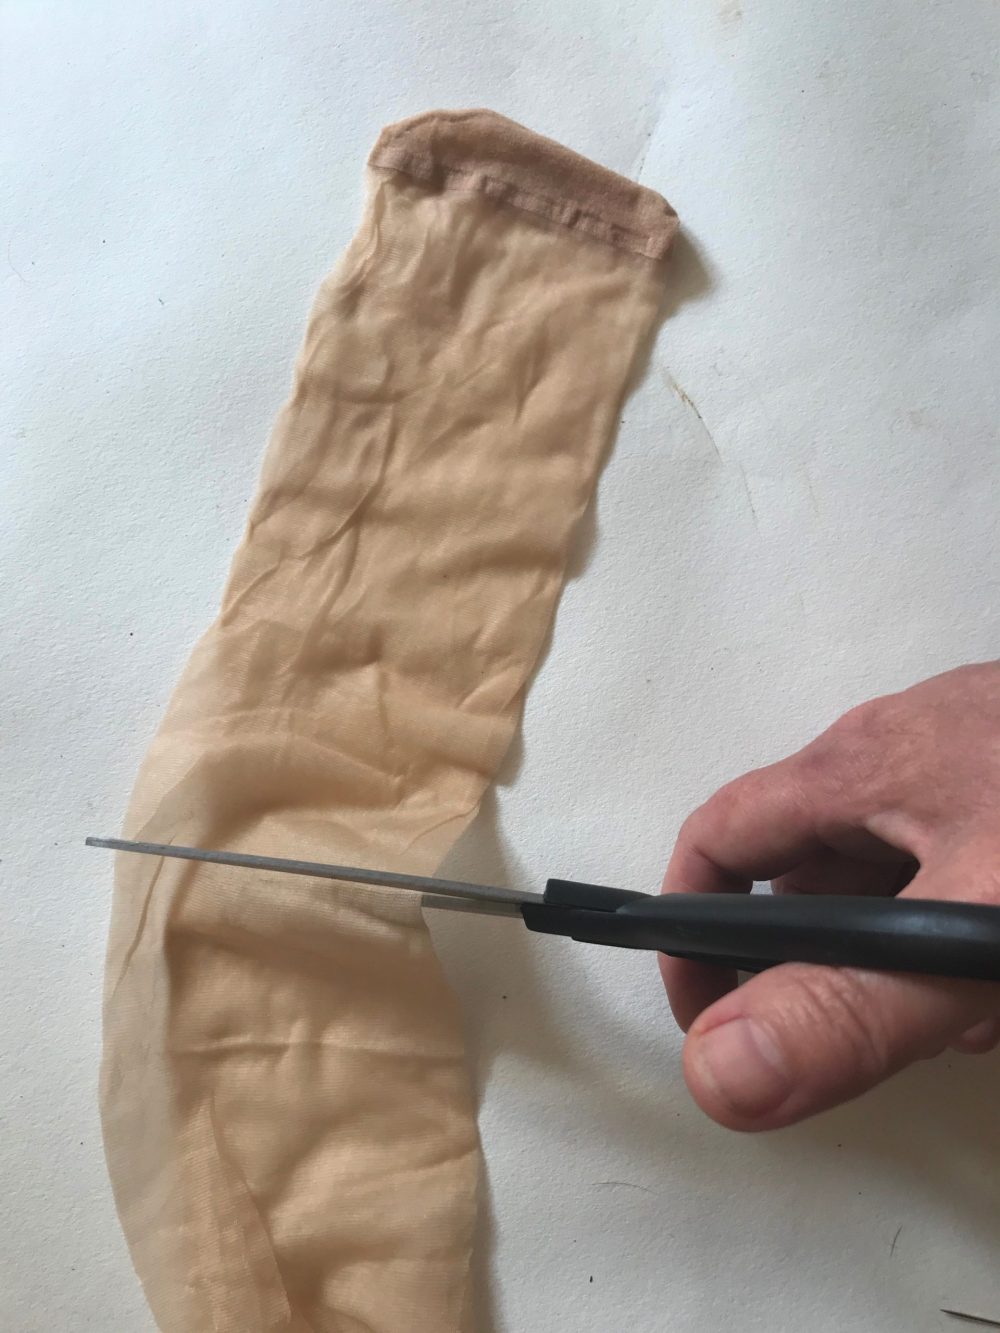
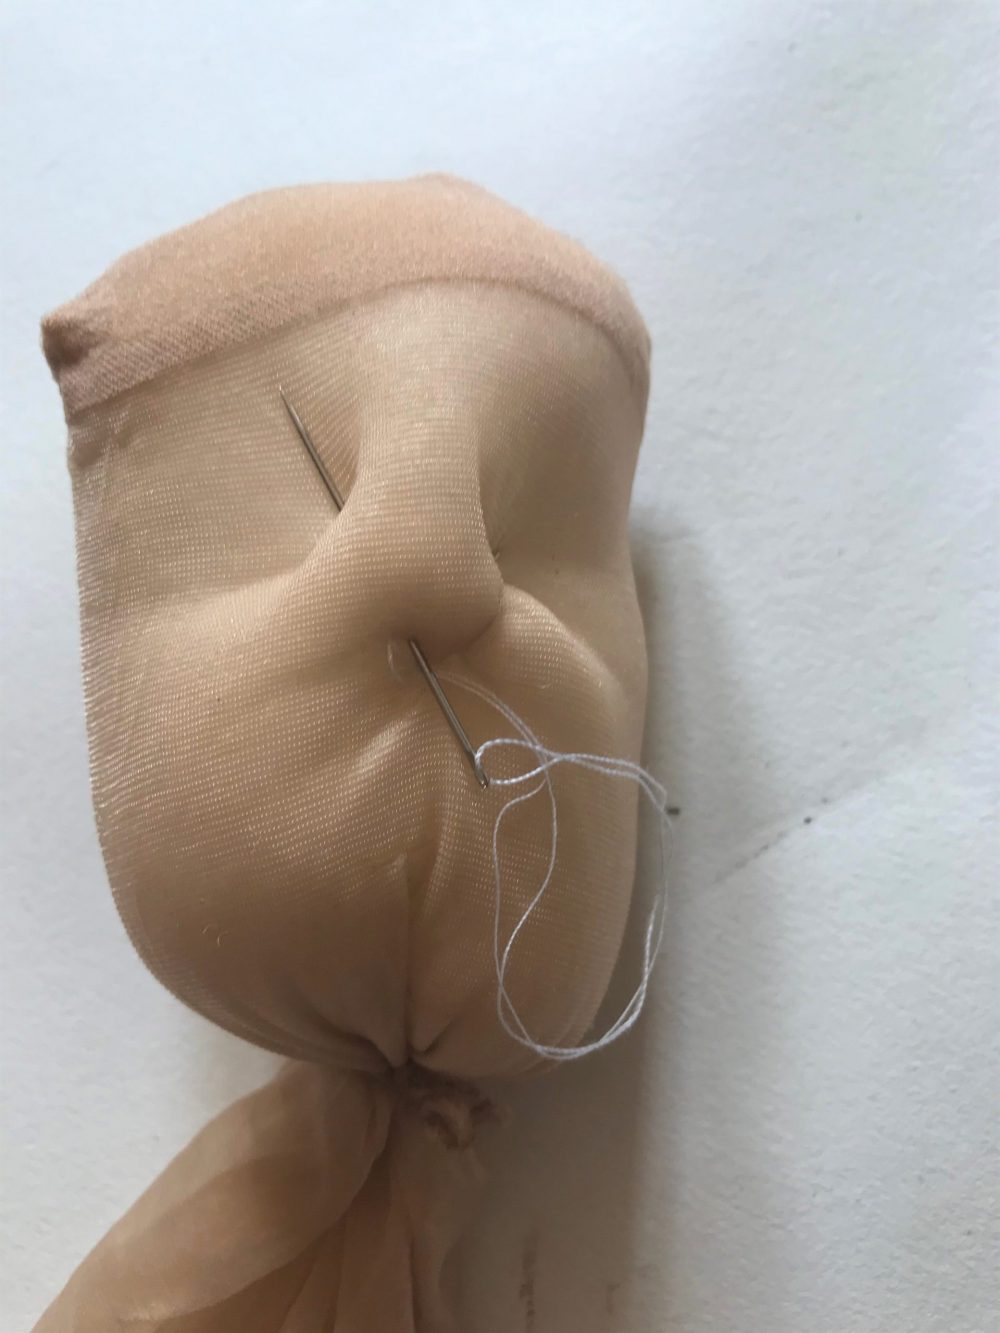
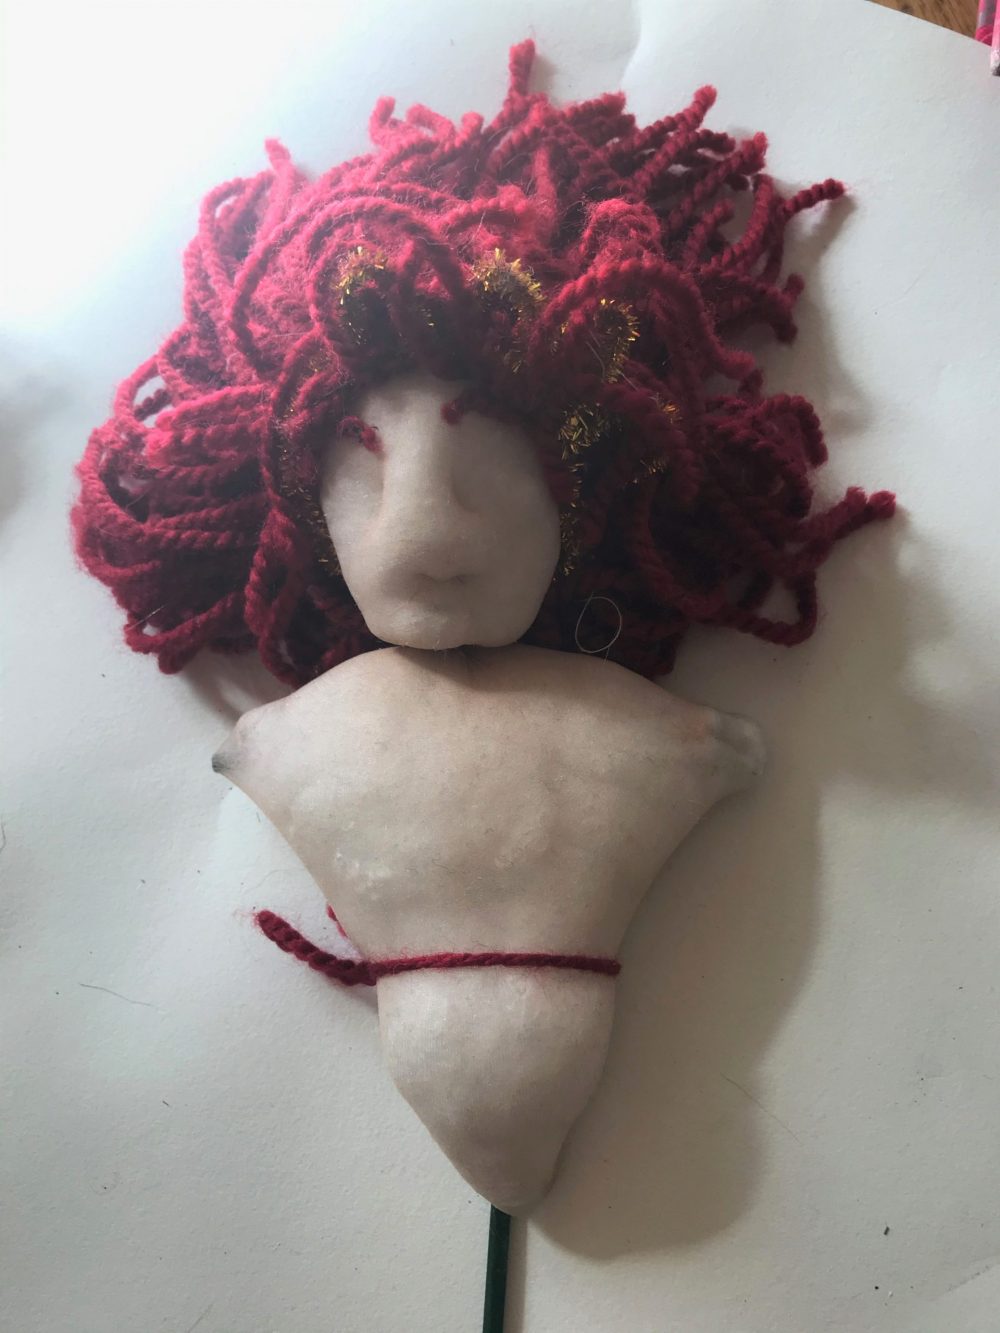
The features could then be fashioned by pinching the potato head, to form a nose and securing this by stitching through the pinch to form eyes. It is worth reminding students at this stage about the natural spacing of features – eyes approximately halfway down the head, and the spacing of the nose, to avoid eyes being placed in the forehead area!
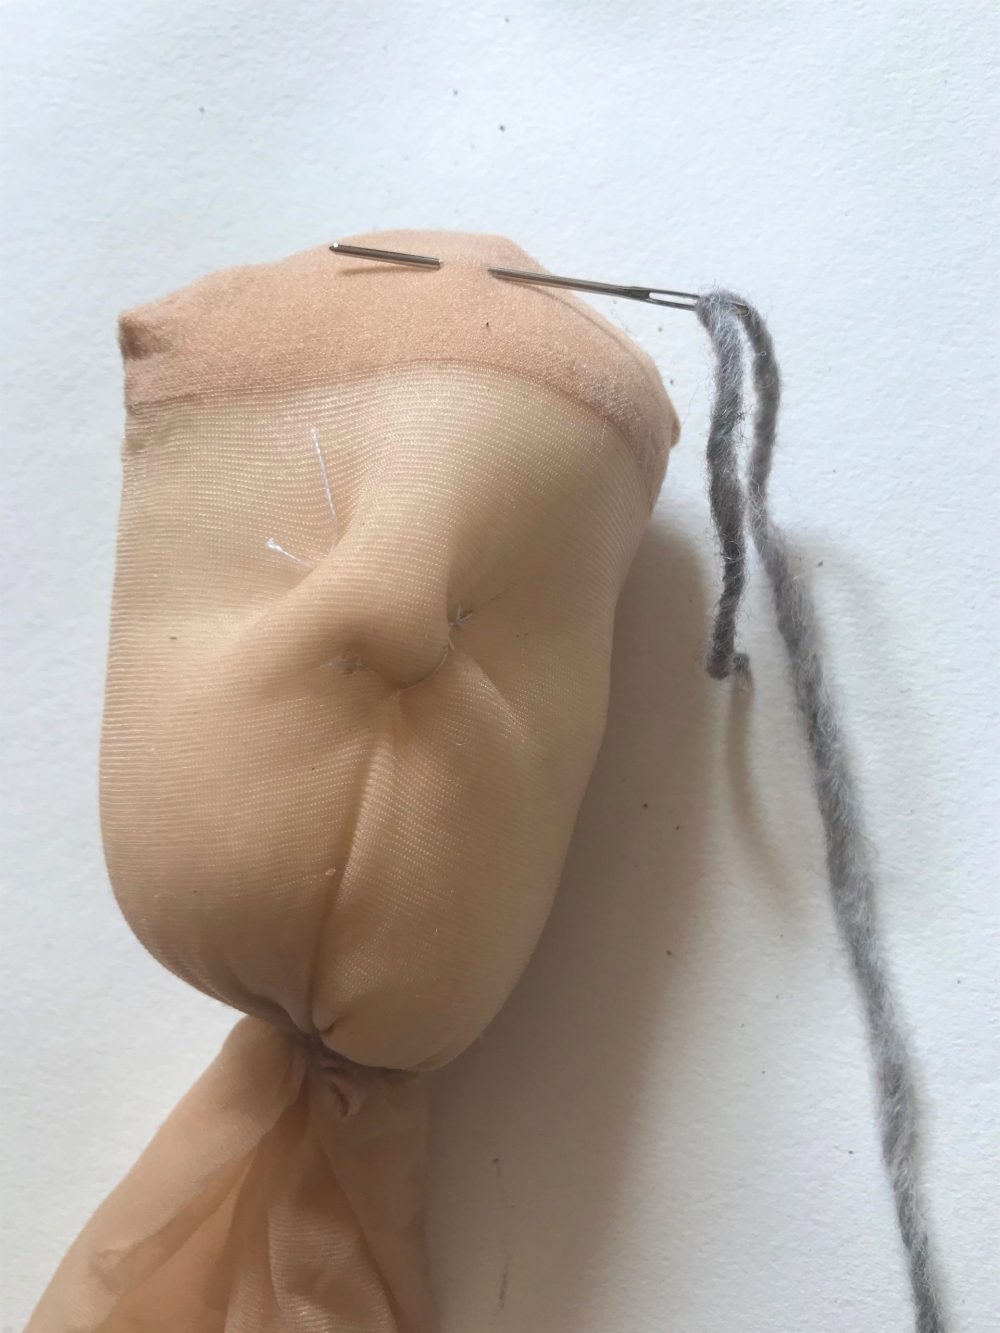
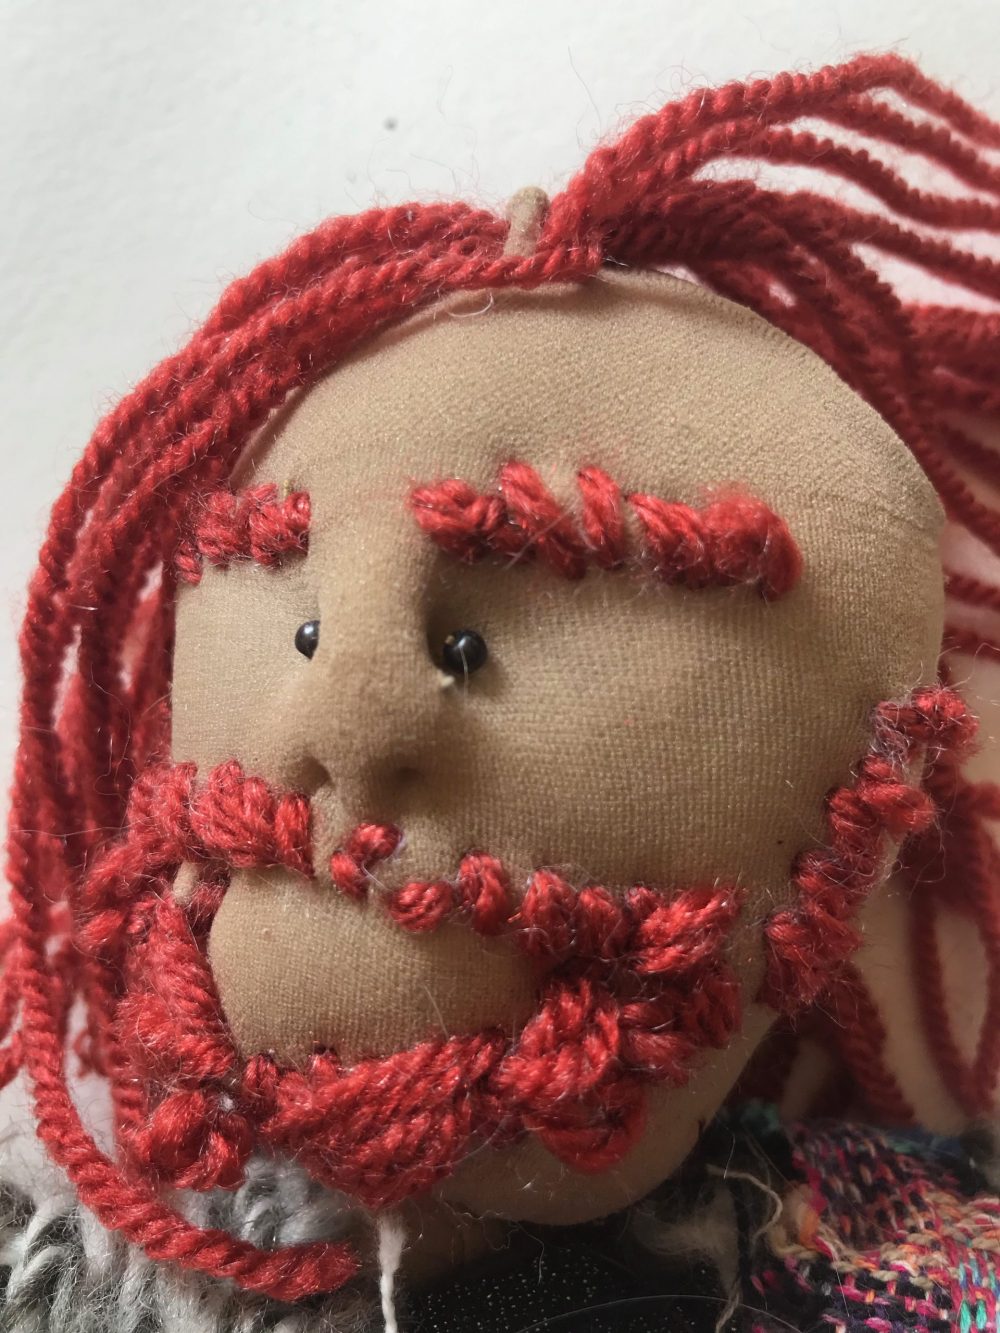
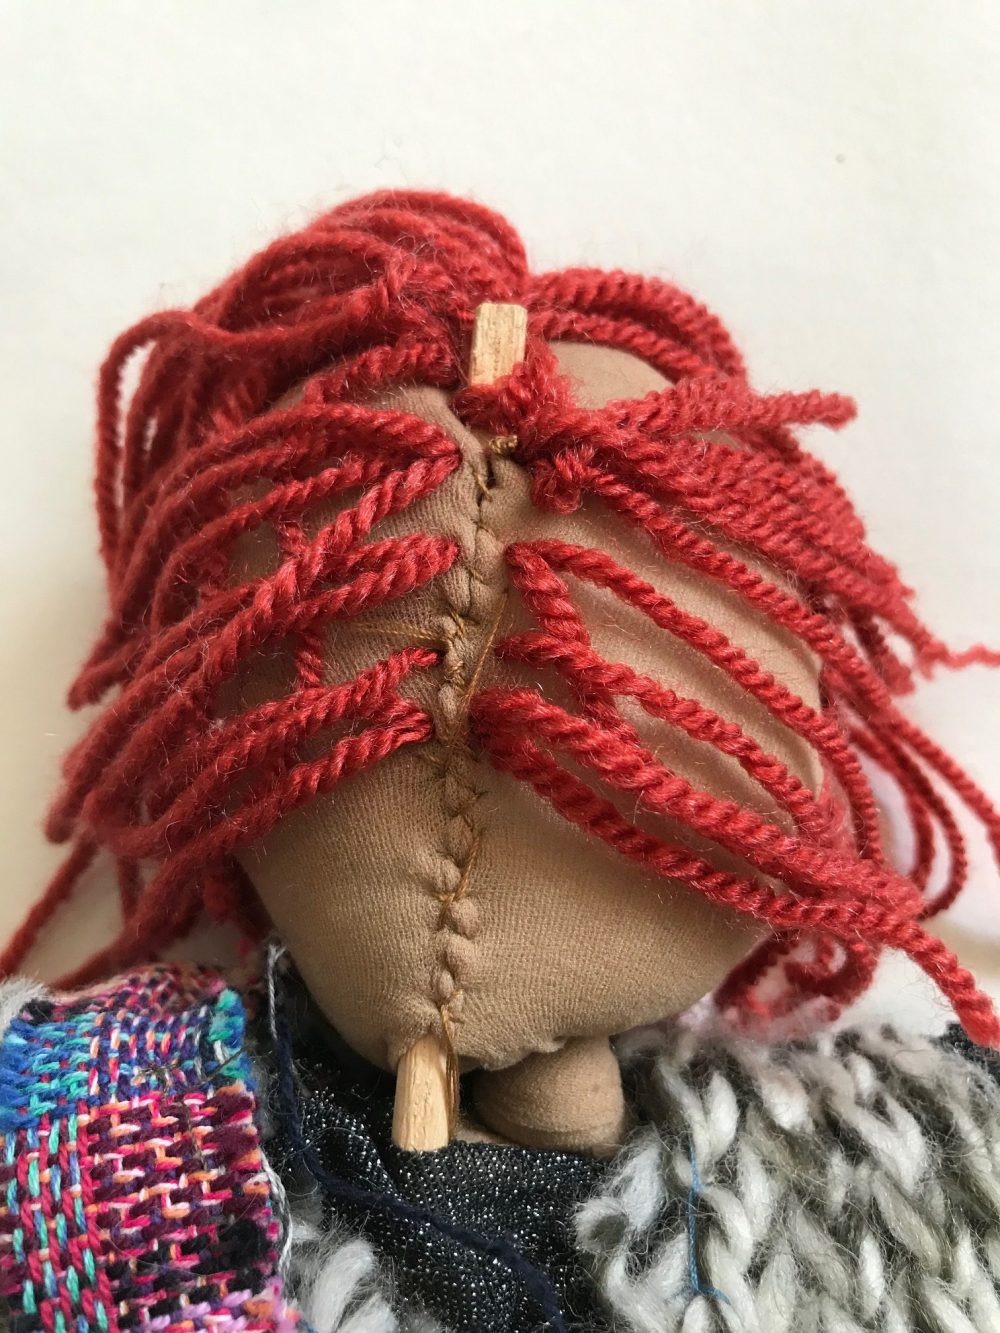
Once the features are in place, then wool can be added for the hair, stitching through the hairline and continuing down the back of the head to the lower hairline. Eyebrows and any facial hair can be added, plus small beads for the eyes. At this point, the puppets really begin to develop a character of their own.
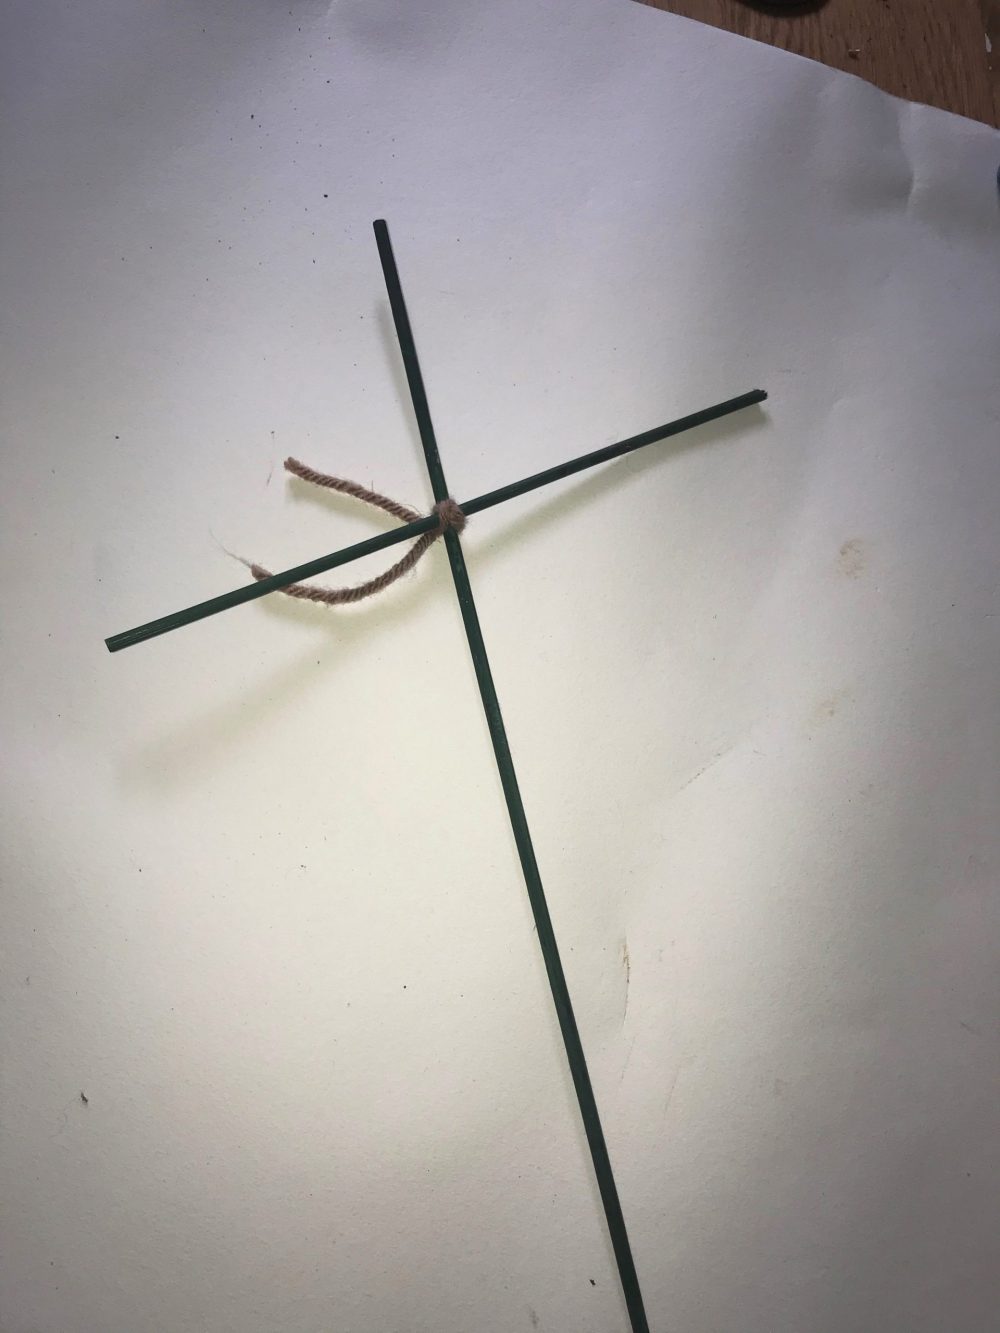
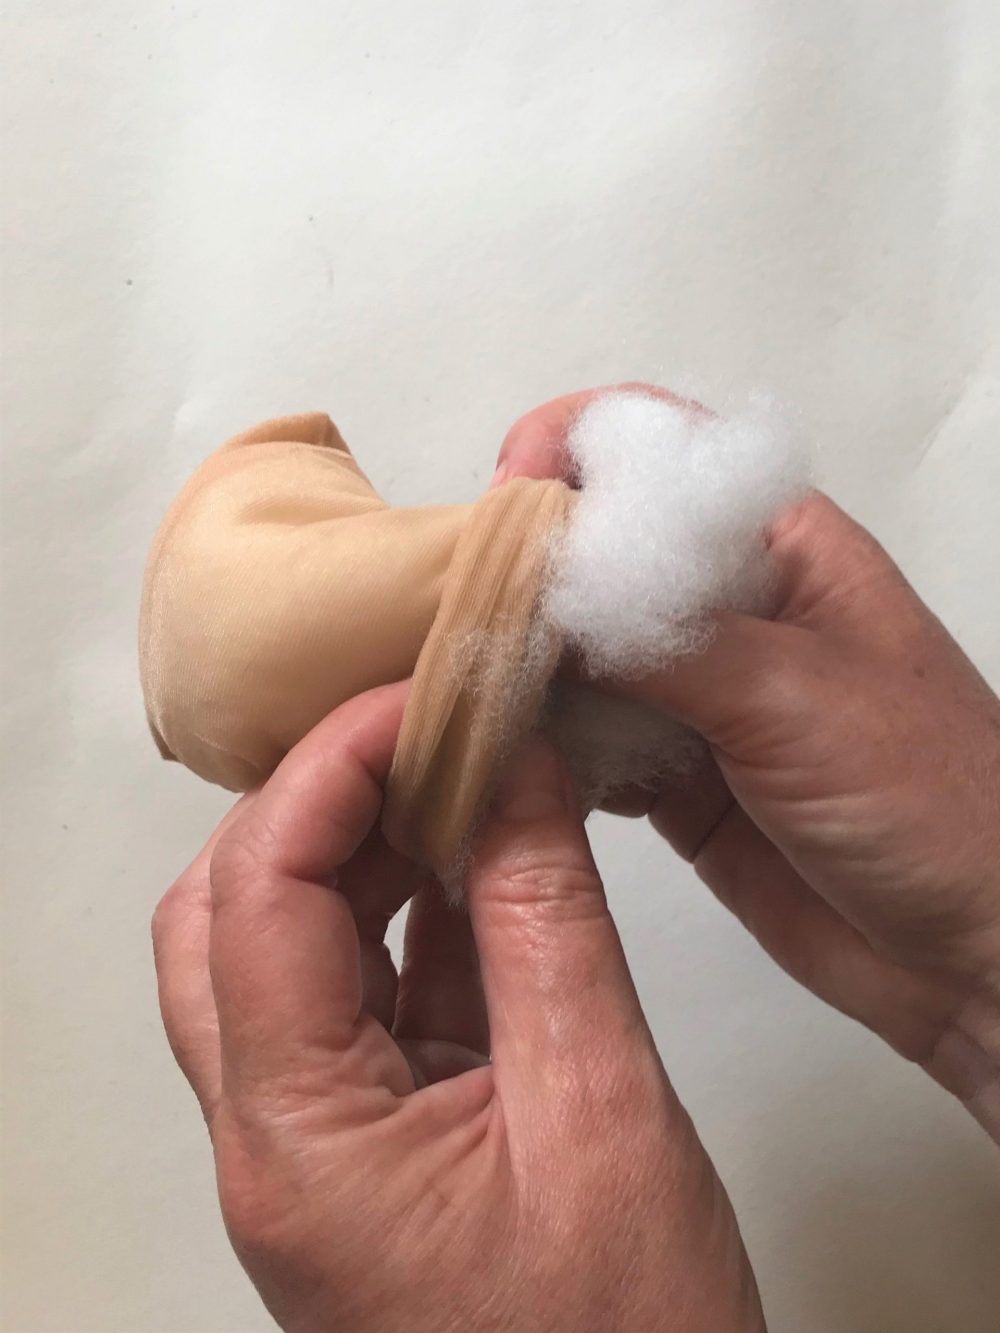
A little stuffing can be added to the loose stocking chest area. This is then stretched and hooked over the horizontal rod to form the shoulders.
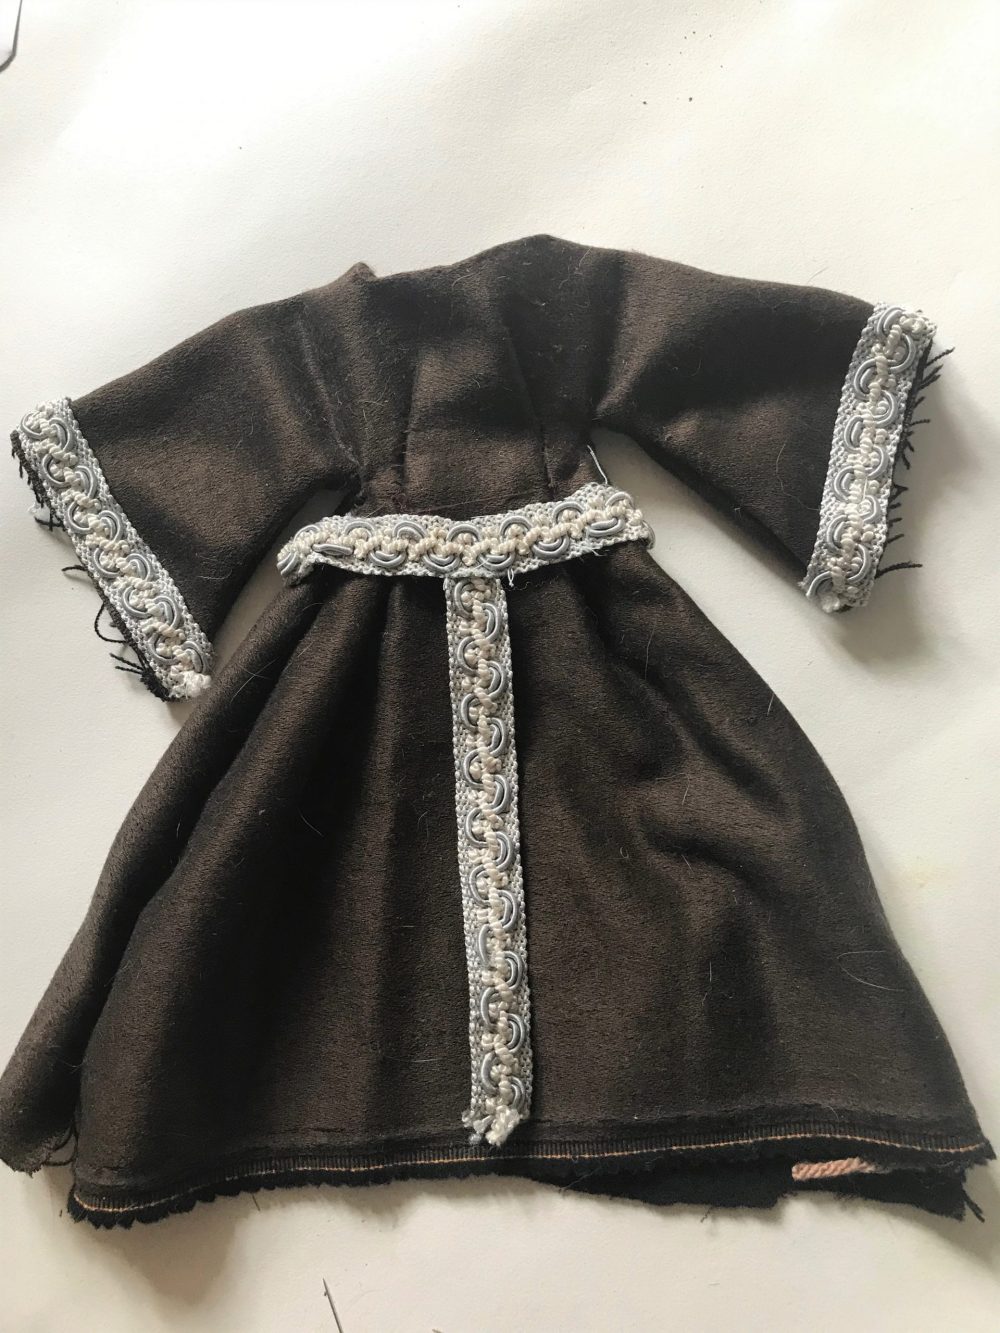
Session 3 – Creating the Costume
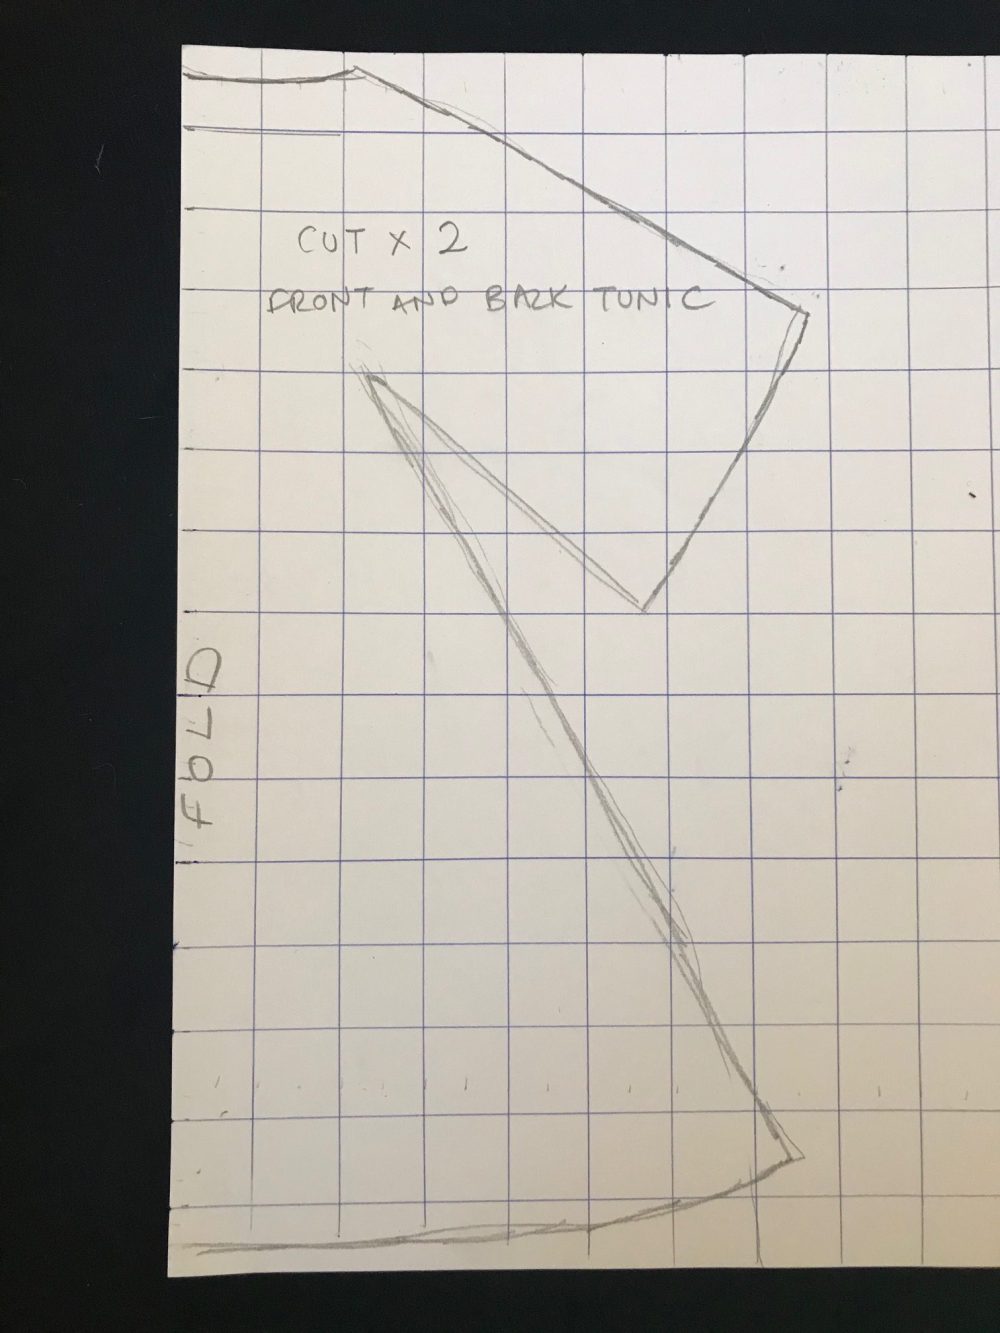
At this stage, students can review their designs. Is there anything they would like to add to the costume or adjust? Using squared paper, students can create their tunic pattern. This is then pinned to the chosen fabric and cut out twice – one for the front and one for the back.
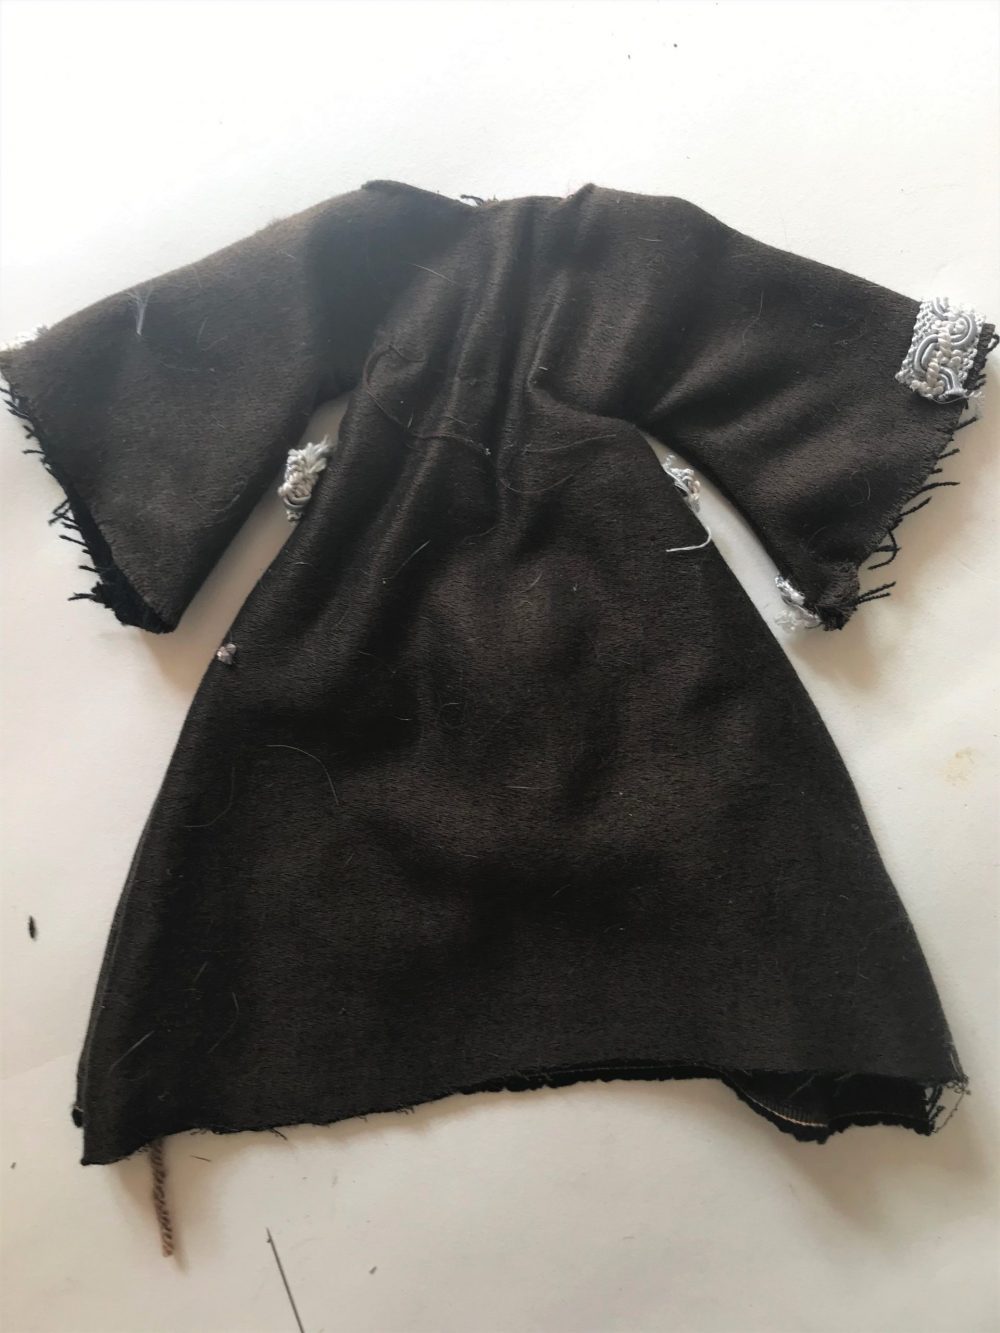
Using a simple running stitch, the sides of the tunic and the sleeves are secured. Leave the neck of the tunic wide enough to slip up over the shoulders and then secure at the neck.
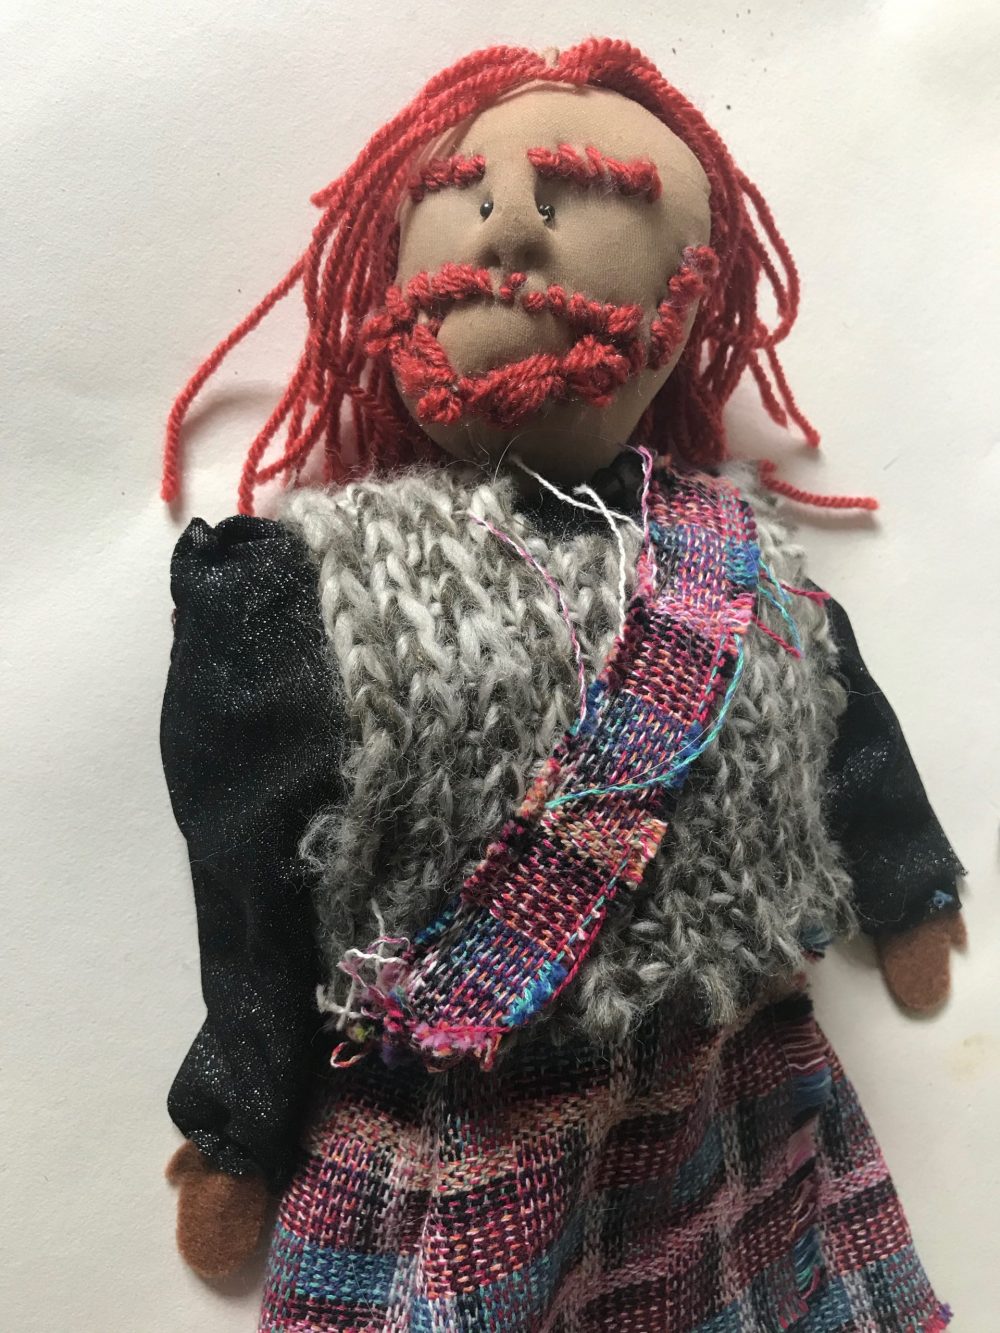
Following their designs, the students chose different textures, patterns and embellishments to create their costumes. Some folded kilts over the tunic base, others added hooded cloaks, knitted armour, sashes and belts.
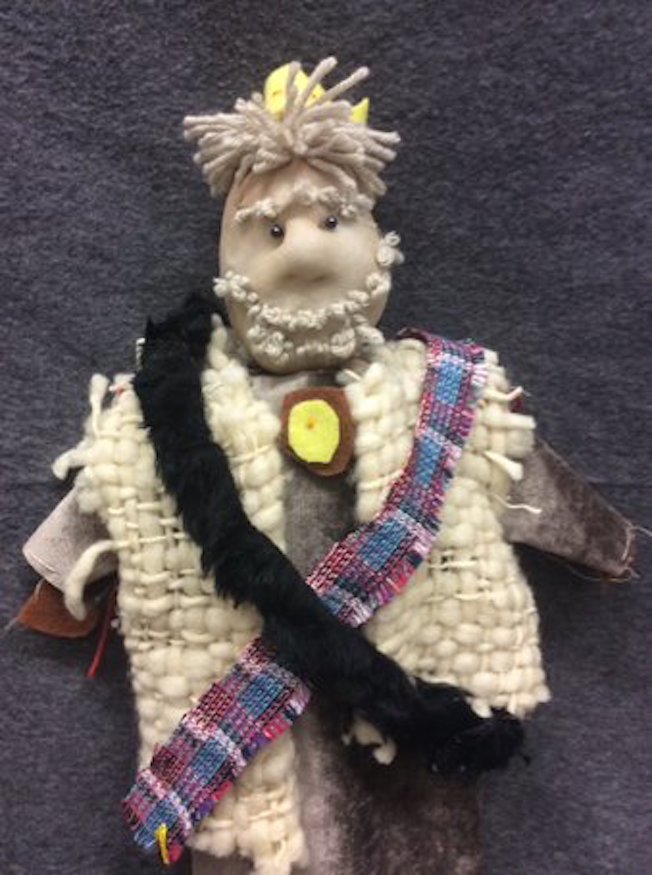
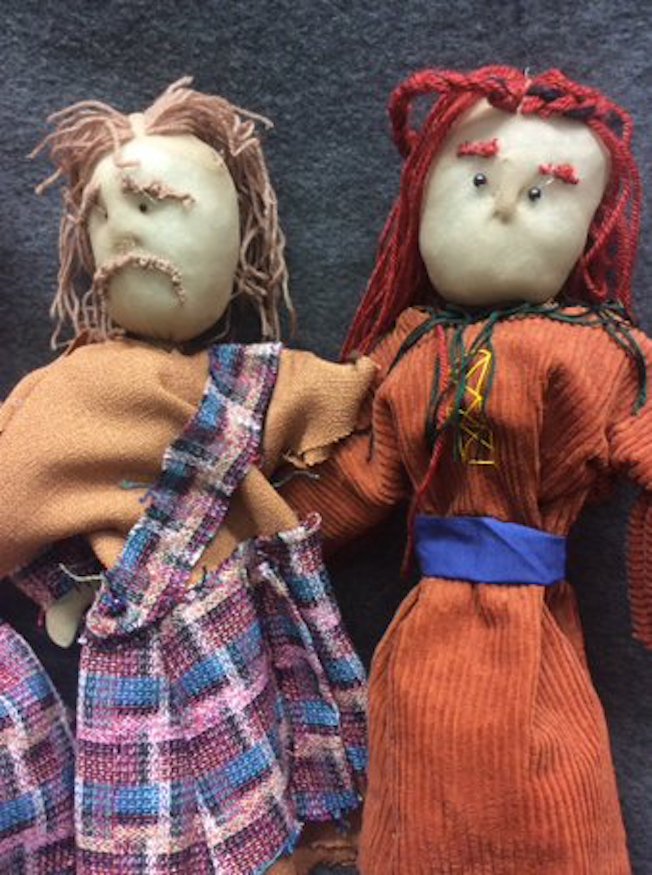
Each puppet was so different, with its features and character evolving over the course of the workshops. The students became very involved with the development of their puppets; one girl reflected, she felt she had created ‘a friend’.
If you would like to deliver more puppetry sessions in your school, you can find more inspiration here.
This is a sample of a resource created by UK Charity AccessArt. We have over 1500 resources to help develop and inspire your creative thinking, practice and teaching.
AccessArt welcomes artists, educators, teachers and parents both in the UK and overseas.
We believe everyone has the right to be creative and by working together and sharing ideas we can enable everyone to reach their creative potential.
See This Resource Used In Schools...


You May Also Like...
Visual Arts Planning Collections: Toys, puppets, dolls

AccessArt explore shakespeare

Prop Making for Toys

Pauline McGowan
July 8, 2020 @ 3:22 pm
I am now retired, but in the mid 1990’s I was teaching a class of Year 6 in a small rural school in South Norfolk. We were studying The Tempest. The class was put into pairs and each pair made a puppet or backdrop or ship using the details in the text and the BBC video. After many rehearsals, we put on The Tempest for parents and friends with one of the pair the puppeteer and the other reading/saying the lines.
No one had ever seen a performance like it in that area at that time and it was a great success. Unfortunately I have no photographs or video of the production.
Sheila, AccessArt
July 8, 2020 @ 5:23 pm
Pauline – thank you so much for sharing that with us. It sounds like an absoltuley amazing project!
Sheila, AccessArt
July 8, 2020 @ 5:23 pm
Pauline – thank you so much for sharing that with us. It sounds like an absolutely amazing project!
joyce
July 8, 2020 @ 6:11 pm
A great project-you could use it in all sorts of areas of the curriculum-famous scientists,MFL,story bags,and equally achievable with non school groups
Susie Moran
July 8, 2021 @ 8:08 pm
I love this. Thank you for sharing….hours of fun making and then playing with. Brilliant.