
Exploring Casting with Latex Animal Moulds


By Paula Briggs
As a child one of my first experiences of understanding the casting process was through the use of latex moulds and fine casting plaster (plaster of paris). There was always something very exciting about peeling back the latex to reveal the plaster forms!
This resource shares the process for primary-aged children. The final casts will then be used to explore the work of artist Henri Rousseau. Read on to discover how artist/educators can be involved in this project!

Terminology
Two key words (and the relationship between the two) will need to be explained to children: mould and cast. A mould is a shape which is filled with a material (in this case plaster). A cast is the form which is taken from the mould (usually a liquid material which then sets hard).
To Begin
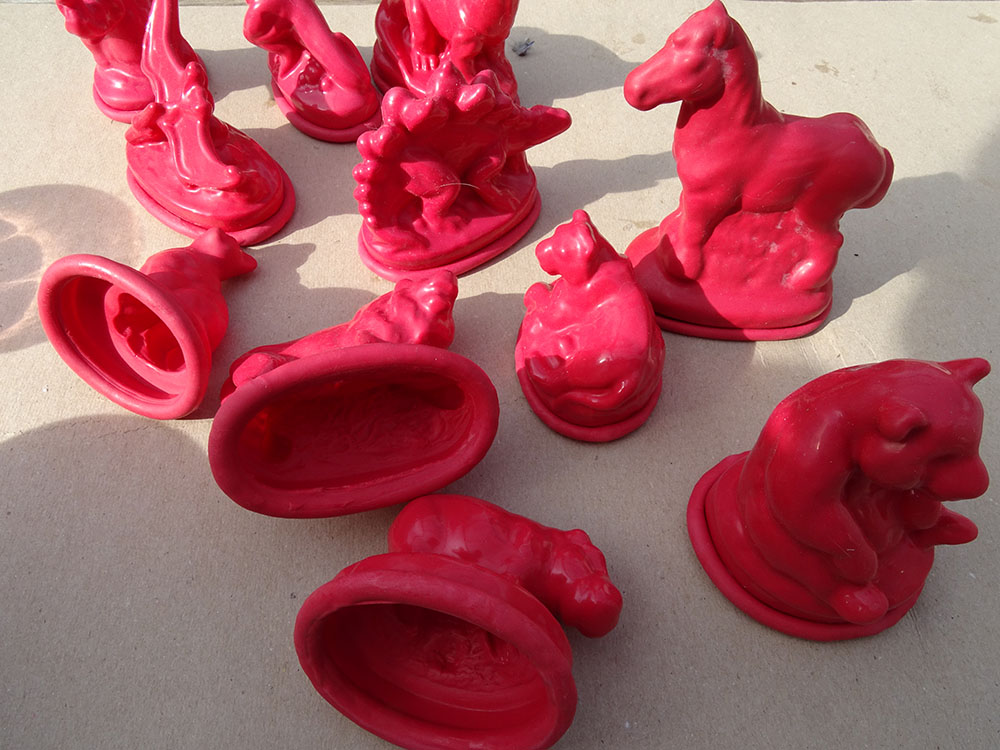
These moulds were supplied by Scolaquip. They come in three sets:
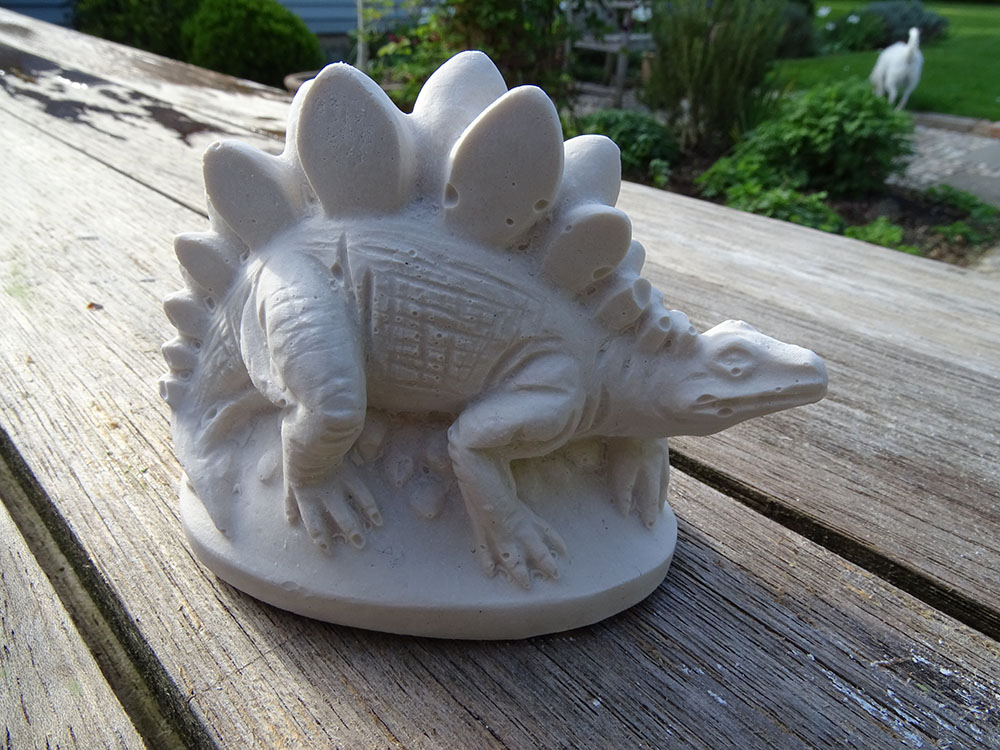
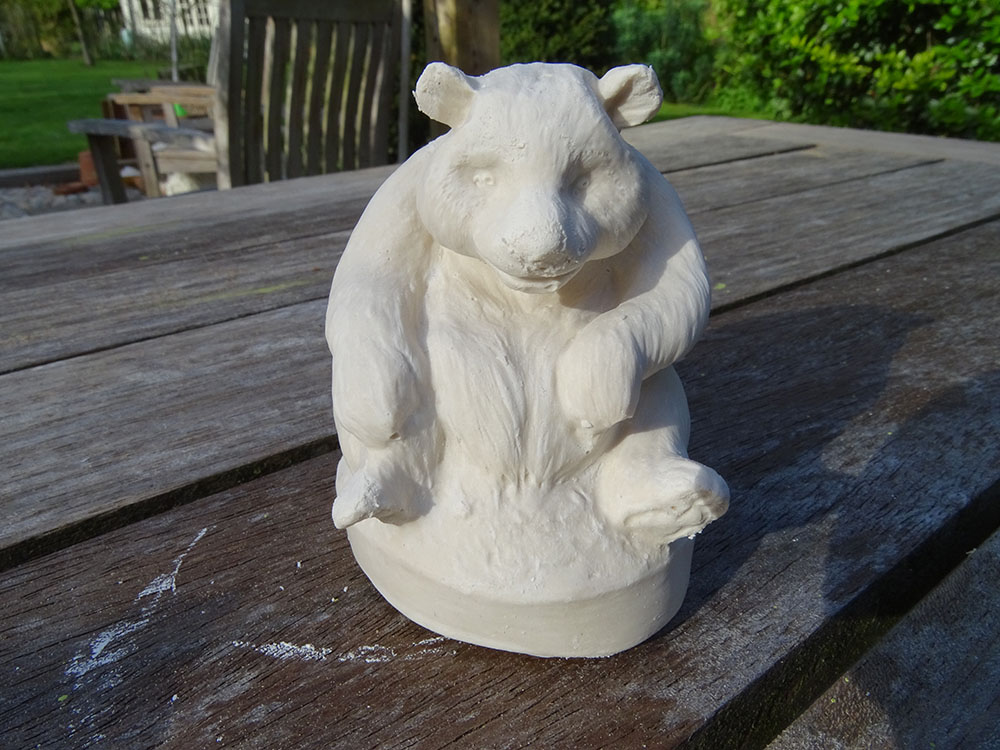
Dinosaurs (Stegosaurus, Brontosaurus, Pterodactyl, T-Rex & Triceratops), Domestic Animals (Horse, Dog, Cat, Rabbit and Sheep), and Wild Animals (Panda, Hippo, Lion, Tiger and Elephant). They can be purchased online at QuickDraw Supplies.
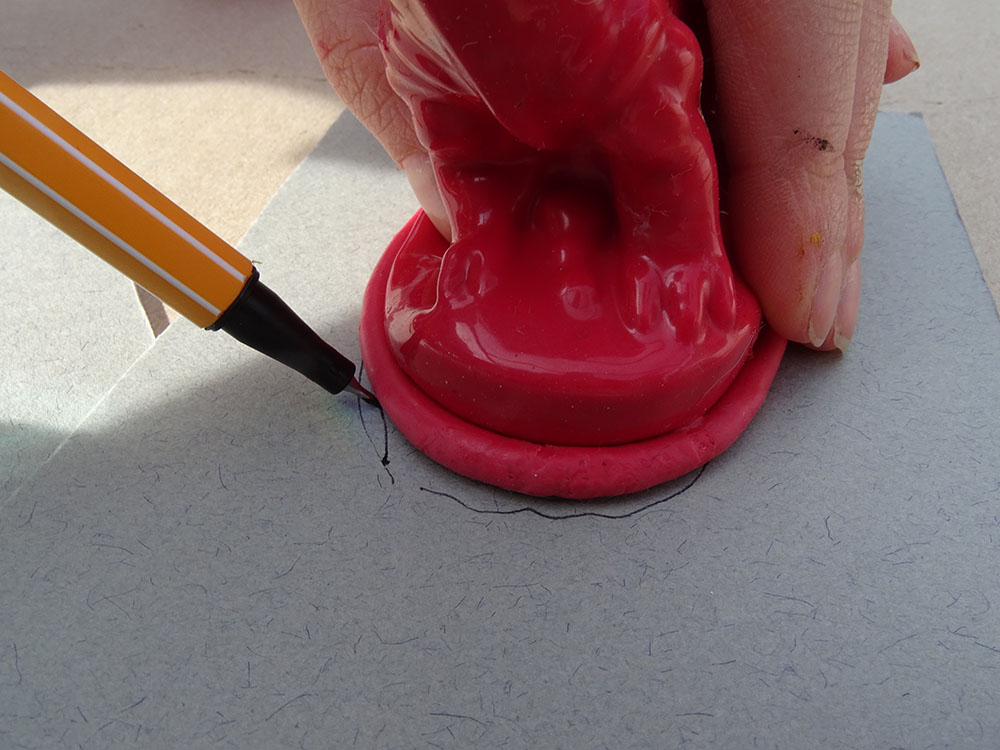
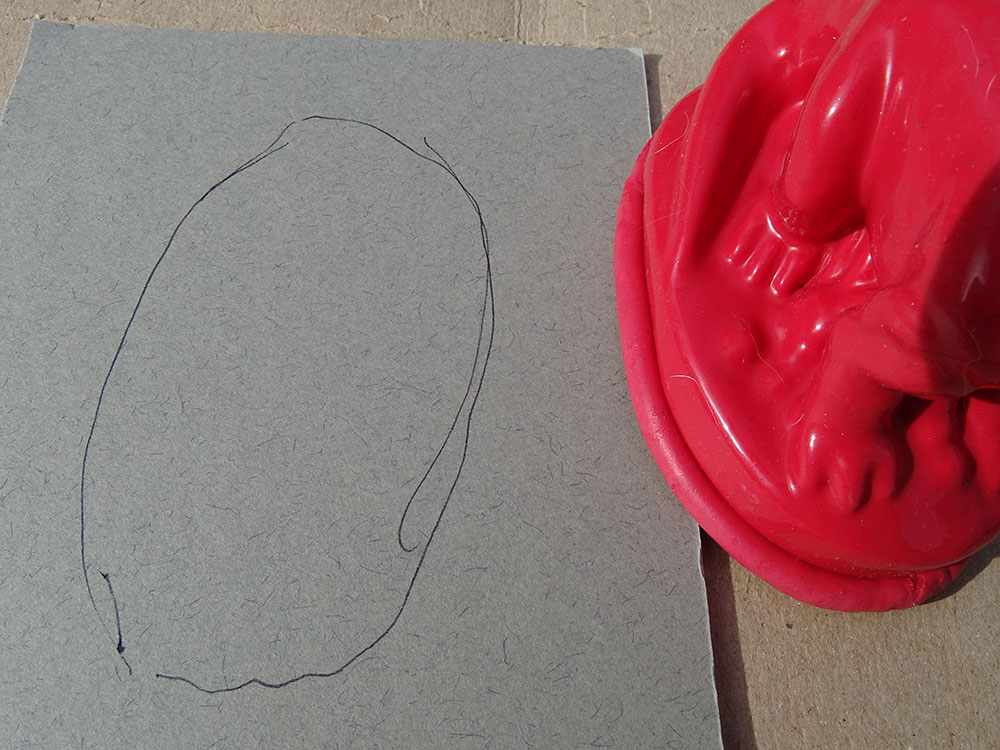
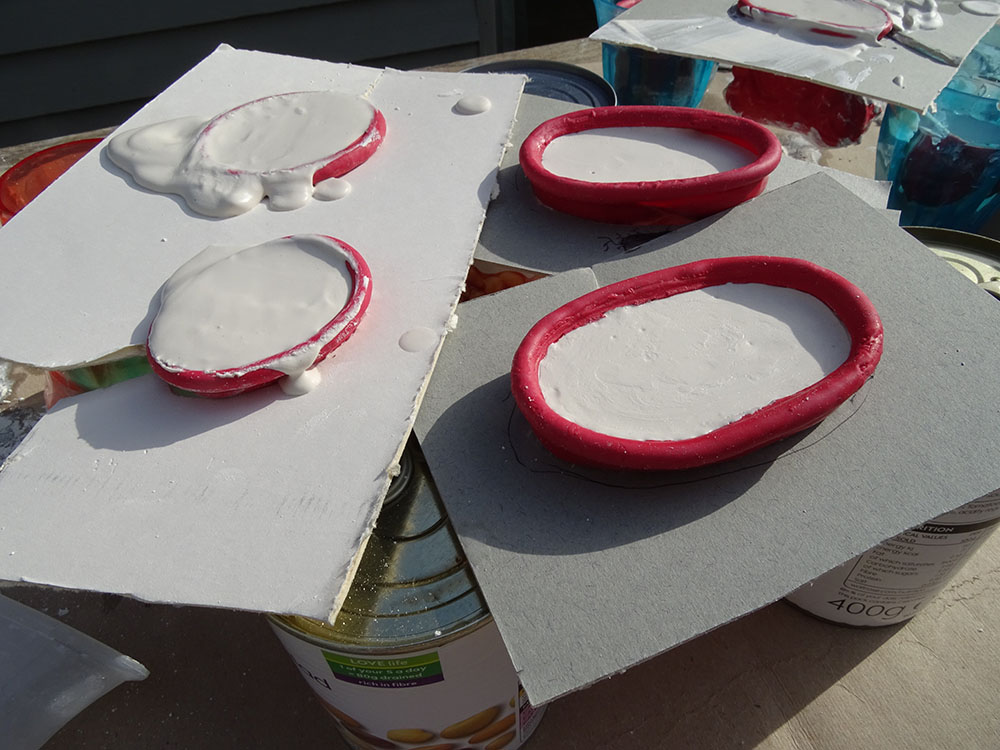
First of all you need to make some kind of a stand to support the latex mould when it is full of liquid plaster. The best way is to draw round the mould on a piece of cardboard.
Cut out the shape to leave a hole in the card.
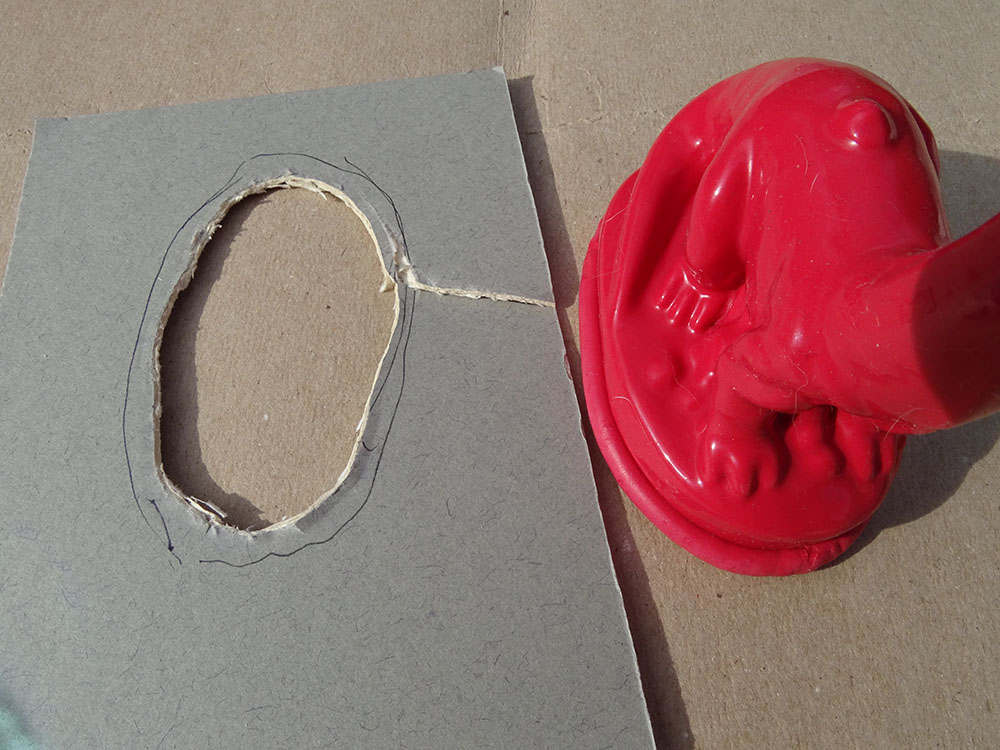
Position the mould into the hole (the mould should now be upside down). Use tins to support the card / mould.
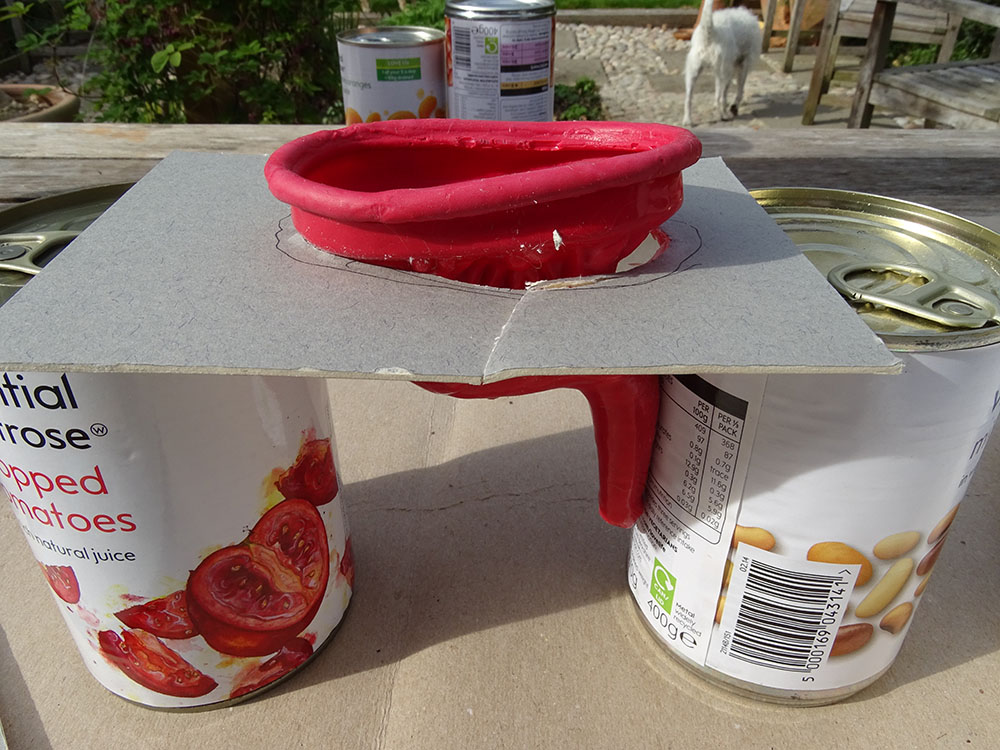
You can also wedge the moulds in cups, but note that when the moulds are full of plaster they become quite heavy, and so need good support without squashing or compromising the mould.

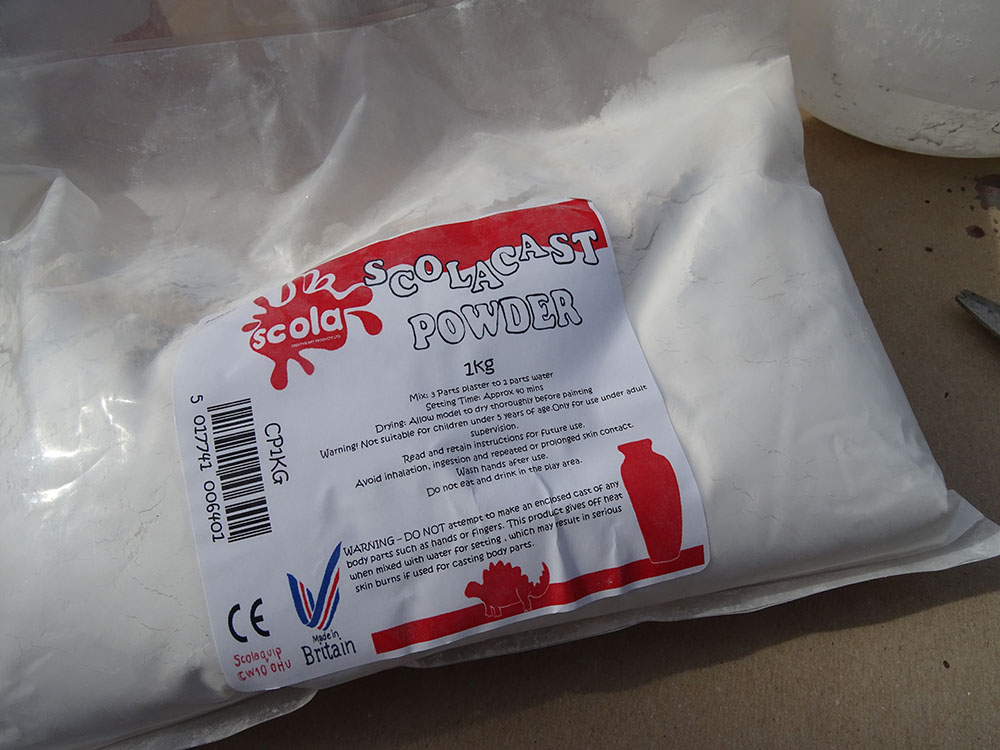
Next mix your plaster. You can find full instructions here.
Then pour the plaster into the mould.
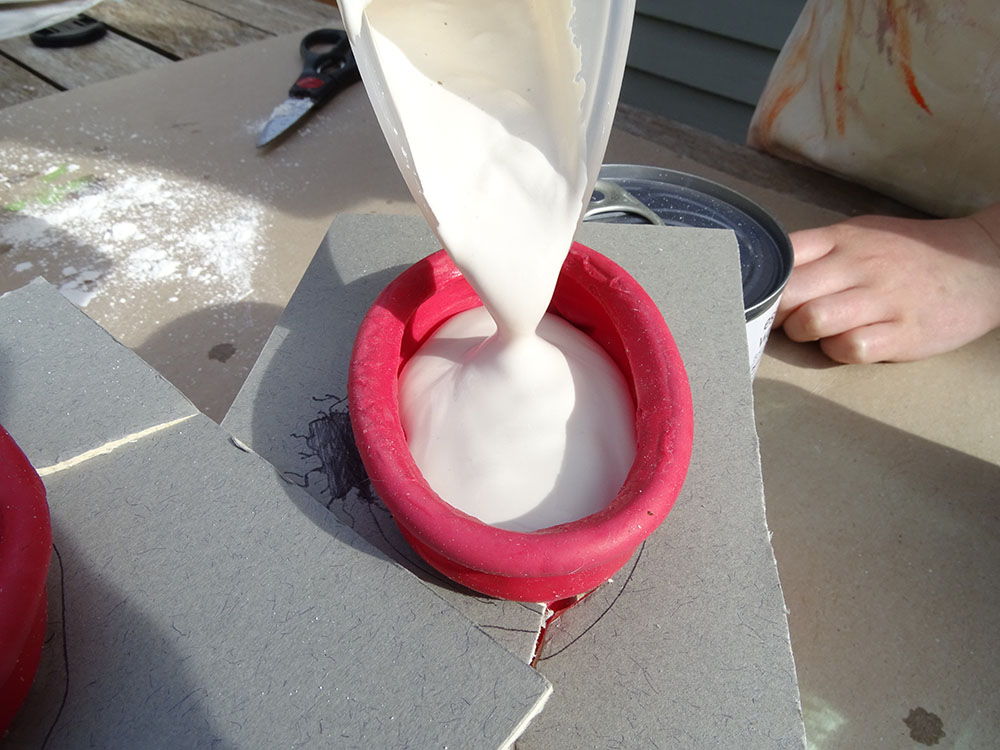
Squeeze any areas such as ears, heads, tails etc to get rid of air bubbles and to ensure the plaster has reached all areas of the mould. You can also tap or flick the sides of the mould or the cardboard support to try to get rid of any air bubbles.
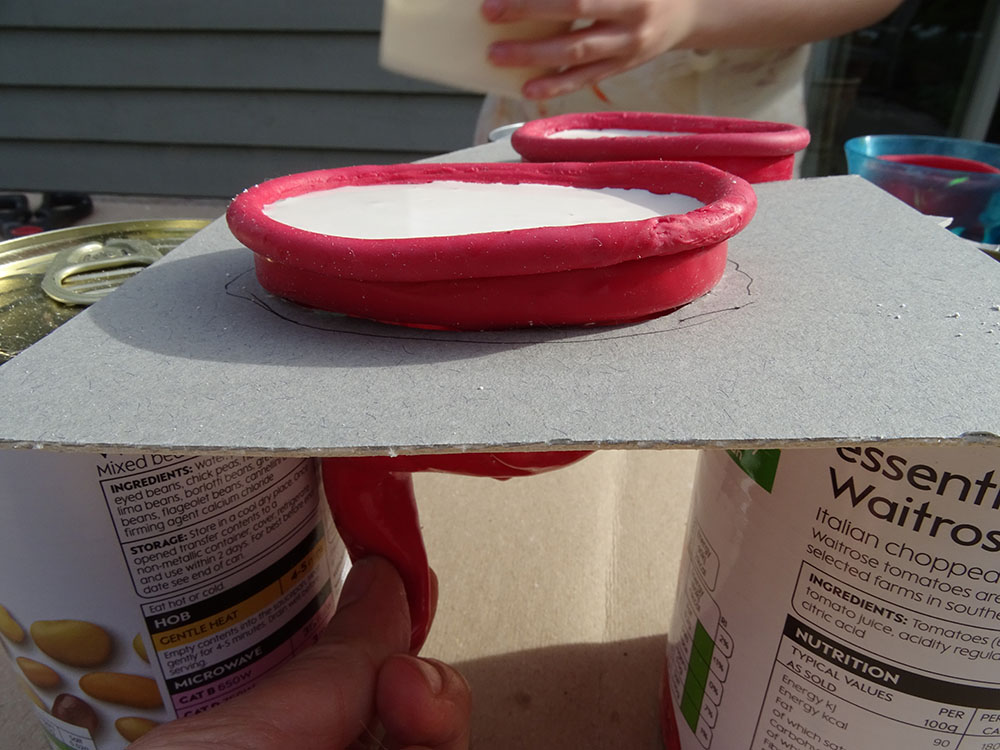
Leave the plaster to set. Plaster undergoes an exothermic reaction so when the plaster has given off heat you will know it is set (usually 20 to 25 minutes).
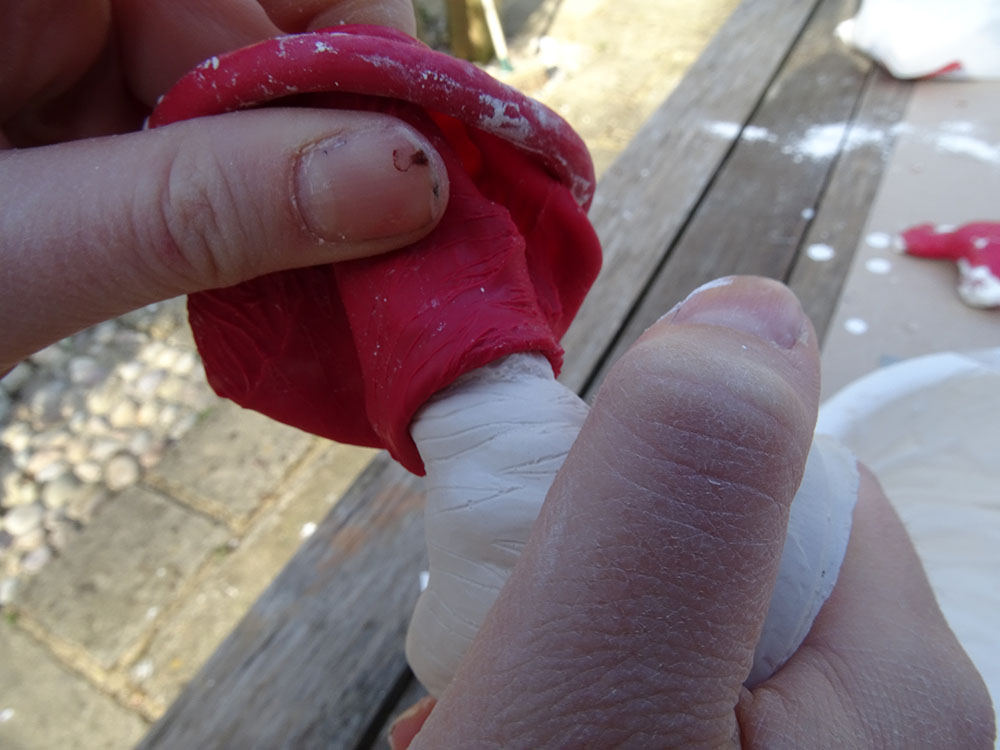
Very carefully peel back the latex.
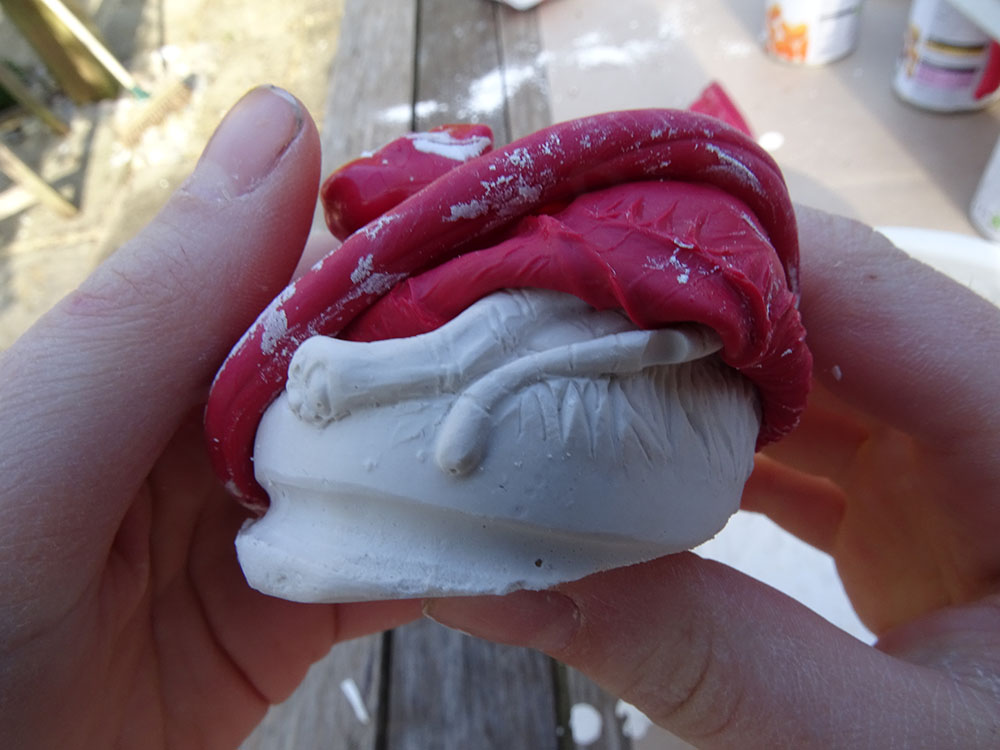
Take particular care over thin areas of the mould. Stretch the latex over heads, ears etc to try to avoid breaks.
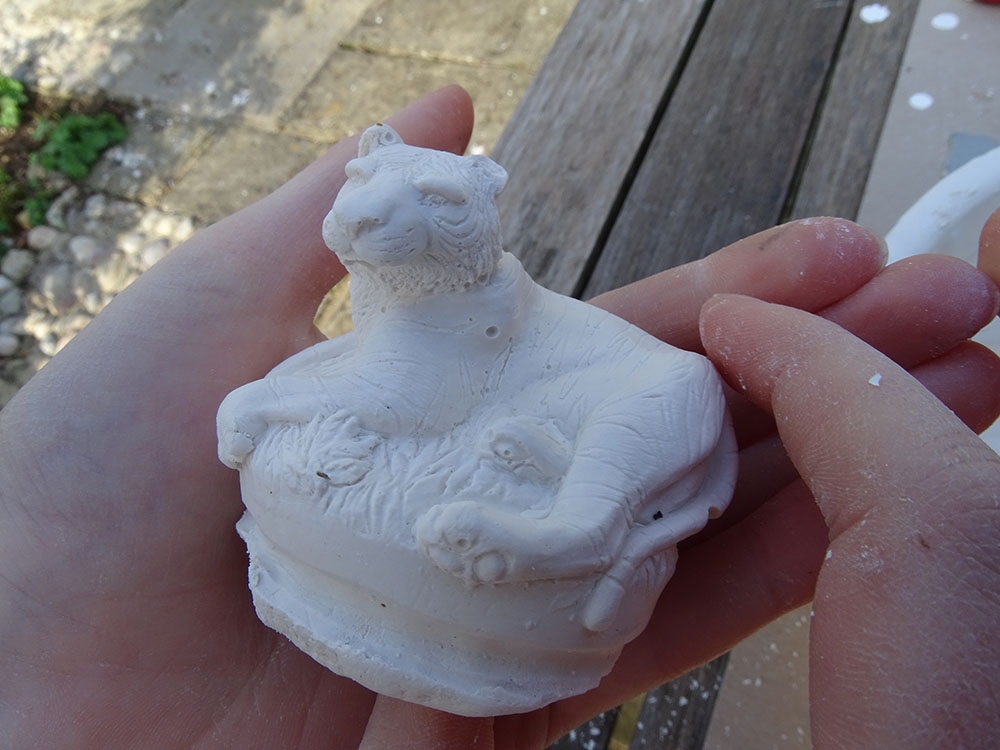
The finished cast.
Finishing
The finished casts can be painted with water-based paints, and when the plaster is completely dry, varnished.
Calling Artist / Educators! Help us develop these casts into a creative art resource for schools!
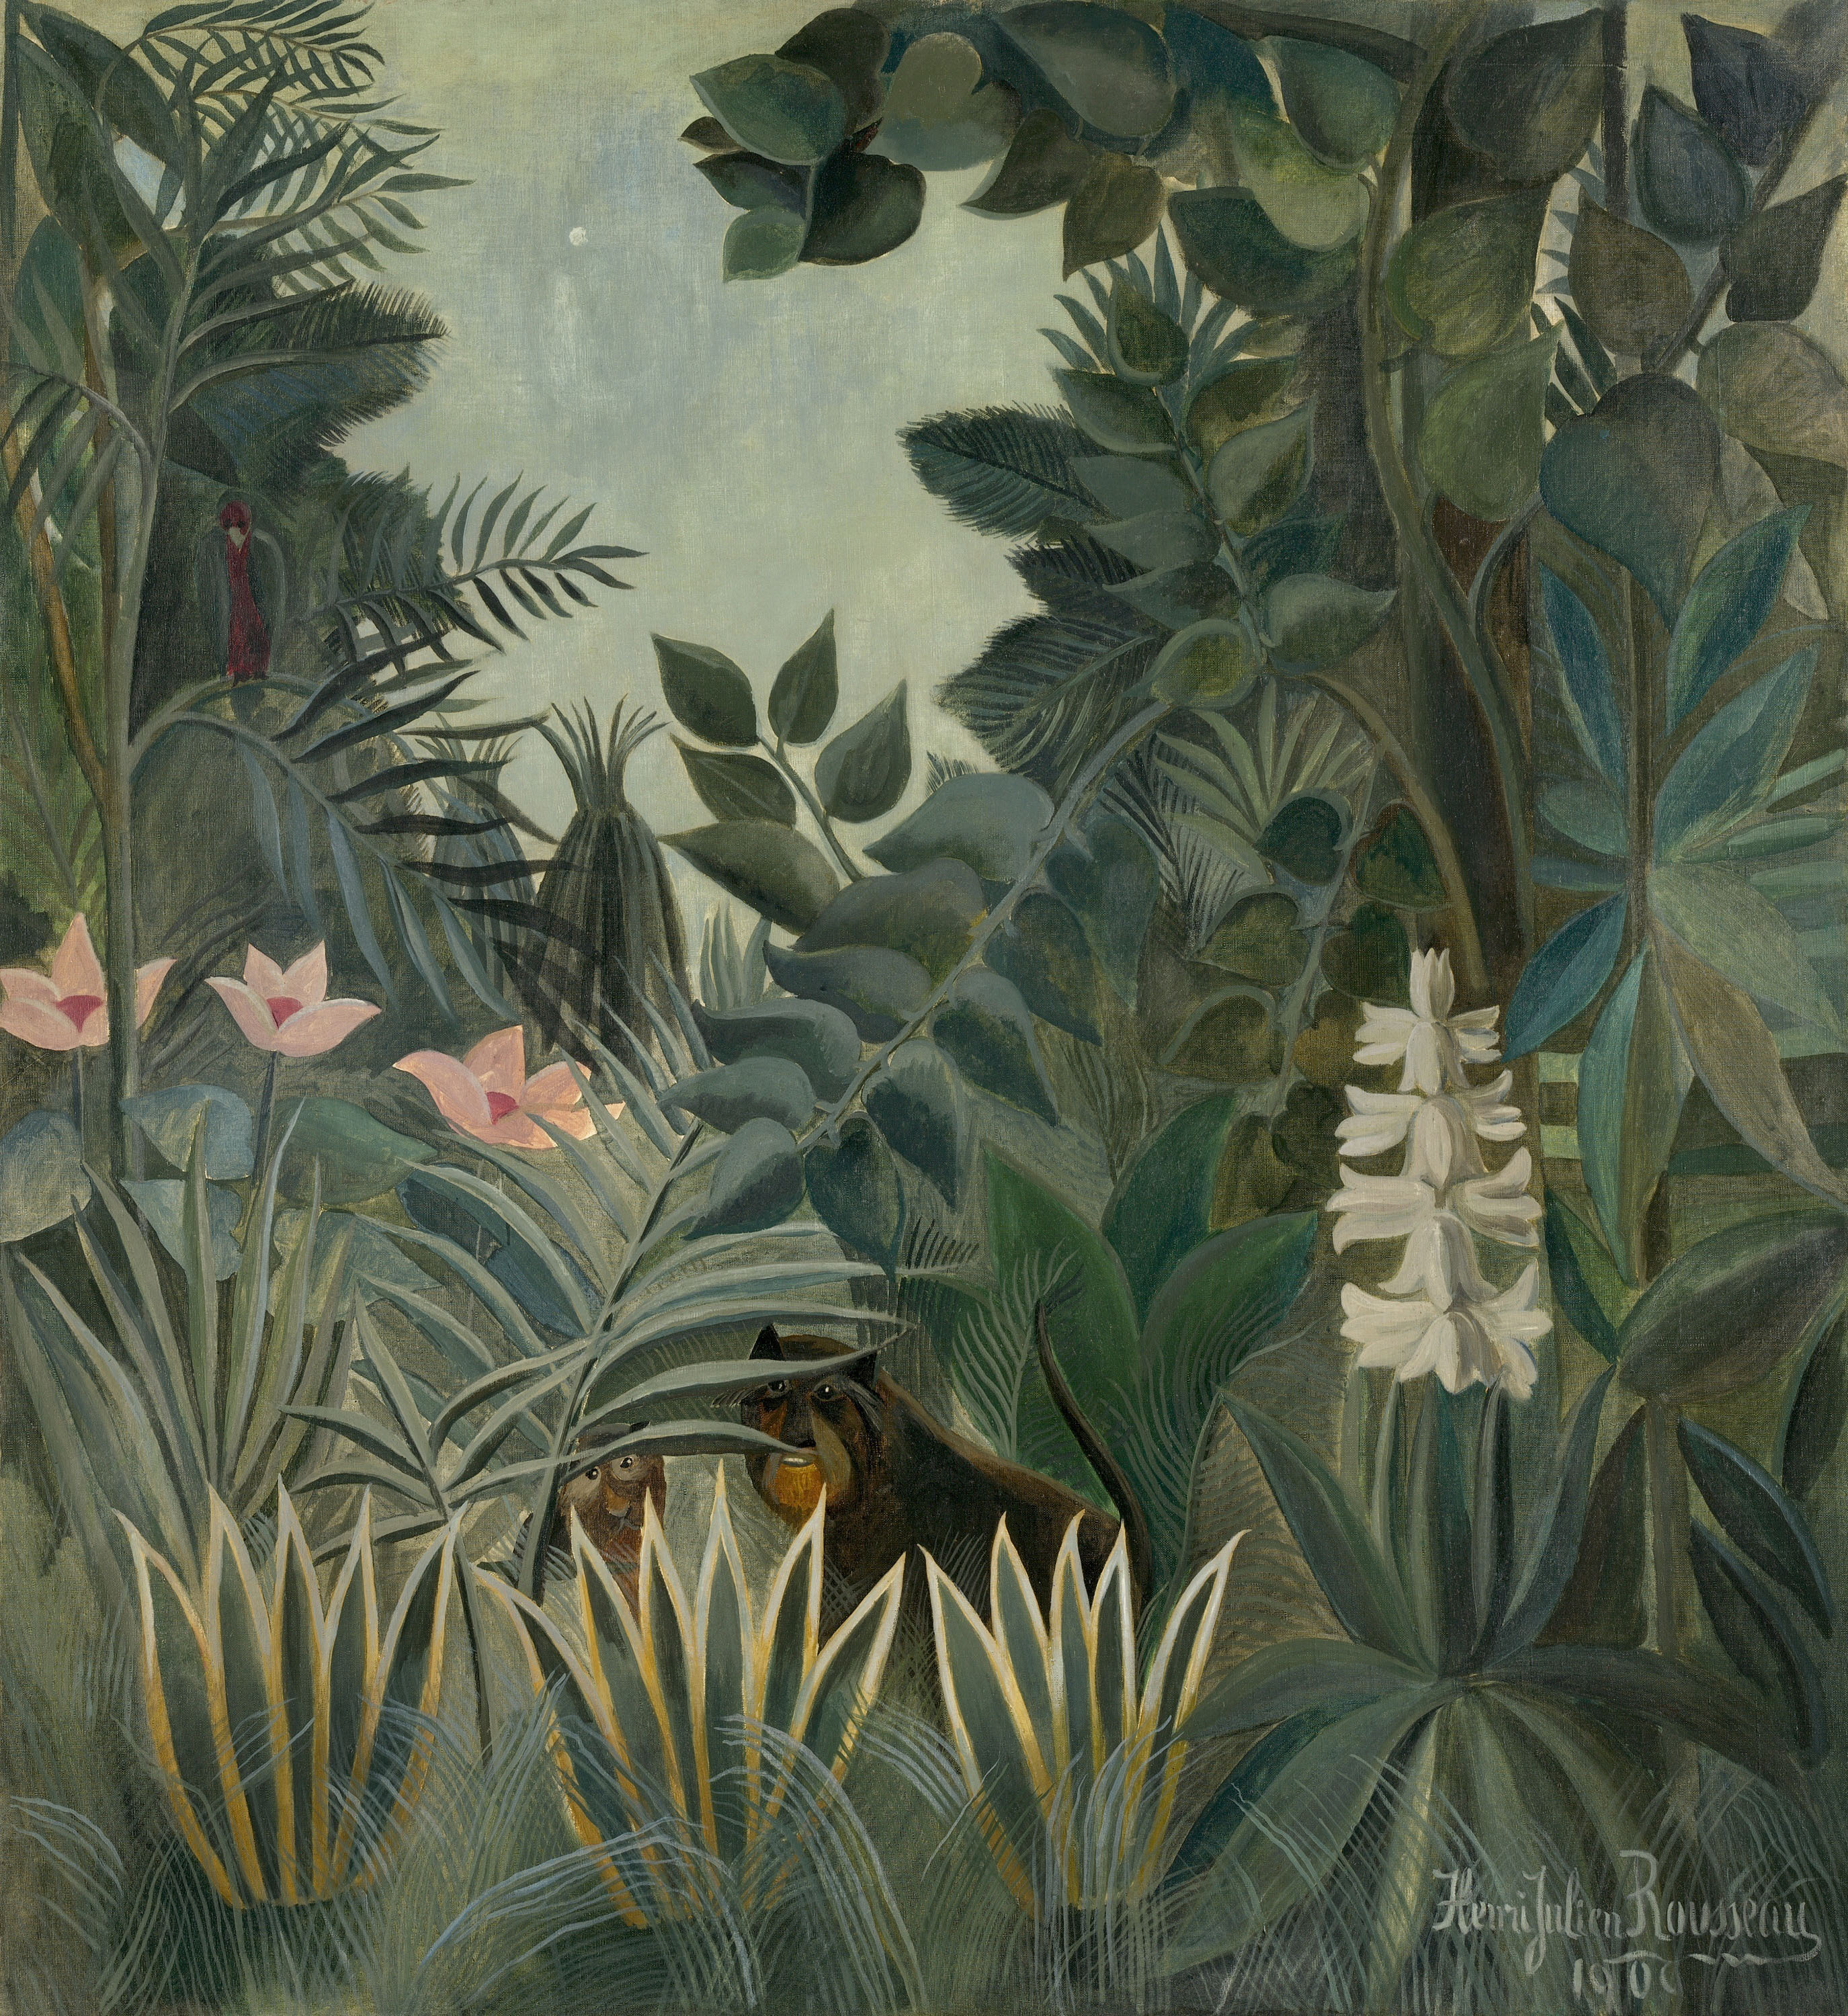
AccessArt would like to commission 2 individual artist/educators to work with us to create two resources for use in schools. The resources will use the plaster casts as inspiration for a Henry Rousseau inspired 3-dimensional artwork.
The 2 choosen artists will each receive 4 or 5 of the plaster cast animals, and your job will be to devise a workshop idea inspired by Henry Rousseau’s work, which will create a context around the plaster casts.
You might choose to paint, print, collage, draw, photograph, sew… whatever methods and media you like to create a camoflage for your animals. All we ask is that you document your process and your outcome, and bear in mind that we’d like the process to be suitable for use with primary-aged children in a class room environment. Please note that you do not have to run this as a workshop, instead we expect you to make exemplers in your studio/workspace.
Upon completion, we will then invite you to send us your images and accompanying text and we will then create a post based upon your work. The fee is £42 for the completed posts (no expenses can be paid) and your work will of course be fully credited. In addition the post will highlight your practice via our website and via our 14,000+ e-newsletter.
How To Apply!
Artist/ educators must be based in the UK. The opportunity is also open to art teachers.
Please drop us an email outlining how you propose to use the casts, and in particular which medium you propose to use. Please also any existing teaching experience. You can also attach an image or two of any work which you think is appropriate.
Please apply by May 13th 2017. Artists will be notified of success by May 24th. The chosen artist educators will then be contracted to produce the resources and will have two months to complete the work.
Many thanks for your help!