
Pathway: Spirals


Pathway for Years 1 & 2
Disciplines:
Drawing, Collage, Sketchbooks
Key Concepts:
-
That drawing is a physical and emotional activity. That when we draw, we can move our whole body.
-
That we can control the lines we make by being aware of how we hold a drawing tool, how much pressure we apply, and how fast or slow we move.
-
That we can draw from observation or imagination.
-
That we can use colour to help our drawings engage others.
In this pathway children are enabled to build an understanding about the way they can make marks on a drawing surface. They explore how the way they hold a drawing tool, and move their bodies, will affect the drawings they make.
Children will begin to explore mark-making and experiment with how they can use the marks they make in their drawings.
They are introduced to the fact that they can make drawings as a result of observation, without a seen subject matter. (i.e. from action or imagination) and that they can make drawings as a result of observation. Through their drawings children are able to talk about what they can see and how it makes them feel.
The focus of the exploration is around spirals – an ancient symbol which we all recognise, and which lends itself to conversations around growth, movement and structure.
Children are introduced to sketchbooks as a place of personal exploration, and enabled to make a sketchbook or personalise a bought sketchbook.
Themes:
Pattern, Structure, Movement, Growth, The Human Body, Sound
Medium:
Graphite stick or soft B pencil, Handwriting Pen, Pastels & Chalk, Paper, (Sketchbook Making Task: Paper, string, elastic bands, glue)
Artists: Molly Haslund
If you use this resource in your setting, please tag us on social media: #InspiredBy @accessart (facebook, twitter) @accessart.org.uk (instagram) and share the url. Thank you!


“To paint a line for a minute and walk with it was something I had never done before, and it made me think a lot about how good simple things can be.” Chris Ofili

Teaching Notes
Find the MTP for this pathway here.
See the recording of the hour long zoom CPD to introduce teachers to this pathway.
Curriculum Links
Science: Uses language to support understanding of concepts of growth, human body and natural forms.
Maths: Explores pattern, symmetry.
PSHE: Peer discussion, collaboration
I Can…
-
I can draw from my finger tips, my wrist, my elbow, my shoulder, my body.
-
I can make a drawing using a continuous line for a minute or two.
-
I have made a sketchbook (or perhaps decorated the cover of a bought sketchbook) and I feel like it belongs to me.
-
I can draw from observation for a few minutes at a time.
-
I can make different marks with different drawing tools. I have seen the different marks I can make with a soft pencil, a graphite stick and a handwriting pen.
-
I have explored how water affects the graphite and pen, and explored how I can use a brush to make new marks.
-
I can make choices about which colours I’d like to use in my drawing.
-
I have seen the work of an artist and listened to how the artist made the work. I have been able to share how I feel about the work.
-
I can talk about what I like in my drawings, and what I’d like to try again.
-
I can take photos of my artwork.
Time
This pathway takes 6 weeks, with an hour per week. Shorten or lengthen the suggested pathway according to time and experience. Follow the stages in green for a shorter pathway or less complex journey.
Materials
A2 newsprint, A2 cartridge or black paper, sugar paper (torn into squares), soft pencils, graphite sticks, chalk, handwriting pens, or graphite, sticks, coloured card, cardboard, recycled/scrap paper, elastic bands.
Pathway: Spirals
A PDF of this pathway can be found here.
-
Week 1: Make drawings using your body
Making Spiral Drawings
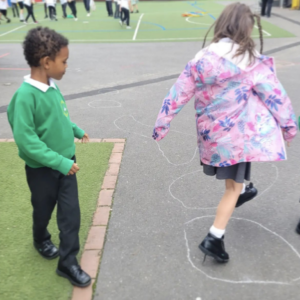
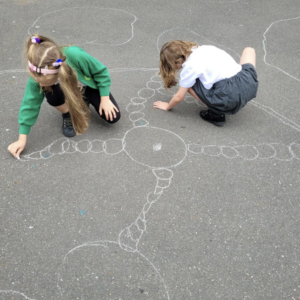
Invite children to use their whole body to create large scale “Spiral Drawings“.
Use soft B pencils or graphite sticks. Work on large A2 sheets of paper (newsprint is fine).
Invite students to experiment with different materials – graphite sticks, soft B pencils, handwriting pens, chalks.
-
Create large scale drawings.
-
Make spiral drawings to music.
-
Stand up and work in the playground using chalk.
-
Juxtapose emotions eg. ‘Create a quiet spiral… then create a LOUD spiral.’ Invite children to tune into how they are feeling and create a spiral that reflects their mood.
-
-
Look & Talk
Molly Haslund: Outdoor Drawings

Molly Haslund
Circles, 2015
New York, Peekskill Project #6, Hudson Valley MOCAExplore our free to access “Talking Points: Molly Haslund” to discover an artist who makes drawings outside using her body as a drawing tool. Pause the videos and invite children to create drawings using the “Show Me What You See” method.
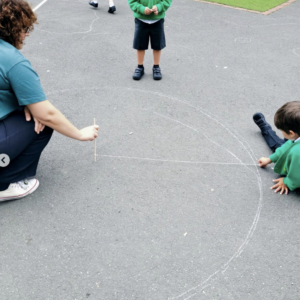
Fast engineering challenge: Respond to Molly Haslund’s work by asking children to make a tool that creates a circle when it has a drawing material attached. Use sticks, card, cardboard, tape, twine, straws etc.
Juxtapose children’s exploration by looking at the work of women who make kolam in front of their homes every morning in the “Talking Points: The Ancient Art of Kolam” resource.
-
Week 2: Develop your drawings
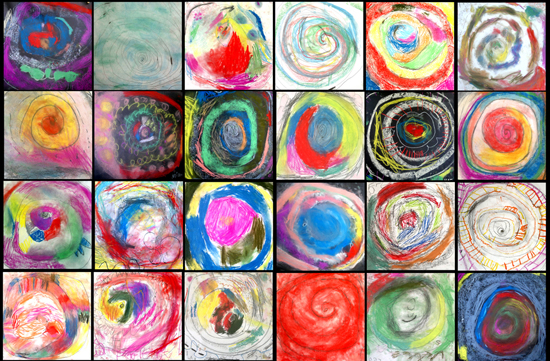
Make Snail Drawings
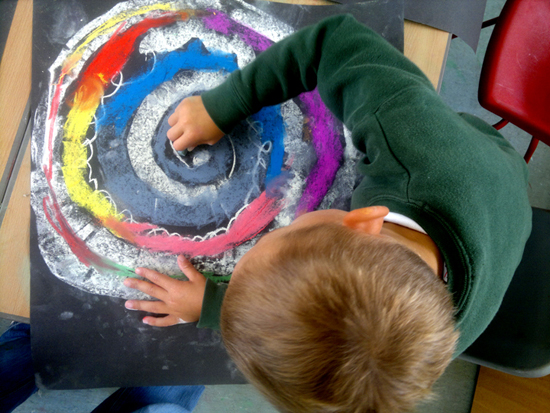
Create a “Snail Drawing” on a large square of white cartridge paper or black sugar paper, using chalk and oil pastels.
This exercise explores different qualities of line, colour blending, mark making and makes a wonderful mounting piece.
-
Week 3: Introduce sketchbooks and either make your own sketchbook or personalise a bought sketchbook
Make an Elastic Band Sketchbook
 It’s important that children feel a sense of ownership with their sketchbooks. Invite children to create their own elastic band sketchbooks using recycled paper and card. These sketchbooks will create an ideal platform for exploration and creative risk taking. Ask children to decorate the cover using collage.
 -
Or personalise a bought sketchbook to nurture ownership
Making Spaces and Places in a Sketchbook
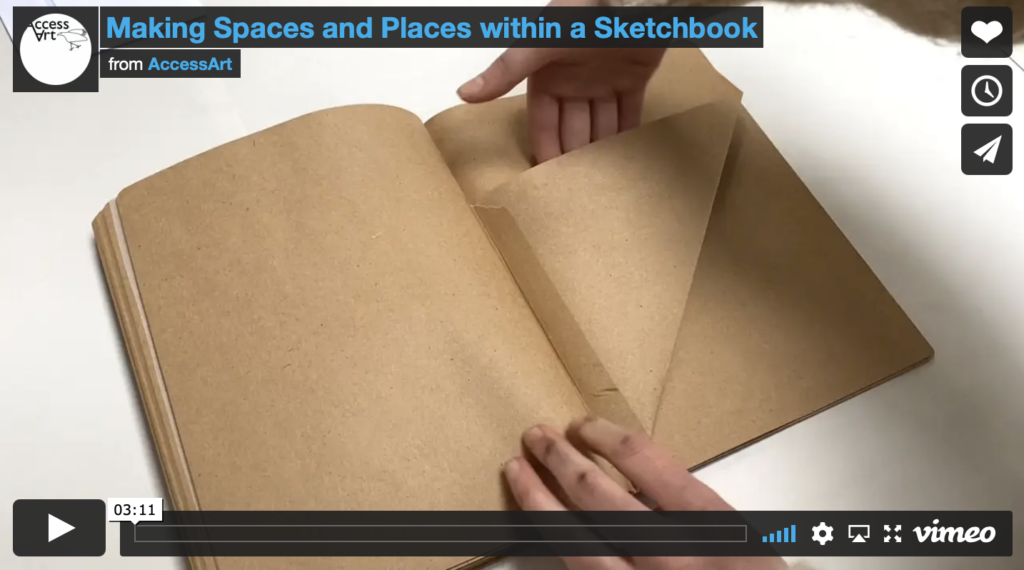 “Make Spaces and Places in a Sketchbook” to change the way children use their sketchbooks and help to develop sketchbook techniques in future sessions.
In the next session children will start working in their sketchbooks.
-
Exercise One
Observational Drawing: Continuous Line
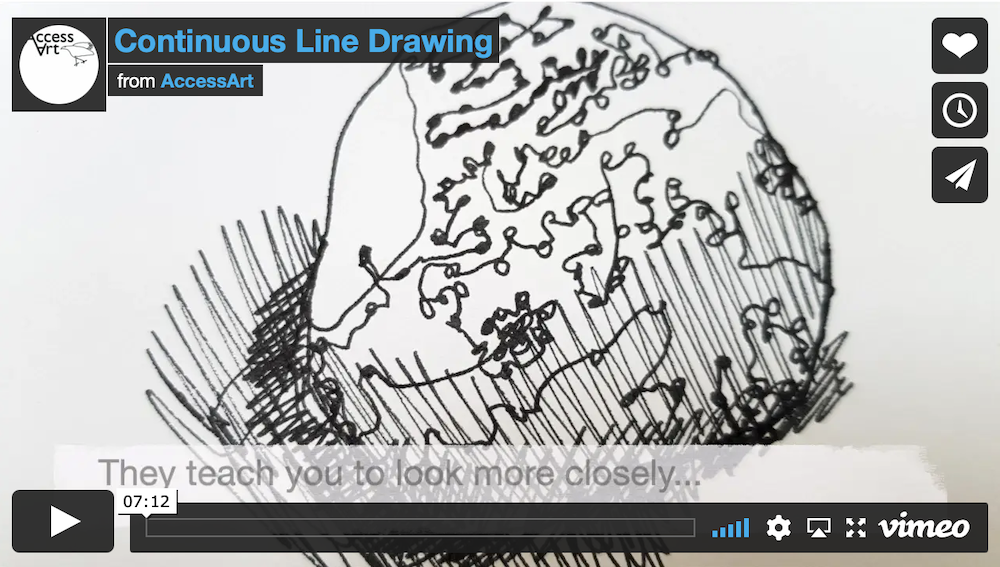 Start the session by creating a calm meditative environment. Use this exercise to create “Observational Drawings using Continuous Line“. Encourage careful observation and intentional mark making.
 Depending on how much time you would like to allocate to the warm up, you may want to ask children to experiment with scale, different materials, dominant and non dominant hand.
-
Exercise Two
Experimental Mark-Making with Water Soluble Pens
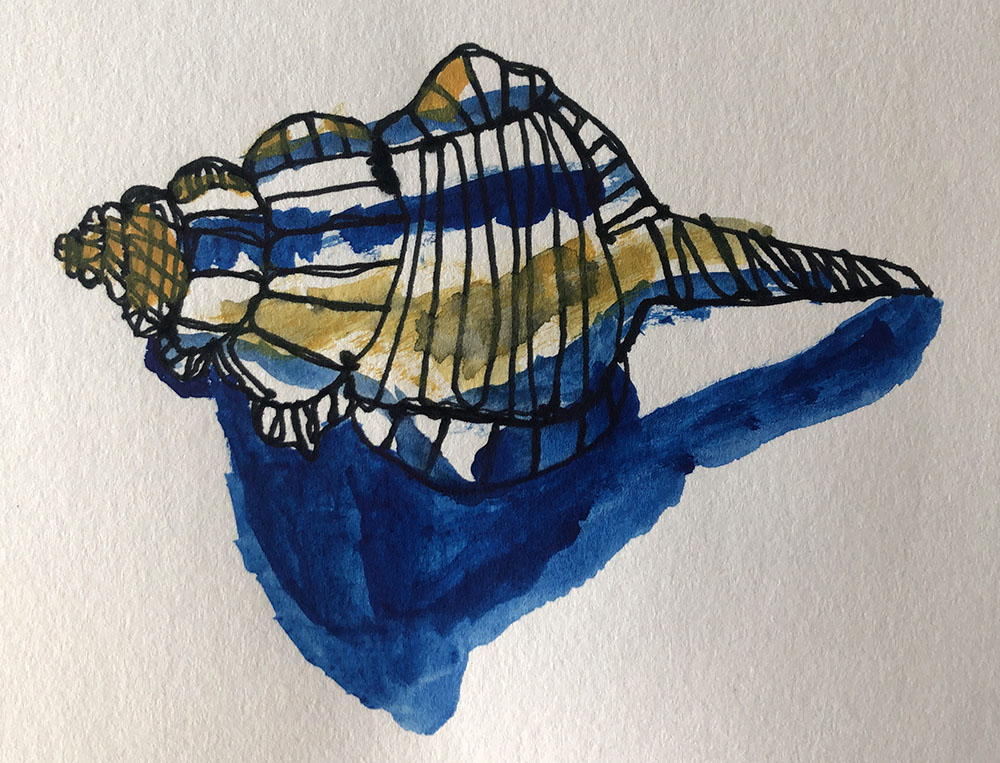 Adapt this resource and experiment with “Mark Making with Water Soluble Pens“
Rather than try the whole resource which was originally written for older children, focus upon enabling the children to see what happens when they add water to observational drawings made using a handwriting pen (check first that the pen you use is water-soluble) or water-soluble graphite. How are the marks changed by the water?
As the children may not have experience of the colour wheel yet, strip this activity back to focus on the line, texture, and light and dark areas.
-
Week 6: Celebrate
Share, reflect, discuss
Time to see the work which has been made, talk about intention and outcome.
Invite children to display the work in a clear space, and walk around the work as if they are in a gallery. Give the work the respect it deserves. Remind the children of their hardwork.
If you have class cameras or tablets, invite the children to document their work, working in pairs or teams.
You might like to get children to assemble the snail drawings made in Week 2 into a “class” Backwards Sketchbook.
Use the resource here to help you run a class “crit”.
See the Pathway Used in Schools...


If You Use AccessArt Resources... You might like to...
Join our Facebook Group


You May Also Like...

Backwards forwards drawing
